
Have you ever tried to frame a photo or piece of art, only to realize the mat board doesn’t fit right?
Store-bought mats don’t always match your picture, and getting one custom-made can cost a lot.
That’s why learning how to cut your own mat board is such a great skill. It’s easier than you might think, and you don’t need any fancy tools to do it.
In this post, I’ll show you exactly how to cut a mat board step by step. The steps are simple, and once you try it, you’ll see how quick and easy it can be.
You’ll get a clean, custom look that makes your photos and artwork really stand out. Plus, you’ll save money and have more control over how your final frame looks.
Let’s get started and learn how to do this the easy way!
Understanding Pre-Made Mats vs DIY Mat Boards
When framing a photo or artwork, you can choose a pre-made mat or cut your own.
Pre-made mats are easy to find in craft stores and usually come in standard sizes like 8×10 or 11×14. They work well if your photo matches those sizes exactly.
But sometimes your photo is a bit off-size, or you want the opening to be in a different spot. That’s when a DIY mat is a better choice.
By cutting your own, you can make the opening any size or shape you want.
It also gives you more control over how your framed picture will look. Plus, it’s often cheaper than buying a custom mat at the store.
Important Things to Know Before You Cut
Before picking up your cutting tool, it’s a good idea to pause and plan a few key details. These simple tips can make a big difference in how your mat turns out:
- Make the opening slightly smaller than the photo: This allows the mat to cover the photo’s edges, giving it a cleaner look. Expect to lose about ¼ inch around the edges.
- Always mark and cut from the back of the mat: The back side is where all measurements and cuts should be made for a neater front.
- Double-check your measurements: Take your time making sure the opening is centered both vertically and horizontally.
- Match the outer edge to the frame size: Your mat’s outside edge should line up with your frame, while the inside cutout should highlight the photo.
Taking just a few extra moments to get these details right will help your finished mat look professional and well-fitted.
Step-by-Step Guide to Cutting Your Mat Board
Follow these easy steps to measure, mark, and cut a mat board neatly for your photo frame.
1. Mark the Back of the Mat
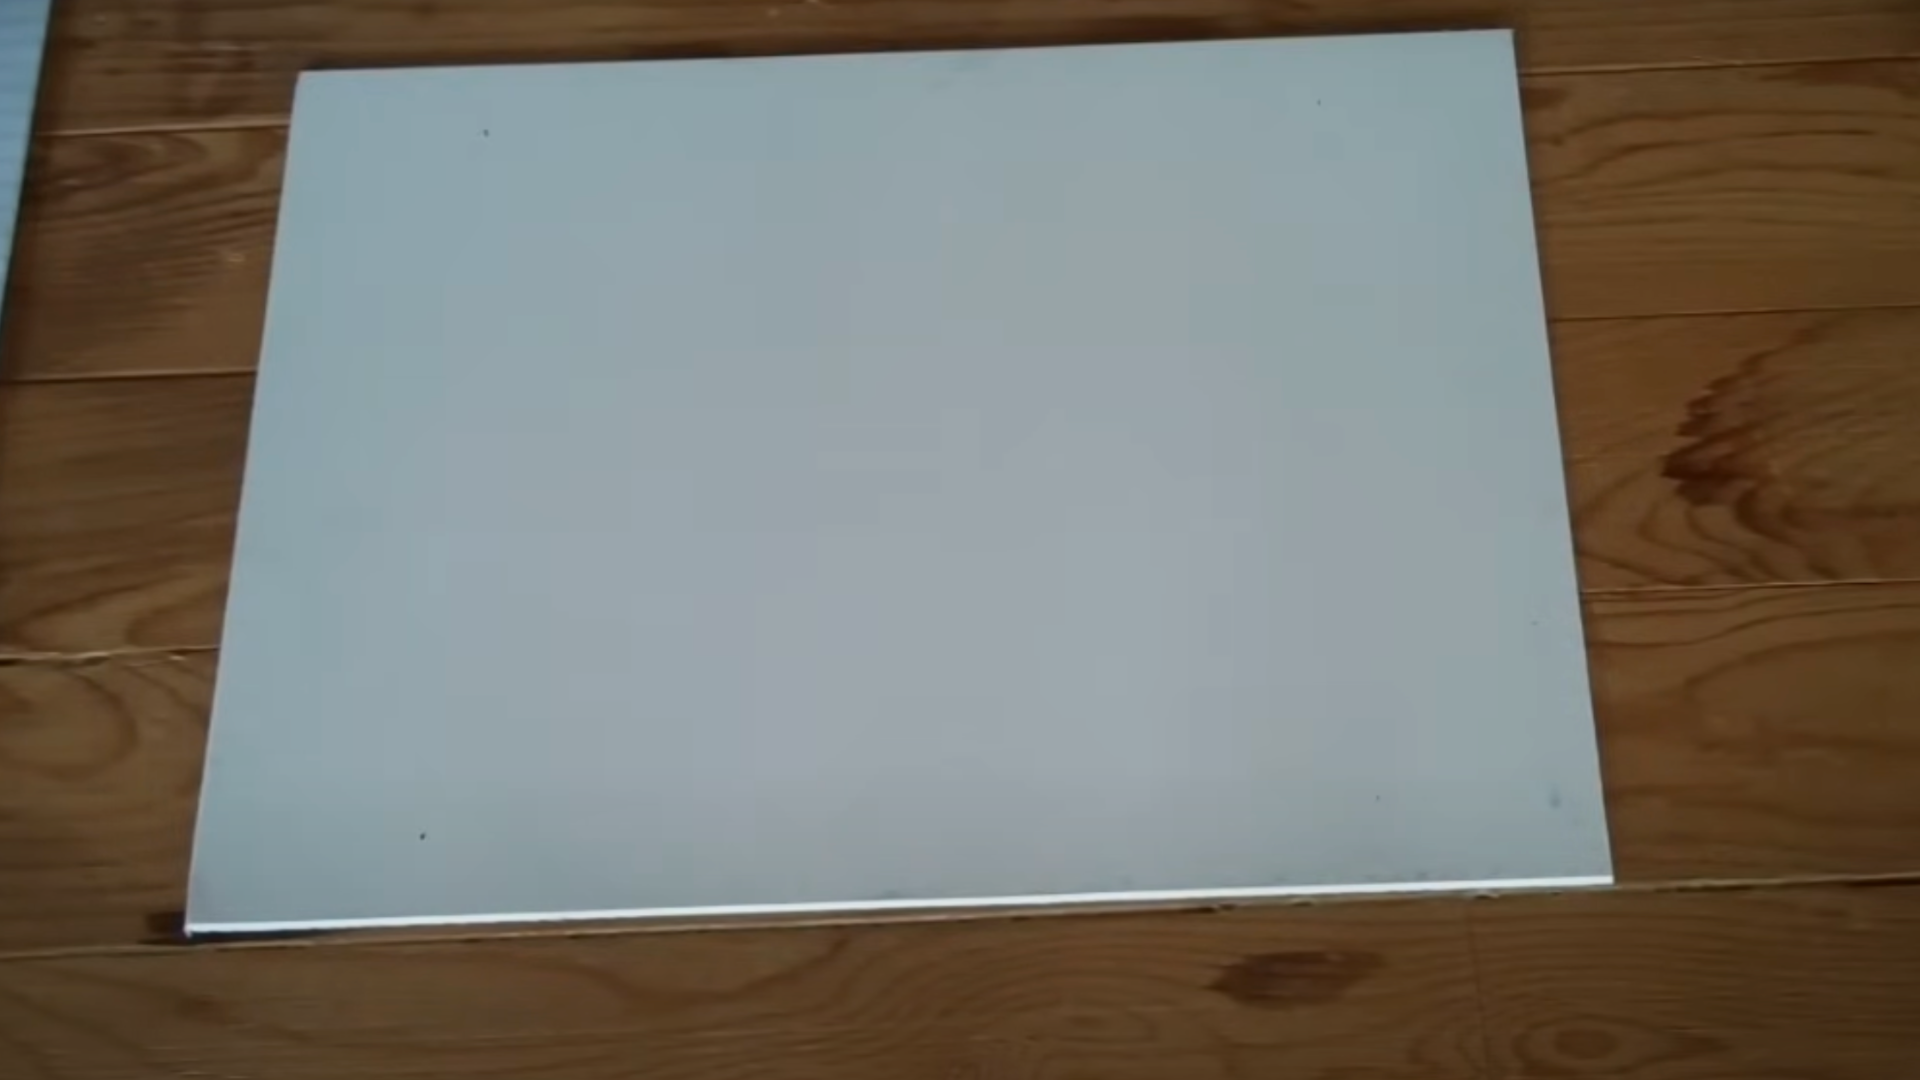
Start by choosing which side of the mat board will face forward in the frame. That’s your front. Flip the mat over so you’re working on the back.
You’ll do all your marking and cutting here so the front stays clean. This way, if you make small mistakes, they won’t show. It’s a simple step, but really important.
Take a quick look at both sides- pick the cleaner, smoother one for the front. Now you’re ready to measure and plan your cut lines.
2. Measure and Mark your Opening
Now it’s time to figure out where your photo will go. First, decide how big the opening should be.
To center it, subtract the photo size from the mat size, then divide that number by two. Do this for both the width and the height.
Let’s say your mat is 14 inches wide and your photo opening is 9½ inches. Subtract to get 4½ inches, then divide by two-you’ll mark 2¼ inches in from both sides.
For the height, if your mat is 11 inches and your photo is 7½ inches tall, do the same: you’ll mark 1¾ inches from the top and bottom.
Once you’ve made all your marks, you’ll have a guide for where to cut. These marks will help you draw a neat rectangle right in the center.
Take a minute to check your numbers before moving on- it really helps!
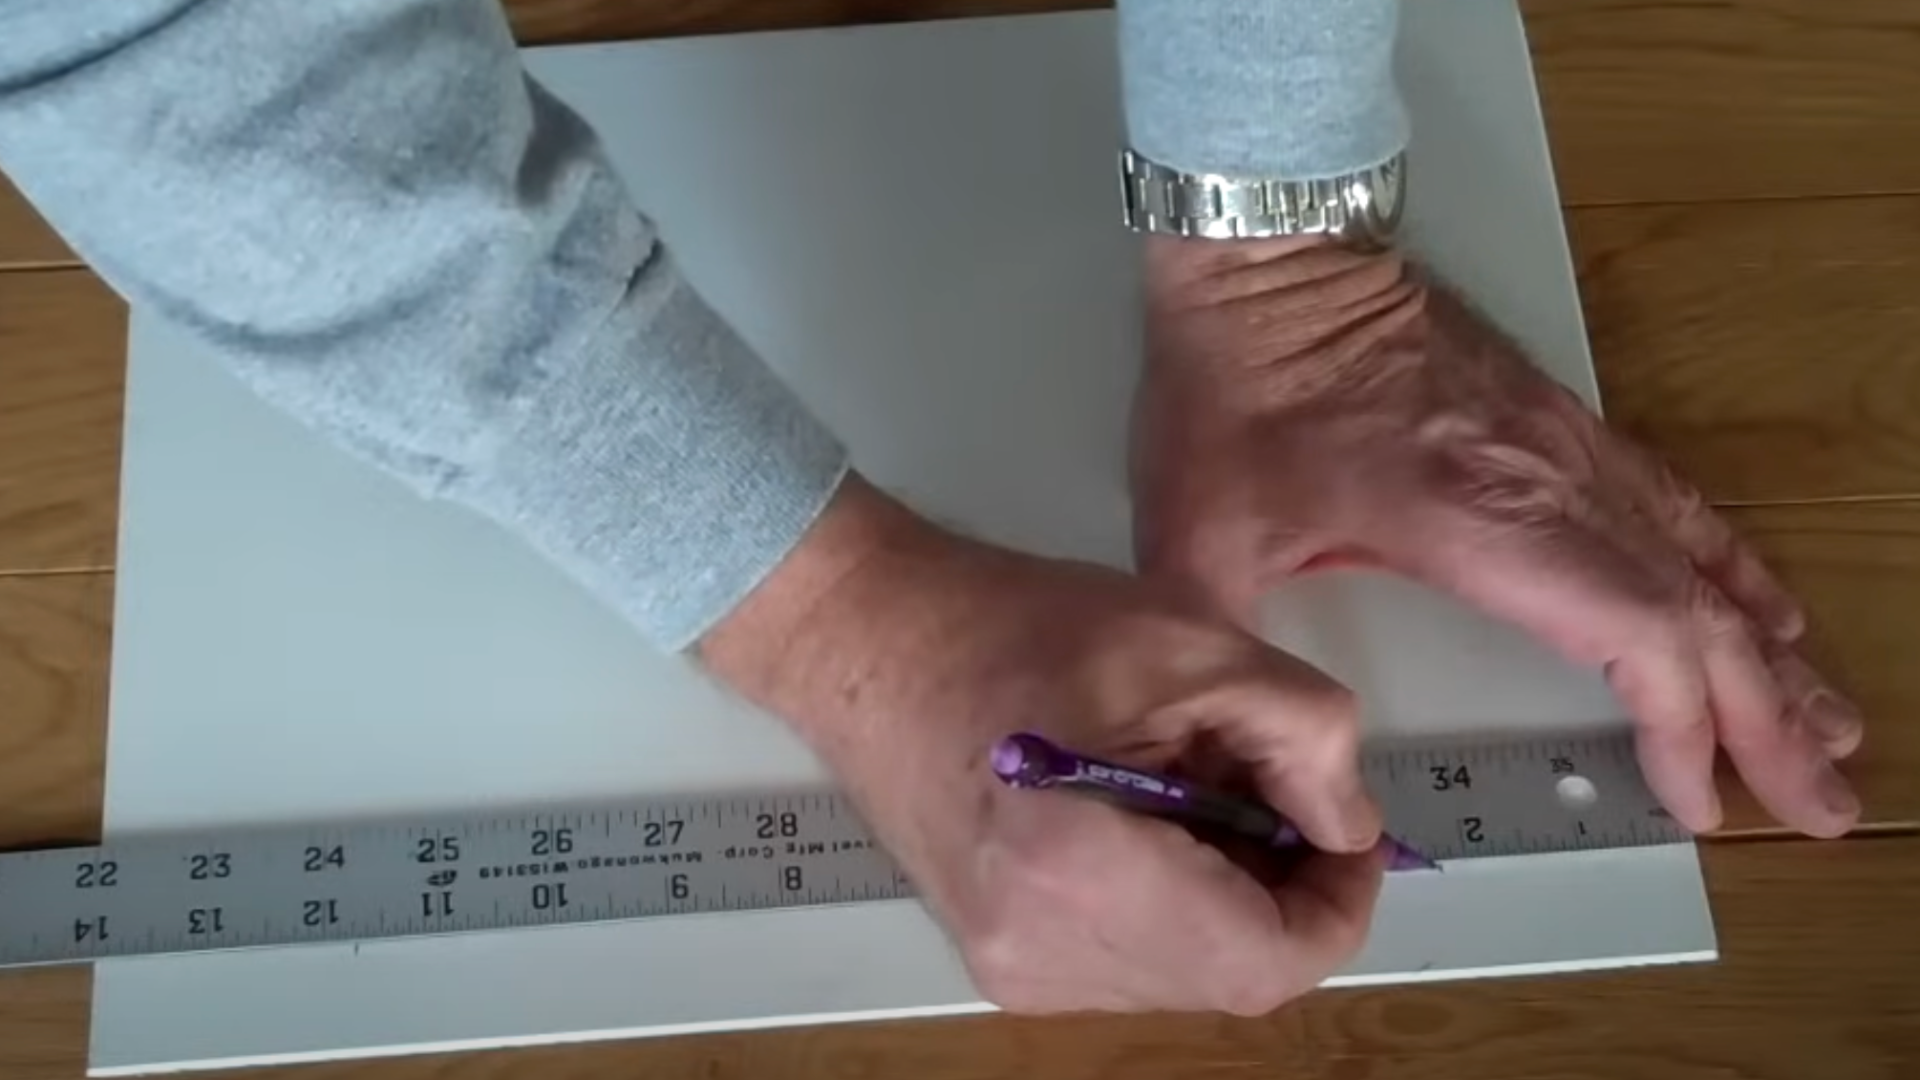
3. Draw the Opening Box

Now it’s time to connect the dots. Use a metal ruler or yardstick to draw straight lines between the marks you made.
This will outline the exact shape of the opening you’ll cut out. Make sure the lines are straight and meet at the corners. You can use a pencil to erase if needed.
This step doesn’t take long, but it’s super important lines will guide your blade. A clean, even box will help your photo look centered and your mat look neat.
4. Check Your Measurements
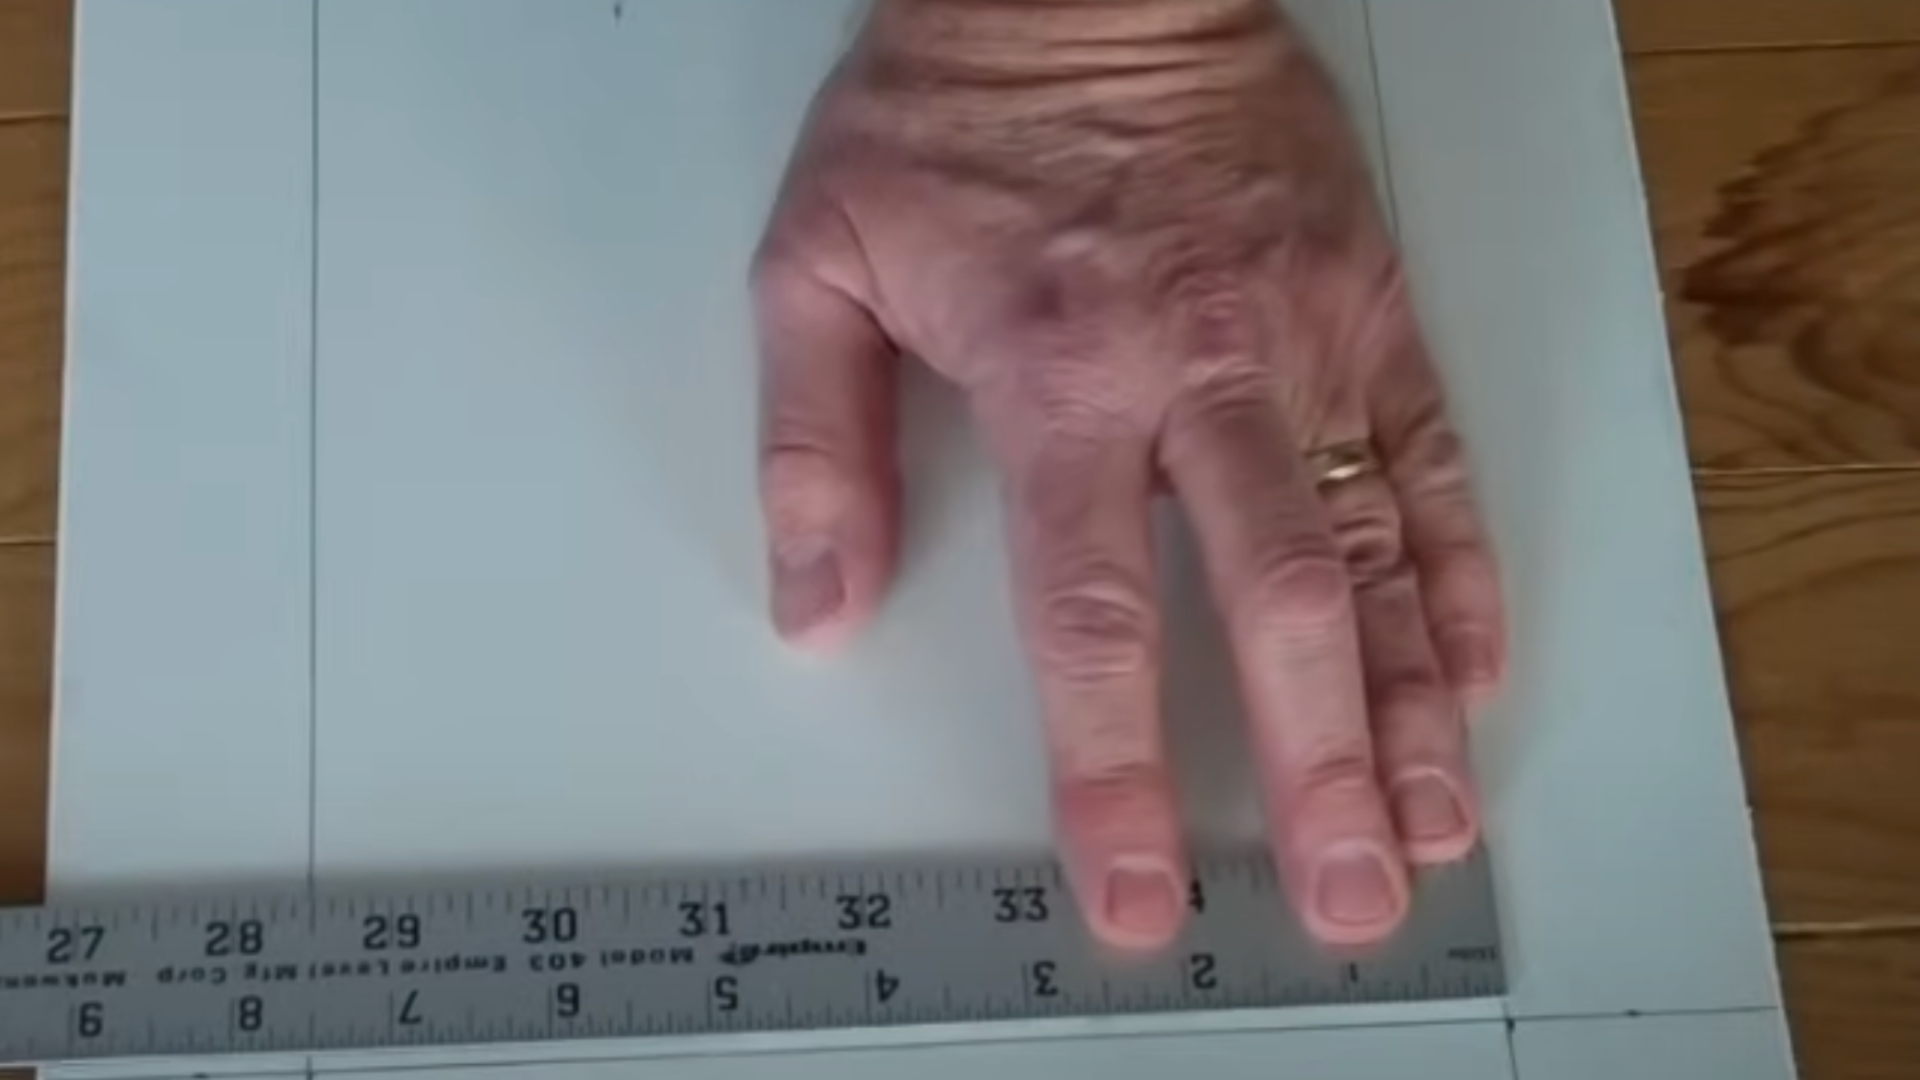
Before you grab your cutter, take a moment to check the size of the box you just drew. Use your ruler to measure the width and height of the inside of the box.
Make sure it matches the size you want for your photo. For example, if you planned a 9½ by 7½ inch opening, check that your marks match those numbers.
It’s better to fix mistakes now than after cutting. This extra check takes just a minute, but it helps your project turn out just right.
5. Set Up Your Mat Cutter
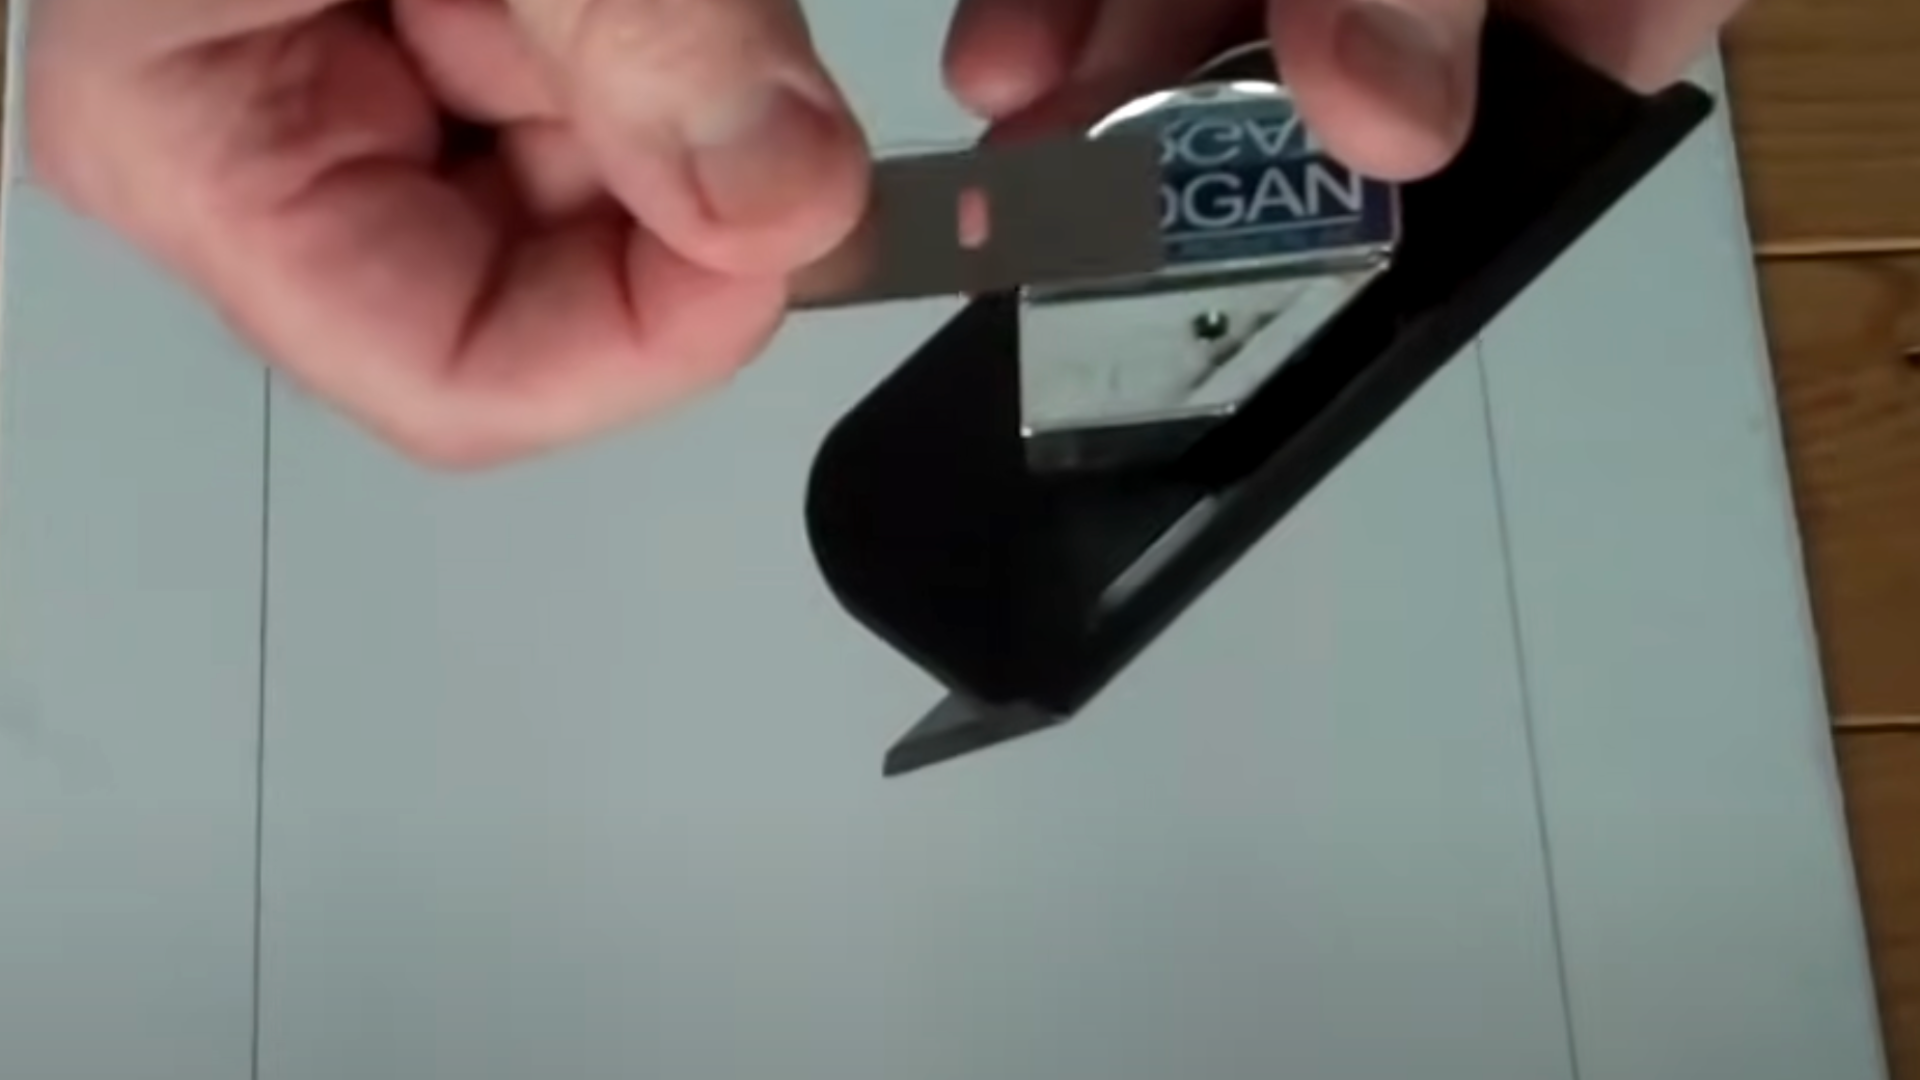
Get your mat cutter ready. These tools are small and don’t cost much- you can find them at craft stores. They have a little blade that cuts at an angle, so your opening has a nice, slanted edge.
That’s called a bevel. To use the blade, you press it down with your thumb. Some tools let you flip the blade when one side gets dull.
Make sure the blade is clean and sharp. It’s smart to look over your cutter and get used to how it feels in your hand before starting.
6. Clamp Your Straight Edge

Now, place a metal ruler or yardstick along one of your pencil lines. This will help guide your cut so it’s perfectly straight. Use clips or something heavy to hold the ruler in place so it doesn’t slide.
If your straight edge moves, the cut won’t come out clean. Check that the ruler is exactly lined up with your marks before you begin.
This step might seem small, but it makes a big difference in how your finished mat looks.
7. Make the First Cut

Line up your cutter’s little guide mark with the first line on your mat. Push down gently to make the blade come out, then slide it along the edge of your ruler.
Go slow and steady. When you reach the end of the line, stop and lift the blade. If the cut was deep enough, the mat board should start to separate a bit.
Don’t worry if it doesn’t fully pop out yet- you’ll be cutting the other sides next. The first cut is always the trickiest, but you’ve got this!
8. Cut the Other Three Sides
Repeat the same process for the remaining three sides. Line up your ruler with each new pencil line, clamp it in place, and slide the cutter along the edge.
Always double-check the guide mark before cutting. Take your time and keep the blade steady. After the last cut, you’ll be able to remove the center.
It might lift out easily, or you might need to gently push it from the back. Careful cuts now make a big difference when you see the final result.
9. Remove the Center
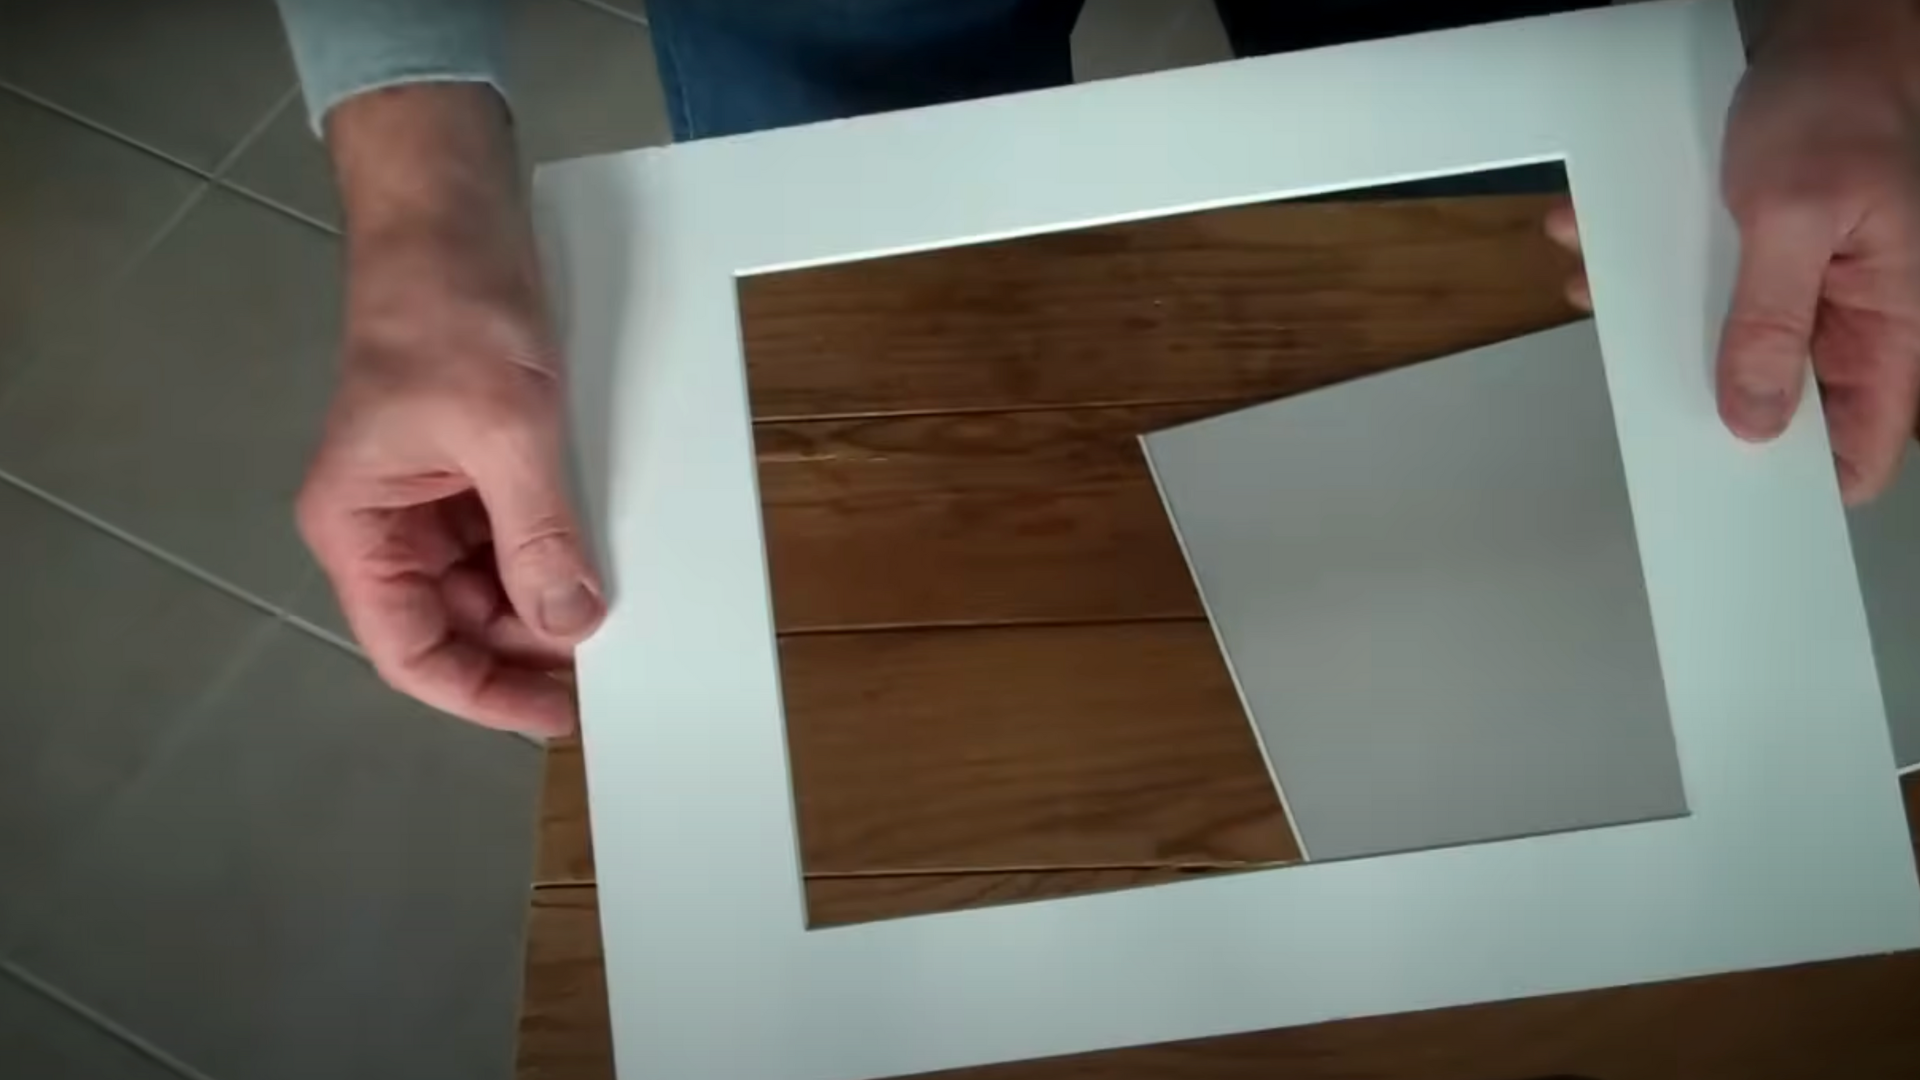
Once you’ve finished all four sides, gently push out the center piece. Try not to tear or pull hard- if it sticks, lightly go over the cut again.
Flip your mat board over and check the front. You should see a nice, clean opening with slanted edges. This is the part that frames your photo.
A neat cut makes your whole project look better. If you’re happy with how it looks, you’re ready for the last step: framing!
10. Put It All Together
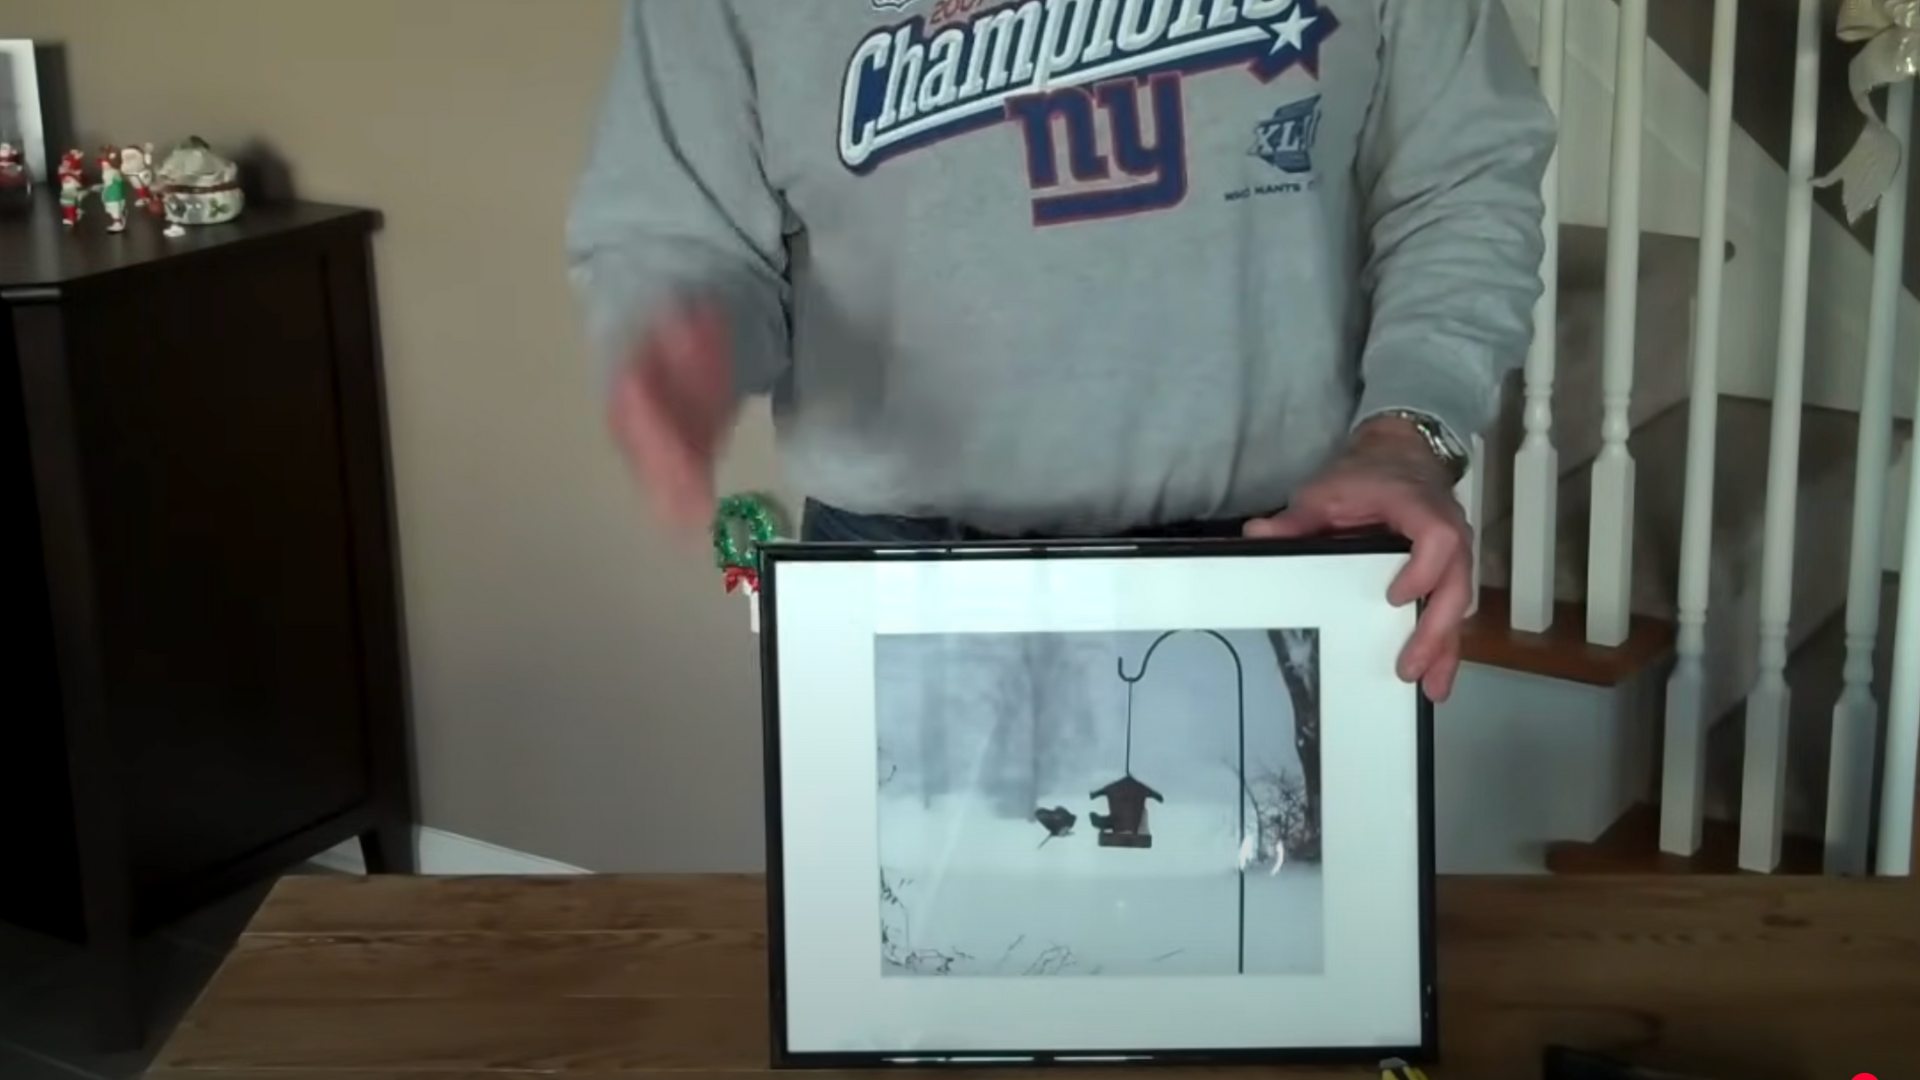
Place your cut mat into the frame. Line up your photo behind the opening. Make sure it’s centered, then tape it down so it doesn’t move.
Add the backing and close up the frame. The mat will cover about ¼ inch of your photo on all sides.
That’s normal and helps the photo stay in place. Now you’ve got a custom mat cut by hand-and it looks great! With a little practice, cutting mats will get easier every time.
What to Do with Leftover Mat Pieces
Before you toss out the leftover mat board, take a second to look at what’s left. Some of those extra pieces can be reused for other projects.
If the scraps are large enough, you can cut smaller mats-like one for a 4×6 photo to fit inside a 5×7 frame. It’s a great way to save money and avoid waste.
You can also use scraps for practice cuts or testing your mat cutter. Keeping a few pieces on hand can make your next project easier. So don’t throw them out – you might need them later!
Conclusion
Cutting your own mat board is a great skill to learn, especially if you like framing photos, artwork, or special memories.
At first, it might seem a little tricky, but once you try it step by step, it gets much easier.
You don’t need fancy tools- just a simple mat cutter, a ruler, and a steady hand.
The best part is that you get to decide how the final frame looks. You can make the opening the exact size you want, which helps if your photo doesn’t fit regular mats.
It also saved me money and gave the whole project a more personal touch. Even better, doing it myself just felt good. I had taken the time to measure, cut, and put everything together, and that made the finished frame feel extra special.
With a little practice, cutting your mat board will become something you’ll feel confident doing any time you need it.