
Framing a corner might seem tricky at first, especially if you’re building a wall for the first time. But don’t this guide will walk you through it step by step.
If you’re working in a basement, garage, or doing a home remodel, learning how to frame a corner the right way makes the rest of your project so much easier.
In this article, you’ll learn how to lay out your plates, measure and cut your studs, and build a solid corner that supports drywall on both sides.
I’ve gone through these steps myself during real home projects, so you’re getting tips that actually work. You don’t need to be a pro or have a huge set of tools- just some patience and a little planning.
If you’re ready to build strong, straight walls and avoid beginner mistakes, you’re in the right place. Let’s get started with corner framing the simple way.
Understanding the Basics of Wall Framing
Before you start framing a corner, it helps to understand how wall framing works.
A basic wall is made up of top plates, bottom plates, and vertical studs. The bottom plate sits on the floor, and the top plate runs along the ceiling.
Studs go between them, usually spaced 16 inches this is called 16 inches on center, and it helps support drywall and gives the wall strength.
Sometimes, you’ll also need to add blocking-short pieces of wood placed between studs or ceiling joists. These give you something solid to attach drywall or other materials to.
When it comes to corners, getting the framing right is super important. It makes sure both walls are strong and gives the drywall something to attach to on each side.
If you skip this or do it wrong, you’ll end up with gaps, wobbly walls, or nothing to screw into later. Trust me, I learned that the hard way.
Tools and Materials You’ll Need
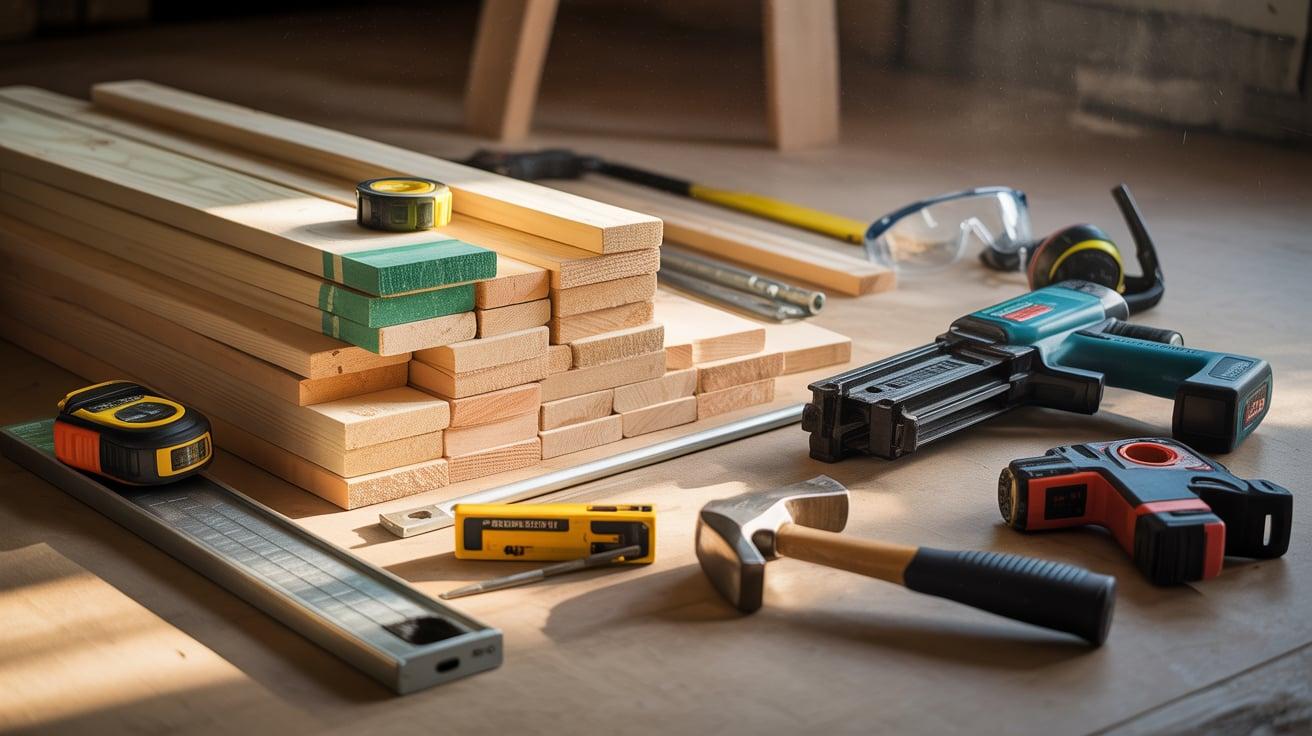
Before you start framing your corner, it’s a good idea to gather everything you’ll need. Having the right tools nearby will make the job faster and smoother.
- 2×4 boards (regular and pressure-treated for bottom plates)
- Tape measure and pencil
- Speed square and chalk line (or laser level)
- Miter saw or circular saw
- Nail gun or hammer
- Nails or screws (depending on your tools)
- Ram Set gun or concrete screws (for basement floors)
- Drill or impact driver
- Level (to make sure your wall is straight)
- Safety glasses and ear protection
Step-by-Step Guide to Framing a Corner
Framing a corner doesn’t have to be confusing. Follow these easy steps to build a solid wall corner that’s ready for drywall and will hold up over time.
Step 1: Layout and Cut Plates
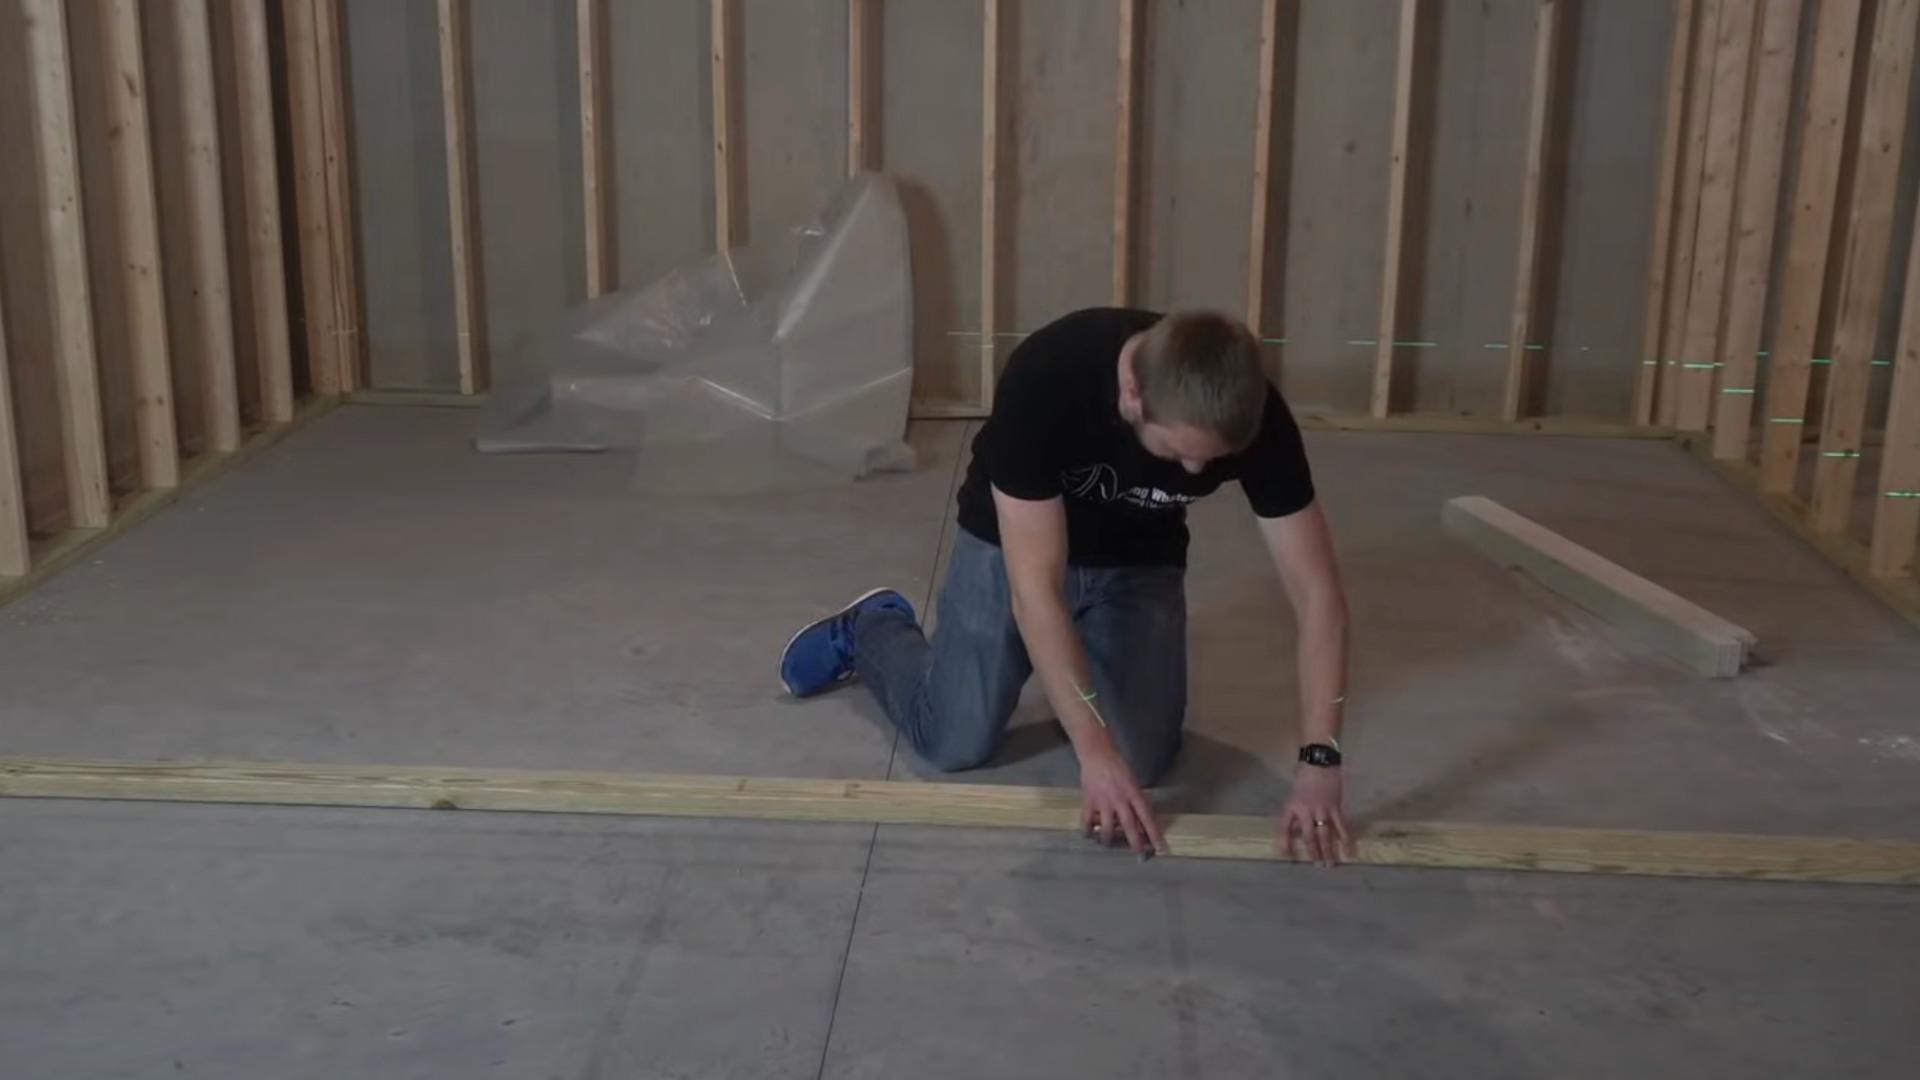
Start by figuring out how long your wall will be. Use pressure-treated 2x4s for the bottom plate (especially if it touches concrete) and regular 2x4s for the top plate.
Measure and cut both plates to the same length using a saw. Laying the plates side by side on the floor makes it easier to mark where your studs will go.
Getting this first step right is important because your entire wall depends on having straight, even boards. Take your time and double-check your measurements before moving to the next part.
Step 2: Mark the Stud Locations
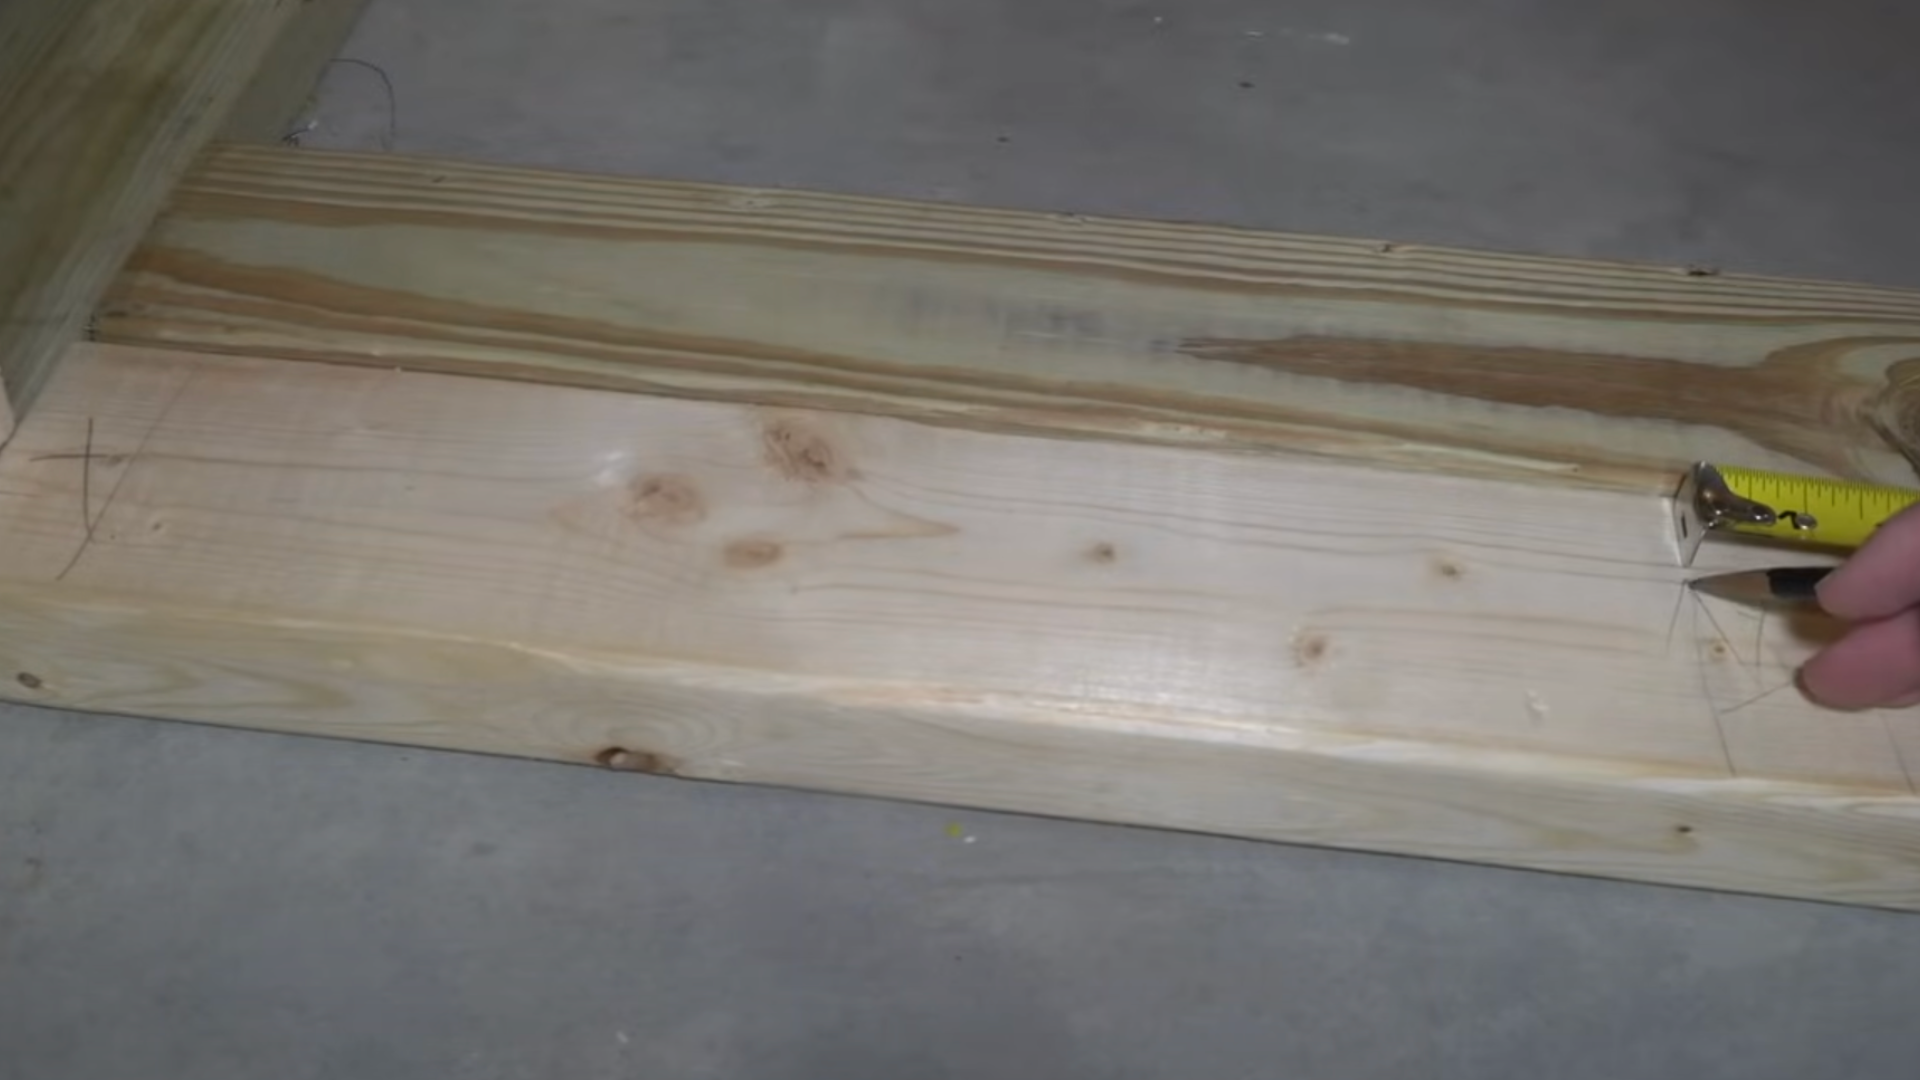
Now it’s time to mark where each stud will go. Start by drawing a line at the very end of your plates for the end stud.
Then, measure 15 ¼ inches from that mark and draw another line for your first full stud. After that, mark every 16 inches (16″, 32″, 48″, etc.) and put an “X” on the side where the stud will go.
Do this on both the top and bottom plates so everything lines up perfectly. These marks will guide where you attach the studs during assembly.
Step 3: Add Ceiling Blocking (If Needed)
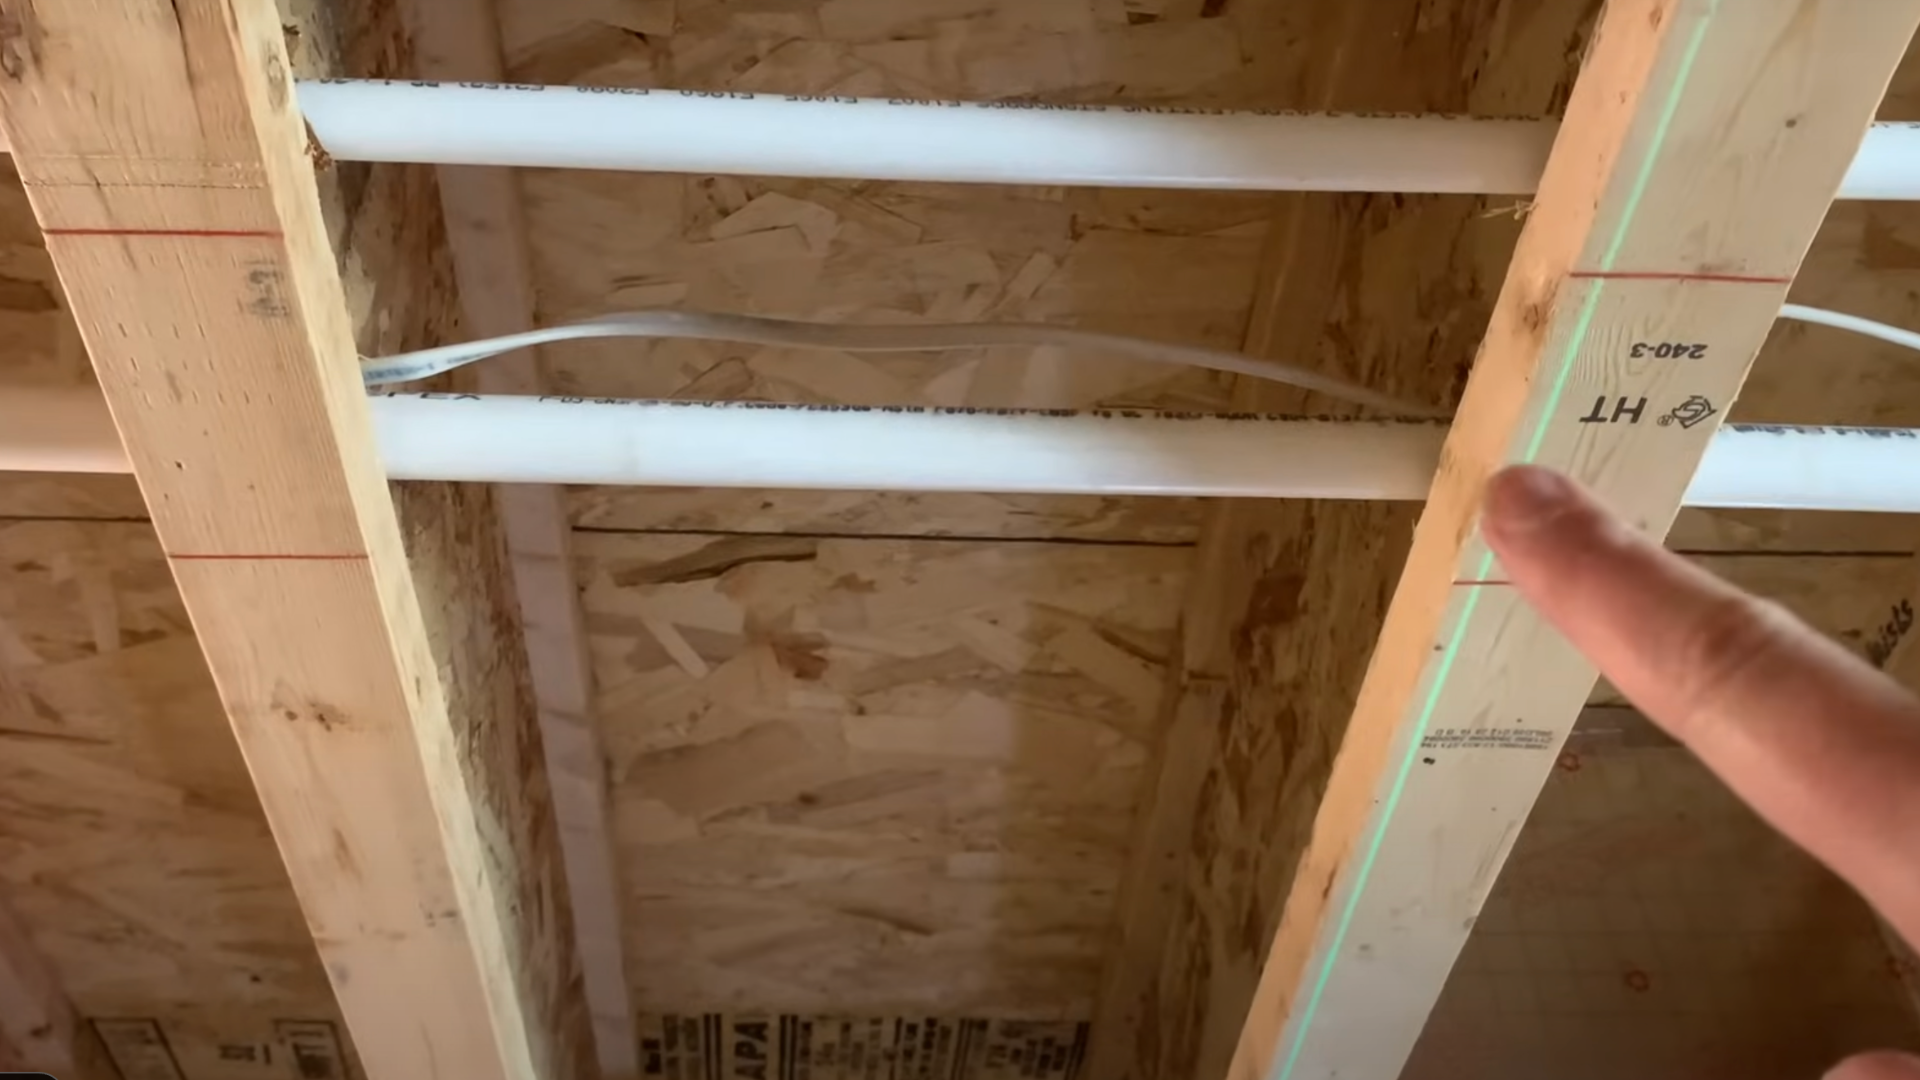
If your ceiling joists run parallel to your new wall, you’ll need something solid to screw the top plate into.
That’s where blocking comes in. Measure the space between two joists and cut a short 2×4 to fit. Screw it into place between the joists, flush with their bottom edge.
Do this every couple of feet where your wall will run. These blocks will give your top plate a sturdy anchor.
It might feel like extra work, but it’s worth it for a strong, well-supported wall.
Step 4: Measure and Cut Studs
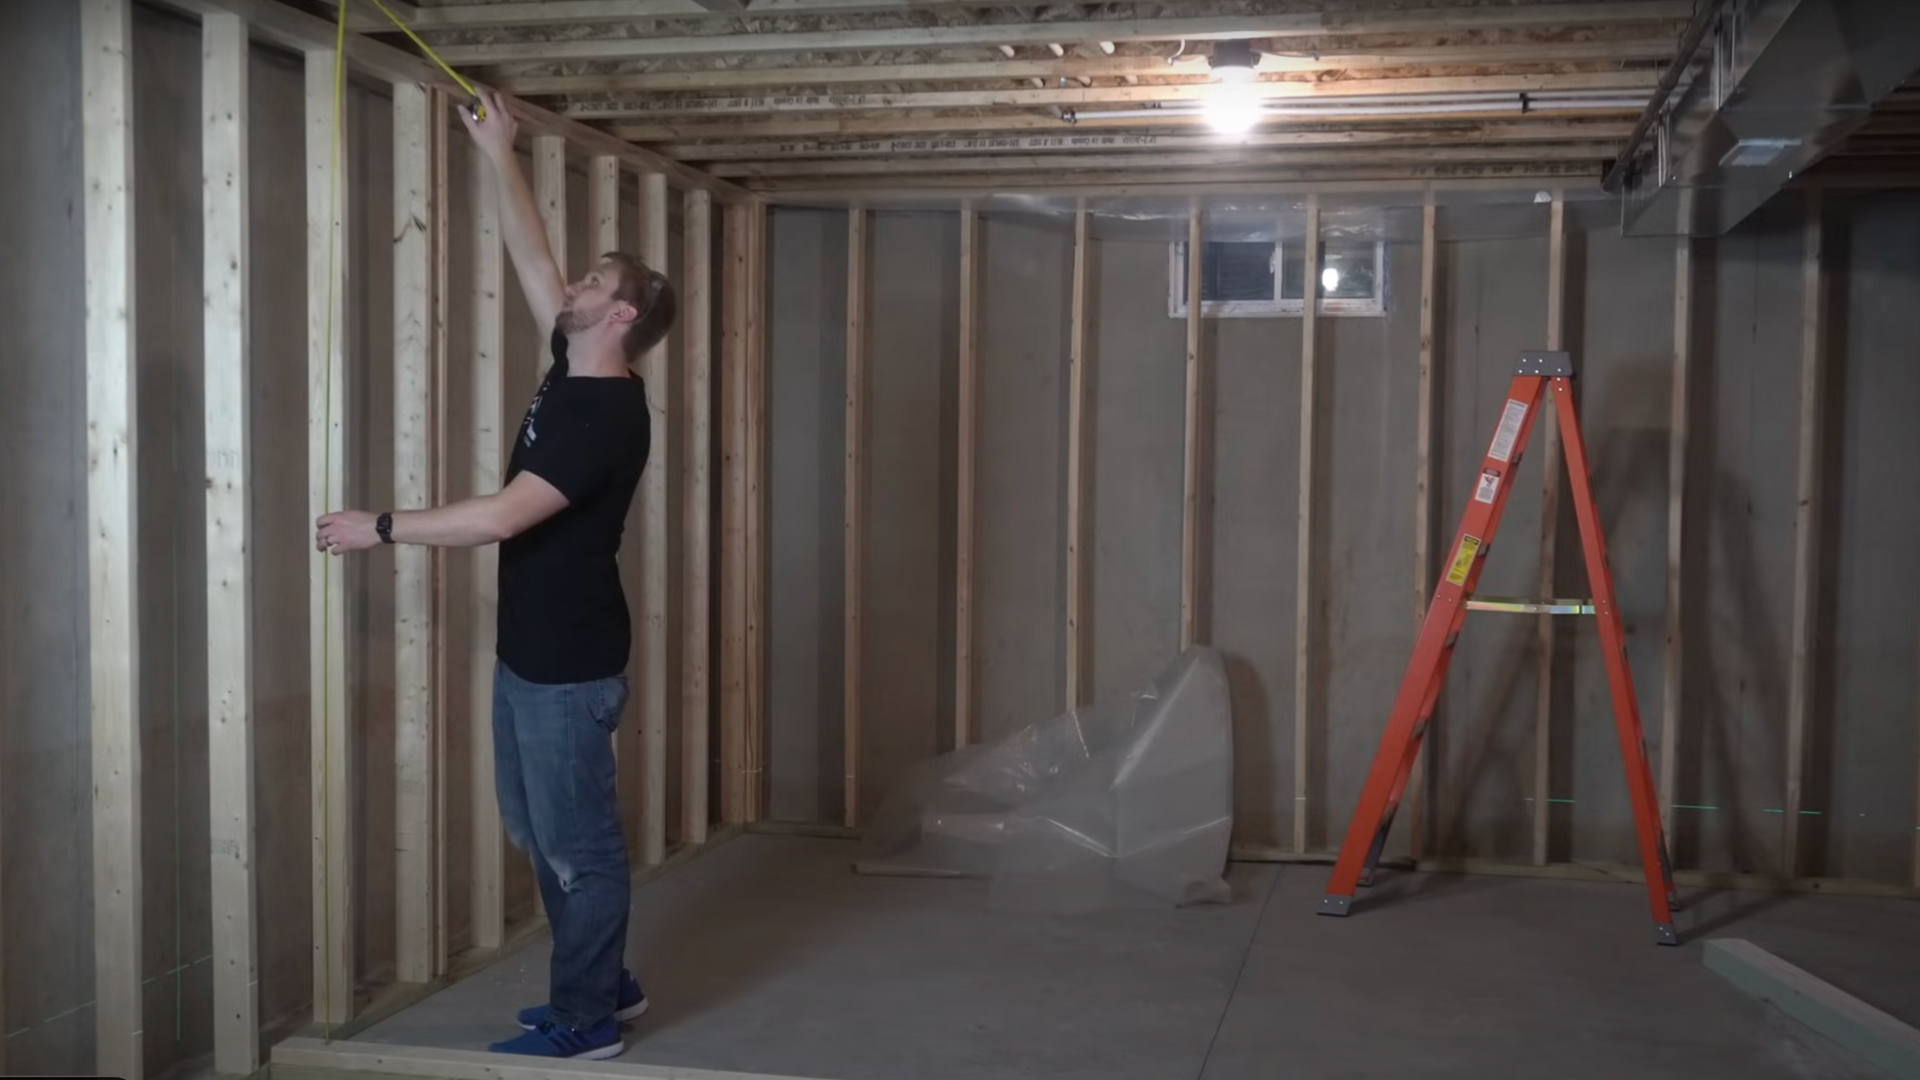
To figure out the right height for your studs, stack your top and bottom plates on top of each other. Then measure from the top of the stack to the ceiling or blocking. Subtract about ⅛ inch so you’ll have room to hang the wall up later.
Cut all your studs to that length. Use a miter saw or circular saw for quick, straight cuts.
Keep all your cut studs together nearby so you’re ready to start assembling. This helps make sure your wall fits tight but isn’t too hard to raise into place.
Step 5: Assemble the Wall Flat on the Floor
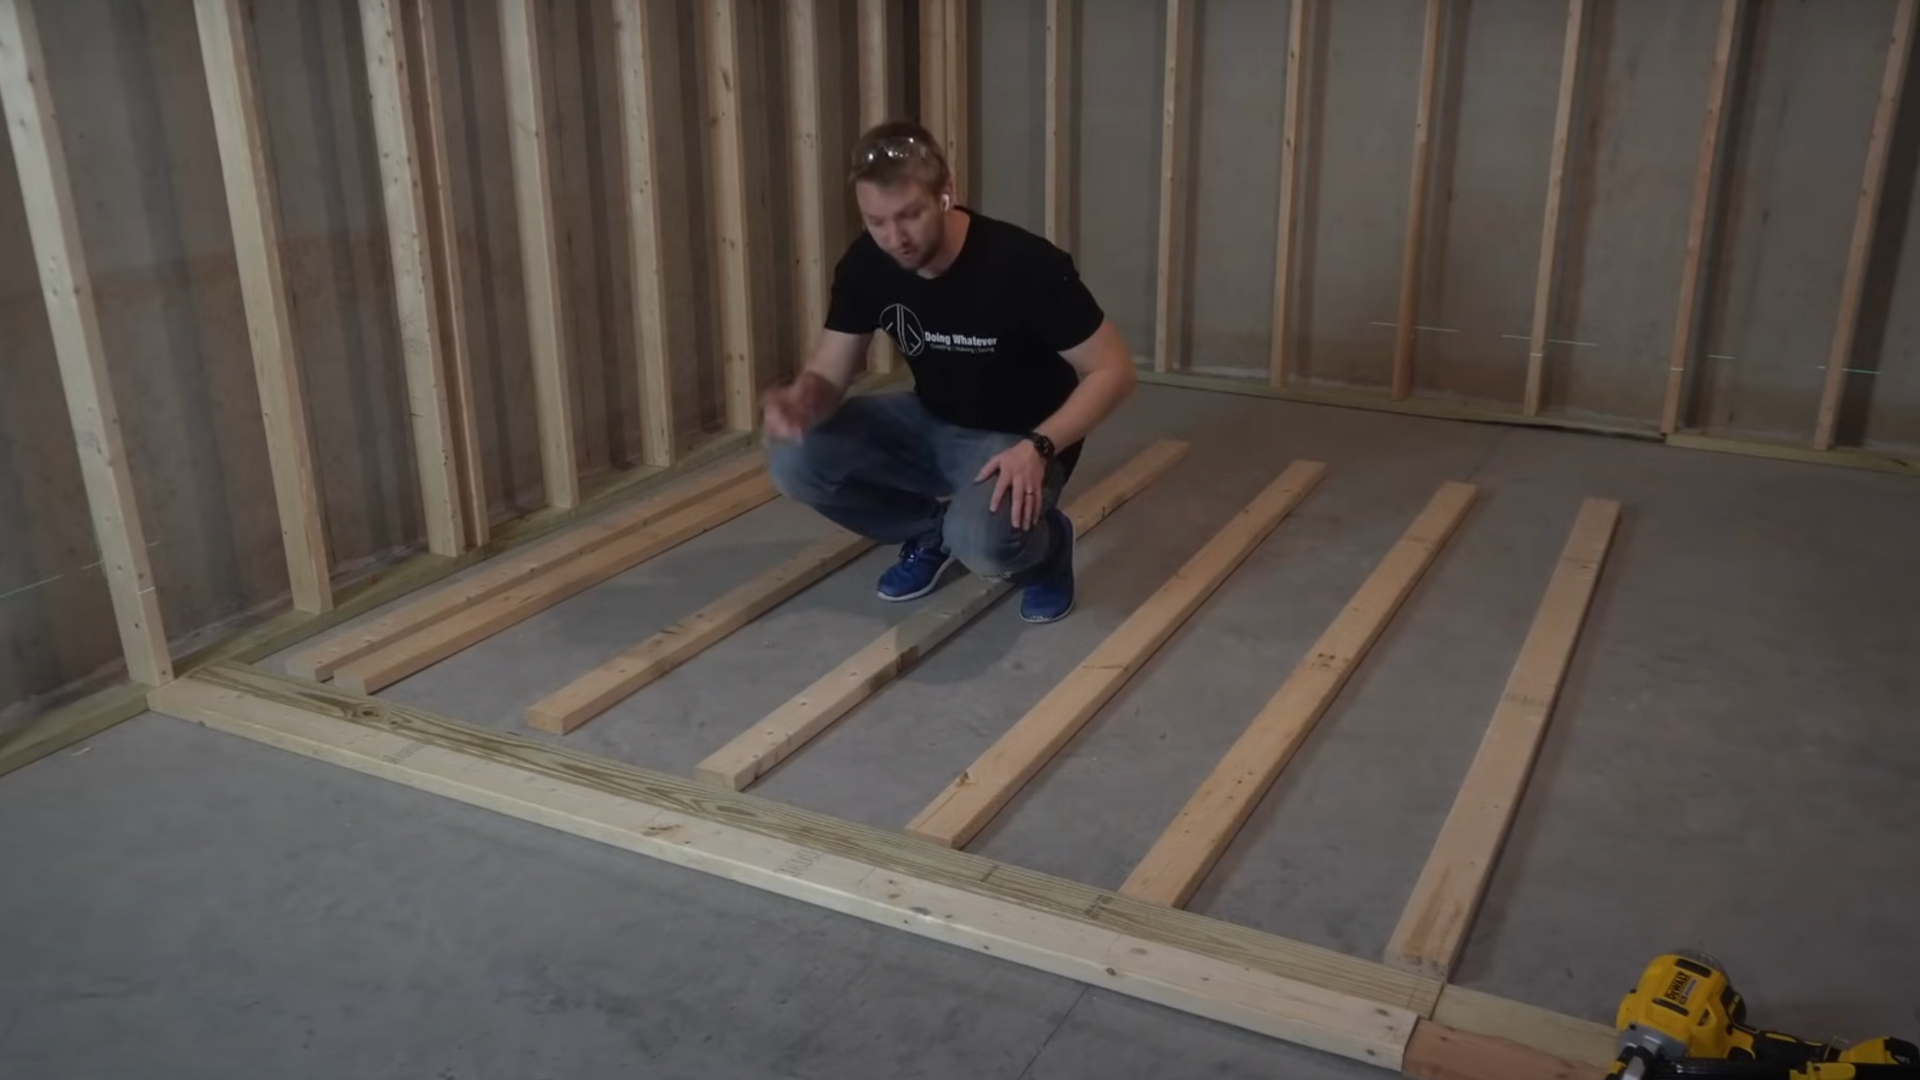
Now it’s time to build the wall! Lay your top and bottom plates flat on the ground, spaced apart the same height as your studs.
Line up each stud with the marks you made earlier. Make sure they sit straight and match the “X” marks on the plates.
Start by placing the end studs, then fill in the rest. Use a nail gun or hammer to drive two nails through the plates into each stud.
When you’re done, your wall frame should be strong, straight, and ready to stand up.
Step 6: Build a Three-Stud Corner
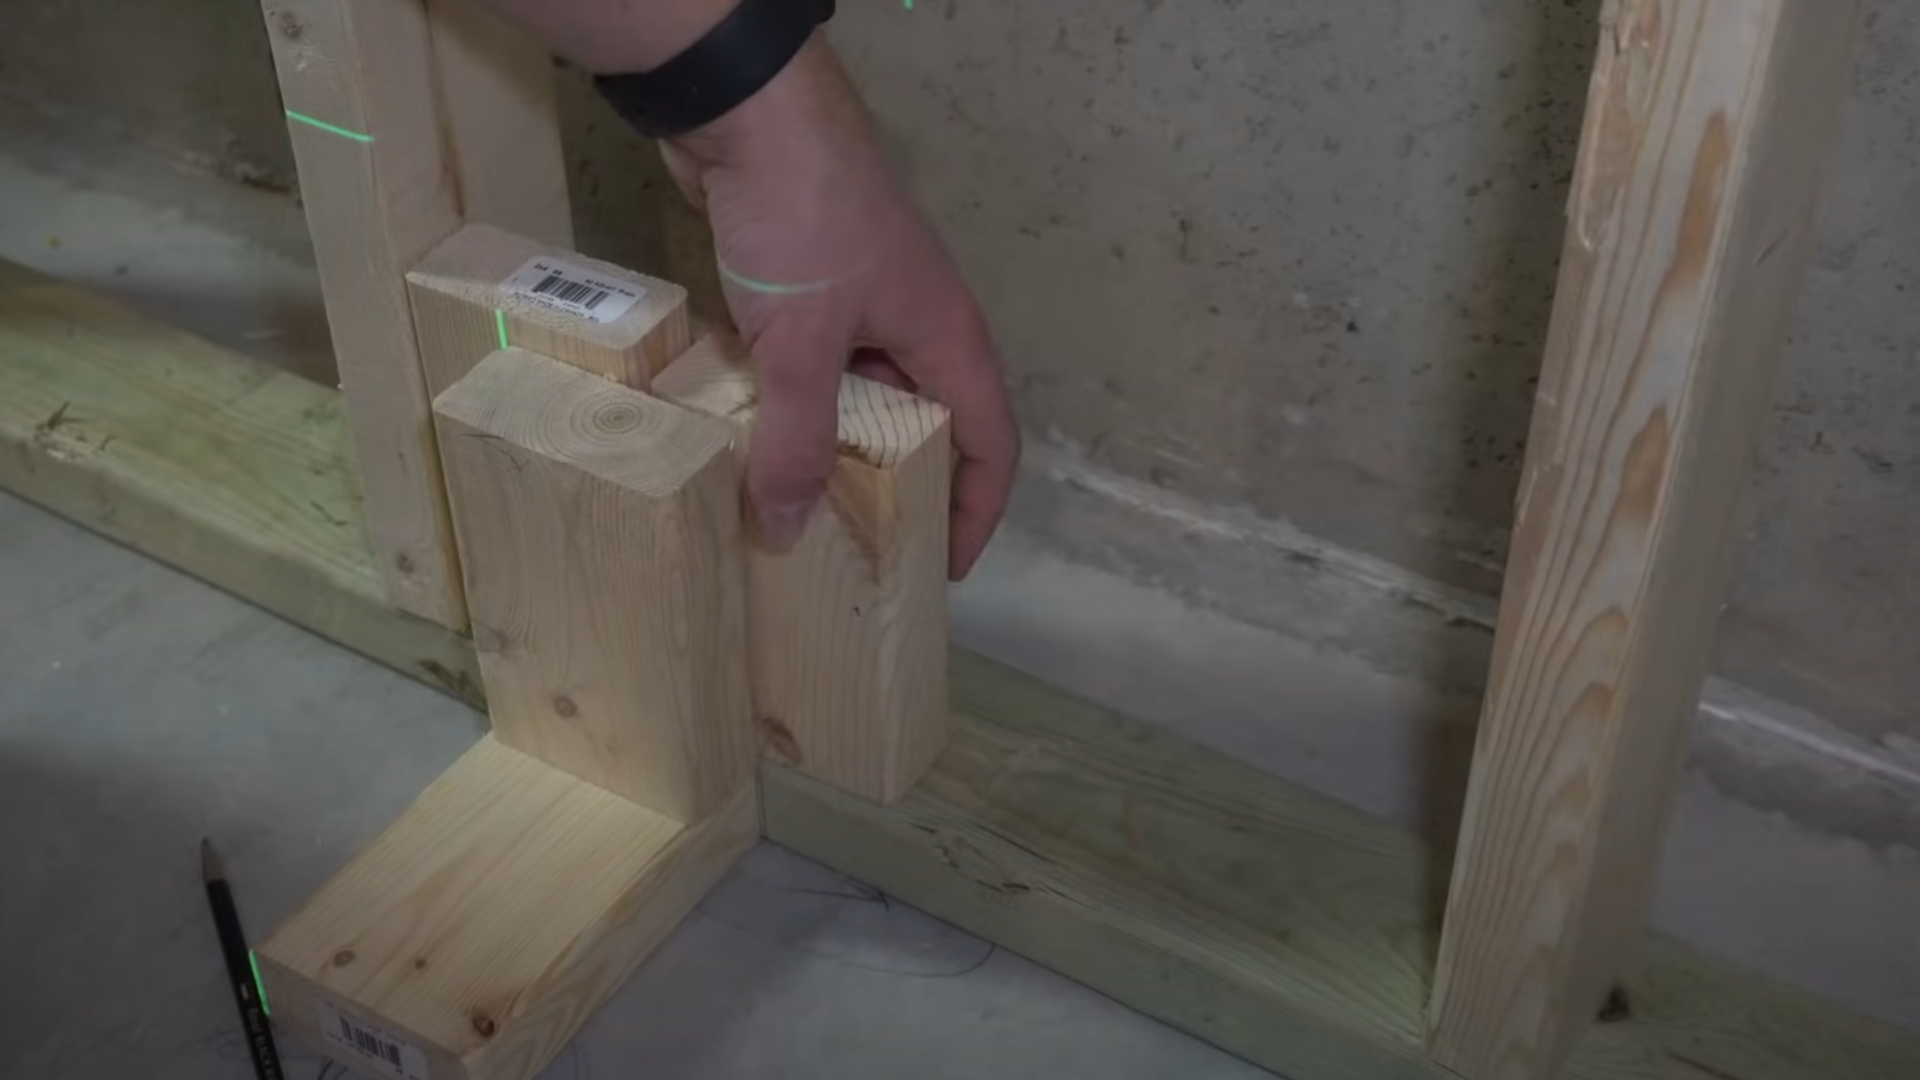
Framing a corner the right way makes drywalling easier later. To build a three-stud corner, start by placing one stud at the very end of your wall.
Then add a second stud beside it, turned sideways. Finally, add a third stud behind the first two to form a U or L shape. Nail them together tightly.
This setup gives you something solid to attach drywall to on both sides. It also creates space for insulation or electrical wires if needed.
A three-stud corner is the most common and beginner-friendly way to frame a strong corner.
Step 7: Assemble the Frame to the Wall
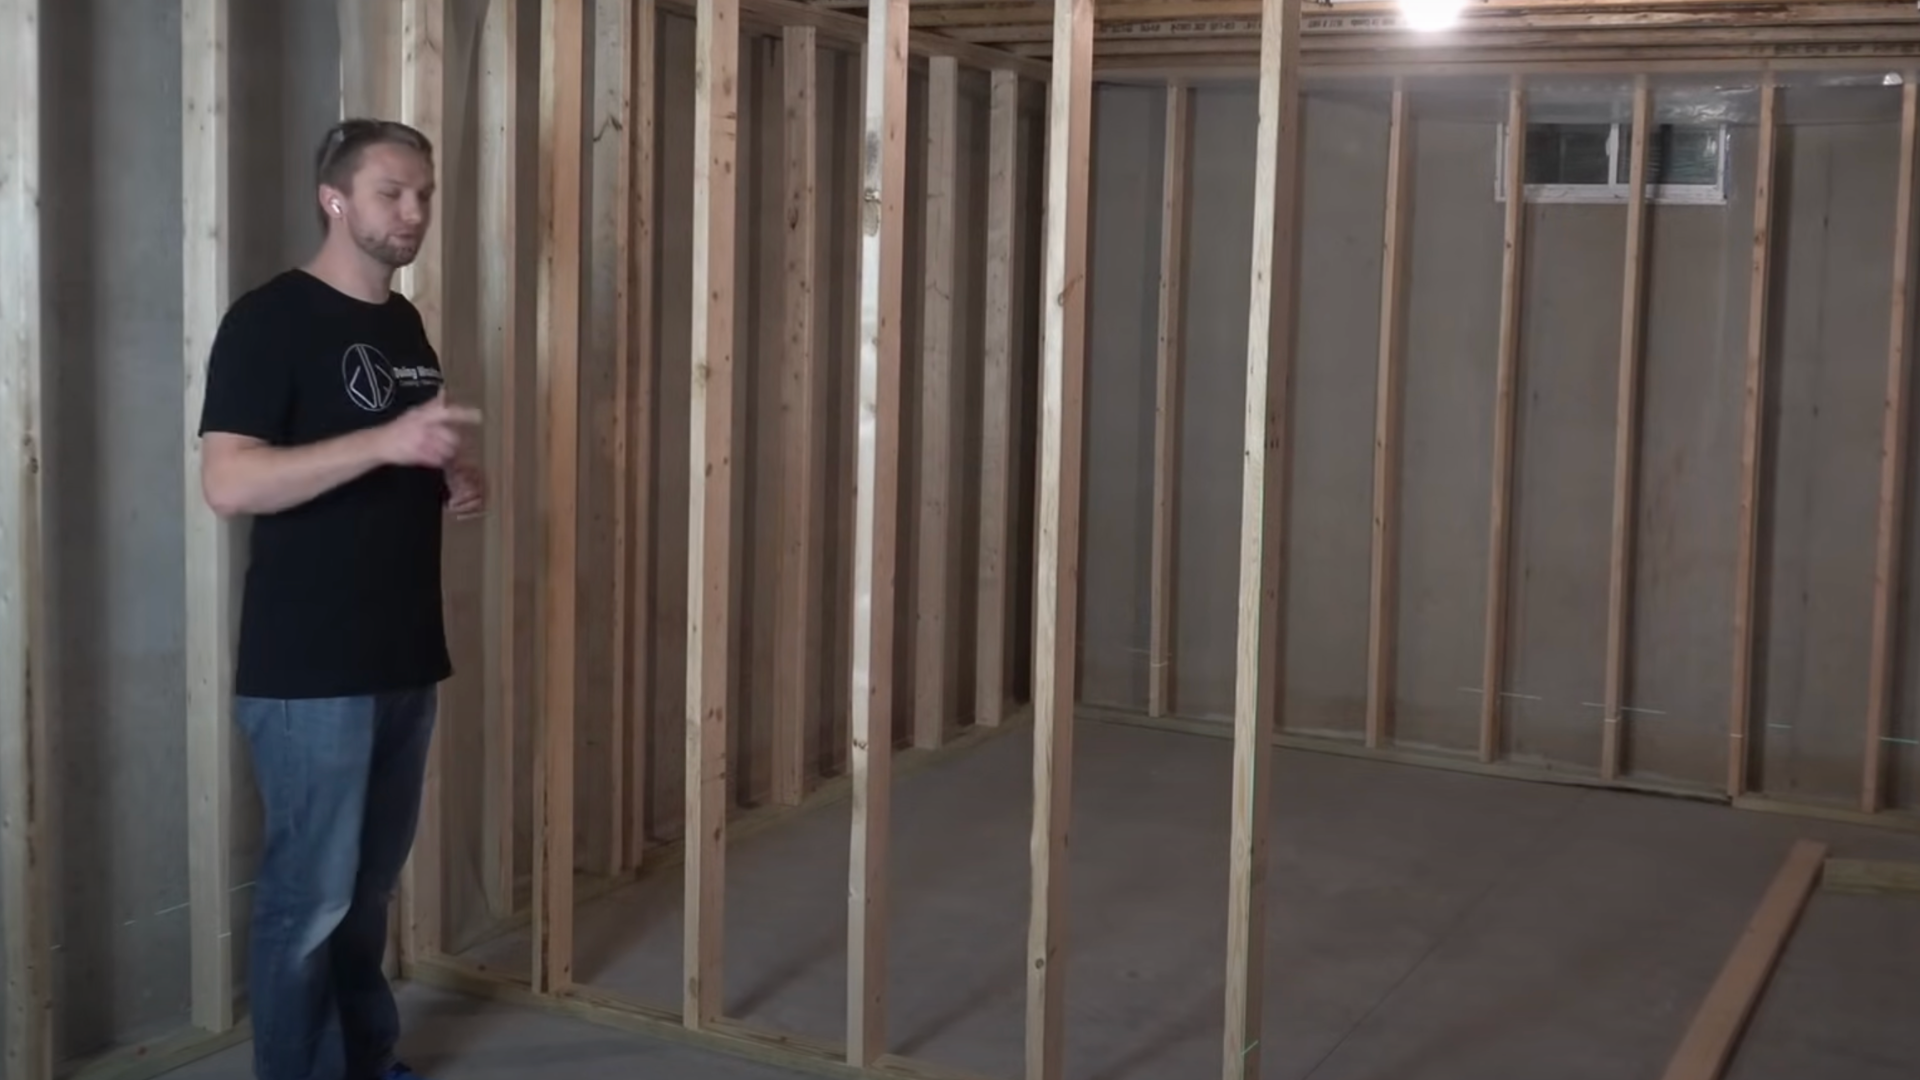
Once your frame is built, lift it into place where the wall will go. Use a level to make sure it’s straight and lined up with your marks on the floor.
Attach the bottom plate to the floor using a Ram Set or strong screws. Then screw the top plate into the ceiling joists or blocking.
Finally, if the wall touches another wall, drive nails through the end stud into any blocking you installed earlier. This locks your frame in and gets it ready for the next part of your project, like drywall.
Tips to Make Corner Framing Easier
Framing a corner doesn’t have to be stressful. With a few smart tips, you can save time, avoid mistakes, and build something strong that will last.
- Double-check your measurements. It’s easy to make a mistake with just one wrong cut, so always measure twice before cutting.
- Mark your studs clearly. Use a pencil and put an “X” where the stud goes. This keeps everything lined up.
- Use a level often. Check that your wall is straight before you attach this makes drywall easier later.
- Plan for drywall. Always frame your corner so drywall has something to screw into from both sides.
- Leave space if needed. That ⅛ inch gap at the top really helps when standing the wall up.
Common Mistakes to Avoid When Framing a Corner
Even small mistakes can cause big problems later. Here are a few things I’ve learned to watch out for:
- Skipping the three-stud corner. If you don’t build it right, drywall won’t have anything to attach to.
- Forgetting the ceiling blocking. If joists run parallel to your wall, your top plate needs support- don’t skip it!
- Misaligned studs. Not lining up your studs at 16 inches on center can make drywalling harder.
- Cutting studs too long. Always subtract about ⅛ inch so the wall fits easily when you raise it.
- Not checking if the wall is level. A crooked wall is tough to fix later- use a level as you go.
Conclusion
When I first learned how to frame a corner, I was nervous I’d mess it up. But once I broke it down step by step, it really wasn’t that hard.
Now I know that the key is planning ahead and taking your time-especially when it comes to marking studs and building that three-stud corner.
If you follow the steps in this guide, you’ll build a strong wall that’s ready for drywall and anything else you want to add.
Doing this made my walls straighter, stronger, and easier to finish. Don’t worry if it’s your first time- just measure carefully, keep your tools nearby, and check things with a level as you go.
I believe anyone can do this with the right guide and a little patience. So go ahead and start framing that corner. You’ve got, and your finished wall is going to look great!