
Roof valleys are vital connections where two roof slopes meet, directing rainwater and debris safely away from your home’s structure.
If you’re constructing a new house or renovating an existing roof, understanding the five main types of roof valleys open, closed, woven, cut, and dead is crucial.
Each type offers distinct benefits and is suited to different roof designs, climates, and budgets.
This guide breaks down the features, applications, and advantages of each valley type, helping homeowners and builders make well-informed decisions.
From budget-friendly options to highly durable and visually appealing solutions, selecting the right valley can significantly improve your roof’s performance and curb appeal.
Properly choosing and installing the ideal valley system ensures long-lasting protection and helps maintain the structural integrity of your home.
Why Roof Valley Types Matter?
Roof valleys are critical to your home’s defense against water damage, and I want you to get it right. The right valley type directs runoff efficiently, boosting your roof’s durability and aesthetic.
When considering roof valley types, you need solutions that match your home’s structure and weather conditions. Here’s what to focus on:
- Water Flow: Ensure the valley’s channel water flows away to prevent leaks.
- Material Fit: Choose valleys that complement your roofing materials.
- Durability: Opt for setups that withstand local weather patterns.
- Cost Efficiency: Balance upfront costs with long-term savings.
Roof Valley Types and Their Applications
Choosing the right roof valley type can be tricky. These are five common options for your home’s 24-inch (61 cm) pitch roof, covering their designs, applications, and setups to ensure durability and style.
1. Open Valley
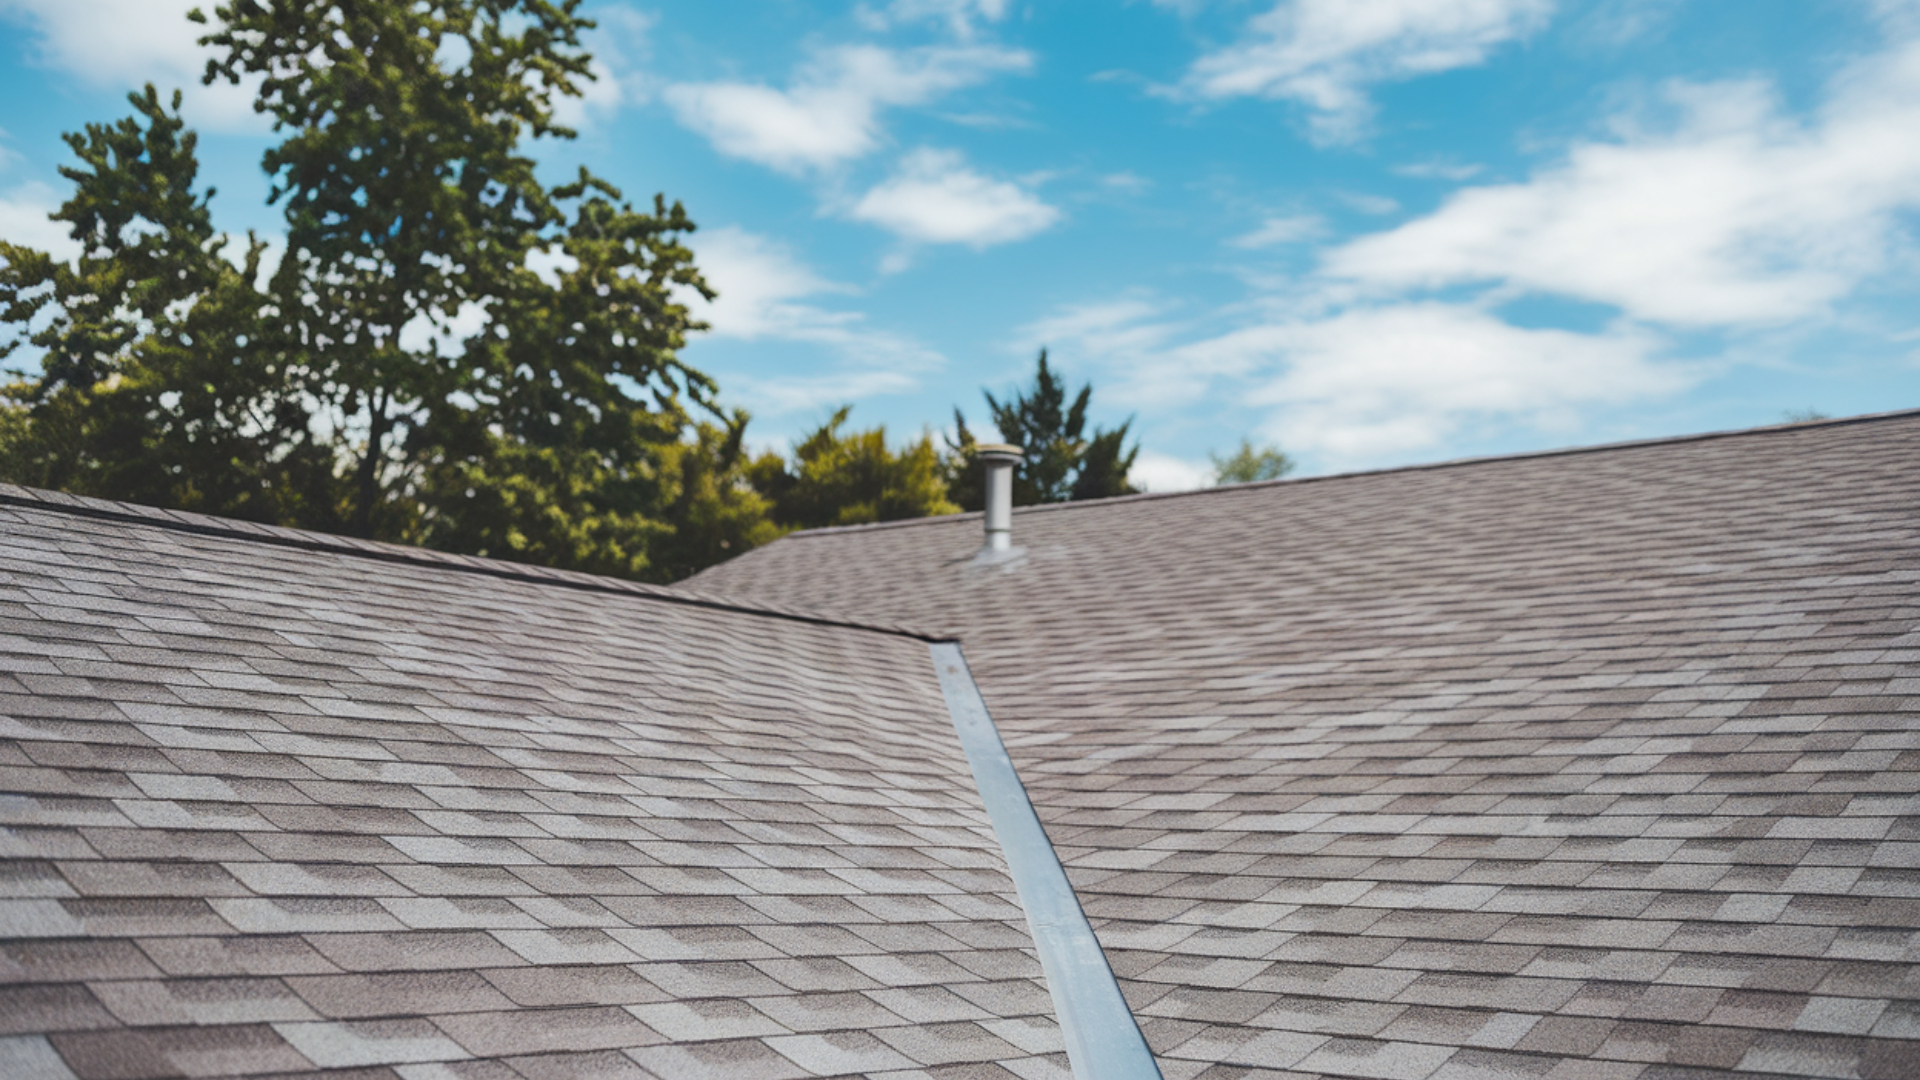
Open valleys use exposed metal flashing, typically 18–24 inches (46–61 cm) wide, to channel water efficiently.
I’ve seen them shine in high-rainfall areas, where their wide trough handles heavy runoff with ease. They’re easy to install and maintain, making them a go-to for sloped roofs.
This design prevents debris buildup, reducing leak risks and extending roof life.
You’ll love how open valleys add a modern, clean line to your roof’s look. Choose this for climates with frequent storms or heavy snow.
- High Water Flow: Directs runoff effectively in rainy regions.
- Easy Cleaning: Open design simplifies debris removal.
- Modern Aesthetic: Metal flashing adds a sleek, contemporary touch.
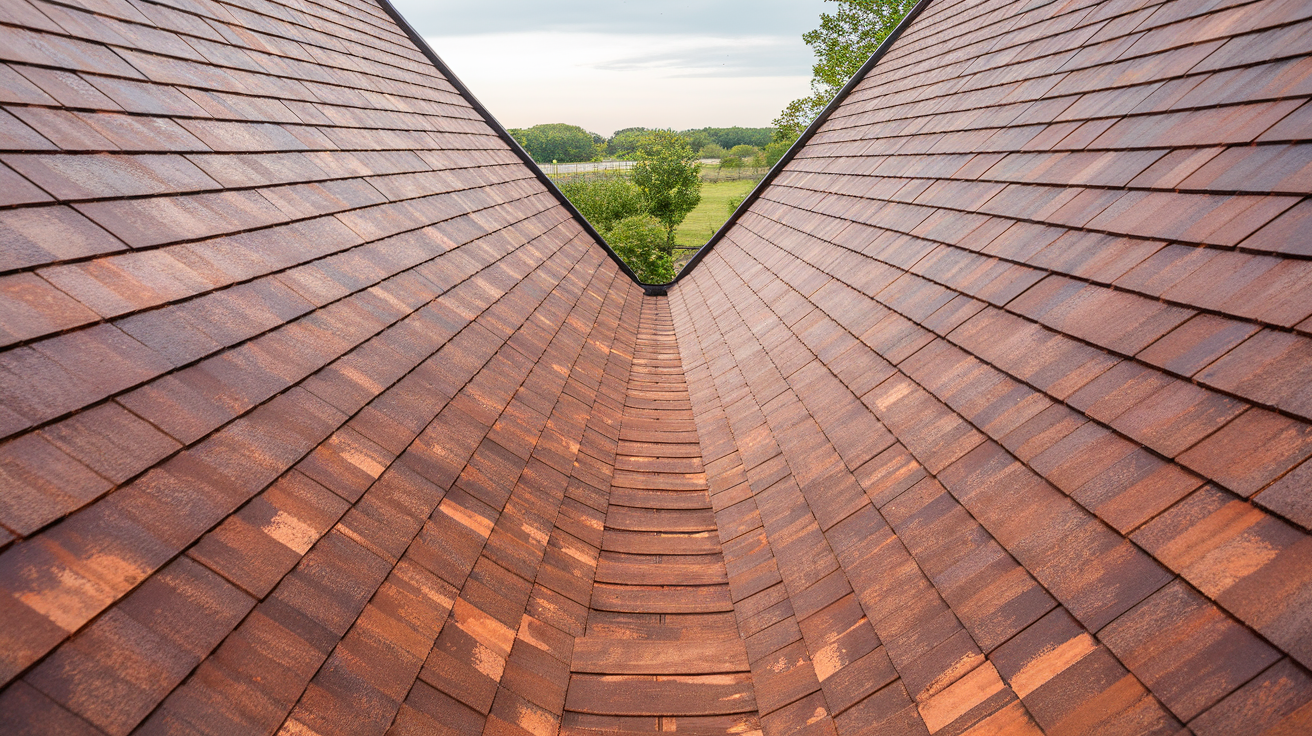
2. Closed Valley
Closed valleys feature shingles overlapping across the valley, creating a seamless, elegant look without visible flashing.
This setup works well for low-slope roofs, where water flows more slowly, and a streamlined appearance is key.
I find closed valleys ideal for homes prioritizing a polished, uniform roofline over heavy-duty drainage.
They blend beautifully with asphalt shingles, enhancing the overall look. You’ll appreciate the clean aesthetic, though maintenance requires extra care to prevent shingle wear.
- Seamless Look: Overlapping shingles create a smooth, refined finish.
- Low-Slope Fit: Perfect for roofs with gentle pitches.
- Shingle Compatibility: Works best with asphalt or composite materials.
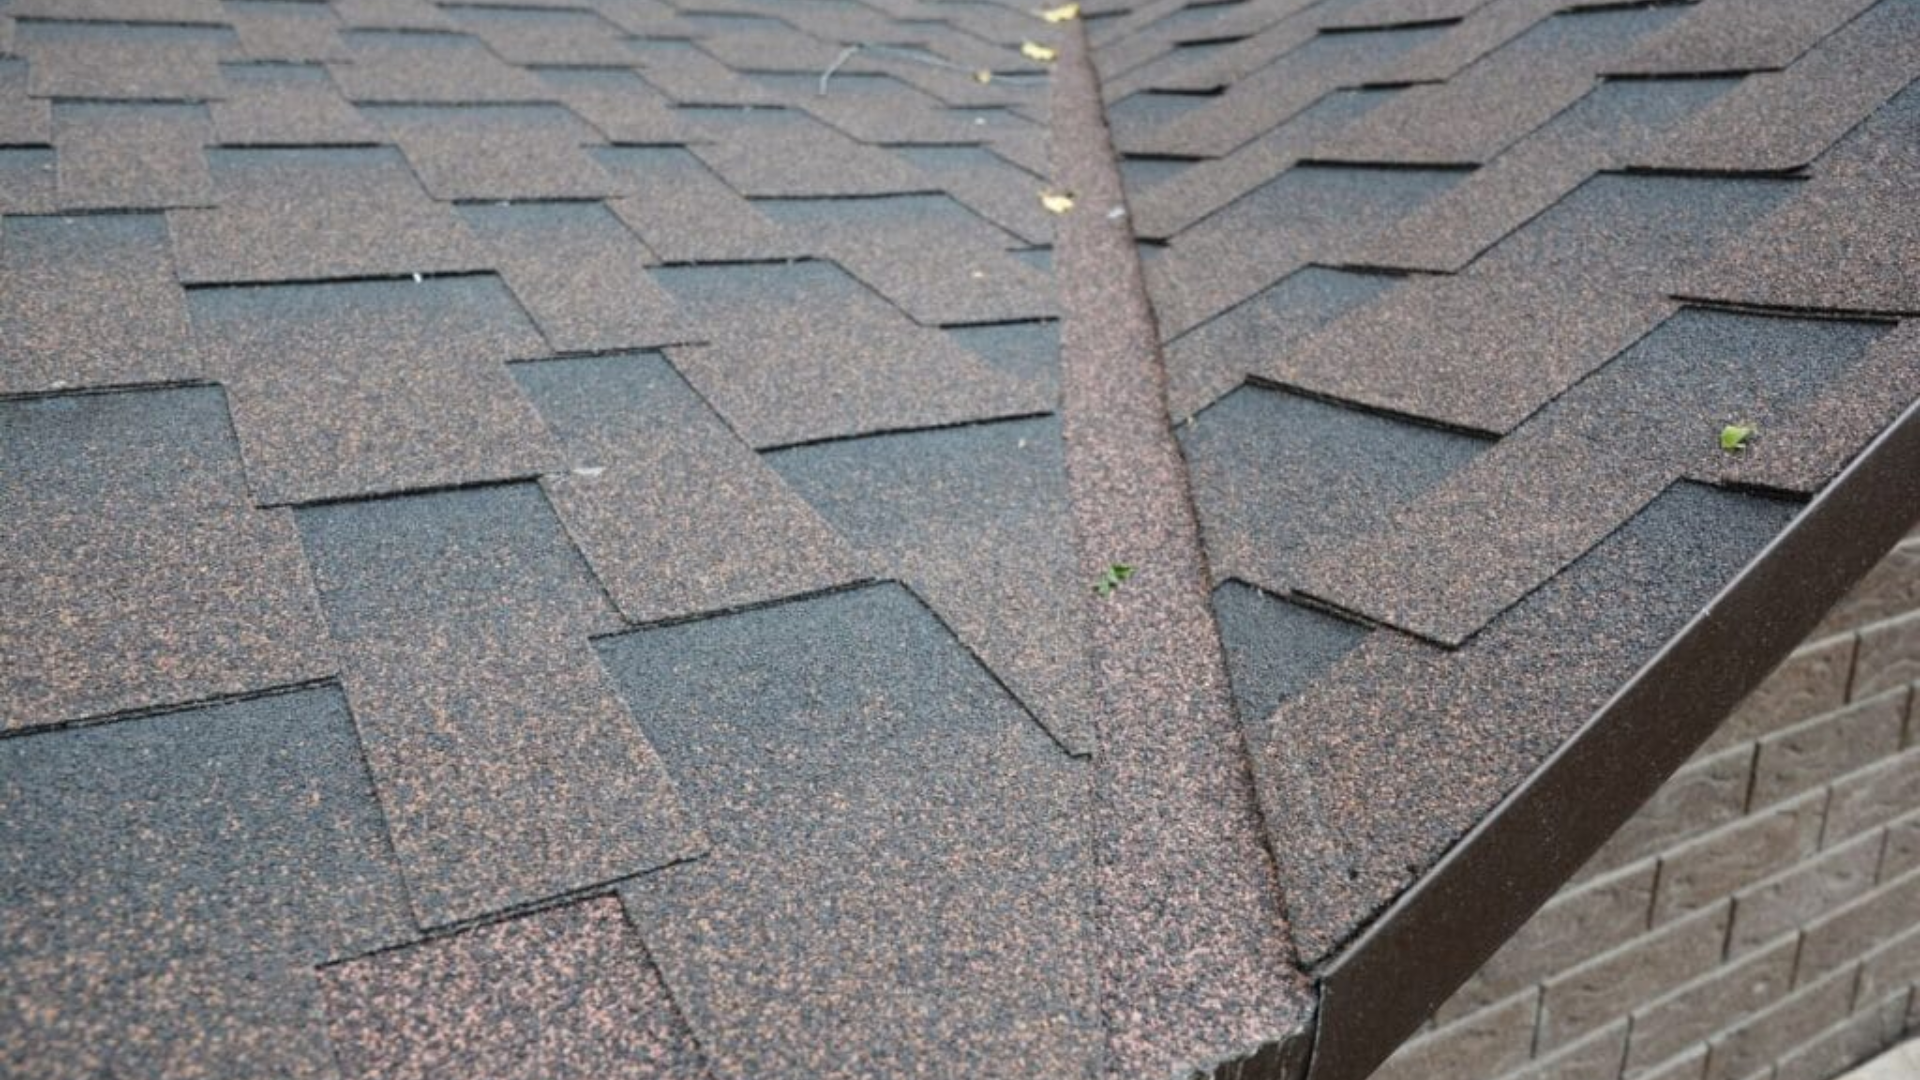
3. Woven Valley
Woven valleys interlace shingles from both roof planes, forming a sturdy, attractive pattern without flashing.
I love how this type balances durability and style, making it a great choice for moderate climates with balanced rainfall.
The interwoven design distributes water evenly, reducing wear on shingles while adding a textured, artisanal look. It’s a solid pick for steep roofs where looks matter as much as function.
You’ll need skilled installers to ensure tight weaves, but the result is a long-lasting, charming valley.
- Durable Weave: Interlaced shingles resist wind and moderate rain.
- Textured Appeal: Adds a handcrafted vibe to your roof.
- Steep Roof Fit: Ideal for pitches above 24 inches (61 cm).
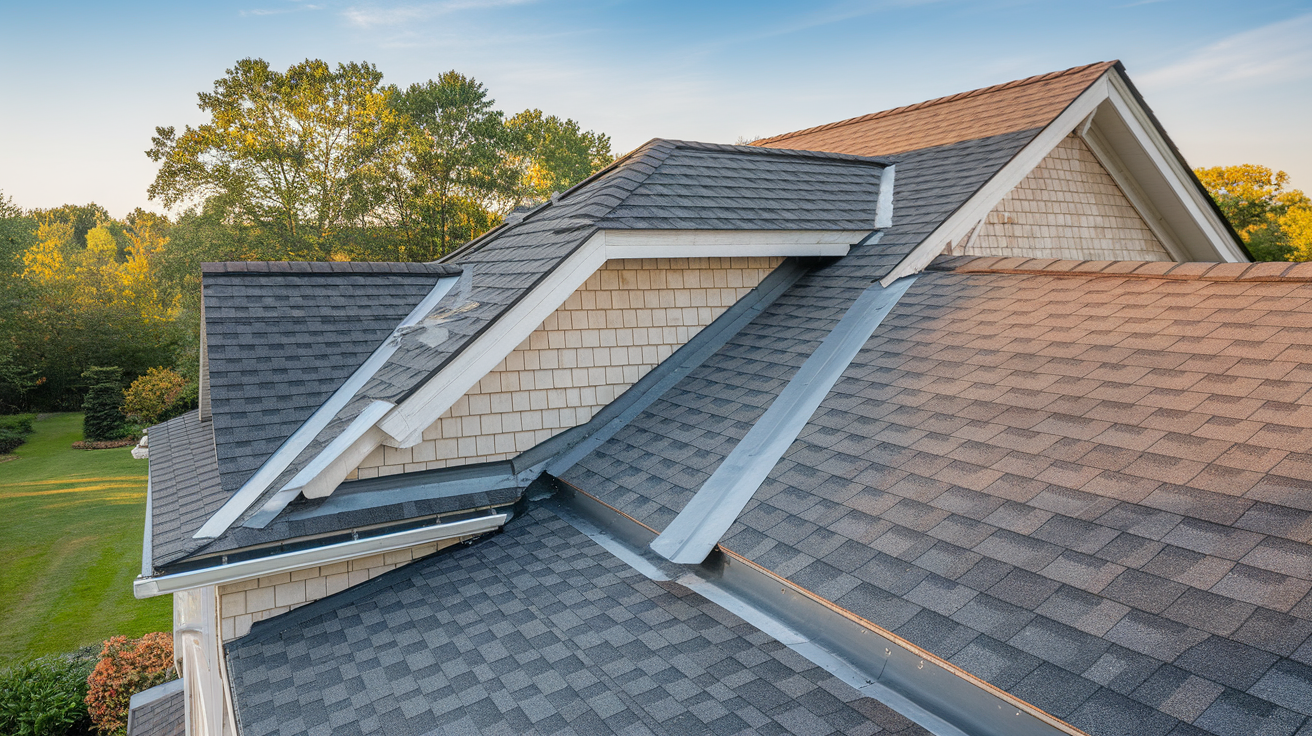
4. Cut Valley
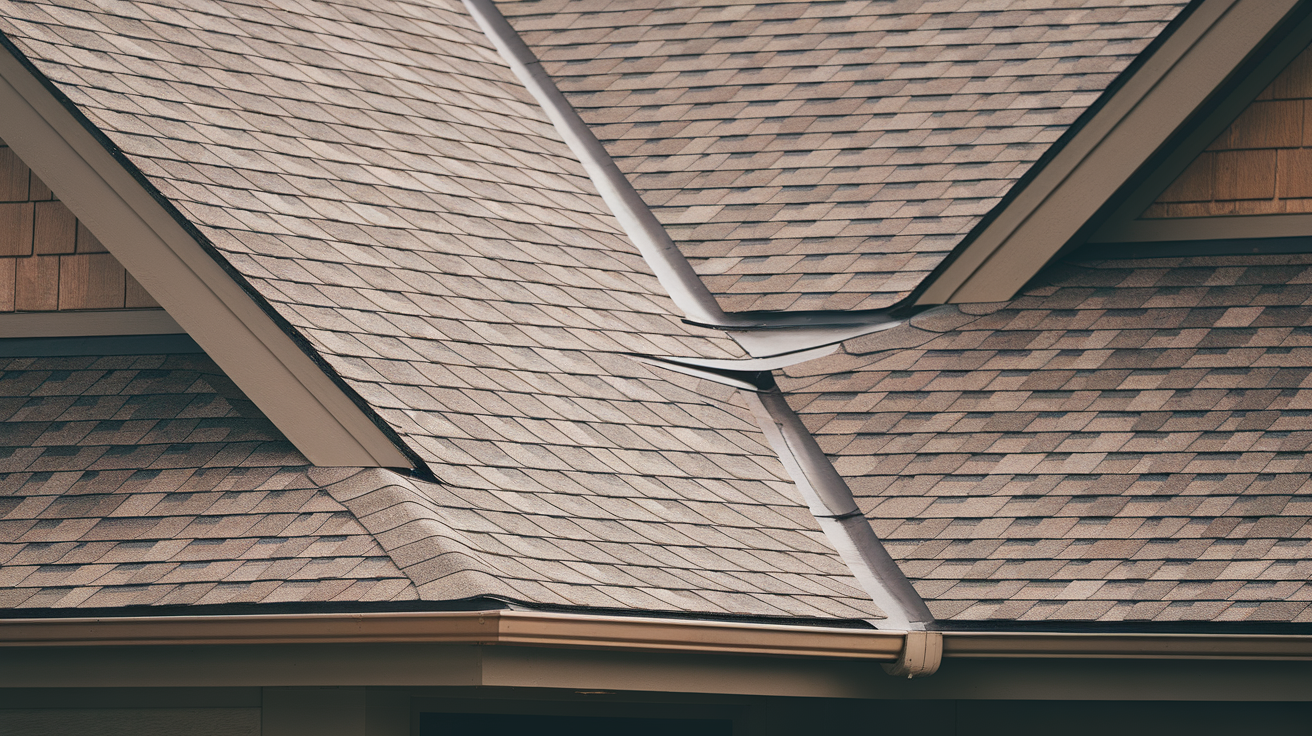
Cut valleys, or California valleys, feature one roof plane’s shingles extending over the valley, with the other plane’s shingles cut to fit.
This creates a clean, asymmetrical look that’s quick to install, saving you time and labor costs.
I’ve found cut valleys work well for homes with mixed roof pitches, offering reliable water flow and a modern aesthetic.
They’re versatile for various roofing materials, from asphalt to tile. You’ll like this option if you want a balance of efficiency and style in regions with moderate weather.
- Quick Installation: Faster setup reduces labor costs.
- Versatile Design: Suits multiple roofing materials and pitches.
- Clean Lines: Provides a sleek, asymmetrical valley appearance.
5. Dead Valley
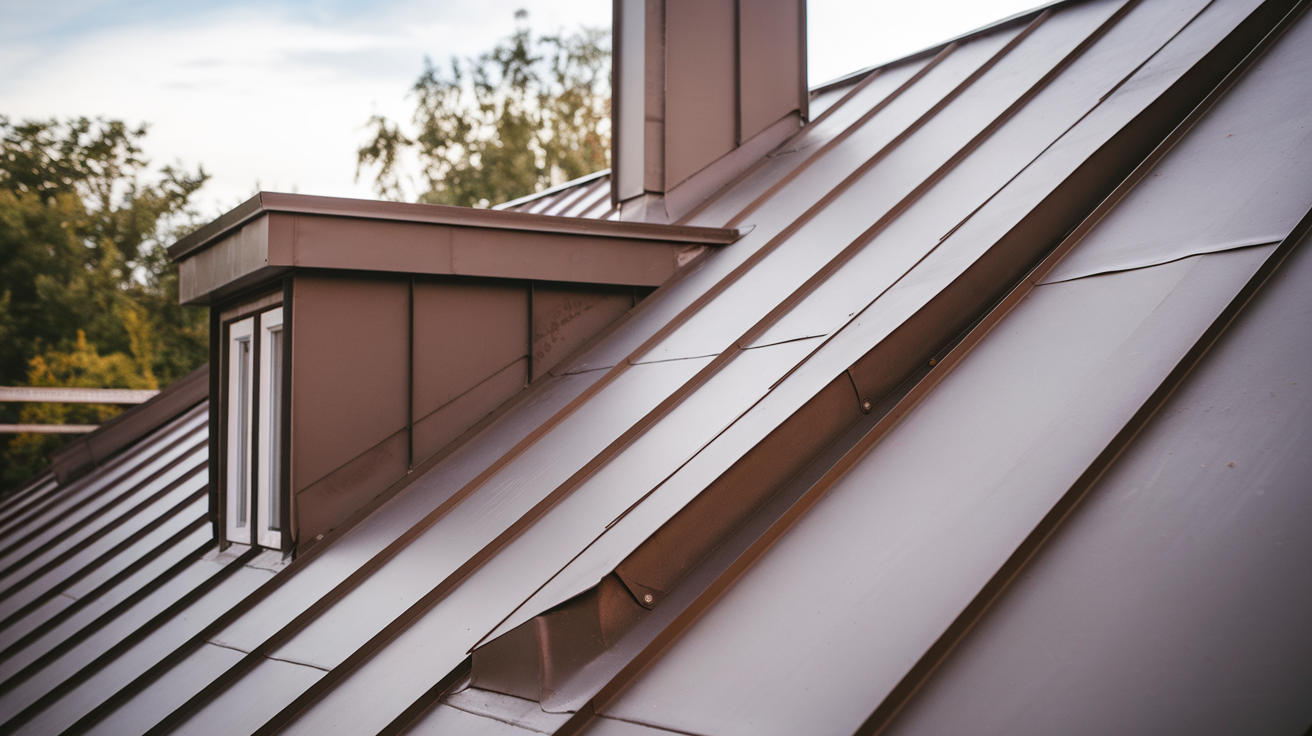
Dead valleys occur where roof planes meet at a flat or low-slope junction, often near dormers or chimneys.
These require careful sealing, typically with membranes (e.g., 36-inch/91 cm wide), to prevent pooling water.
I’ve seen dead valleys excel in complex roof designs, where proper drainage is critical to avoid leaks.
They’re less about aesthetics and more about function, ensuring water doesn’t collect in tricky spots.
You’ll want this for intricate roofs with multiple intersections, especially in wet climates.
- Leak Prevention: Membranes ensure water-tight seals.
- Complex Roofs: Ideal for dormers or chimney junctions.
- Functional Focus: Prioritizes drainage over visual appeal.
Styling and Maintenance Tips for Roof Valleys
Your roof deserves to stand out while staying functional, so explore these tips to enhance valley performance and curb appeal. These ideas ensure your valleys stay strong and stylish.
1. Match Valley Materials to Your Roof
Choose valley materials that complement your roofing, like metal flashing for open valleys or matching shingles for closed ones.
This creates a cohesive, appealing look that ties your roof together. I’ve found matching materials boost durability and make your home’s exterior pop with a unified style.
For asphalt roofs, use compatible shingles; for metal roofs, opt for aluminum or copper flashing.
You’ll love how this approach enhances both function and aesthetic, keeping your roof sturdy and sharp.
2. Prioritize Regular Cleaning
Keep valleys clear of debris like leaves or twigs to ensure smooth water flow.
I’ve seen clogged valleys cause leaks, so regular cleaning is key to a long-lasting roof.
Use a soft brush or leaf blower every few months, especially after storms, to maintain performance.
This keeps your valleys functional and your home protected, especially in open or dead valleys prone to buildup.
You’ll appreciate the peace of mind from a well-maintained roof.
3. Use Quality Sealants
Apply high-quality sealants in dead or closed valleys to prevent leaks, especially in wet climates.
I recommend flexible, weather-resistant membranes (e.g., 36-inch/91 cm wide) for dead valleys to ensure water-tight seals.
Quality sealants extend the life of your valley and protect your home’s interior from damage.
They’re a must for complex roofs with low-slope junctions. You’ll save on repairs by investing in reliable sealing upfront.
4. Hire Skilled Installers
I’m a fan of hiring experienced roofers for valley installation, especially for woven or cut valleys.
Skilled installers ensure tight weaves or precise cuts, preventing water seepage and enhancing durability.
This approach guarantees your valleys perform well and look polished, adding value to your home.
You’ll want pros who understand your roof’s pitch and materials for a flawless setup. It’s a smart investment for long-lasting results.
Practical Tips for Choosing and Maintaining Roof Valleys
You deserve a roof valley that protects your home and enhances its look, so I’m sharing practical tips for selecting and caring for valleys on your 24-inch (61 cm) pitch roof.
1. Assess Your Climate
Start by evaluating your local weather to choose a valley type that suits your 24-inch (61 cm) pitch roof.
I’ve learned that open valleys excel in rainy regions due to their high water flow, while closed or woven valleys work better in drier climates for their sleek look.
Check average rainfall and snow levels to pick a valley that handles your conditions. This ensures your roof stays leak-free and stylish, tailored to your home’s needs.
2. Consider Roof Pitch
Select a valley type that matches your roof’s 24-inch (61 cm) pitch for optimal performance.
I find woven or cut valleys suit steeper pitches, while closed or dead valleys fit lower slopes.
Measure your roof’s angle and consult a roofer to confirm compatibility. This keeps water flowing smoothly and your roof durable, no matter the design.
3. Choose Durable Materials
Opt for materials like aluminum flashing (18–24 inches/46–61 cm) for open valleys or high-quality shingles for closed ones to ensure longevity.
I’ve seen durable materials withstand harsh weather, from heavy rain to snow, keeping your home safe.
They also reduce maintenance costs over time. Pick materials that match your roof for a cohesive, long-lasting setup.
4. Schedule Regular Inspections
Inspect your valleys yearly to catch issues like cracks or debris buildup before they cause leaks.
I recommend checking after major storms to ensure your 24-inch (61 cm) pitch roof stays intact.
Hire a roofer for thorough inspections or use binoculars to spot damage from the ground. This keeps your valleys functional and your home protected.
5. Budget for Quality Installation
Invest in professional installation to ensure your valleys perform well, especially for complex types like woven or dead valleys.
I suggest getting quotes from reputable roofers to balance cost and quality.
Quality work prevents costly repairs and boosts your home’s value. Shop around for deals, but prioritize skilled installers for a durable, stylish roof.
Conclusion
I’m here to help you design a roof that’s both practical and visually appealing! Choosing the right valley type is key to achieving that balance.
Open, closed, woven, cut, or dead valleys each offer unique benefits for your 24-inch (61 cm) pitch roof, affecting water flow, durability, and aesthetics.
When selecting a valley, consider factors like climate, roof design, and maintenance needs.
Regular cleaning and inspections ensure the valleys remain clear and effective, preventing water damage.
Work with a trusted roofer to choose the most reliable and durable valley type for your home. With the right option, your roof will provide lasting protection and curb appeal.
Frequently Asked Questions
What Is the Most Suitable Roof Valley Type for My Home?
I recommend open valleys (18–24 inches/46–61 cm) for rainy areas or closed valleys for drier climates and low-slope roofs. Match to your 24-inch (61 cm) pitch for durability.
How Do Open and Closed Valleys Differ?
Open valleys use exposed flashing for high water flow, great for wet climates. Closed valleys overlap shingles for a sleek look, ideal for dry areas and low pitches.
Are Woven Valleys Durable for Steep Roofs?
Yes, I love woven valleys for 24-inch (61 cm) pitch roofs. Their interlaced shingles resist wind and moderate rain while adding a textured, artisanal vibe.