
Finishing basement walls can definitely feel overwhelming. I remember staring at mine, wondering where even to start.
However, with the right preparation, materials, and a little patience, you can transform that cold, damp space into something clean, dry, and usable.
Whether you’re planning a cozy rec room, a guest suite, or just want to keep the walls from crumbling, this guide walks you through the steps that matter and the mistakes to avoid.
I’ll share what’s worked for me, what didn’t, and the dos and don’ts you’ll want to know before you hang that first piece of drywall.
Ready to make the most of your basement?
Let’s get into it, and don’t forget to save this post or share it if you know someone tackling the same project!
What Makes Basement Walls Different?
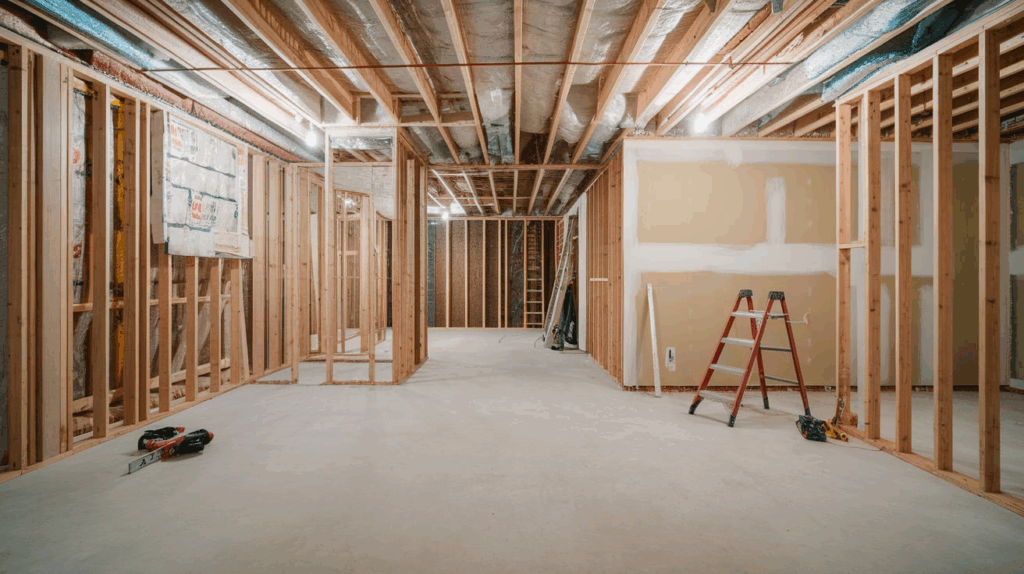
Basement walls face conditions that standard interior walls don’t. Since they’re located below ground level, they’re constantly exposed to the surrounding soil, which brings pressure, moisture, and temperature shifts.
Unlike framed walls above grade, most basement walls are made of concrete or block materials that are porous and prone to absorbing moisture.
This means they can develop damp spots, condensation, or even mold if not properly sealed.
The cooler underground environment can also make basements feel drafty and uncomfortable, especially if the walls are left bare or insulated incorrectly.
Using standard materials like fiberglass insulation or regular drywall can lead to rot and costly repairs down the line.
Because of these challenges, finishing basement walls requires the right approach: proper waterproofing, vapor barriers, insulation that won’t trap moisture, and mold-resistant surfaces.
Understanding how basement walls differ is the first step toward creating a dry, livable, and long-lasting finished space.
Framing a Basement Wall: Steps for DIY Success
This section walks you through the essential steps to frame a basement wall properly, covering layout, cutting, assembly, and anchoring techniques that make the job efficient and accurate.
Materials Used
- Self-leveling laser (optional but helpful)
- Sharpie or pencil
- Pressure-treated 2x4s for bottom plates
- Standard 2x4s for studs and top plates
- Tape measure
- Circular saw or miter saw
- Hammer drill
- 2¾” Tapcon screws
- Tapcon drill bit
- 16d galvanized nails
- Nail gun
- Safety glasses
- Hearing protection
- Long level
- Plumb bob (optional alternative to laser)
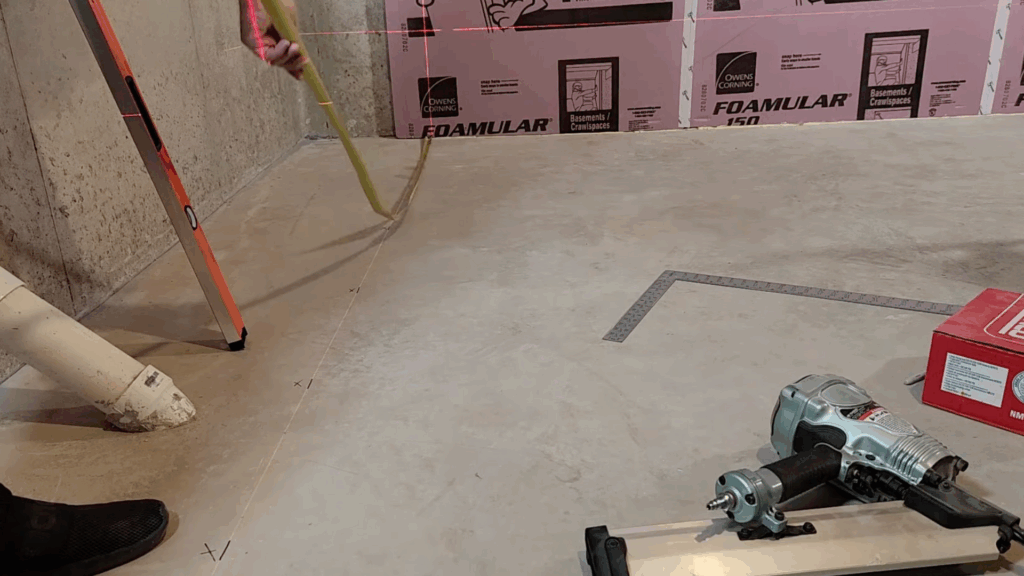
Step 1: Mark the Wall Layout
Begin by marking the locations of the top and bottom plates. Use a self-leveling laser for precision, or a straight board and square if you’re working without one.
Mark the inside edge of the wall and use an “X” to show the wall side. Check all corners for squareness and mark out door openings or any important features to avoid layout errors later.
Step 2: Measure and Calculate Stud Quantities
Measure the full length of the wall to calculate how many studs you’ll need. For 16″ stud spacing, multiply the wall length by 0.75, then add extras for intersections and drywall support.
Multiply that total by 1.15 to account for waste or mistakes. Don’t forget to factor in extra studs for door and window framing.
Step 3: Cut Bottom and Top Plates

Use pressure-treated lumber for bottom plates to prevent rot from concrete contact. Cut top and bottom plates to the measured wall length.
If you’re working around plumbing or beams, break longer walls into multiple sections. The longest boards that fit down to your basement will help reduce seams and keep your wall more stable.
Step 4: Mark Stud Locations on Plates

Lay the top and bottom plates side by side. Begin marking at the end, placing your first stud at 0″, and the next at 15 ¼”.Continue marking every 16 inches with an “X” on the side the stud will go.
Mark additional spots for intersecting walls or backing for drywall, and always double-check your spacing for drywall compatibility.
Step 5: Measure Stud Height and Cut
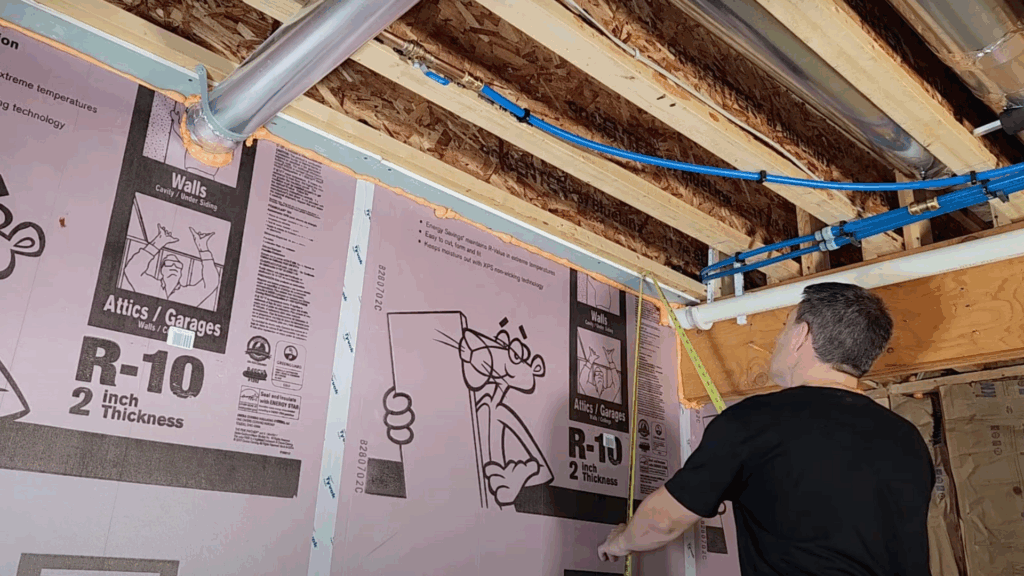
Measure from the floor to the ceiling joist or fire blocking at multiple points. Use the shortest height and subtract ⅛ inch to make standing the wall easier.
Cut all studs to this length using a miter saw or circular saw. Keep cuts clean and consistent for easier assembly and alignment.
Step 6: Assemble and Nail the Wall Flat
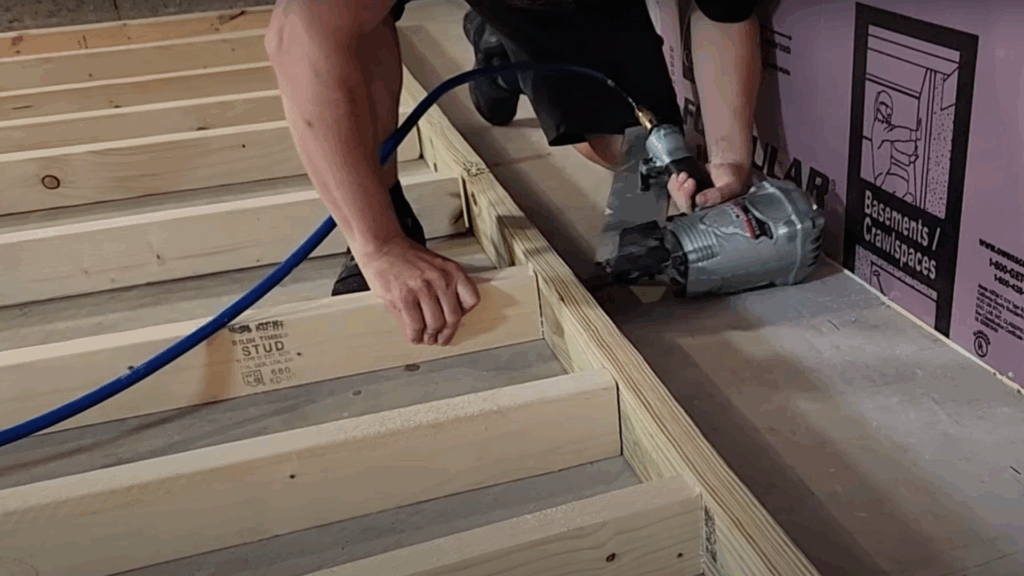
Lay out the wall on the floor. Align each stud with your marks and nail them into the plates using two 16d galvanized nails per connection.
Nail one end of each stud first, then adjust the alignment before nailing the other end. Assembling flat helps avoid mistakes and is much easier than building vertically.
Step 7: Raise the Wall and Anchor in Place
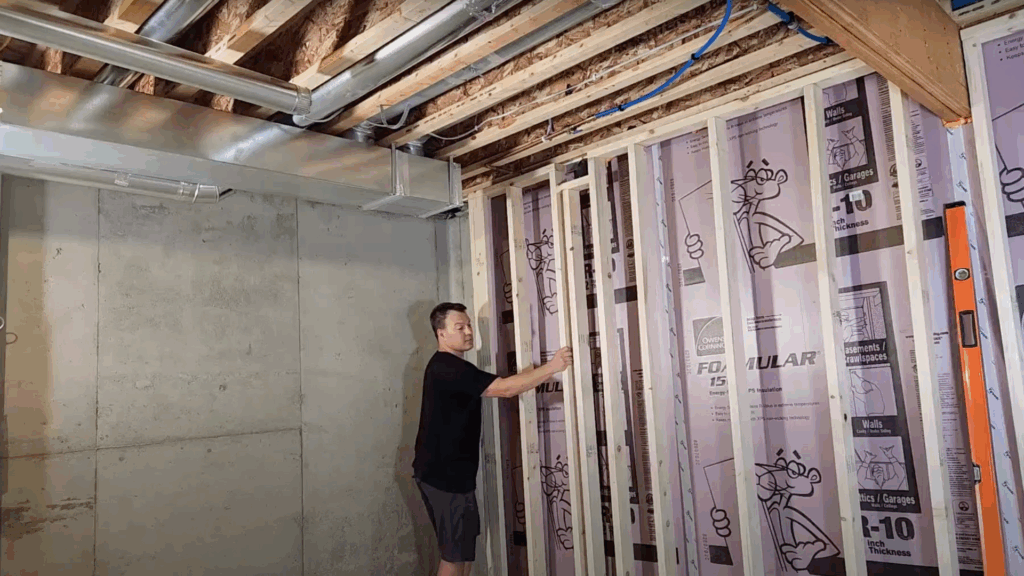
Tilt the wall into place, starting with the top edge. If it’s tight, gently tap it into position, just be cautious if tile or rigid flooring is above.
Anchor the bottom plate with Tapcon screws into the concrete and use 16d nails to attach the top plate to ceiling joists. Check the level and make any final adjustments before securing everything fully.
Recommended: Check out this YouTube video by @HowIDoThingsDIY, where I walk you through each step of finishing basement walls with tools and real-time framing included.
Dos and Don’ts for Finishing Basement Walls
Finishing your basement walls the right way takes more than just drywall and paint. It’s about protecting your space from moisture, choosing the right materials, and following best practices that set you up for long-term success.
| DO | WHY IT MATTERS | DON’T | WHY TO AVOID IT |
|---|---|---|---|
| Inspect for moisture before starting | Prevents mold, damage, and failed finishes | Cover over water or mold problems | Traps issues behind walls, leading to bigger repairs later |
| Use basement-appropriate materials (e.g., foam board, treated wood) | Resists moisture, mold, and decay | Use standard drywall or untreated lumber | These materials absorb moisture and deteriorate quickly |
| Install a proper vapor barrier based on climate and code | Prevents condensation and moisture buildup inside wall cavities | Skip the vapor barrier or place it incorrectly | Leads to trapped moisture and potential mold growth |
| Provide proper ventilation and include egress for livable spaces | Improves air quality and ensures safety | Ignore airflow or skip an egress window in a bedroom | Can result in code violations and unsafe living conditions |
| Plan electrical and plumbing layouts before framing | Makes installation easier and ensures access later | Wait until after walls are closed up to add utilities | Increases labor, cost, and may require opening finished walls |
| Use rigid foam or spray foam insulation on concrete walls | Prevents moisture retention and mold growth | Install fiberglass directly against foundation | Fiberglass traps moisture and quickly becomes moldy |
| Pull permits and follow local building codes | Ensures your work is legal, safe, and insurable | Start work without checking permit requirements | May lead to fines, failed inspections, or issues during resale |
Code Requirements and Permit Basics
Before finishing your basement walls, it’s important to understand the basic code requirements and when a permit is needed. This helps avoid costly mistakes and ensures your project is safe and legal.
Here are five key points to keep in mind:
- Permits are usually required for framing, insulation, drywall, electrical, or plumbing work.
- Electrical updates must follow local code, including outlet spacing and GFCI protection.
- Basement bedrooms need an egress window that allows for emergency escape and rescue.
- Minimum ceiling height is typically 7 feet, but check with your local code.
- Always check with your local building department before starting to confirm specific requirements.
- Getting permits may take time, but they protect your investment and ensure the work is done right.
How to Make Your Basement Walls Comfortable
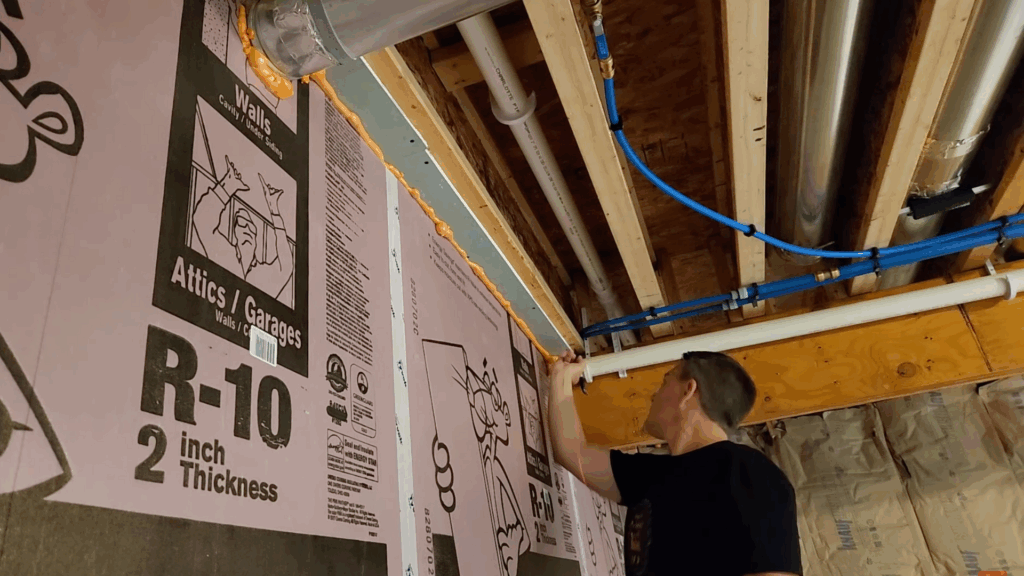
1. Insulate Properly
- Materials: Use rigid foam board or closed-cell spray foam against foundation walls.
- Benefits: Blocks cold, prevents air leaks, and provides higher R-value and moisture resistance compared to fiberglass.
2. Improve Soundproofing
- Materials: Add mineral wool insulation between framing studs.
- Additional Tips: Seal gaps around electrical boxes to reduce noise from upper floors or adjacent rooms.
- Purpose: Essential for basements used as living areas, offices, or entertainment rooms.
3. Choose Moisture-Tolerant Finishes
- Products: Use moisture-tolerant primers and mold-resistant paints.
- Benefits: These finishes allow walls to release trapped humidity while maintaining a clean, finished look.
Basement Walls: DIY or Hire It Out?
Deciding between doing it yourself or hiring a contractor depends on your comfort level, available time, and the complexity of your basement project.
Finishing basement walls involves framing, insulating, installing vapor barriers, and possibly electrical or plumbing work.
If you’re comfortable with basic tools, measuring, and following safety protocols, you can handle much of it. But precise cuts, moisture control, and code compliance take patience and research.
Hire a pro if your basement has moisture issues, foundation cracks, or if you’re unfamiliar with building codes and permits. Contractors also save time, especially for larger projects or if you’re planning to sell soon.
For jobs involving egress windows, structural work, or major rewiring, professional help ensures safety and quality that meets inspection standards.
Avoid These Common Basement Wall Mistakes
Finishing a basement can go wrong quickly if you overlook key details.
- Ignoring Moisture Signs: Damp spots, musty odors, or water stains are red flags. Ignoring them can lead to hidden mold and wall damage. Always inspect and fix leaks or cracks before starting any wall finishing work.
- Using the Wrong Materials: Standard drywall and untreated wood absorb moisture and decay over time. Always use mold-resistant drywall, foam board insulation, and pressure-treated or metal framing materials made for below-grade environments.
- Skipping Proper Insulation: Without insulation, basement walls stay cold and increase energy costs. Rigid foam or spray foam insulation helps control temperature, prevents condensation, and keeps your basement comfortable year-round.
- Installing Fiberglass Against Concrete: Fiberglass traps moisture and promotes mold when used against concrete. It’s not meant for basements. Instead, use rigid foam or closed-cell spray foam directly on concrete surfaces.
- Skipping the Vapor Barrier: Vapor barriers stop moisture from seeping into insulation and drywall. Skipping or misplacing them can cause trapped moisture, mold growth, and wall failure. Follow proper placement based on local climate.
- Neglecting Ventilation: Even with sealing and insulation, poor ventilation traps humidity. Use exhaust fans or a dehumidifier to keep air circulating and moisture levels low, preventing mildew and odor buildup.
Conclusion
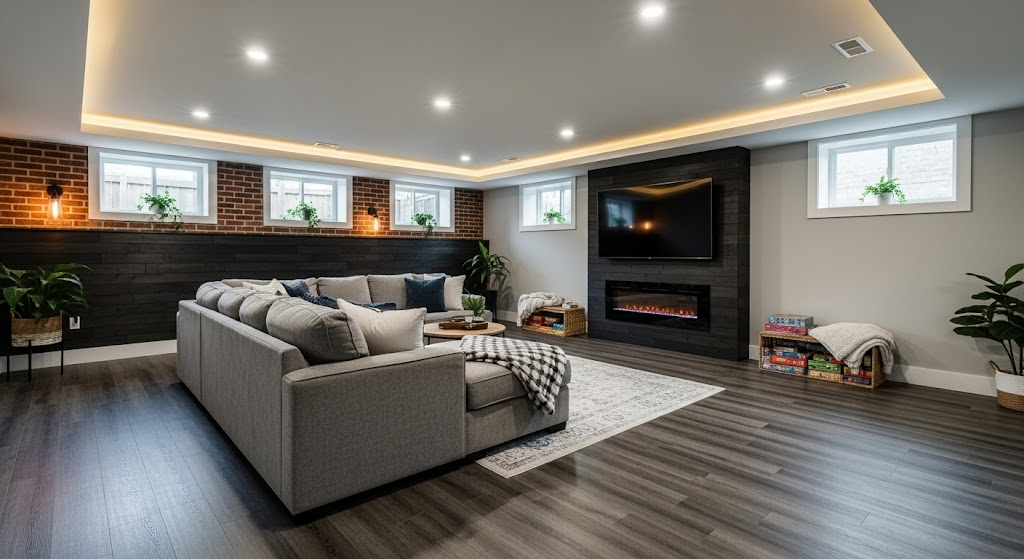
Transforming basement walls into something functional, dry, and actually beautiful is absolutely doable. I’ve seen it happen with just the right prep and planning.
The key is to start with moisture control, choose materials made for below-grade spaces, and never rush the foundation work. Skipping those early steps can cost more in the long run.
Whether you’re planning a home office, a family hangout spot, or just trying to get rid of that cold, concrete feel, you’re not alone. I’ve been through it, and it’s worth the effort.
Have questions or want to share how your project’s going? I’d love to hear from you.
Drop a comment, tag me, or send a message and let’s make that basement a space you’re proud of!