
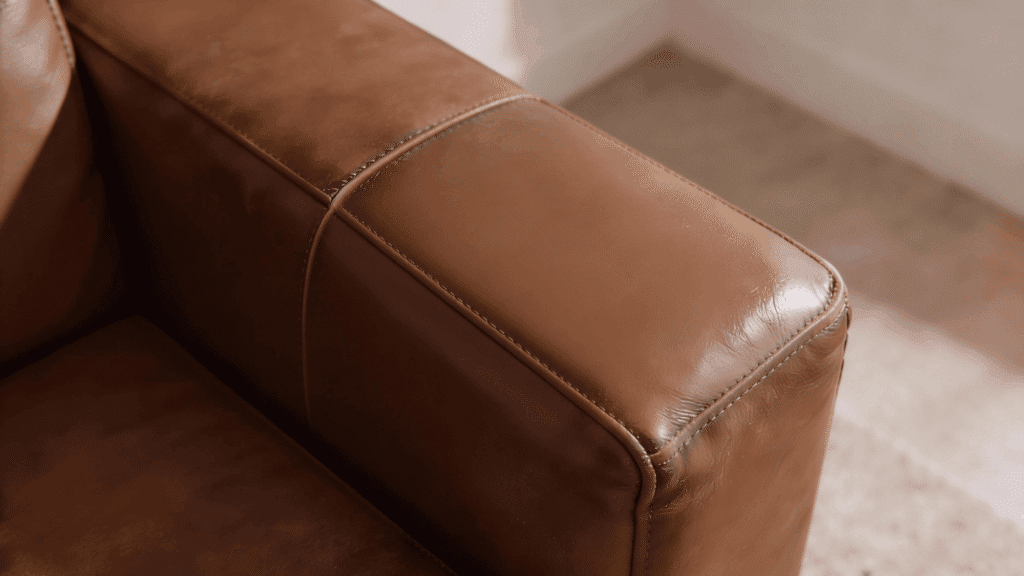
Leather sofas bring a touch of class to any living room. But cleaning them? That’s where things get tricky.
One wrong move, and those ugly watermarks appear, ruining the smooth finish. It’s frustrating when a simple cleaning session leaves the sofa looking worse than before.
The water marks aren’t inevitable. There’s a way to clean leather properly without those annoying stains.
This blog breaks down the exact steps to keep that sofa looking fresh and spotless, no watermarks in sight.
How Often Should You Clean and Condition a Leather Sofa?
Cleaning and conditioning schedules matter more than most people realize. Skip too many sessions, and the leather dries out, cracks start forming, and the sofa ages faster than it should.
But overdoing it isn’t great either. Too much product builds up on the surface, making the leather feel sticky or greasy.
Finding the right balance keeps the material supple and looking good for years. The frequency depends on a few factors: how often the sofa gets used, whether pets or kids are in the picture, and the type of leather finish.
Getting the timing right protects the investment.
What You’ll Need to Clean a Leather Couch
| Tool / Material | Purpose |
|---|---|
| Vacuum cleaner (with brush attachment) | Removes loose dirt, sand, and debris from seams |
| Leather-safe interior cleaner | Breaks down body oils and embedded grime |
| Soft bristle leather cleaning brush | Agitates dirt without damaging leather |
| Microfiber towels (multiple) | Wiping away cleaner and lifted dirt |
| Distilled water (optional) | Light dampening if needed for final wipe |
Step-by-Step Guide to Cleaning a Leather Couch
Cleaning leather the right way takes a bit of care and the proper technique. Following these steps ensures a thorough clean without leaving behind any watermarks.
Step 1: Vacuum the Leather Sofa Thoroughly
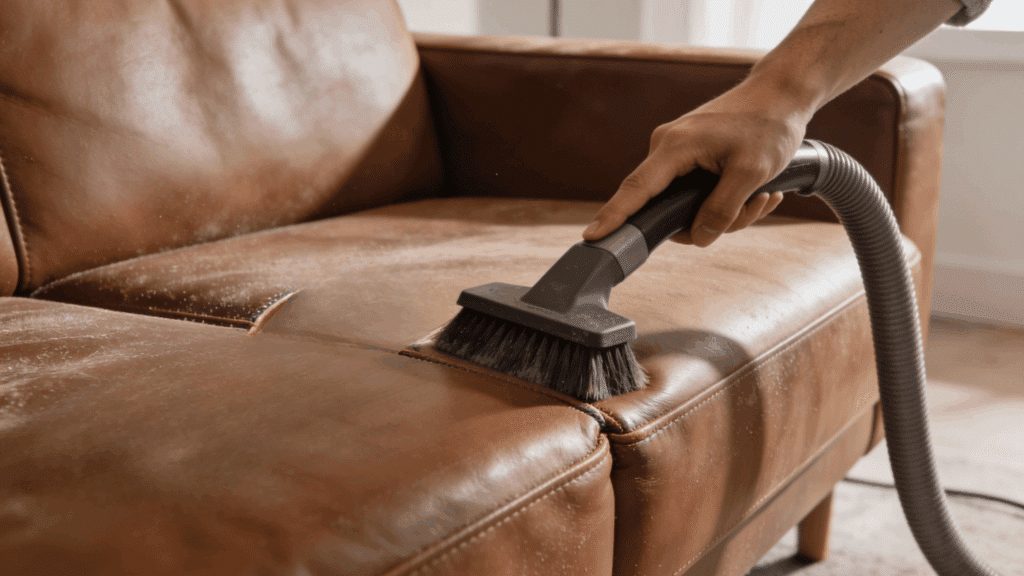
Start by vacuuming the entire sofa with a brush attachment. Pay close attention to seams, creases, corners, and spots where debris tends to gather.
Years of buildup from body oils, dirt, and particles can scratch the leather if rubbed during cleaning.
Removing loose debris first prevents abrasion and lets the cleaner work directly on embedded oils rather than surface dust.
Step 2: Apply Leather Cleaner to One Section at a Time
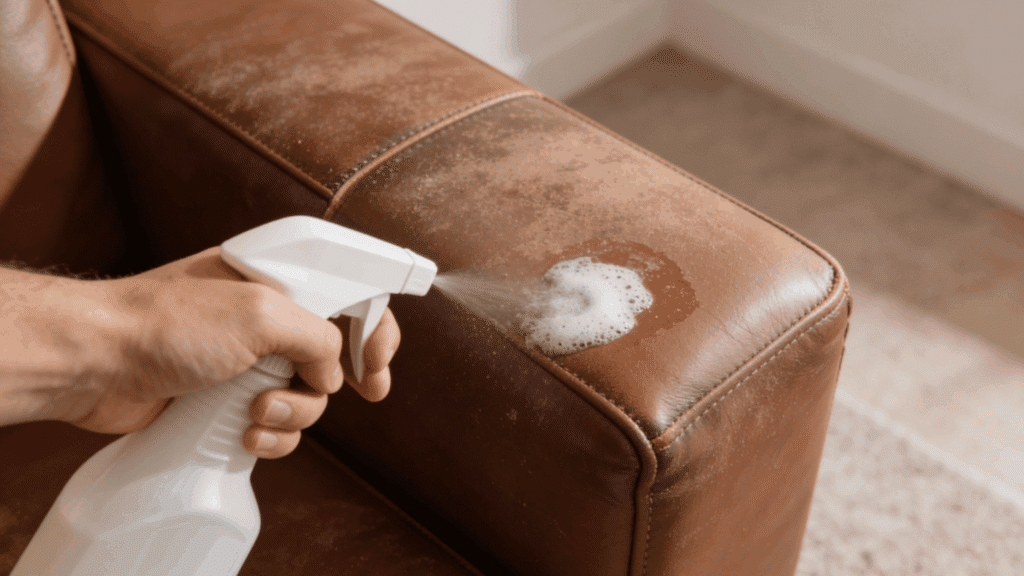
Spray a leather-safe cleaner directly onto a small section of the sofa.
Working panel by panel keeps the cleaner from drying too fast and gives better control. Choose a product designed for leather that leaves no residue or streaks.
The cleaner targets deep-seated body oils and grime that regular wiping can’t touch, lifting dirt from within the material.
Step 3: Gently Agitate Using a Soft Bristle Brush
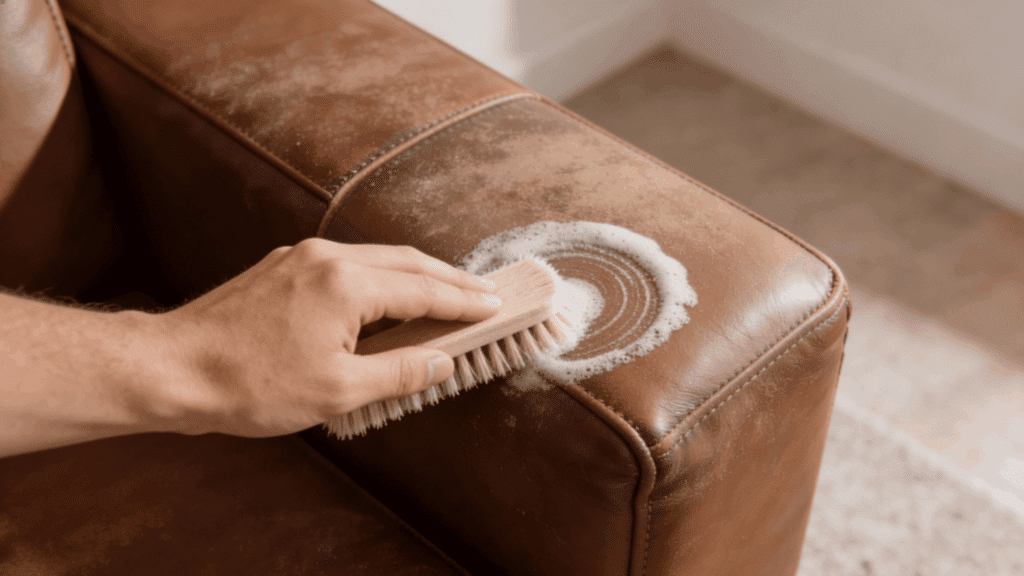
Use a super soft bristle leather brush to work the cleaner into the surface with circular motions.
The agitation needed depends on the dirt level; heavily soiled spots may need extra attention. High-contact areas like seat cushions and armrests often require more brushing.
The brush loosens embedded oils without harming the leather, helping restore its original matte finish.
Step 4: Wipe Away Dirt and Product With a Microfiber Towel
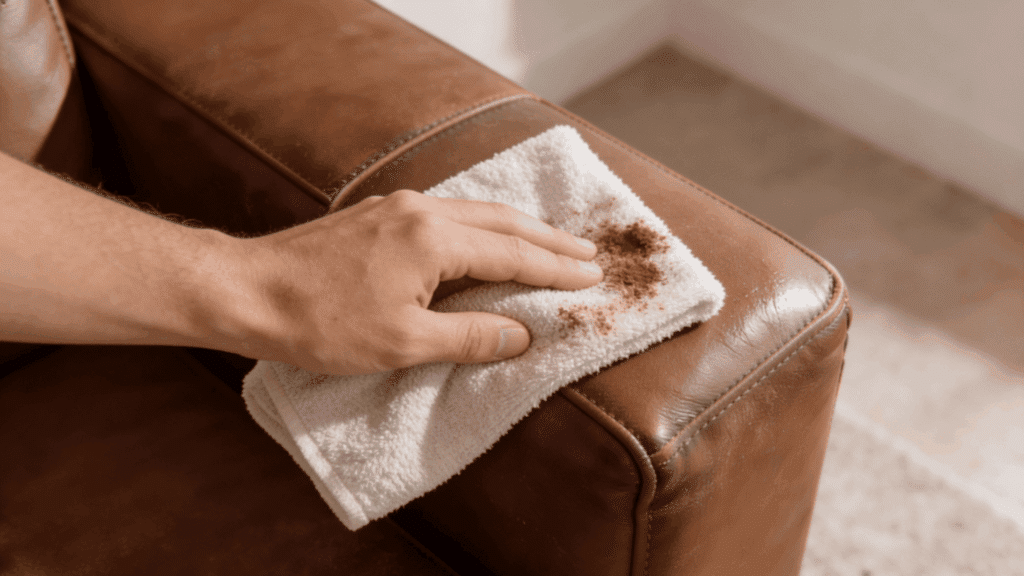
Immediately wipe the cleaned section with a clean microfiber towel, removing all lifted dirt and cleaner residue.
The towel turning brown confirms that grime is being drawn out of the leather. Continue buffing lightly until the surface dries.
The leather’s unnatural shine fades, and the original factory-style matte finish starts to reappear with each pass.
Step 5: Repeat Panel by Panel Until the Entire Couch is Clean
Repeat the spray, brush, and wipe process across the entire sofa, including ottomans, sides, and frequently used corners.
Areas with constant contact, such as main sitting spots, retain the most body oil and require thorough attention.
Take time with each section and switch to a slightly larger soft brush for bigger panels if needed. The finished sofa should look cleaner, smell fresh, and feel oil-free.
How to Condition a Leather Couch the Right Way
Conditioning leather after cleaning keeps it soft, prevents cracking, and maintains its natural appearance. This step restores moisture lost over time and protects the material from future damage.
- Apply a small amount of leather conditioner to a clean microfiber cloth.
- Rub the conditioner into the leather using circular motions, working one section at a time.
- Focus on high-contact areas, such as armrests and seat cushions, which dry out faster.
- Let the conditioner absorb into the leather for 15-20 minutes.
- Buff the surface with a dry cloth to remove excess product and restore shine.
- Repeat conditioning every 6-12 months, depending on usage and leather type.
How to Remove Common Stains From a Leather Sofa

Different stains require different approaches. Acting quickly and using the right method prevents permanent damage and keeps the leather looking its best.
1. Ink Stains
Dab rubbing alcohol onto a cotton swab and gently blot the ink stain without rubbing. Work from the outside in to prevent spreading. Let it air dry, then condition the area since alcohol can dry out leather. For stubborn marks, repeat the process until the ink lifts completely.
2. Grease and Oil Stains
Sprinkle baking soda or cornstarch directly onto the grease stain and let it sit for several hours or overnight. The powder absorbs the oil from the leather. Vacuum or brush away the powder, then wipe with a damp cloth. If residue remains, use a leather cleaner following the standard cleaning steps.
3. Food and Beverage Spills
Blot liquid spills immediately with a clean cloth; never rub, as this pushes the stain deeper. Mix mild soap with water, dampen a cloth, and gently wipe the stained area. Dry with a separate cloth right away to prevent water marks. For sticky residues, use a leather-safe cleaner instead of soap.
4. Scuff Marks
Rub scuff marks gently with a pencil eraser or your finger in circular motions. Body heat and friction often lift surface scuffs without the use of products. For deeper marks, apply a small amount of leather conditioner and buff with a soft cloth. The oils in the conditioner help blend the mark into the surrounding leather.
5. Water Stains
Dampen the entire stained section lightly with distilled water using a cloth, working outward from the stain. This prevents ring formation as it dries evenly. Blot excess moisture and let it air dry naturally; never use heat. Once dry, condition the area to restore moisture and prevent the leather from stiffening.
Mistakes to Avoid When Cleaning a Leather Couch
Certain cleaning mistakes can cause permanent damage to leather. Avoiding these common errors protects the material and significantly extends the sofa’s lifespan.
- Using harsh chemicals like bleach, ammonia, or all-purpose cleaners that strip leather’s natural oils and cause cracking.
- Scrubbing too hard with abrasive materials or stiff brushes that scratch and damage the leather surface.
- Soaking the leather in too much water or cleaner can create watermarks and stiffen the material.
- Skipping the conditioning step after cleaning leaves the leather dry and vulnerable to cracking over time.
- Placing the couch in direct sunlight or near heat sources can cause the color to fade and the leather to dry out prematurely.
Final Thoughts
Keeping a leather sofa clean doesn’t have to end in frustration or watermarks. The key lies in using the right products, working in small sections, and drying thoroughly after each pass.
Regular maintenance makes future cleanings easier and keeps the leather looking factory-fresh for years.
Don’t forget conditioning; it’s just as important as cleaning itself. Skipping it leaves leather vulnerable to cracks and premature aging.
With these techniques in hand, that leather sofa stays soft, clean, and mark-free. A little effort now saves money and headaches down the road.