
As someone who’s installed peel-and-stick wallpaper in multiple rooms, I know that seam placement can make or break your project. One of the most common questions I hear is about overlapping seams.
While it might seem like overlapping would ensure better coverage, I’ve learned that precision alignment usually works better than overlap.
I’ll share what I’ve discovered about handling seams, including when overlap might be necessary and the best techniques for achieving seamless results.
Should you overlap the seams when installing peel-and-stick wallpaper?
Typically, overlapping seams are not recommended. This can cause the wallpaper to look bulky or uneven.
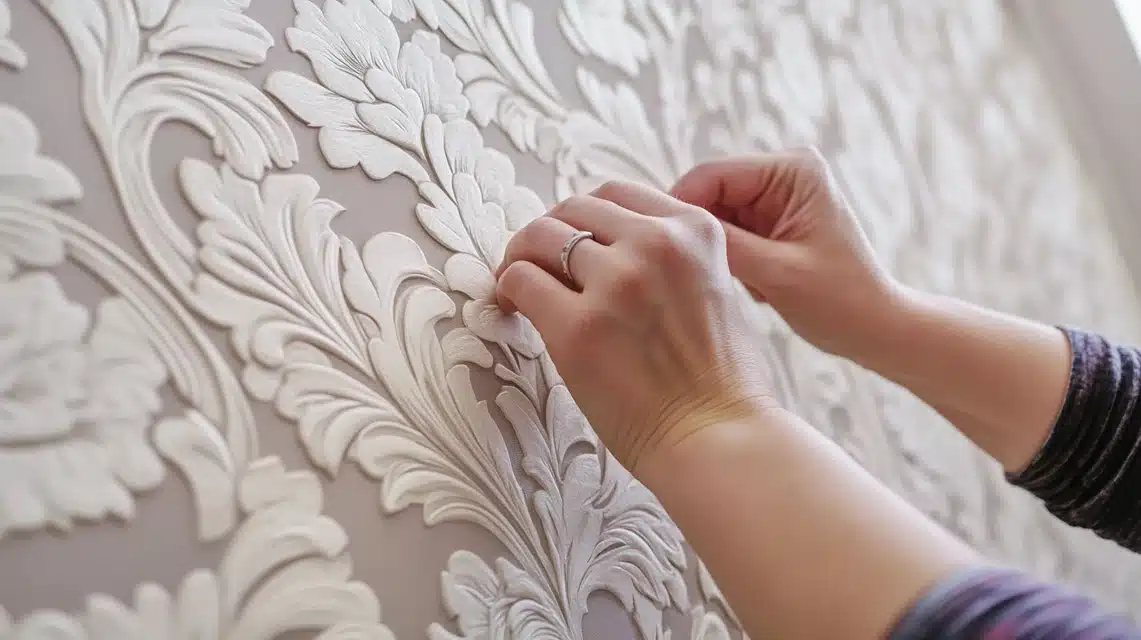
Instead, it would be best if you aimed to align the edges of each panel carefully, ensuring they meet without covering one another.
However, some wallpaper brands may suggest a slight overlap to ensure full coverage, especially if the panels are thin or delicate.
Always check the manufacturer’s instructions for specific guidelines.
The key is precision in placement and ensuring the wallpaper sticks evenly across the surface.
How much should you overlap the wallpaper seams?
When working with peel-and-stick wallpaper, seam overlap should generally be avoided.
However, if the wallpaper does require a slight overlap to ensure it adheres properly or covers any gaps, the overlap should be minimal.
A small overlap of around 1/8 to 1/4 inch is usually enough to keep the wallpaper panels aligned without creating visible bumps or seams.
To maintain a consistent look, ensure the overlap is uniform across the entire wall.
Too much overlap can cause the wallpaper to wrinkle, create visible seams, or peel at the edges over time.
What are the best practices for aligning patterns with peel-and-stick wallpaper?
Aligning patterns correctly is crucial for a professional-looking installation. Here are some best practices:
- Measure Carefully: Before applying the wallpaper, measure the wall space to determine the needed wallpaper. This helps in planning pattern alignment.
- Match Seams: If the wallpaper has a repeat pattern, carefully match the edges of each panel. Use the design to guide you and ensure a smooth, continuous flow across seams.
- Start at a Center Point: Begin hanging the wallpaper from a central point in the room. This ensures that the design is evenly placed and that any slight mismatches are less noticeable.
- Overlap with Care: If you need to overlap at seams, ensure the pattern lines up on both sides for a seamless look. Avoid excessive overlap, which can distort the pattern.
- Trim Carefully: After applying each panel, trim the excess carefully using a sharp utility knife, following the edges of the wall for clean lines.
How can you prevent gaps or separation between wallpaper panels?
Preventing gaps or separation between panels ensures a smooth and seamless finish. Here’s how you can avoid this issue:
- Ensure Proper Adhesion: Before applying each panel, press it firmly against the wall to activate the adhesive. This helps to prevent air pockets and ensures a strong bond.
- Work slowly and Carefully: Take your time peeling off the backing and applying each strip. Applying the wallpaper too quickly can cause misalignment and gaps.
- Use a Smoothing Tool: A wallpaper smoothing tool or a plastic putty knife can help push out air bubbles and smooth down edges, minimizing the risk of separation.
- Overlap the Panels Slightly: If you notice small gaps forming as you apply each panel, gently overlap the seams by about 1/8 to 1/4 inch. Be careful not to overlap too much, as it can distort the pattern.
- Keep Edges Straight: When trimming, ensure the edges are straight and aligned with the wall. Uneven edges can create gaps over time.
What are the potential issues if you overlap or don’t overlap the seams?
Deciding to overlap or not overlap seams can significantly impact your peel-and-stick wallpaper’s overall look and longevity. Here’s what to consider for both options:
Overlapping the seams
| Issue | Details |
|---|---|
| Visible Lines or Distortion | Overlapping too much can create noticeable lines or distort the pattern, especially with large or intricate designs. |
| Uneven Texture | Excess overlap can lead to bumps or ridges, affecting smoothness. |
| Adhesive Buildup | Excess adhesive may accumulate at the seams, leaving sticky residue. |
| Ideal Solution | Slight overlap of 1/8 to 1/4 inch is recommended for best results. |
Not overlapping the seams
| Issue | Details |
|---|---|
| Gaps and Visible Edges | Gaps may appear between the panels, disrupting the overall look of the wallpaper. |
| Difficulty with Alignment | Aligning patterns perfectly can be harder, causing noticeable inconsistencies. |
How do you handle wallpaper shrinking over time?
Wallpaper, especially peel and stick varieties, can shrink slightly after installation, which can cause seams to become visible or create gaps.
To prevent issues with shrinking, follow these best practices:
1. Allow Time for Settling: Give the wallpaper time to settle after installation. This may help the material relax and fully adhere to the wall, reducing the chances of shrinking.
2. Ensure Proper Adhesion: Press firmly on each panel during installation to ensure the adhesive bonds well. Proper adhesion can help minimize movement after installation.
3. Avoid Direct Heat or Humidity: Extreme heat or humidity can affect peel-and-stick wallpaper. Ensure the room is at a comfortable temperature and avoid exposing the wallpaper to direct sunlight or moisture.
4. Trim Excess Wallpaper: When you apply wallpaper, leave a slight excess at the edges (about 1/4 inch) and trim any extra after the adhesive has set. This allows for slight movement, and trimming after installation ensures a cleaner, tighter finish.
5. Regular Inspections: Inspect your wallpaper regularly for any signs of shrinking or peeling. If you notice any areas where the wallpaper has separated, reapply the adhesive or use a smoothing tool to fix the issue.
Summing Up
Whether you choose to align seams perfectly or use minimal overlap, the key is consistency throughout your project.
I’ve seen beautiful results with both methods, but I always recommend checking your specific wallpaper’s instructions first.
Remember, there’s no rush – taking your time with seam placement will reward you with professional-looking results that last for years.