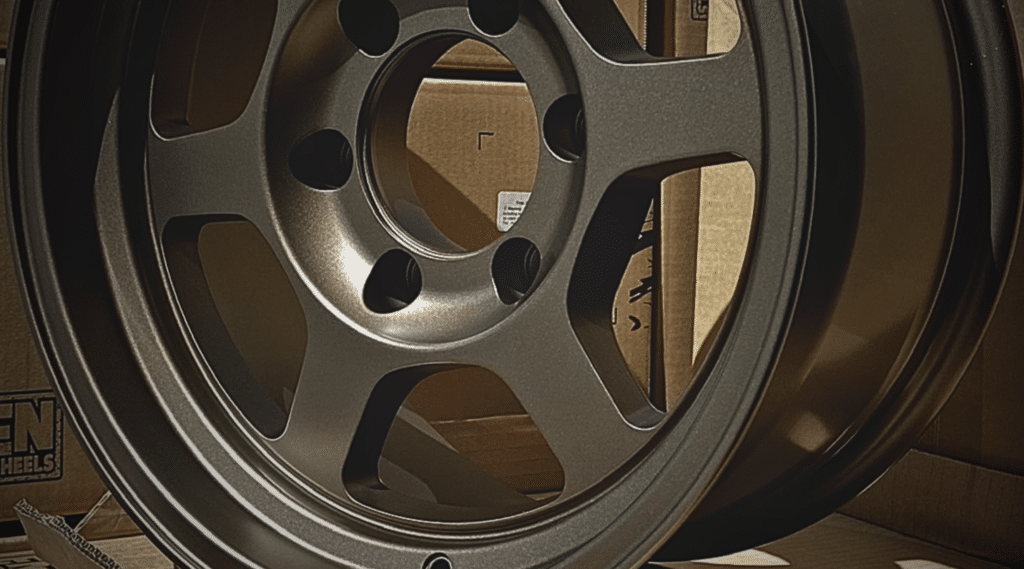
A bolt pattern is the key to knowing if a wheel will fit your car. Think of it as a puzzle piece that needs to match perfectly.
When you see 6×139.7, the ‘6’ means how many bolts hold your wheel, and ‘139.7’ shows how far apart these bolts are in millimeters.
You’ll find this pattern on many trucks and SUVs. Big names like Toyota, Chevrolet, and Nissan use it often.
If you’re planning to buy new wheels, this number matters more than you think.
Get it wrong, and those new wheels won’t fit at all.
Understanding 6×139.7 Bolt Pattern & Its Measurements
I know many people get confused about bolt patterns, so let me break it down simply.
When I look at a 6×139.7 pattern, I see two key numbers. The ‘6’ tells me how many lug nuts or bolts hold the wheel to my car.
The ‘139.7’ shows me the size of the circle these lugs make, measured in millimeters.
To measure this myself, I take the distance from the center of one lug to the outside edge of the lug across from it.
It’s like measuring across a circle. Some people also call this a 6×5.5 pattern when using inches instead of millimeters.
What are the Factors to Consider When Selecting Wheels with a 6×139.7 Bolt Pattern
1. Bolt Pattern
I know that getting the bolt pattern right is crucial for my safety.
When I buy new wheels, I make sure they match my car’s 6×139.7 pattern perfectly.
I can’t use wheels with different patterns – like trying to fit the wrong key in a lock.
Safety first, always.
2. Diameter And Width Of The Wheel
The size of my wheels affects how my car performs.
I always check my owner’s manual before making changes.
Big wheels might look good, but they can affect my speedometer readings.
Small wheels might not handle well. It’s about finding the right balance for my needs.
3. Wheel Offset
The offset tells me where my wheel sits against the hub. Getting this right keeps my wheels from rubbing or sticking out too far.
I measure from the hub face to the wheel’s centerline. A bad offset can wear out my bearings and affect handling.
4. Brake Clearance
I make sure my wheels don’t touch my brake parts.
Some brake systems need extra space, so I measure the gap between my wheel and calipers.
I check this with the wheel mounted but before putting on the tire. It’s a must-do safety step.
5. Size Of Center Bore
The center bore must match my hub size. When I measure, I look at both the wheel’s bore and my car’s hub diameter.
If the bore is bigger, I use hub rings to center it properly. A proper fit prevents vibration while driving.
6. Tire Compatibility
I match my tire size to my wheel specs. The width needs to work with my wheel’s width range.
I check the load rating too, it must handle my car’s weight. The right combo gives me good grip and proper handling.
7. Vehicle’s Specific Requirements
My car maker sets rules about wheel sizes and types. I check these specs in my manual before buying.
Some cars need special offset ranges or weight ratings.
Breaking these rules can void my warranty or make my car unsafe.
How to Install Wheels with a 6×139.7 Bolt Pattern

1. Secure Your Vehicle
I park on flat ground and set the parking brake. My wheel chocks go behind back wheels.
I use strong jack stands rated for my car’s weight.
The car goes up slowly, and I shake test the stands before working.
2. Remove Factory Wheels
I crack the lug nuts loose while the car’s still on the ground. Then I lift it up and remove them fully.
I keep all parts organized and clean. I mark my lug nuts to match their studs. It helps with reassembly.
3. Install 6×139.7 Wheel Adaptors
If I need adapters, I pick the right thickness for my setup.
I clean all mounting surfaces with brake cleaner. Each adapter needs proper torque specs.
I check the combined offset to avoid clearance issues. The fit must be perfect.
4. Apply Thread Locker
I put thread locker on clean, dry threads. Each stud gets a small amount, not too much.
This keeps my lug nuts from coming loose while driving. I wait for it to set before moving my car.
5. Install Adapter Lug Nuts
I put each nut on by hand first. They should turn smoothly without catching. I follow the star pattern for even pressure.
All nuts go on before final tightening. No power tools yet – just hand tight.
6. Torque The Adapter Lug Nuts
I set my torque wrench to the right spec. Each nut gets three passes, first at half torque, then three-quarters, then full.
I go in the star pattern each time. I double-check my torque settings before finishing.
7. Recheck All Lug Nuts
After driving my first 50 miles, I check every nut again. My torque wrench confirms they’re still at spec.
If any are loose, I look for problems before retightening. This step catches any settling issues early.
8. Post Installation Check
I take a slow test drive in my neighborhood. I feel for any pulling or vibration.
My steering wheel should stay straight on flat roads. I listen for odd sounds.
Any issues mean I stop and check everything again.
5 Common mistakes to avoid during installation
Skipping Test Fit Before Installation
I never skip test fitting my wheels. I place each wheel on the hub without tires first.
This step shows me if there are clearance issues with my brakes or suspension parts.
When I test fit, I can return wheels if needed, saving time and money.
Using Wrong Hardware
I see many people using incorrect lug nuts. I check if I need cone or ball seat lug nuts.
The wrong type can make my wheel come loose or damage the mounting surface.
I make sure my lug nuts match my wheel’s exact specs.
Lug Nuts Not Torqued Properly
I avoid using impact guns for final tightening. My torque wrench is the only tool I trust for this job.
When nuts are too tight or too loose, my wheels can wobble or come off. I follow the exact torque specs in my manual.
Not Using Hub Centric Rings
I always check if I need hub rings. When my wheel’s center bore is bigger than my hub, I must use these rings.
Without them, my wheels won’t center properly. This causes vibrations and uneven tire wear.
They’re cheap but crucial.
Hiring An Inexperienced Installer
I choose my installer carefully. The right person knows proper mounting, balancing, and torque specs.
I ask about their experience with my specific wheel type.
A good installer checks everything twice and explains what they’re doing.
Applications of the 6×139.7 Bolt Pattern in Different Vehicles
I see this bolt pattern most often on trucks and SUVs. Toyota uses it on their Tacoma and 4Runner.
Chevy puts it on their Silverado 1500 and Tahoe. Even luxury brands like Cadillac use it on the Escalade.
I notice it’s common on work trucks too. This pattern works great for bigger vehicles.
When I look at newer models from Nissan, their Titan and Armada both use it.
GMC’s Sierra and Yukon have it too. I find it interesting that some older models, like the Chevy Astro van, also used this pattern.
It’s truly built for vehicles that carry heavy loads.
Benefits of the 6×139.7 Bolt Pattern
I really value this bolt pattern for its strength. It spreads the load across six points instead of five, making it perfect for heavy work.
When I’m looking for new wheels, I have many choices because so many companies make wheels this size.
I can pick from steel wheels for work or fancy alloys for looks.
The six-bolt design gives me better brake cooling too.
For off-road use, I trust this pattern more because it handles rough terrain well.
Since many trucks use it, finding replacement parts is easy and often cheaper than rare patterns.
The wide spacing between lugs means less chance of cracking around the holes.
List of Vehicles Using 6×139.7 Bolt Pattern
| Manufacturer | Model | Years |
|---|---|---|
| Toyota | Tacoma | 1999-2024 |
| 4Runner | 1999-2024 | |
| Tundra | 2000-2024 | |
| Sequoia | 2001-2007 | |
| ————– | ————— | —————- |
| Chevrolet | Silverado 1500 | 1999-2024 |
| Tahoe | 1999-2024 | |
| Suburban | 1999-2024 | |
| Colorado | 2004-2024 | |
| ————– | ————— | —————- |
| Cadillac | Escalade | 1999-2024 |
| Escalade ESV | 2007-2024 | |
| Escalade EXT | 2002-2013 | |
| ————– | ————— | —————- |
| Nissan | Titan | 2004-2024 |
| Armada | 2004-2024 | |
| Frontier | 1999-2004 | |
| Pathfinder | 1999-2004 | |
| ————– | ————— | —————- |
| GMC | Sierra 1500 | 1999-2024 |
| Yukon | 1999-2024 | |
| Canyon | 2004-2012 | |
| ————– | ————— | —————- |
| Ford | Bronco | 2021-2024 |
| Ranger | 2005-2024 | |
| ————– | ————— | —————- |
| Lexus | GX 460 | 2010-2024 |
| GX 470 | 2003-2009 | |
| LX 600 | 2022-2024 |
Conclusion
After reading this guide, you now know everything about the 6×139.7 bolt pattern.
I’ve shown you how to measure it, which cars use it, and most importantly, how to install wheels safely.
No more guessing about wheel fitment or risking unsafe installations.
If you plan to get new wheels, remember these key points: check your bolt pattern twice, use the right hardware, torque properly, and don’t skip the hub rings.
And please, get a good installer if you’re not doing it yourself. Your safety comes first.

