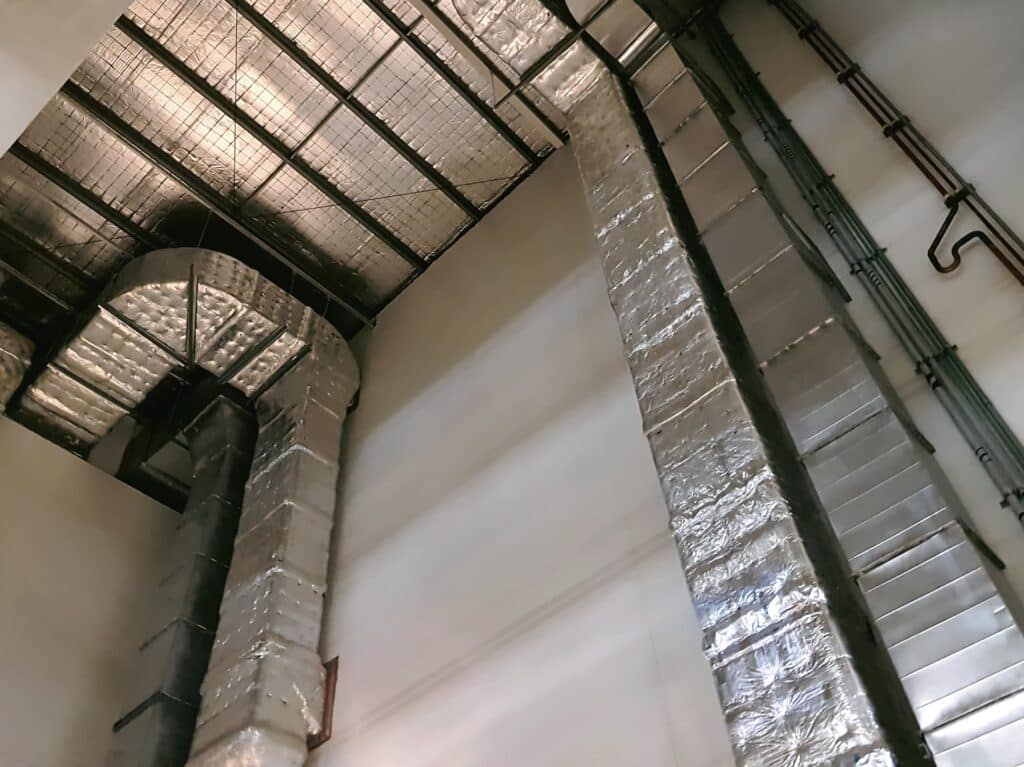
Foilboard insulation is one of the most effective ways to improve the energy efficiency of your home. Made from rigid panels of polystyrene with reflective foil on both sides, it acts as both a thermal barrier and a radiant shield.
When installed correctly, it can keep your home cooler in summer, warmer in winter, and reduce your reliance on heating and cooling systems. If you are handy with basic tools, you can install foilboard insulation yourself and save on labor costs. This guide will take you through the process by .
Why Choose Foilboard Insulation
Before diving into installation, it is worth understanding why foilboard insulation is so popular. Unlike bulk insulation such as batts, foilboard insulation combines reflective foil with a rigid board that resists heat flow. The reflective surfaces bounce radiant heat away, while the polystyrene core slows down heat transfer through conduction. This dual-action performance makes foilboard suitable for walls, floors, and ceilings.
It is lightweight, easy to cut, and does not sag over time. Unlike some insulation materials, it also does not irritate the skin or lungs, making it a more comfortable option for DIY installation.
Tools and Materials You Will Need
To get started, gather the following items.
- Foilboard insulation panels in the thickness suitable for your project
- Utility knife or fine-toothed handsaw for cutting panels
- Measuring tape and straight edge
- Marker or pencil
- Safety gear such as gloves and safety glasses
- Foil tape for sealing joins
- Adhesive, screws, or fixing buttons depending on your surface type
Having everything ready before you begin will make the process smoother and safer.
1. Prepare the Area
The first in installing foilboard insulation is to prepare the surface. If you are working on walls, remove any existing coverings that might obstruct the panels. For floors or ceilings, make sure the area is clear of dust, debris, and moisture. Check that the structure is sound and dry, as insulation should never be installed over damp or damaged surfaces.
This is also a good time to measure the area where you plan to install the panels. Accurate measurements will help you cut the foilboard insulation to the correct size, reducing waste and ensuring a snug fit.
2. Cut the Panels to Size
Using your measurements, mark the panels with a pencil and straight edge. A utility knife works well for thinner boards, while a fine-toothed saw may be better for thicker panels. Always cut on a flat, stable surface and wear protective gear. Clean, straight cuts will make installation easier and result in a better finish.
3. Position the Panels
Once your panels are cut, position them between wall studs, ceiling joists, or floor bearers. The reflective side should face the air cavity to maximize performance. Foilboard insulation works best when there is a small air gap, so avoid pressing the panels tightly against cladding or lining.
In walls, the panels should fit snugly without large gaps. If there are small spaces around the edges, they can be sealed with foil tape to prevent air leaks.
4. Secure the Panels
There are several ways to secure foilboard insulation depending on where it is being installed.
- Walls. Use adhesive, fixing buttons, or screws through the studs to hold panels firmly in place.
- Floors. Panels can be stapled or nailed to battens, or wedged between joists before securing.
- Ceilings. For ceilings, adhesive combined with mechanical fixings is often the safest method.
The key is to ensure the panels are secure and do not shift over time. Avoid leaving gaps, as these reduce the overall effectiveness of the insulation.
5. Seal the Joints
Once the panels are in place, seal all joints and edges with high-quality foil tape. This prevents air movement between panels and ensures the reflective surface continues uninterrupted. Sealing the joints also helps block moisture and dust, extending the life of the insulation.
6. Replace Finishes
After the foilboard insulation has been installed and sealed, you can replace internal wall linings, flooring, or ceiling boards. Take care not to damage the panels during this . Once covered, the insulation is protected and will continue to perform for many years without maintenance.
Tips for Success
- Work in sections to avoid mistakes and to keep your workspace tidy.
- Store foilboard insulation panels flat and in a dry place before installation.
- Always follow the manufacturer’s installation instructions for best results.
- If you are working in a confined space, make sure the area is well ventilated.
Safety Considerations
Although modern foilboard insulation is generally safe to handle, basic precautions should always be taken. Wear gloves to protect your hands while cutting panels and safety glasses to prevent small fragments from getting in your eyes. If you are working in a roof space or under the floor, be mindful of electrical wiring, pipes, and structural supports. If in doubt, consult a licensed professional before proceeding.
The Benefits After Installation
Once installed, foilboard insulation starts working immediately. You should notice a more consistent indoor temperature, fewer drafts, and a reduction in heating and cooling costs. Over time, the savings on energy bills can more than cover the cost of materials. With proper installation, foilboard insulation can last for the lifetime of your home.
Conclusion
Installing foilboard insulation yourself is a straightforward project that can deliver long-term benefits. By preparing the area, cutting panels carefully, positioning them correctly, securing them in place, and sealing the joins, you can create a more energy-efficient home without relying on professional installers. Whether you are improving comfort, reducing bills, or adding value to your property, foilboard insulation is a practical solution that pays off for years to come.

