
When it comes to your driveway, choosing the right paint is more important than you might think. Not only does the right driveway paint help protect your concrete from wear and tear, but it can also boost your home’s curb appeal.
A fresh, well-painted driveway makes a big difference in the overall look of your home. In this article, I’ll walk you through my top recommendations for the best driveway paint for concrete.
You’ll also find tips on what to look for when choosing paint and a simple guide on how to apply it correctly. I’ve researched so you don’t have to. By the end of this post, you’ll have the tools you need to make a smart, lasting choice. Let’s get started!
Why Driveway Paint Matters for Concrete
You might wonder why bother with driveway paint. Well, let me tell you—it’s worth it.
First, driveway paint helps protect your concrete. Concrete is tough, but it faces many challenges. Weather, dirt, oil stains, and cracks can cause damage over time. A good coat of paint acts as a protective layer, keeping these things from wearing down your driveway.
But that’s not all. Paint can actually extend the life of your driveway. Sealing the surface helps prevent cracks and moisture from creeping in. That means fewer repairs and less money spent fixing problems later.
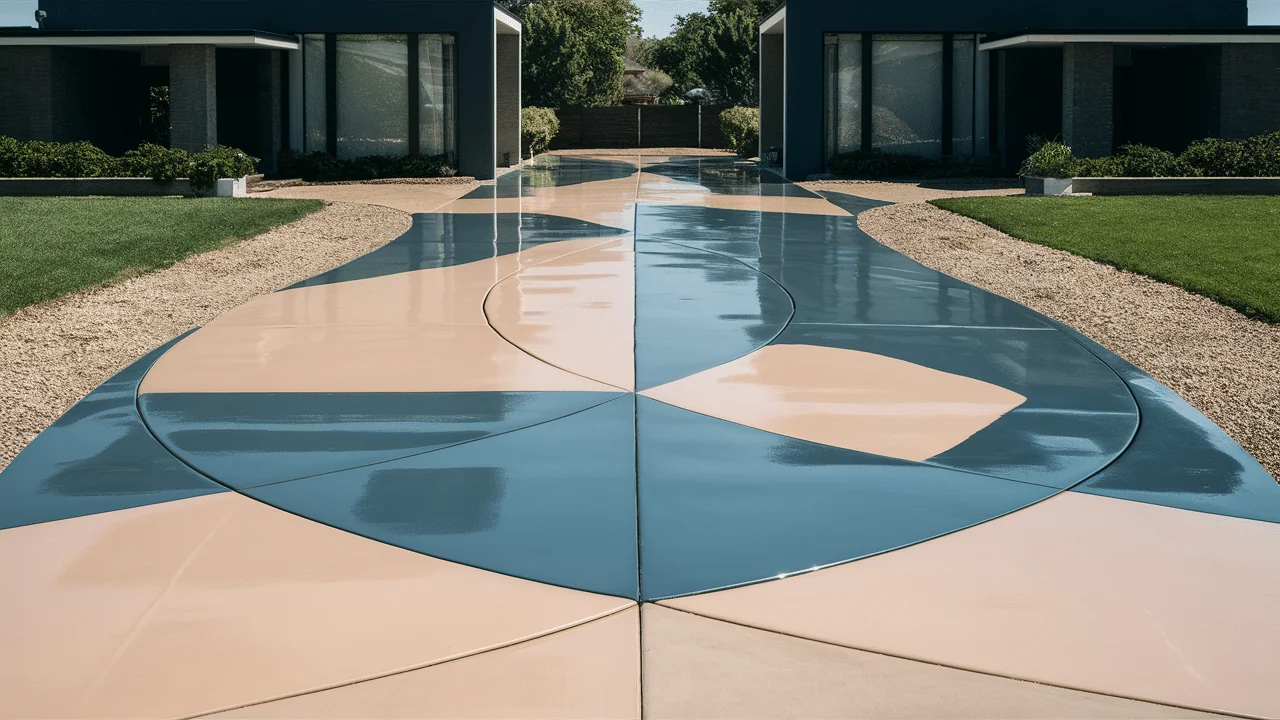
Plus, driveway paint can give your home a clean, polished look. A freshly painted driveway instantly improves curb appeal and shows that you care about the details. It’s like giving your home a little facelift.
So, if you want your driveway to last longer and look better, driveway paint is a smart choice.
Factors to Consider When Choosing the Best Driveway Paint
Choosing the right paint isn’t always easy. There are a few important things to think about before you make your decision. Let’s go through them.
1. Durability
The weather can be harsh. Rain, snow, and heat all damage your driveway. So, you need paint that can handle it. Look for paint designed to last through changing seasons. Durability means less maintenance and fewer touch-ups.
2. Slip Resistance
Safety is key. If the paint is too smooth, it could become slippery when wet, which is dangerous. Make sure the paint adds grip or texture to keep your driveway safe, especially during wet conditions.
3. Coverage
You want the paint to cover the entire surface evenly. Uneven coverage can lead to patches or spots that look bad. Choose a paint that spreads easily and covers well with fewer coats.
4. Color Options
Color does matter. A darker color can hide stains, while lighter colors give your driveway a clean, fresh look. Think about how the color will blend with your home’s exterior. Your driveway should complement your house, not clash with it.
5. Ease of Application
If you’re doing this project yourself, ease of application is important. Some paints are easier to apply than others. Look for paint that doesn’t require professional skills. A simple, smooth process makes the DIY job much less stressful.
By considering these factors, you’ll be on your way to picking the best driveway paint for your needs.
Best Driveway Paints for Concrete
Choosing the best driveway paint can be a little overwhelming, but don’t worry—I’ve broken down the top picks for you. Each one has unique features so that you can find the right fit for your driveway needs.
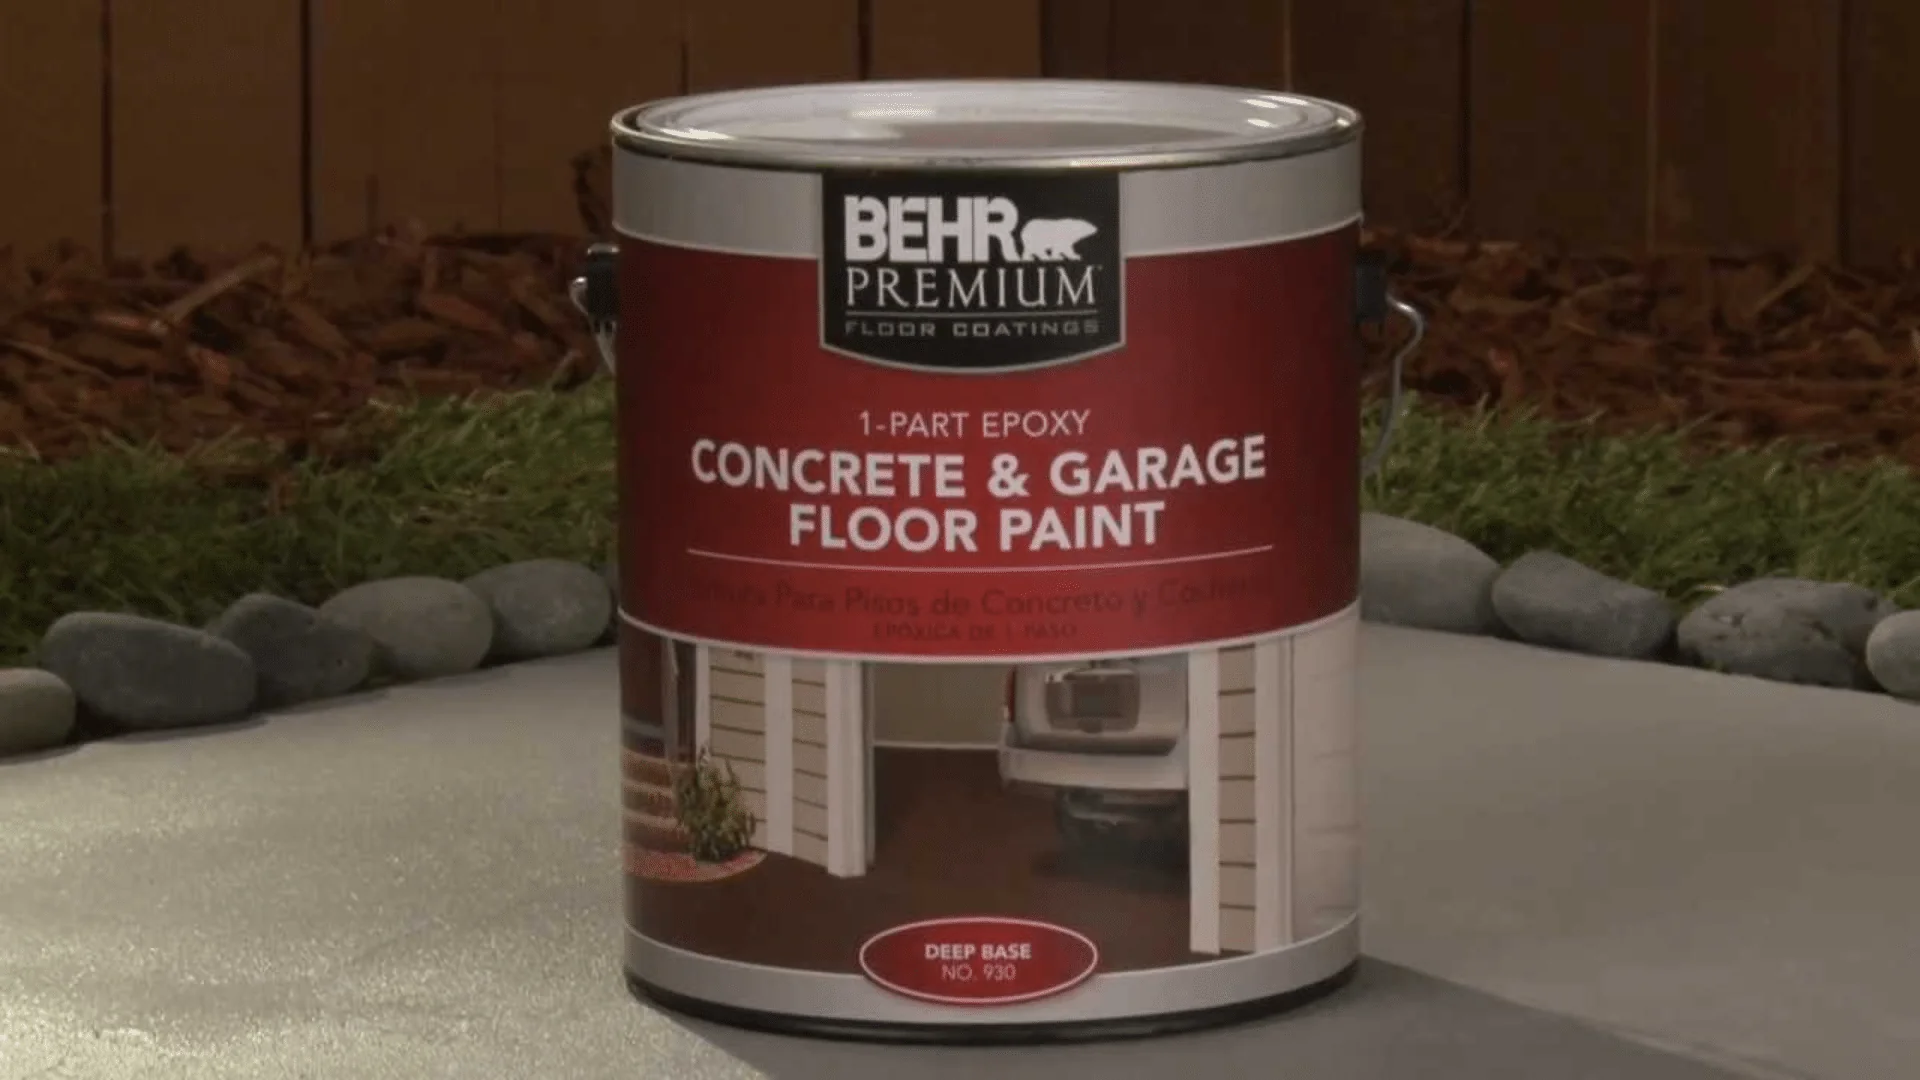
1. Behr Premium 1-Part Epoxy Concrete & Garage Floor Paint
Features
Behr Premium 1-Part Epoxy is a high-quality, one-part epoxy formula that’s perfect for concrete surfaces like driveways and garage floors. It provides a smooth, durable finish that resists stains, chemicals, and UV damage. It’s also easy to clean, making maintenance a breeze.
Pros
This paint offers excellent durability, making it a great choice for driveways that see a lot of traffic. The one-part formula is super convenient, especially if you’re looking for a simple DIY project. It also holds up well in harsh weather conditions so that it won’t fade or peel after just a few months.
Cons
The drying time for this paint can be a bit long—around 24 hours for full curing. It also doesn’t have a wide variety of color options, which may limit your design choices. If you’re looking for something with more color variety, this might not be your best pick.
Overall, Behr Premium Epoxy is a solid choice if you need a durable, easy-to-use paint that stands the test of time, especially if you’re not too concerned about color options.
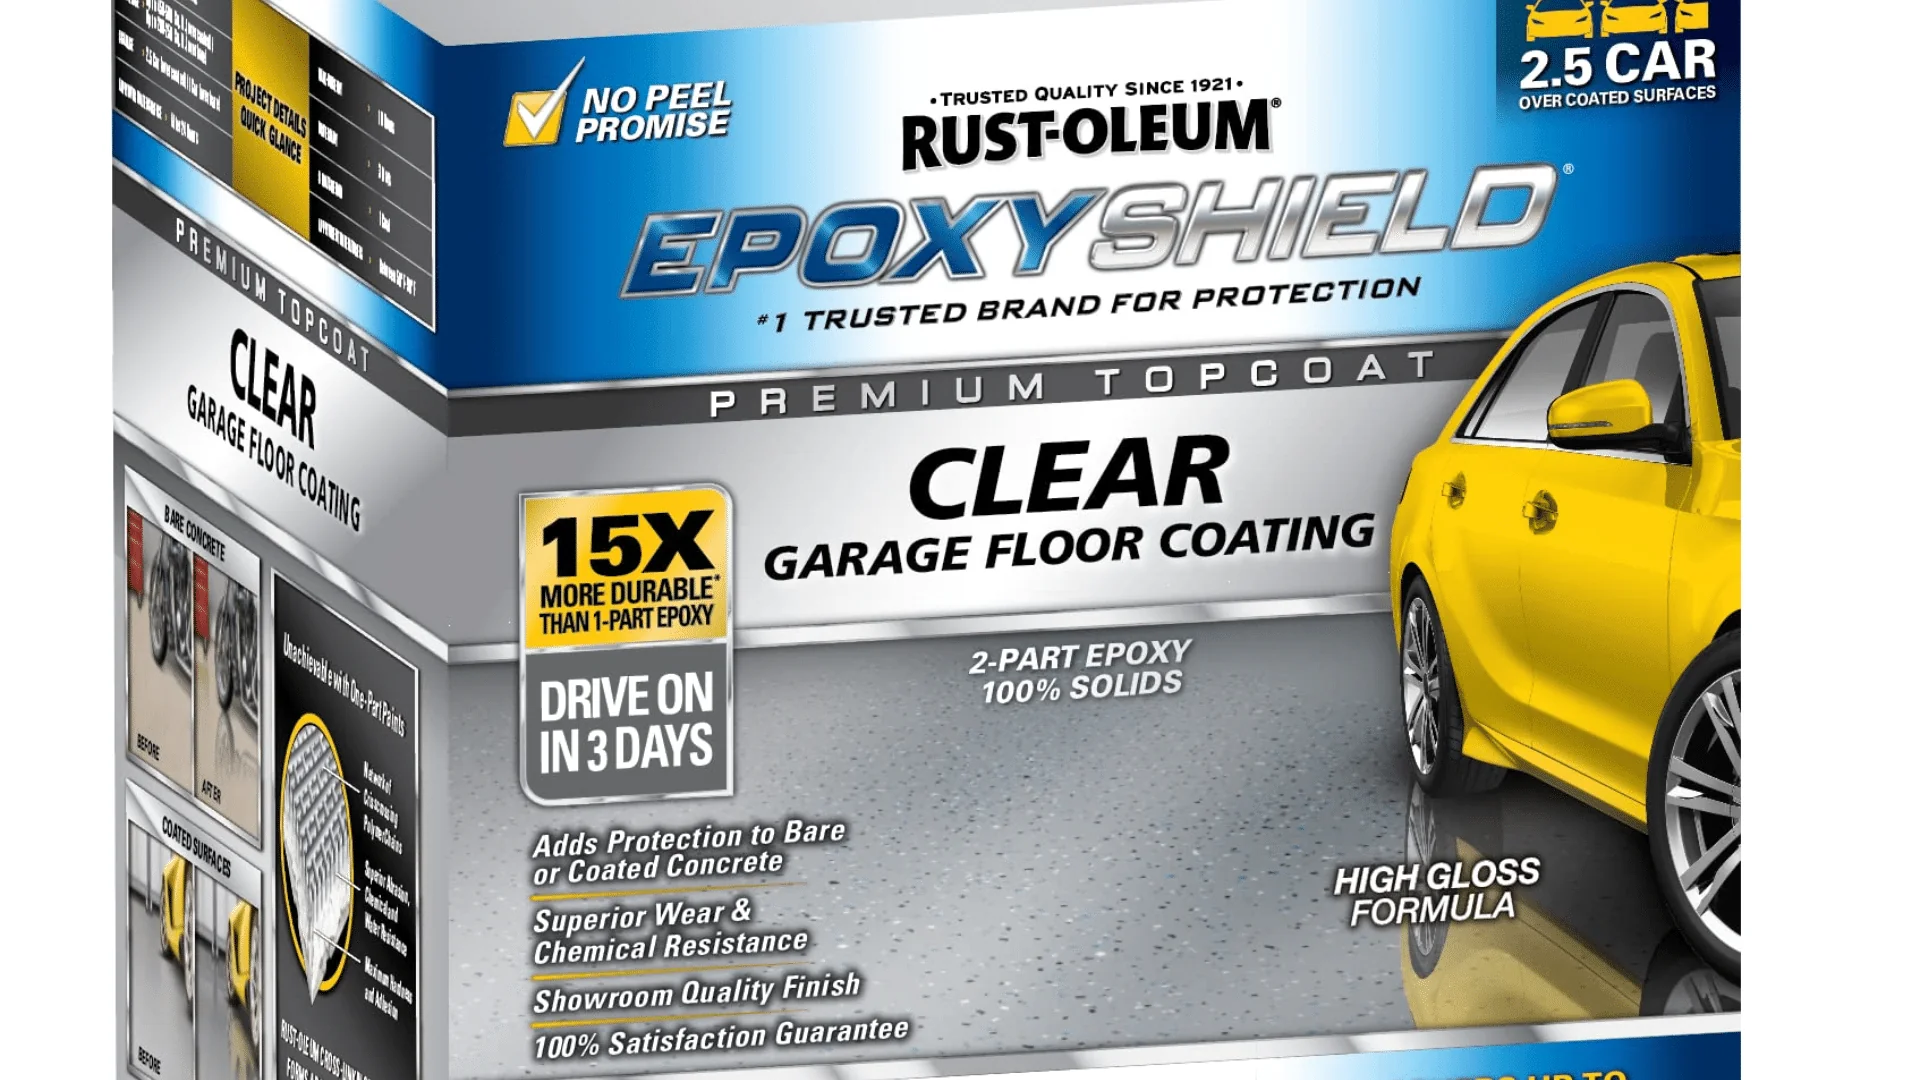
2. Rust-Oleum EpoxyShield Premium Garage Floor Coating
Features
Rust-Oleum EpoxyShield is a high-performance, epoxy-based paint designed for concrete and garage floors. It’s formulated to resist tire marks, stains, and heavy traffic. This paint also offers great protection against harsh weather, making it an excellent choice for outdoor use.
Pros
One of the standout features of Rust-Oleum EpoxyShield is its ability to handle high-traffic areas without showing wear. It’s also quick to dry, making it perfect for those who want to finish the job in a single weekend. The paint provides solid protection against stains and chemicals, ensuring your driveway stays looking fresh for a long time.
Cons
The paint requires a primer for best results, which adds an extra step to the application process. It’s also a bit pricier than other options on the market, so it might not be the best fit for someone on a tight budget. But for the price, you get a paint that can handle the wear and tear of everyday use.
Rust-Oleum EpoxyShield is a great choice if you’re looking for something that can withstand heavy-duty use and weather conditions. However, the added primer step and price might be deal-breakers for some.
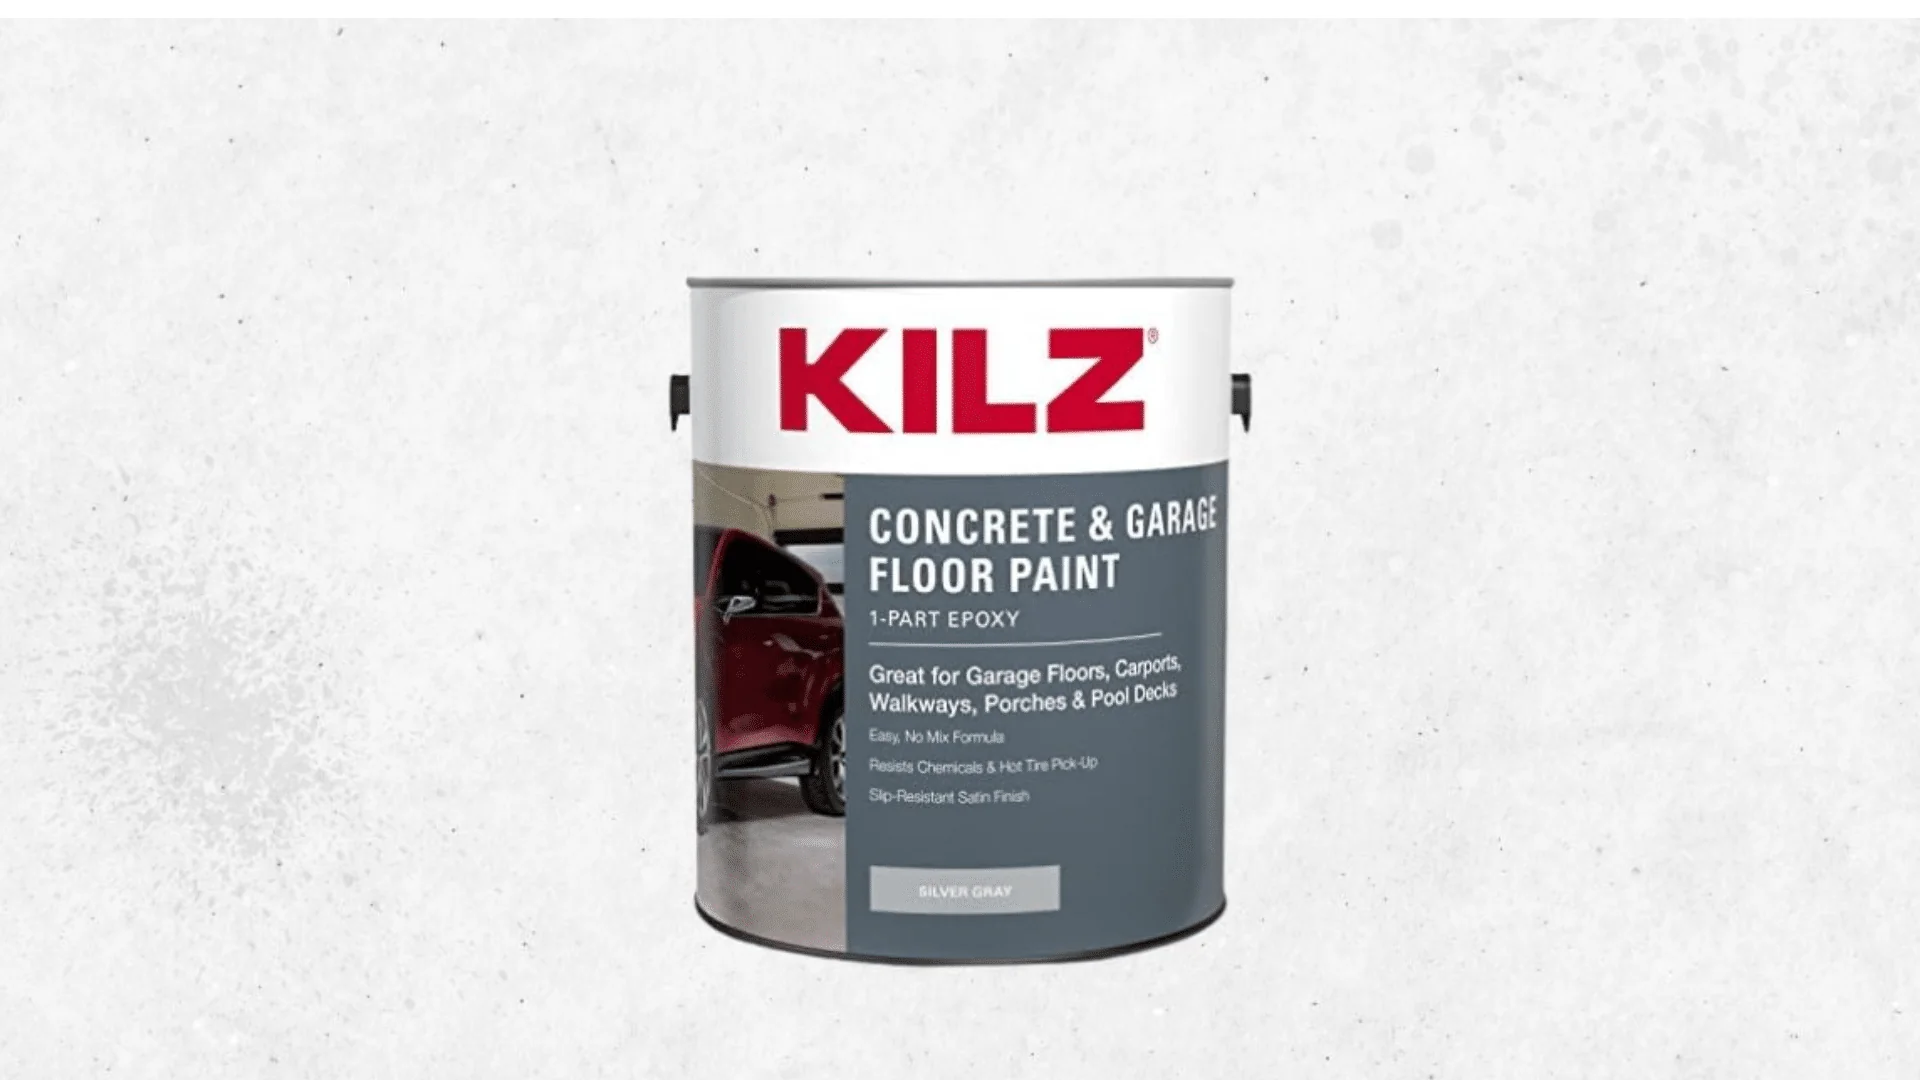
3. KILZ 1-Part Epoxy Acrylic Concrete & Garage Floor Paint
Features
KILZ 1-Part Epoxy Acrylic Concrete & Garage Floor Paint is a water-based formula that offers a self-priming feature, making it ideal for both indoor and outdoor use. The paint creates a smooth, glossy finish that enhances the look of your driveway and is also easy to clean.
Pros
This paint is easy to apply and very affordable, making it a great choice for DIY projects on a budget. It also provides a smooth finish that looks great on concrete surfaces. The paint’s self-priming nature simplifies the process, so you won’t need to purchase an additional primer.
Cons
While KILZ 1-Part Epoxy is a good option for light-duty driveways, it’s not as durable as epoxy-based paints. You might find that it needs touch-ups after a few years, especially if you experience a lot of foot or vehicle traffic. It’s also less resistant to harsh weather compared to other higher-end options.
If you’re looking for an affordable and easy-to-apply paint for your driveway, KILZ 1-Part Epoxy Acrylic is a solid choice. However, it might not hold up as well over time in heavy traffic areas.
4. Valspar Garage Floor Epoxy
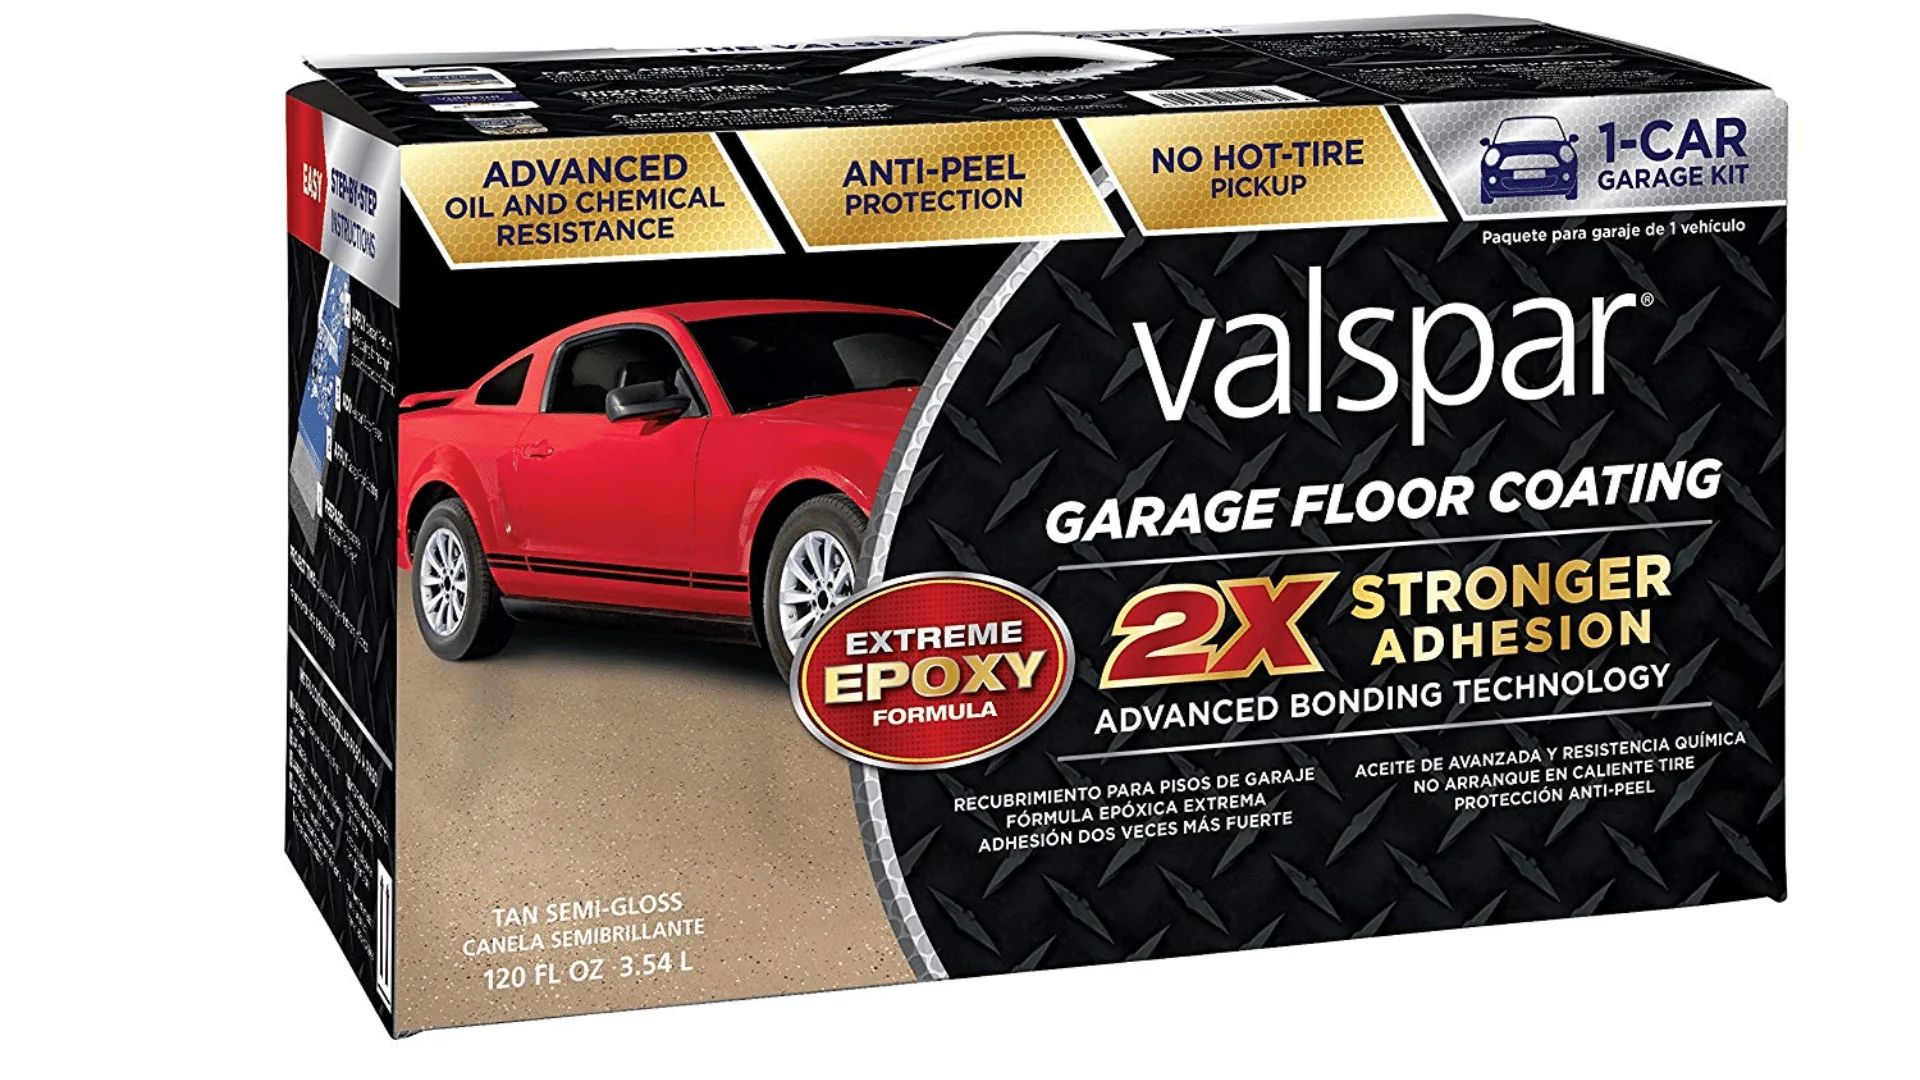
Features
Valspar Garage Floor Epoxy is a two-part epoxy formula that is designed specifically for concrete floors, including driveways. The paint is highly resistant to stains, scratches, and chemicals, making it a perfect choice for high-traffic areas. Valspar also offers a variety of color options, so you can find the right shade to match your home’s exterior.
Pros
The paint offers a long-lasting finish that’s easy to clean, making it ideal for heavy-duty areas. Valspar’s two-part formula provides superior protection against wear and tear, ensuring your driveway stays looking good for years. Due to its scratch and stain resistance, it’s also a good choice for high-traffic areas.
Cons
Since it’s a two-part epoxy, you’ll need to mix the paint with a hardener before application. This process can be a little more time-consuming compared to one-part formulas. It also requires a longer curing time, so you’ll need to wait a bit longer before walking or driving on it.
Valspar is a great choice if you need a high-performance paint that provides long-lasting protection and can withstand heavy-duty use. Just be prepared for the extra steps involved in mixing and curing.
5. Diamond Brite Concrete and Garage Floor Paint
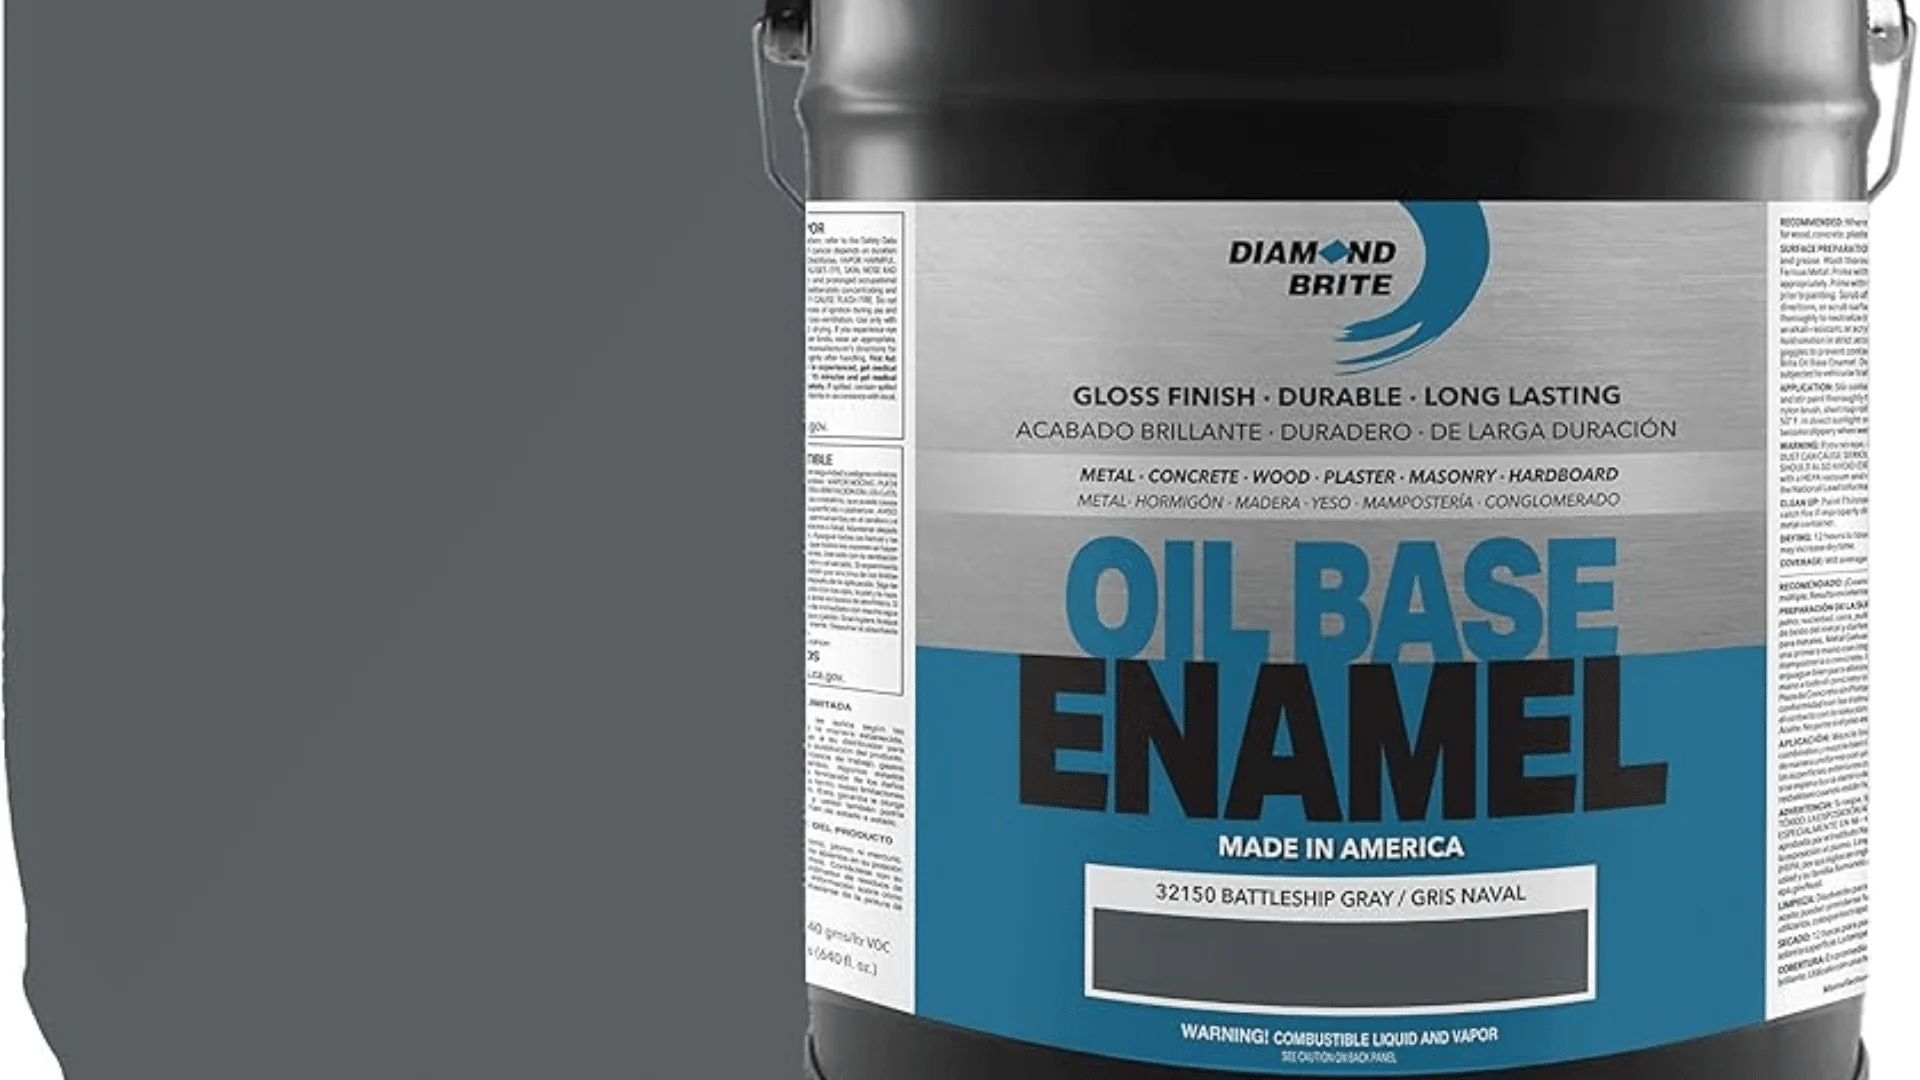
Features
Diamond Brite Concrete and Garage Floor Paint is an acrylic-based formula designed for use on high-traffic areas like driveways and garages. It’s available in a variety of colors and is known for its resistance to fading, cracking, and peeling. It also dries quickly, so you don’t have to wait too long for the job to be done.
Pros
This paint is a great option for those on a budget. It’s affordable, dries quickly, and provides solid protection against wear and tear. It also offers good resistance to fading and cracking, which is perfect if your driveway is exposed to a lot of sun. Plus, it’s easy to apply with minimal prep.
Cons
The biggest downside to Diamond Brite is that it requires a well-prepared surface for the best results. If your driveway has cracks or rough spots, you’ll need to make repairs before applying the paint. It also requires multiple coats for the best finish, which means more time spent on the project.
Diamond Brite is a great choice for those who want a budget-friendly option that still provides good protection and an attractive finish. Just make sure your driveway is in good condition before you start.
A table to summarize the pros and cons of each recommendation:
| Paint Brand | Pros | Cons |
|---|---|---|
| Behr Premium 1-Part Epoxy | Durable, easy to apply, resists stains and chemicals | Takes 24 hours to dry; limited color options |
| Rust-Oleum EpoxyShield Premium | Great for high-traffic areas, quick drying, strong weather protection | Requires primer, higher price |
| KILZ 1-Part Epoxy Acrylic | Easy to apply, affordable, smooth finish | Less durable than epoxy-based paints, needs touch-ups |
| Valspar Garage Floor Epoxy | Long-lasting, easy to clean, good for high-traffic areas | Needs a hardener; long curing time |
| Diamond Brite Concrete & Garage | Fast drying, resistant to fading, cracking, and peeling | Needs a well-prepared surface, requires multiple coats |
How to Apply Driveway Paint to Concrete
Applying driveway paint isn’t as hard as it sounds. With the right steps, your driveway can look fresh and last a long time. How to do it the right way:
Step 1: Prepare Your Driveway
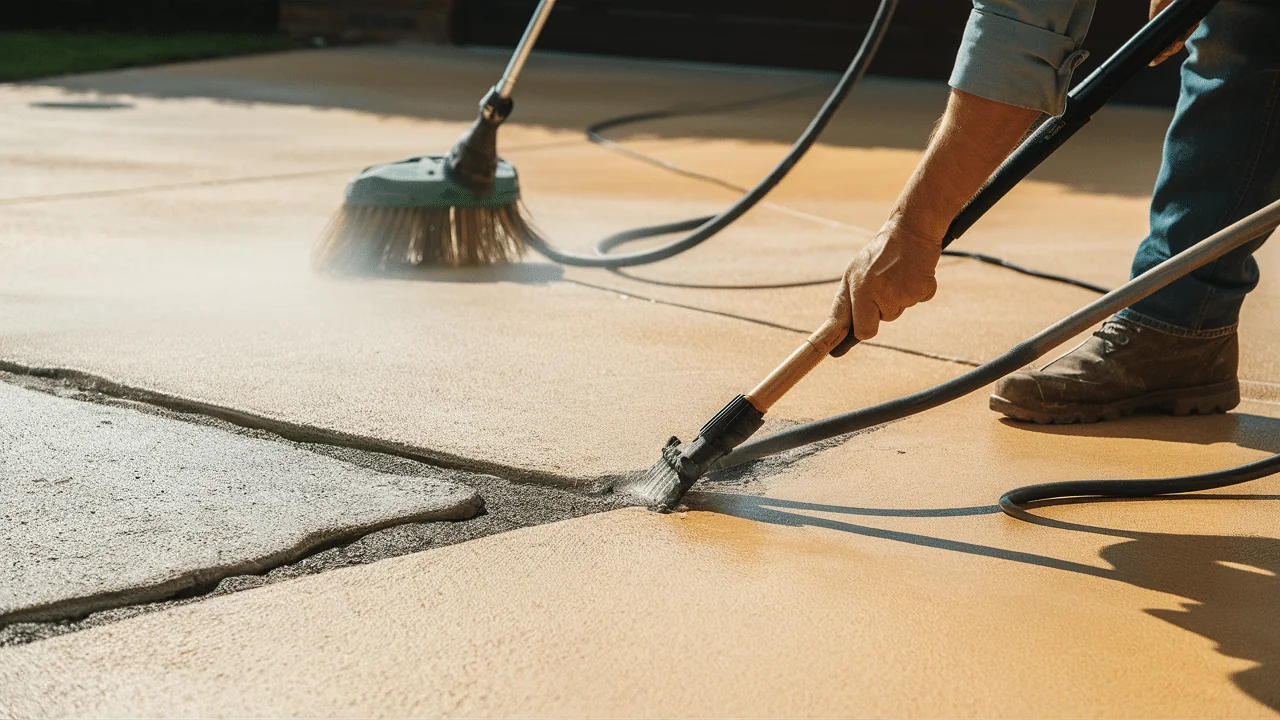
Proper preparation is key to a successful paint job. If you skip this step, the paint might not stick, and it could peel off quickly.
- Clean the surface: Start by sweeping away leaves, dirt, and any other debris. Use a pressure washer or hose to clean your driveway thoroughly. This helps get rid of oil stains and dirt that could prevent the paint from bonding to the concrete.
- Fix cracks and holes: Concrete often has cracks and holes. Fill them with a concrete patch or filler. Let it dry completely before painting. This will give you a smooth surface.
- Etch the surface: Smooth concrete needs to be roughened up for the paint to stick better. You can use a concrete etching solution. Follow the product’s instructions carefully to make sure the surface is prepared correctly.
Step 2: Apply the Paint
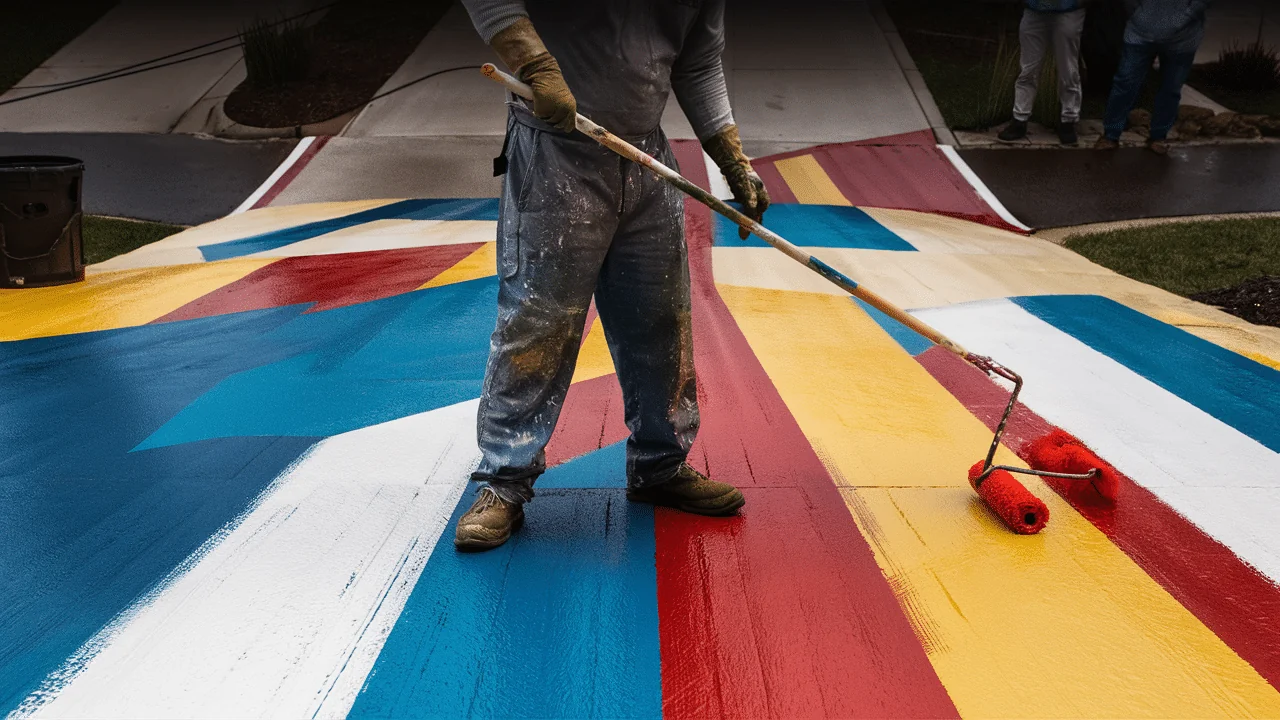
Now that your driveway is ready, it’s time to start painting.
- Stir the paint: Before opening the paint, stir it well. This will mix the ingredients and ensure you get a consistent color and finish.
- Paint the edges first: Use a brush to paint around the edges and corners of your driveway. This way, you won’t get trapped in a corner when you start painting the larger areas.
- Use a roller for the main area: For larger sections, use a roller with an extension pole. This allows you to cover a larger surface quickly and evenly. Roll the paint in small sections, making sure to keep the roller from getting overloaded with too much paint.
- Work quickly: Don’t spend too much time in one area. If the paint starts drying too fast, it could leave streaks or uneven patches. Move in small sections and work your way across the driveway.
Step 3: Let It Dry Properly
Drying time is just as important as the application. Rushing through the drying process can lead to smudges, marks, or an incomplete finish.
- Allow the first coat to dry: After you’ve painted the first coat, let it dry for 4 to 6 hours. The first layer must be completely dry before adding a second coat.
- Apply a second coat if needed: Depending on the color and type of paint, a second coat might be necessary for full coverage. Be sure to let the first coat dry completely before applying a second layer.
- Curing time: After you’ve finished the second coat, allow your driveway to cure for at least 24 hours. This will ensure the paint is fully set and won’t be damaged when you walk or drive on it.
By following these steps, you’ll have a driveway that’s not only protected but also looks fresh and new. The most important parts are proper preparation, applying the paint evenly, and allowing enough drying time. If you follow these tips, your paint job will last longer and look great.
Common Mistakes to Avoid When Using Driveway Paint
When painting your driveway, it’s easy to make a mistake that can ruin the final result. But don’t worry—I’ll walk you through some common errors and give you tips on how to avoid them.
1. Not Cleaning the Surface Well Enough
One of the biggest mistakes people make is not cleaning their driveways thoroughly. If dirt, oil, or grease are left behind, the paint won’t stick well, and you might end up with peeling or uneven coverage.
- Tip: Before applying any paint, clean your driveway thoroughly. Use a pressure washer or a hose to remove all the dirt and grime. If you have tough stains like oil, use a cleaner designed for concrete. Make sure the driveway is dry before you start painting. Even a little moisture can prevent the paint from adhering properly.
Taking the time to clean the surface properly ensures that the paint bonds well to the concrete, giving you a smooth, even finish.
2. Painting in Poor Weather Conditions
Weather conditions play a huge role in how well your paint will turn out. If it’s too hot, too cold, or too humid, the paint can dry too quickly or too slowly, leading to streaks, bubbles, or cracking.
- Tip: The best time to paint is on a day when the temperature is mild, typically between 50°F and 85°F (10°C and 29°C). Avoid painting when it’s too hot or rainy. High humidity can also affect drying times, so aim for a dry day. Check the forecast before you start painting, and try to pick a day with clear skies and moderate temperatures.
3. Not Using Enough Paint
Another mistake is applying too little paint, thinking it will cover the surface just fine. This often leads to patchy areas and an uneven look. It’s easy to underestimate how much paint you’ll need.
- Tip: Apply the paint generously, but don’t overload your roller. It’s better to use a thicker coat of paint in multiple layers than to try and cover the entire driveway with one thin coat. If you do one thin layer, you might see the concrete through the paint, and the finish will not be as durable.
You might need to apply a second coat for better coverage. For the best results, let the first coat dry fully before applying the second coat.
4. Rushing the Drying Process
Many people walk or drive on their driveways before the paint is completely dry. This can ruin the smooth finish and cause marks, smudges, or even damage to the paint.
- Tip: Be patient. Once you’ve finished painting, allow the first coat to dry thoroughly—at least 4 to 6 hours. After applying the second coat, let it cure for 24 hours before walking or driving on it. The longer you wait, the stronger the paint will be, and the less chance there is for it to get damaged by foot traffic or car tires.
If you’re in a rush, remember that skipping this drying time can lead to disappointing results. Allowing the paint to cure properly is crucial for a long-lasting finish.
By avoiding these common mistakes, your driveway will have a clean, smooth, and durable finish that will last for years. A little care and patience go a long way in ensuring the best results.
Conclusion
In this article, we’ve discussed the importance of choosing the right driveway paint for your concrete surface. I shared my top recommendations and tips on how to apply the paint for the best results.
Choosing the right paint can protect your driveway, extend its life, and improve your home’s curb appeal. From Behr Premium to Rust-Oleum EpoxyShield, I’ve highlighted options that offer durability and ease of use.
Now that you have the information, I encourage you to try painting your driveway. It’s a simple way to improve its appearance and protect it for years to come. Trust me, the effort will pay off.
Frequently Asked Questions
How Long Does Driveway Paint Last?
Driveway paint can last 3-5 years, depending on traffic, weather, and paint type. Proper prep and care will help extend its lifespan.
Can I Paint My Driveway Myself?
Yes, painting your driveway is a DIY project. With the right prep and tools, you can apply paint yourself and achieve a professional look.
How Soon Can I Drive on My Painted Driveway?
To ensure the paint doesn’t get damaged, wait at least 24 hours after painting for the driveway to cure properly before driving on it.
Do I Need to Apply a Primer Before Painting?
Some paints, like self-priming formulas, don’t require a primer. However, applying a primer is recommended for other paints to ensure better adhesion and longer-lasting results.
Can I Use Driveway Paint on Asphalt?
Driveway paint is generally designed for concrete surfaces. Asphalt driveways require different products designed for flexibility and better adhesion. Always check the label for compatibility.