
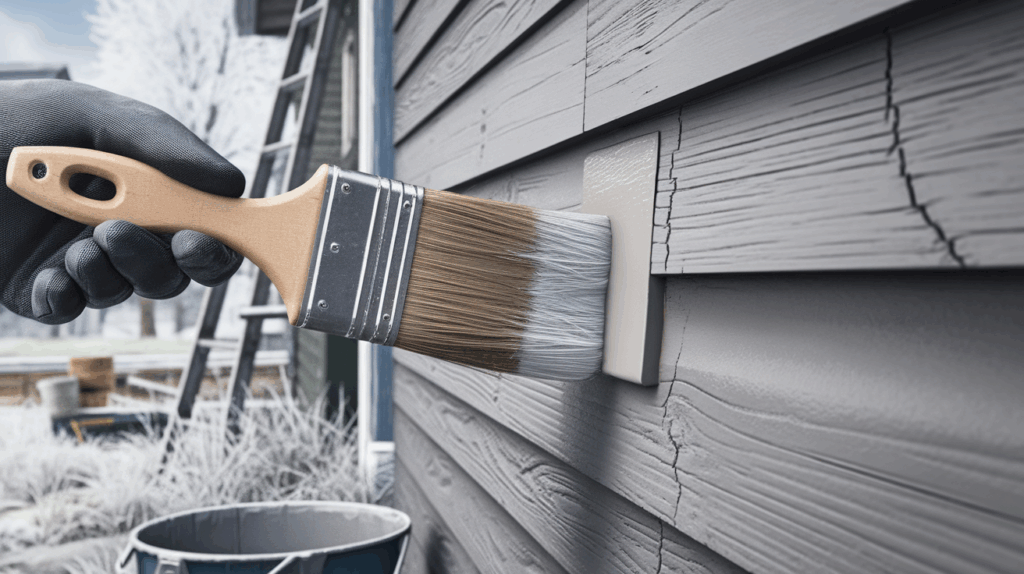
Painting outside in cold weather can be tricky, but it’s not impossible.
I’ve found that while it’s tempting to tackle outdoor projects even when temperatures drop, certain conditions can affect how well the paint adheres and dries.
Cold weather can cause paint to take much longer to dry, or even lead to cracking and peeling.
In my experience, it’s important to know the right temperature range for the type of paint you’re using. Most paints recommend a temperature above 50°F (10°C) for optimal results, although this varies depending on the specific product.
If you’re planning to paint in cooler months, be sure to check the manufacturer’s guidelines and try to choose a day that’s not too chilly.
In this post, I’ll share expert advice on how to safely paint outside in cold weather and avoid common mistakes.
Why Temperature Matters for Exterior Painting?
Temperature plays a critical role in how paint behaves. Paint dries and cures through a combination of evaporation and chemical changes.
When it’s too cold, these processes slow down or stop entirely.
Cold weather can cause the paint to thicken, making it harder to apply smoothly. It also increases the chance of brush marks, poor coverage, and uneven drying.
Worse, if paint freezes before it cures, it can form cracks, bubbles, or a chalky finish. That’s why manufacturers specify minimum temperature ranges for safe application.
Additionally, painting at the wrong temperature can shorten the lifespan of your paint job.
The finish may not bond properly to the surface, leading to premature wear.
You may find yourself repainting sooner than expected, which adds to labor and material costs.
What Is Considered Too Cold to Paint Outside?
So, how cold is too cold? The answer depends on the type of paint you’re using:
- Standard latex (water-based) paints should not be applied when temperatures are below 50°F (10°C).
- Oil-based paints generally should not be used below 40°F (4.4°C).
- Cold-weather or modified latex paints may allow painting down to 35°F (1.6°C), but conditions must still be dry.
Keep in mind that paint temperature, air temperature, and surface temperature all matter.
Even if the air feels warm enough, cold siding or trim may not meet the minimum requirement.
One important note: newly applied paint often requires several hours of favorable weather conditions to set and dry properly.
If the weather forecast predicts that temperatures will fall below the paint’s minimum requirements within that drying window, it’s best to wait.
What’s the Lowest Temperature You Can Paint Outside?
With the right paint product, it is possible to paint in colder conditions:
- Cold-weather latex/acrylic paints are formulated to perform at temperatures as low as 35°F (1.6°C).
- Oil-based paints can be applied at 40°F (4.4°C), but they cure more slowly.
However, those numbers come with a catch: they are usually the minimum surface and air temperatures during application and drying.
If the temperature dips below that point overnight or even within a few hours of painting, you risk adhesion failure.
For best results:
- Paint when both the air and the surface remain above the minimum temperature for 24 hours.
- Aim to start painting in late morning and finish by mid-afternoon to take advantage of the day’s warmest hours.
Another consideration is the type of surface you are painting.
Wood, metal, and masonry all respond differently to cold. For example, wood may absorb more moisture, which affects paint adhesion.
Metal surfaces can become too cold to touch even if the air is slightly above freezing, making them risky for consistent application.
What Conditions Make Cold Weather Painting Risky?
Even if the thermometer seems cooperative, several other cold-weather factors can sabotage your paint job:
- Falling temperatures: If temperatures drop soon after painting, the finish may not cure correctly.
- Humidity: High humidity slows down drying and can cause condensation.
- Dew and frost: Moisture forming on the surface can prevent proper adhesion.
- Wind chill: Cold wind can affect both surface temperature and drying time.
- Sunlight: Lack of sun exposure in winter months means less radiant heat on surfaces.
Always check both the daytime high and overnight low before starting.
Some homeowners overlook the effect of shadows during colder months. In winter, areas of your home might be shaded for longer periods, staying colder and damper.
North-facing walls, for example, may not warm up enough throughout the day to be paintable even when conditions seem right elsewhere.
How to Paint Successfully in Cold Weather
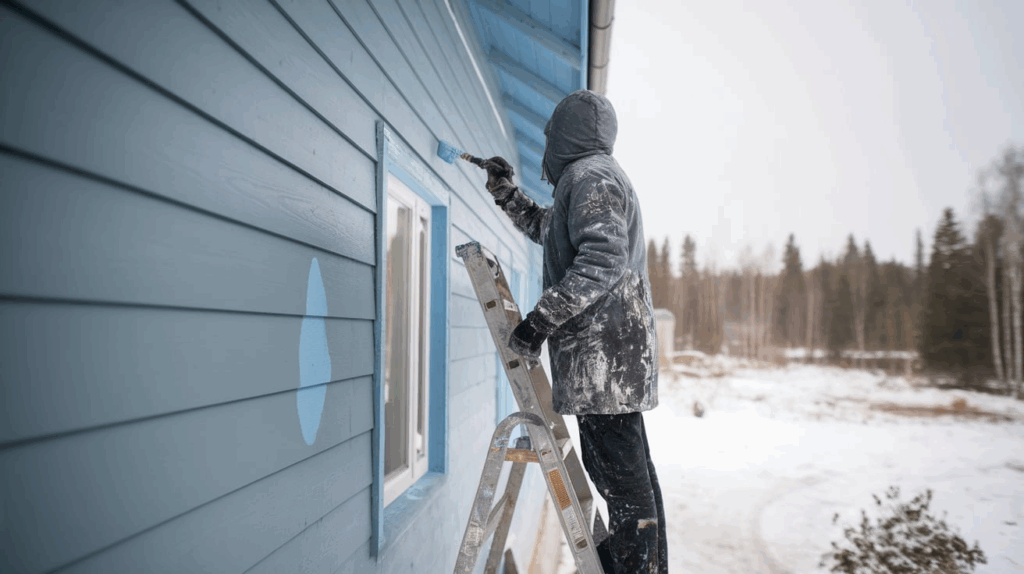
If you’re determined to paint outdoors in the cold, here are some tips to increase your chances of success:
- Use paints designed for cold weather: These will have clearly labeled minimum application temperatures.
- Paint during the warmest time of day: Midday to early afternoon is usually best.
- Check surface temperatures: Use an infrared thermometer to ensure surfaces are warm enough.
- Ensure the surface is dry: Avoid painting after rain, frost, or snow.
- Apply thin coats: Thick layers dry more slowly and increase the risk of failure.
- Extend drying time: Allow more time between coats than you would in warm weather.
- Avoid painting near sunset: Surfaces cool quickly after dark, especially in fall and winter.
It also helps to keep your paint and brushes warm. Store them indoors until right before use.
You can even warm up paint cans in a heated room so they remain at a workable consistency when applied.
Cold paint tends to thicken, making it harder to spread evenly.
Setting up temporary enclosures or using tarps and heaters can help trap heat and extend your painting window.
While this approach adds some setup time, it can make a big difference in colder climates where opportunities to paint are limited.
Common Mistakes to Avoid
Avoiding certain errors can save you time, money, and frustration:
- Painting too late in the day: Evening temperatures drop fast, which can ruin curing.
- Ignoring product labels: Always follow the manufacturer’s minimum temperature guidelines.
- Not checking humidity: High humidity combined with cold temperatures can result in sticky, uncured paint.
- Skipping surface prep: Paint won’t stick to frost, condensation, or damp materials.
- Not accounting for temperature swings: Warm afternoons don’t offset freezing nights.
Be cautious with drying estimates. A coat that usually dries in 4 hours during summer might need 12 hours or more in colder temperatures.
Conclusion
So, can you paint outside in cold weather? Yes, but only if you take the right precautions.
The key is knowing your paint’s minimum temperature requirements and watching both daytime and nighttime conditions carefully.
Cold temps, moisture, and wind can all impact drying time and overall durability.
With the right paint, proper surface prep, and smart timing, outdoor painting is possible even in chilly weather. Just be patient, follow the product guidelines, and allow for longer drying and curing times.
If you’re ever in doubt, it might be worth waiting for a warmer spell to ensure your hard work holds up over time.
In the end, a little planning can go a long way. Painting in cold weather might not be ideal, but it’s doable with care and the right strategy.
Whether you are touching up trim or repainting siding, staying informed helps you get a lasting, high-quality finish that stands up to the elements.