Oil is the lifeblood of your car’s engine, lubricating and protecting its vital components. You must be very sure of this.
However, when your car leaks oil, it can lead to serious problems if left unchecked.
Oil leaks can cause engine damage, reduced performance, and even complete engine failure.
Identifying and addressing oil leaks promptly is crucial to maintaining your vehicle’s health and longevity.
In this blog post, we’ll explore the common causes of car oil leaks and provide you with the knowledge to identify them.
Understanding the signs and sources of oil leaks will better equip you to take appropriate action and prevent further damage to your engine.
So, let’s dive in and learn how to spot and deal with a car leaking oil.
Recognizing the Signs of Oil Leaks
Recognizing the telltale signs is one of the most crucial aspects of addressing a car leaking oil.
By staying vigilant and promptly addressing these indicators, you can prevent further damage to your engine and ensure your vehicle’s longevity.
Here are some key signs that your car may be suffering from an oil leak:
1. Dark Puddles Under Your Vehicle
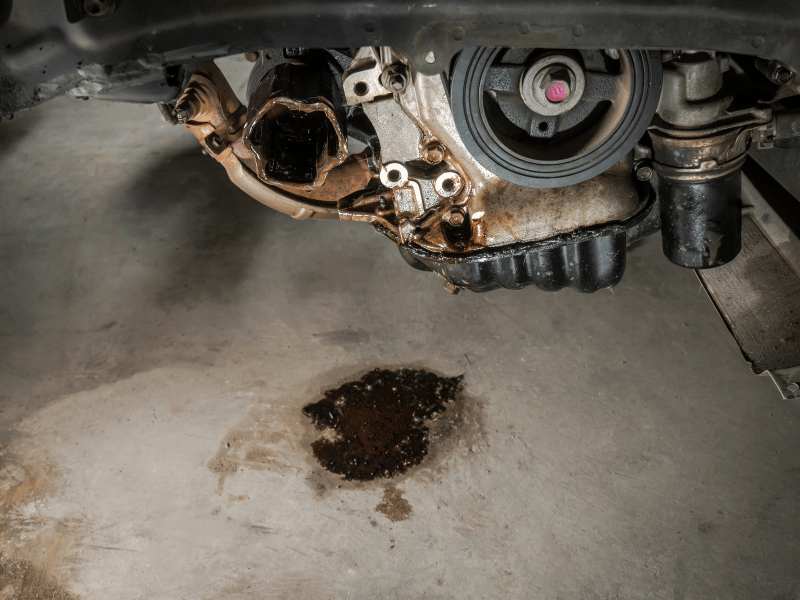
The most obvious sign of an oil leak is the presence of dark, greasy stains on the ground beneath your parked car.
These puddles are usually brown or black and have a slick, oily texture.
If you consistently notice these stains after your car has been parked for a while, it indicates your vehicle is leaking oil.
2. Burning Oil Smell
Another warning sign is the smell of burning oil, which may become noticeable while driving or after parking your car.
This occurs when leaking oil drips onto hot engine components, such as the exhaust manifold, causing it to burn and emit a strong, acrid odor.
If you detect this smell, promptly inspecting your vehicle for leaks is crucial.
3. Decreased Oil Levels
Regularly checking your oil level is a good habit to maintain your car’s health.
If you notice a sudden drop in the oil level or find yourself constantly topping up the oil between scheduled oil changes, it’s a strong indication that your car is losing oil through a leak.
Keep an eye on your oil dipstick and address any inconsistencies immediately.
4. Reduced Engine Performance
An oil leak can lead to a performance loss, as the engine is not receiving adequate lubrication.
You may experience reduced power, increased engine noise, or even overheating.
These symptoms occur because the leaking oil does not protect the engine’s moving parts, leading to increased friction and wear.
5. Oil Spots on Engine Components
If you pop the hood and notice oil spots or a glossy sheen on various engine components, such as the valve cover or the oil pan, it’s a sign that oil is seeping out from somewhere.
This can help you pinpoint the source of the leak and address it accordingly.
6. Illuminated Oil Pressure Warning Light
Most modern vehicles have an oil pressure sensor that monitors the oil pressure within the engine.
If the oil pressure drops below a certain threshold, often due to a significant oil leak, your dashboard’s oil pressure warning light will illuminate.
If you see this warning light, stop driving and investigate the issue immediately to prevent severe engine damage.
By familiarizing yourself with these signs and regularly inspecting your vehicle, you can catch oil leaks early and take the necessary steps to fix them before they cause significant harm to your engine.
Remember, if you suspect an oil leak, it’s always best to assess your vehicle with a professional mechanic to accurately diagnose and resolve it.
Common Causes of Oil Leaks
Oil leaks can be triggered by various factors, ranging from natural wear and tear to external damage and faulty installations.
Understanding these common causes can help you better identify and address leaks in your vehicle. Let’s dive into the details of each potential culprit.
1. Gasket and Seal Deterioration
Over time, engine gaskets and seals, such as the valve cover gasket and oil pan gasket, can deteriorate due to exposure to heat, pressure, and chemical reactions.
As these components age, they become brittle and lose their ability to seal properly, allowing oil to escape.
This is particularly common in older vehicles or those with high mileage.
Regularly inspecting and replacing worn gaskets and seals is crucial to preventing leaks and maintaining your engine’s health.
2. Damage from External Factors
Your vehicle’s oil system is not immune to external threats.
Road debris, such as rocks or debris kicked up by other vehicles, can strike and damage components like the oil pan, causing cracks or punctures that lead to leaks.
Environmental factors like extreme temperatures or moisture can also affect your engine’s components, accelerating wear and tear.
To minimize the risk of external damage, be cautious when driving on rough roads or in areas with loose debris, and park your vehicle in a sheltered area when possible.
3. Faulty Installation or Component Failure
Improper installation of engine components during maintenance or repairs can also lead to oil leaks.
If a gasket is not seated correctly or a bolt is overtightened, it can compromise the seal and allow oil to seep.
Additionally, damaged or failing components, such as the oil cooler/heat exchanger or oil pressure sensor, can contribute to leaks.
These issues often arise due to poor workmanship or the use of low-quality parts.
To avoid such problems, always entrust your vehicle to experienced professionals who use high-quality, original equipment manufacturer (OEM) parts.
4. Wear and Tear Over Time
Even with proper maintenance, the daily grind of driving can gradually wear down engine components, increasing the likelihood of oil leaks.
Stop-and-go traffic, frequent short trips, and extreme operating conditions can all accelerate this process.
Over time, the constant heat and pressure fluctuations can cause gaskets and seals to become brittle and less effective at containing oil.
Regular oil changes and inspections can help you avoid wear-related leaks by allowing you to identify and address potential issues before they become major problems.
5. Specific Component Failures
Certain engine components, such as the crankshaft and camshaft seals, are prone to leaks.
These seals are designed to keep oil in the engine but can fail due to age, wear, or improper installation.
When a crankshaft seal fails, you may notice oil pooling under your vehicle or dripping from the front or rear of the engine.
On the other hand, a leaking camshaft seal can cause oil to leak onto the timing belt or other components, leading to smoke or burning smells.
Promptly addressing these specific leaks is essential to avoid more extensive engine damage.
Diagnosing Oil Leaks
Identifying the source of an oil leak is crucial for effective repairs.
By following a systematic approach and checking the most common failure points first, you can quickly pinpoint the problem area and take the necessary steps to fix it.
Here’s a step-by-step guide to help you diagnose oil leaks accurately:
Here’s the expanded version of the step-by-step guide to diagnosing oil leaks:
Step 1: Clean the Engine
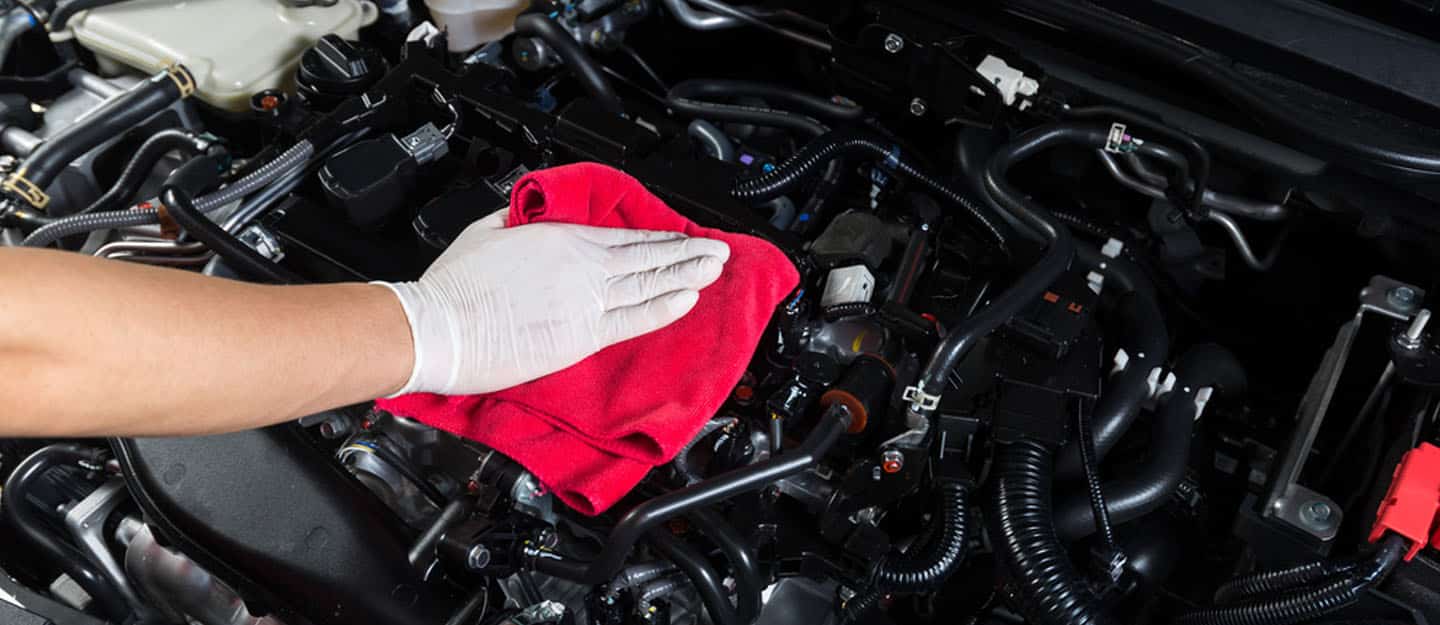
The first and most crucial step in diagnosing an oil leak is to clean the engine bay thoroughly.
Over time, dirt, grime, and old oil residue can accumulate, making it difficult to identify the source of a fresh leak.
To ensure an accurate diagnosis, use a degreaser to break down the buildup and a pressure washer to rinse it.
Be sure to cover any electrical components or sensors before spraying to avoid damaging them.
Once the engine is clean, you’ll have a clear view of any new leaks, making it easier to trace them back to their origin.
Step 2: Let the Engine Run
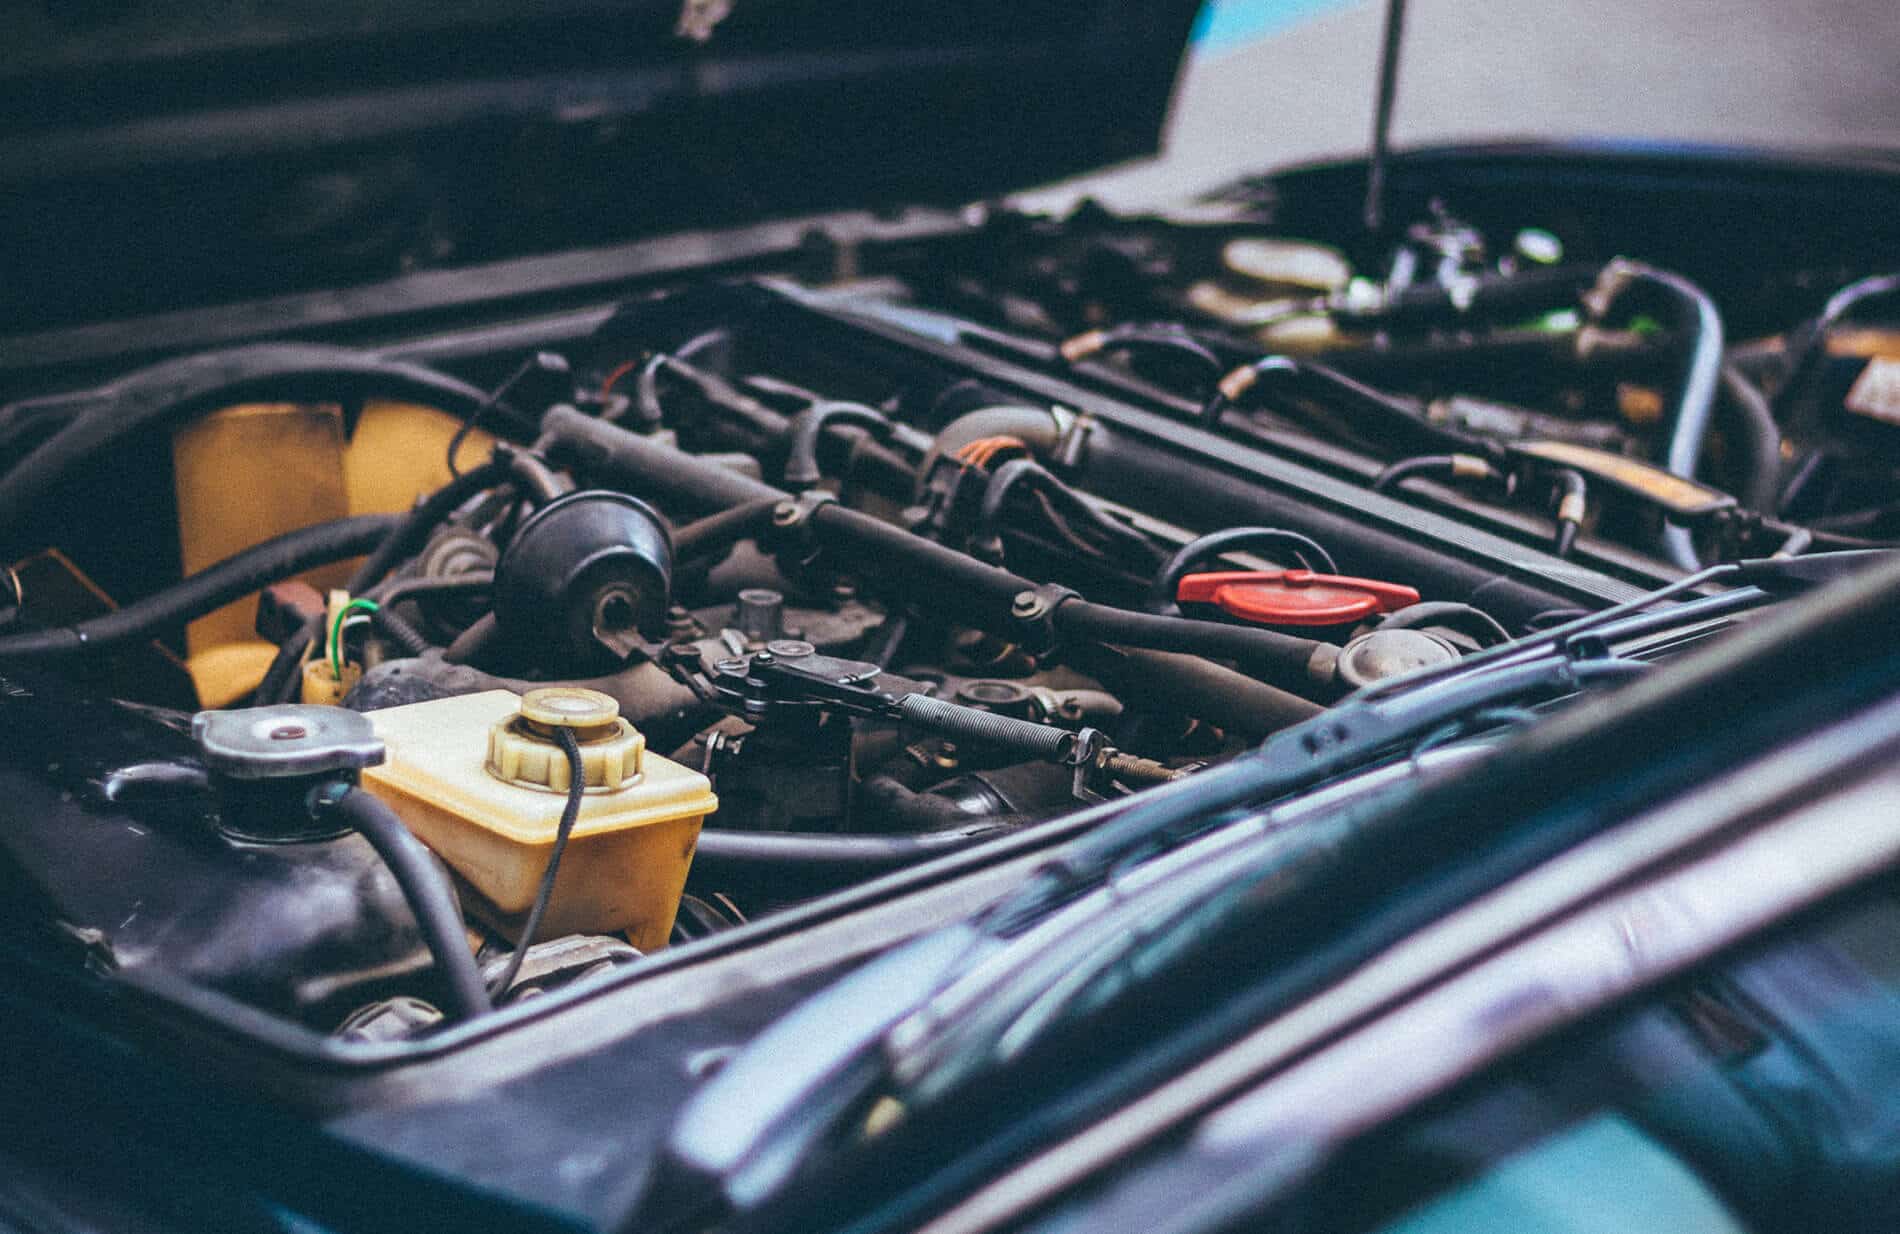
After cleaning the engine, start it up and let it run for several minutes.
This allows the engine to reach its normal operating temperature, essential for simulating real-world conditions.
Many leaks become more apparent when the engine is hot, as the heat causes the metal components to expand and can exacerbate any gaps or weaknesses in seals or gaskets.
As the engine runs, look for any visible smoke or a burning smell. This could indicate that oil is leaking onto hot engine parts, such as the exhaust manifold.
Step 3: Inspect Common Leak Points
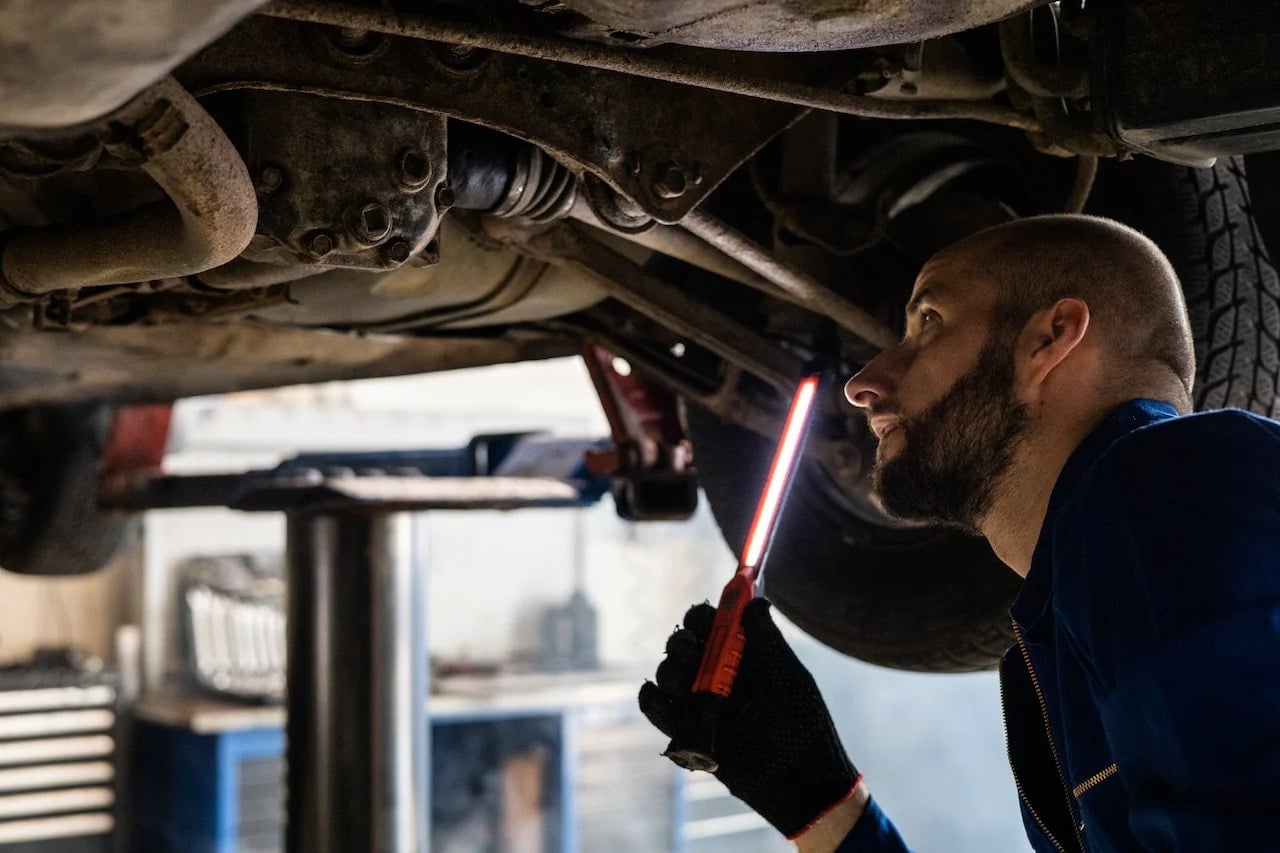
With the engine at operating temperature, begin your inspection by focusing on the most common areas prone to oil leaks.
Start with the oil drain plug, which is removed during every oil change. Check that it’s properly tightened and that the gasket or crush washer is in good condition.
Next, examine the oil filter for any signs of leakage around the base or sealing ring.
Move on to the valve cover gasket and oil pan gasket, looking for any visible seepage or accumulation of fresh oil.
Don’t forget to inspect the surrounding areas, as oil can sometimes travel along engine surfaces before dripping down.
Step 4: Check Less Common Areas
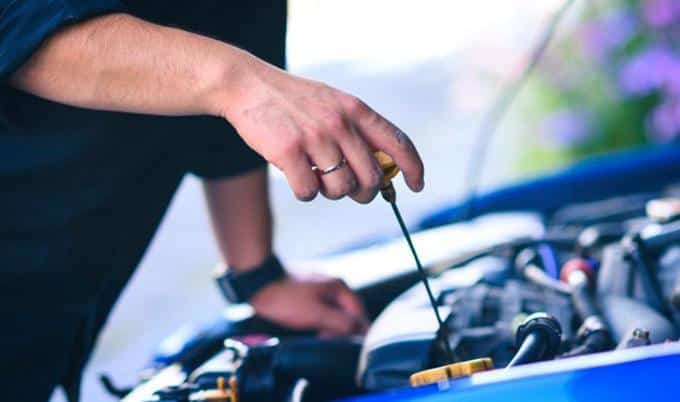
If you haven’t found the source of the leak in the common areas, it’s time to expand your search to other potential sources.
Start by inspecting the front and rear main seals, also known as crankshaft seals.
These seals can deteriorate over time, allowing oil to escape from the engine.
Next, check the timing cover seal for any signs of leakage, as well as the oil pressure sensor, which can sometimes develop leaks around its base.
Finally, examine the oil pan and cooler lines closely for any visible damage or cracks that could be causing the oil to leak.
Step 5: Use a Fluorescent Dye
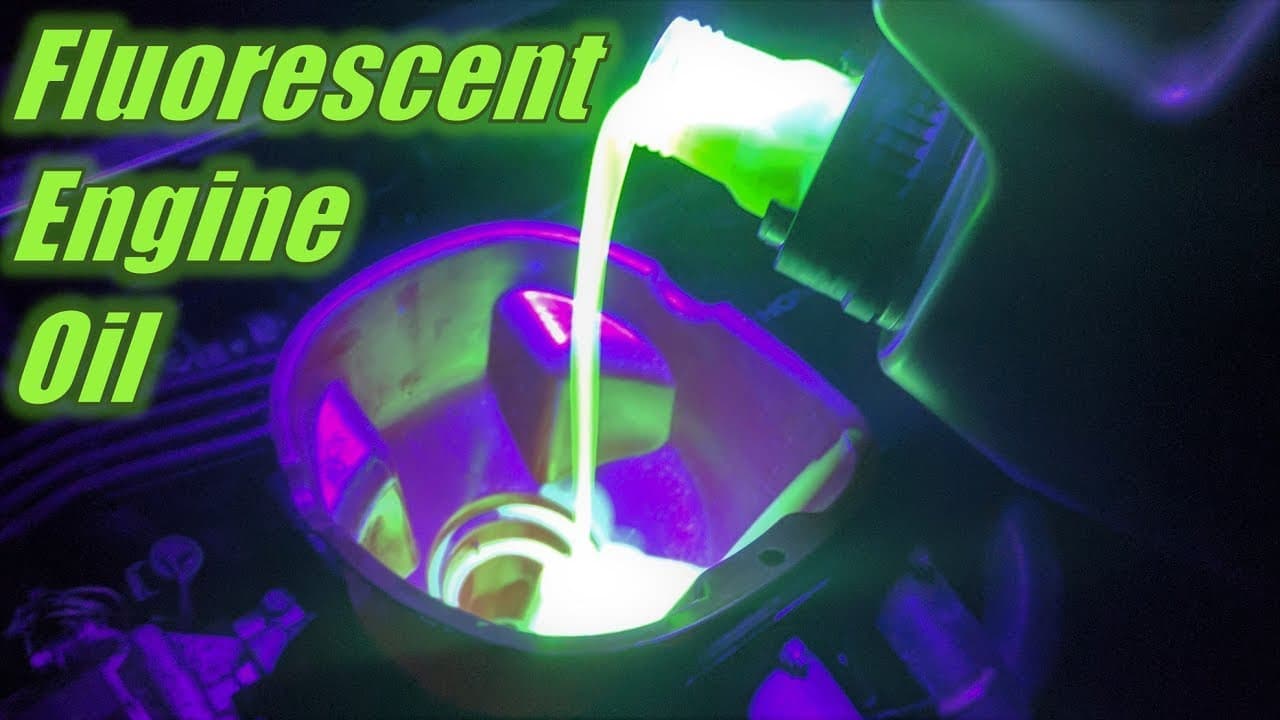
In some cases, the source of an oil leak can be challenging to pinpoint, even after a thorough visual inspection.
If you find yourself in this situation, using a fluorescent dye can be a helpful diagnostic tool.
Add the dye to your engine oil according to the manufacturer’s instructions, then run the engine for a short period to allow the dye to circulate.
Once the engine has cooled, use a UV light to scan the engine bay for any glowing traces of the dye.
This will help you identify the exact location of the leak, even if it’s hidden or hard to spot with the naked eye.
Step 6: Monitor Oil Levels
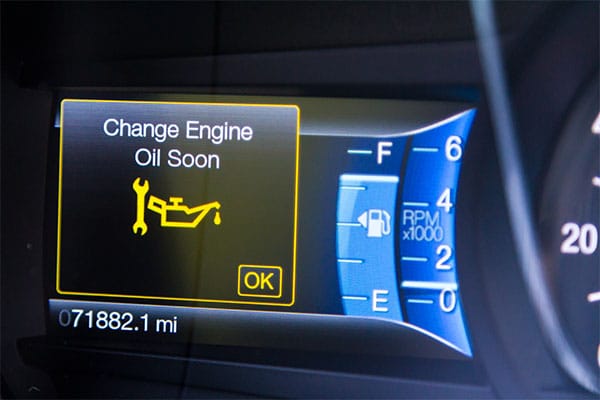
Throughout the diagnostic process, it’s crucial to keep a close eye on your engine’s oil levels.
Check the dipstick regularly, and note any significant drops in oil level between checks.
If you notice that your engine is losing a substantial amount of oil in a short period, it could indicate a more severe leak that requires immediate attention.
Neglecting to address a major oil leak can lead to engine damage, as the lack of proper lubrication can cause increased friction and wear on internal components.
Step 7: Seek Professional Help
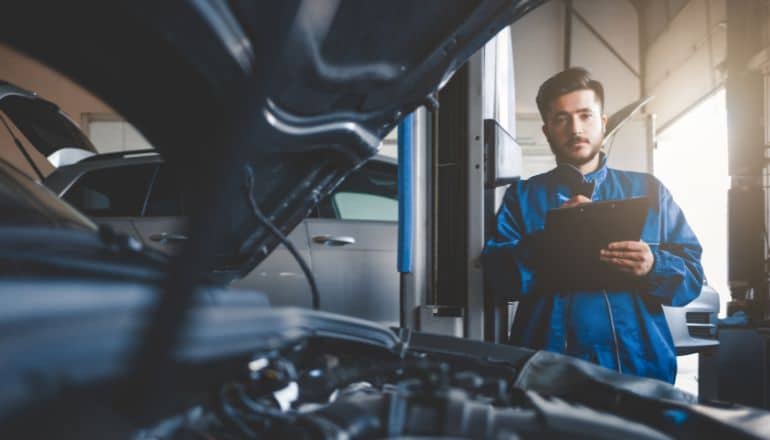
While diagnosing oil leaks can often be done at home with a bit of knowledge and patience, there may be cases where the problem is too complex, or the necessary repairs are beyond your comfort level.
If you’re unsure about your diagnosis or don’t feel confident attempting the repairs yourself, it’s always best to seek assistance from a professional mechanic.
They have the expertise, tools, and experience to accurately identify the source of the leak and perform the appropriate repairs, ensuring that your vehicle remains in optimal condition and preventing any further damage to your engine.
Remember, promptly addressing oil leaks is essential to prevent potential engine damage and ensure your vehicle’s longevity.
By following this step-by-step guide and maintaining a clean engine bay, you’ll be well-equipped to diagnose and tackle most oil leaks effectively.
Wrapping It Up
In summary, oil leaks can cause serious engine damage if left unaddressed.
Promptly identifying and fixing leaks is crucial for maintaining your vehicle’s performance and longevity.
Understanding the common causes of oil leaks and knowing how to spot the signs can help you catch problems early and prevent costly repairs.
If you suspect a leak, follow the step-by-step diagnostic guide provided in this article.
However, if you’re unsure or uncomfortable with the repair process, it’s best to consult a professional mechanic.
Taking swift action and properly maintaining your vehicle can save you time and money in the long run.
We hope this article has been helpful, and we encourage you to share your thoughts and experiences with oil leaks in the comments section below.

