
If you’re hoping to give your windows a clean, custom look without spending a fortune, making your own Roman shades is a great option.
These shades work beautifully in both modern and traditional spaces, and they offer a sleek finish that doesn’t feel bulky or fussy.
Even if you’re not an experienced sewer, you can handle this project with just some basic tools, patience, and the right steps.
In this guide, I’ll walk you through how to make Roman shades from scratch, with no visible stitching on the front, and no complicated techniques.
The result? A tailored, professional-looking shade that actually works and looks good every time you raise or lower it.
If you’re redoing one window or tackling a full room, this DIY approach can save you money while giving your home a truly personal touch.
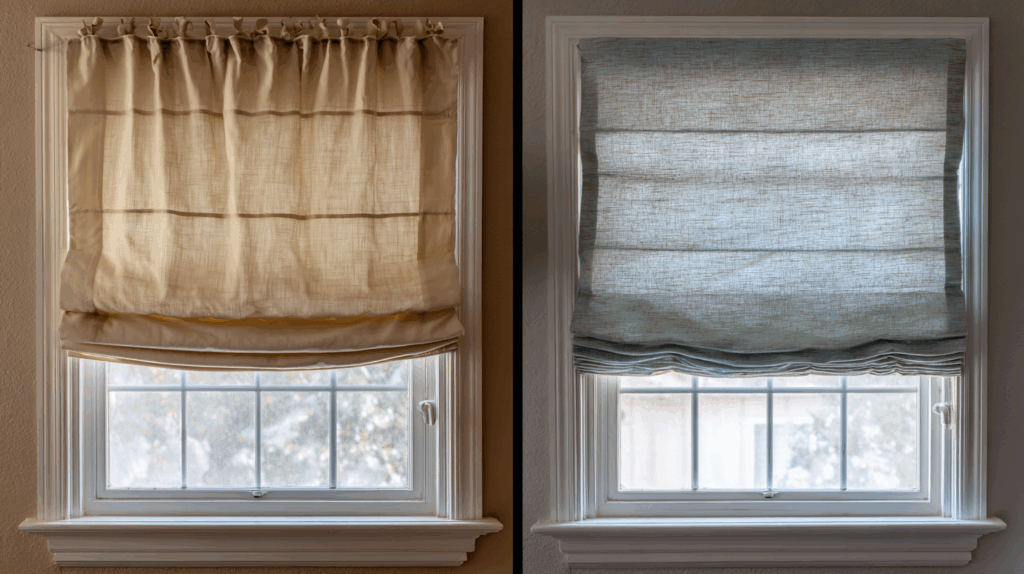
What Are Roman Shades?
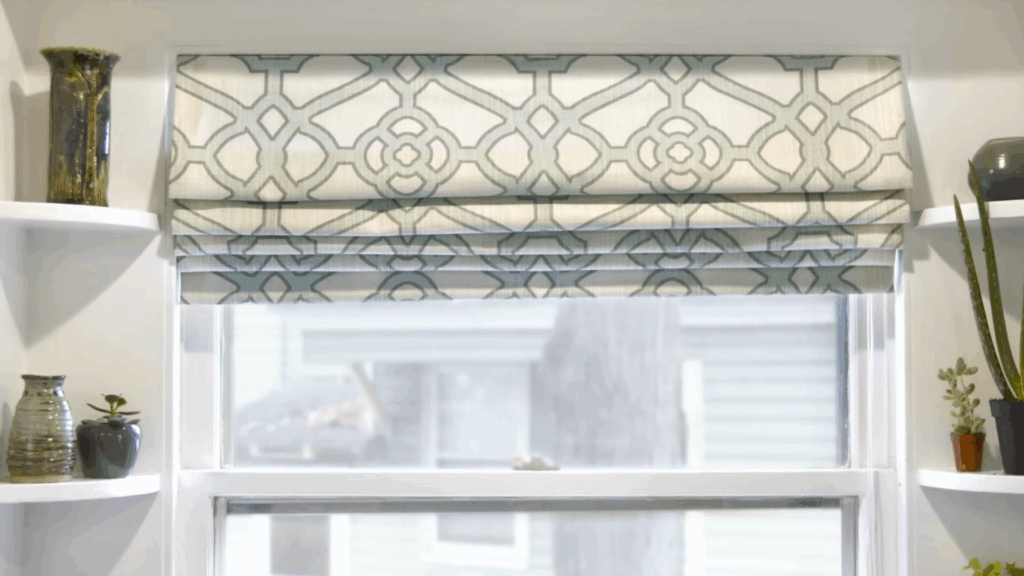
Roman shades are a type of fabric window covering that fold up neatly in horizontal sections when raised. Unlike traditional blinds with slats, Roman shades are made from one solid piece of fabric.
When you pull the cord, the fabric folds into soft pleats, creating a clean, stacked look at the top of the window.
They offer the softness of curtains but with the structured function of blinds. You can use light, sheer fabrics for a soft glow or heavier materials for privacy and light control.
Roman shades work well in bedrooms, kitchens, and living rooms, anywhere you want a simple, classic look that’s easy to operate and stays tidy, up or down.
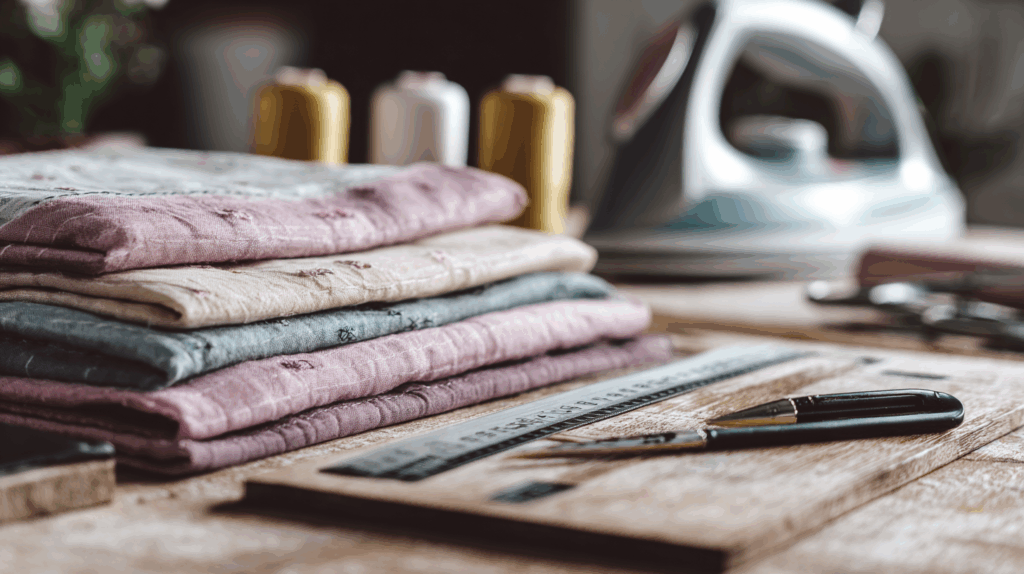
What You’ll Need to Make DIY Roman Shades
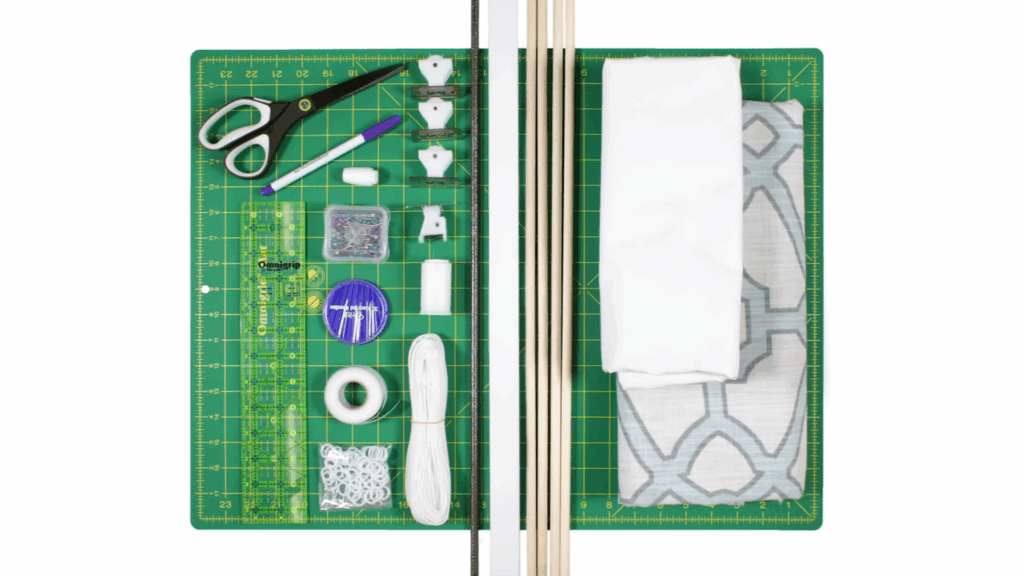
Before you begin, gather all the materials and tools. Having everything on hand makes the process smoother and saves time later.
I’ve created a complete list of everything that you’ll need to build your own Roman shade from scratch. You’ll need:
- Drapery fabric
- Drapery lining
- Wood dowels (3/8″ or 5/16″ thick)
- A 1×2 wood board
- A heavier dowel or metal rod for the bottom
- Blind cord
- Stitch witchery (5/8″)
- Rings
- Cord lock or cleat
- Pulleys or eye screws
- Optional pull end
- Thread, hand sewing needle, pins, ruler, fabric marker
- Scissors, a staple gun, a drill, screws, an iron, and a sewing machine
Once your materials are ready, it’s time to start crafting your custom Roman shade.
How to Make Roman Shades: Step-By-Step Instructions
Follow these steps to create your own Roman shade with minimal visible stitching and a clean finish. Each part builds on the last, so take your time and enjoy the process. When you’re done, you’ll have a professional-looking shade designed to fit your exact window.
Step 1: Measure and Cut Your Fabric and Lining

Start by cutting the 1×2 wood board to match the width of your window frame. This will be the finished width of your shade.
Then cut your drapery fabric 3 inches wider and 5 inches longer than the desired final size of your shade. For example, if your finished shade is 37 inches wide and 44 inches tall, cut your fabric to 40 by 49 inches.
Add a couple of extra inches to the height just to be safe.
For the lining, cut it one inch narrower than your finished shade width and the same height as your drapery fabric.
Step 2: Stitch the Drapery Fabric and Lining Together
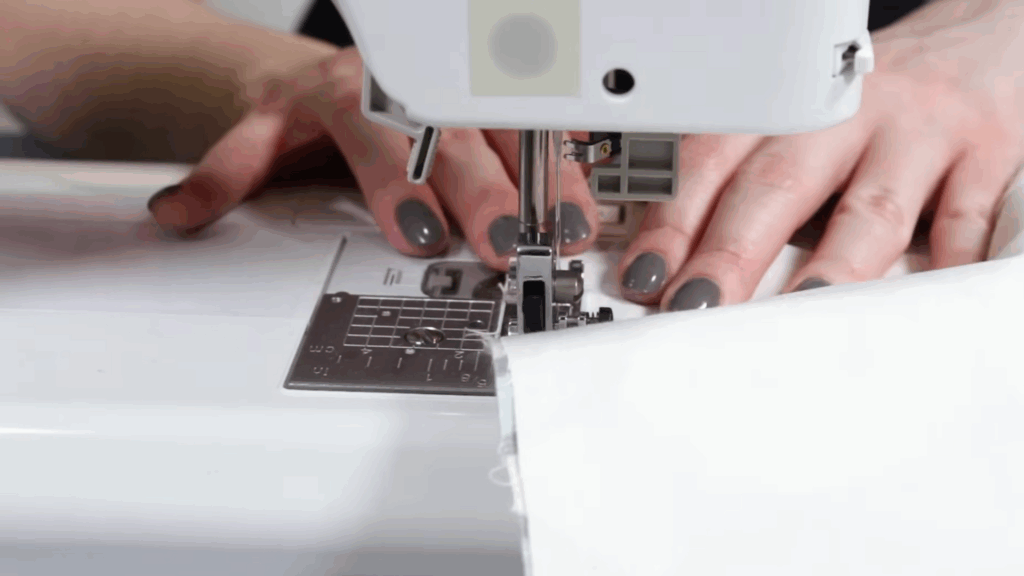
Place the drapery fabric and lining together with their right sides facing each other. Pin and sew down one side using a ½ inch seam allowance. Then pin and sew the other side.
Flip the fabric over and center the lining on the back so that there’s one inch of the drapery fabric showing on each side. Pin the bottom edge and sew with a ½ inch seam allowance.
Do the same at the top to keep everything aligned.
Step 3: Plan and Mark the Dowel Spacing
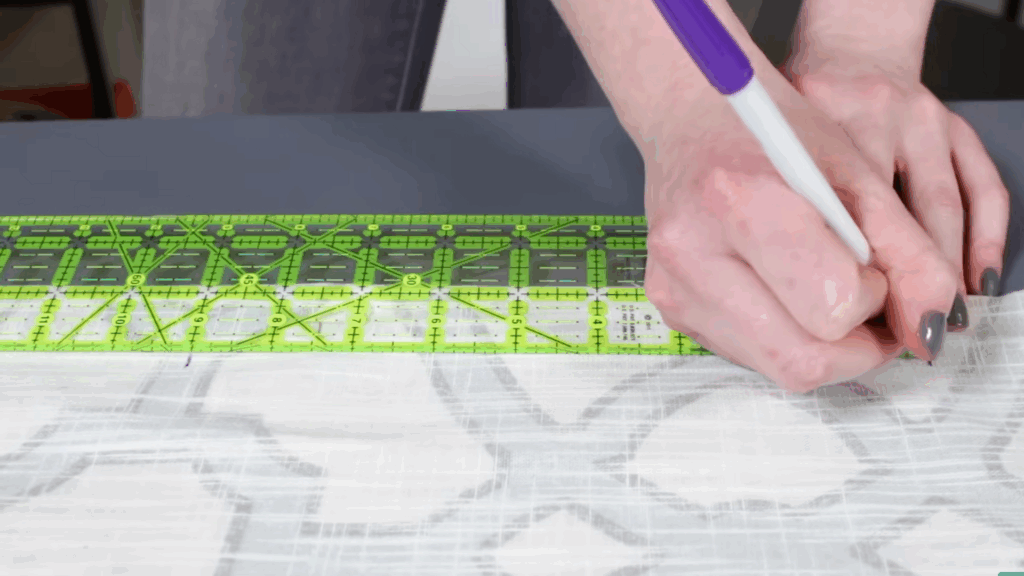
To create the folds, you’ll need to evenly space wood dowels up the back of the shade. Measure and mark where the dowels will go.
The spacing depends on the height of your window, but 8 to 12 inches apart is typical. From the bottom up, leave about half the spacing distance plus 1 inch below the last dowel.
Leave at least one full spacing section above the top dowel.
For example, if your window is 44 inches tall and you’re spacing the dowels 9 inches apart, you’ll want 5½ inches at the bottom and 11½ inches at the top.
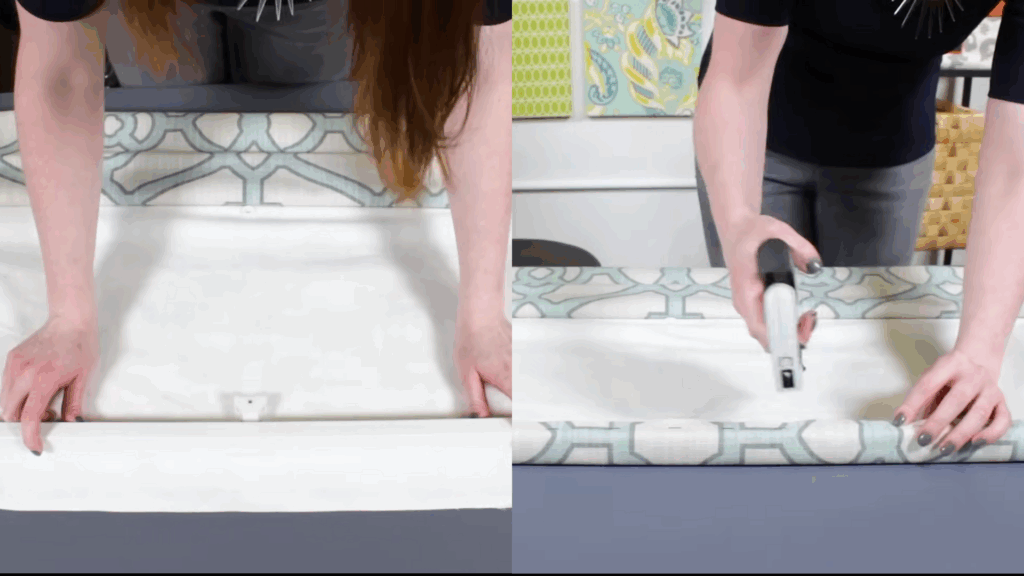
Step 4: Create the Dowel Pockets Using Stitch Witchery

Cut 2-inch-wide strips of your lining fabric, one for each dowel. Fold each strip in half lengthwise and iron the crease. Then sew the raw edges together using a ¼ inch seam.
Place a strip of Stitch Witchery along the seam side and position it on the shade where you marked your dowel locations. Make sure the seam sits centered over the line. Use a steam iron to bond the strip to the fabric.
Repeat for all the dowel positions. This method keeps the front of your shade smooth, without any visible stitching.
Step 5: Insert Dowels and Hem the Bottom
Turn the shade right side out and gently push out the corners. Slide the dowels into the pockets you just created. At the bottom, fold up a 2½ inch hem and iron it flat.
If you prefer a clean look on the front, use your sewing machine’s blind hem stitch.
Otherwise, a straight stitch will do. Make sure to fold the hem under slightly so about ¼ inch of the fabric edge is tucked in.
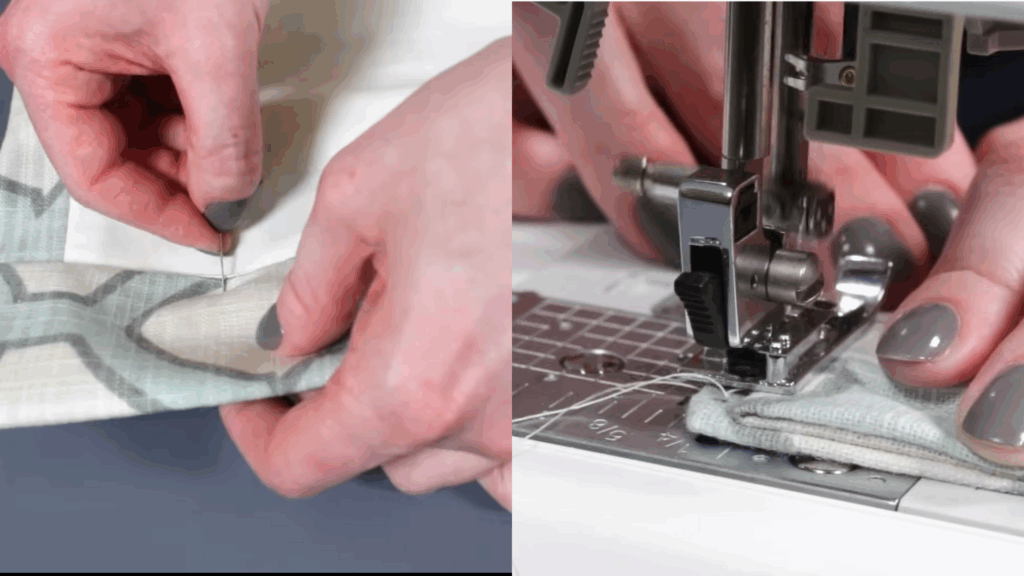
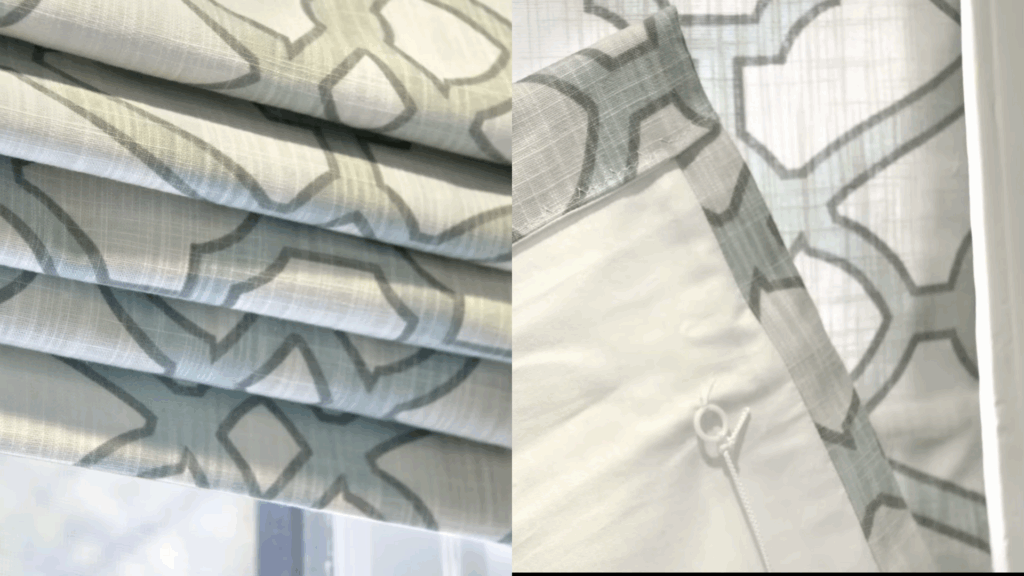
Step 6: Attach Rings for the Cord System
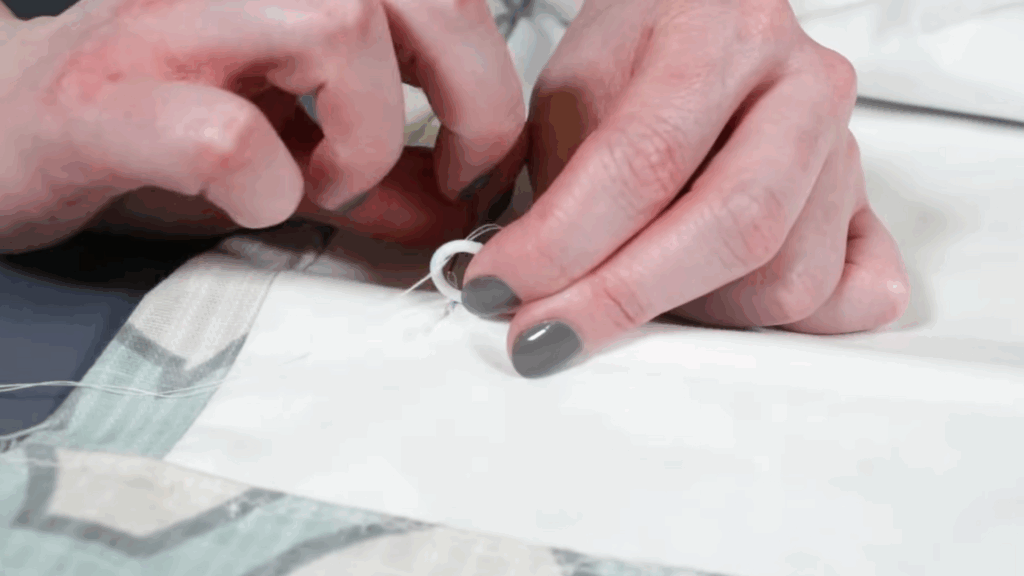
Now it’s time to add rings that guide the lifting cords. For each dowel, sew a ring near the ends, leaving room for pulleys and one in the center for stability if your shade is wider.
Use a needle and thread to secure the ring to both the lining and the dowel underneath. Stitch around the dowel once or twice to anchor it. Repeat for all the rings across all dowels.
Step 7: Insert Bottom Rod and Close the Hem
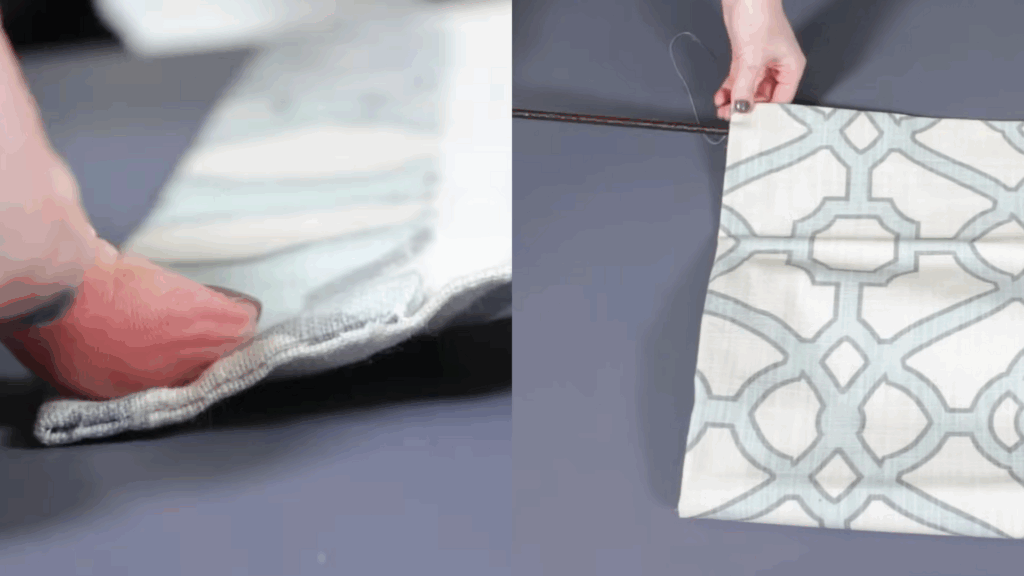
Sew the side edges of the hem closed, but leave a small gap at the top of one side. Insert the heavier metal rod or wood slat through this gap into the bottom of the shade.
Once it’s in place, finish stitching the opening closed.
Step 8: Prepare the Mounting Board
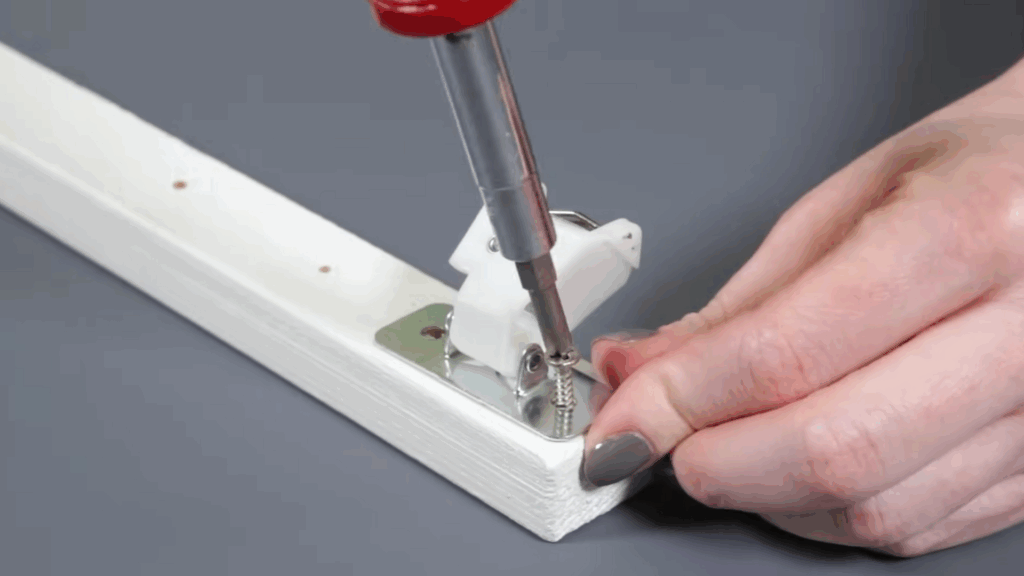
Position the shade on the board, lining up the top of the shade with the edge of the board. Mark where each ring’s cord will run up into a pulley.
Mount pulleys at these spots, and install the cord lock at one end of the board. Drill pilot holes for the pulleys, cord lock, and window mounting. Then, screw all the hardware into place.
Step 9: Mount the Shade Fabric to the Board
Wrap the top edge of the shade fabric around the board and staple it in place along the back. Make sure the top is straight and smooth.
Trim off any extra fabric, and press down any raised staples with a hammer if needed.
Step 10: String the Cord System
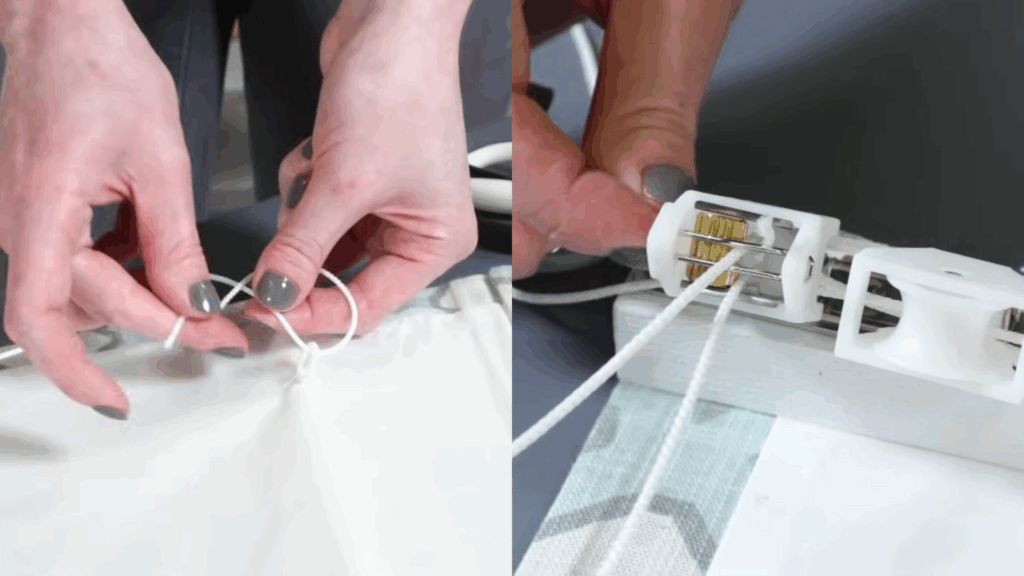
Start at the bottom ring on the side opposite the cord lock. Thread the cord up through all the rings and across the pulleys, leaving a few extra feet beyond the cord lock. Tie the cord to the bottom ring.
Repeat this for the center and other side cords.
If you’re using a cord lock, tilt the roller to thread each cord through the gap and exit slot. You can knot the cords, use a decorative pull, or combine them into one with a cord condenser.
If you’re using eye screws and a cord cleat instead, run the cords through the eyes and tie them off.
Step 11: Mount the Shade and Finish
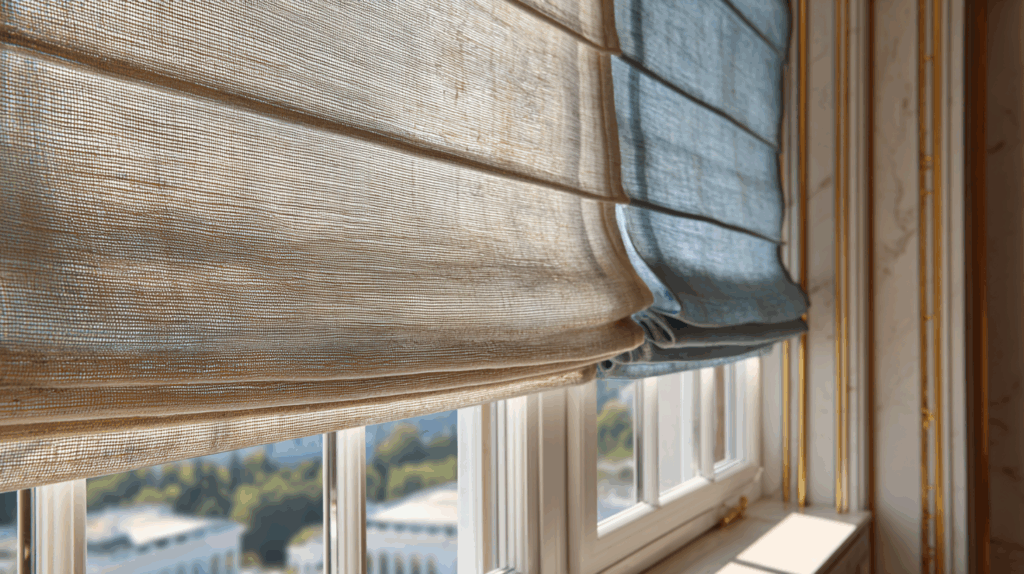
Screw the mounting board into your window frame using the pilot holes you drilled earlier. Once installed, gently raise and lower the shade a few times to train the folds into place.
After that, your Roman shade will lift smoothly and look beautifully finished.
Making your own Roman shade may take a bit of time, but the results are completely worth it. You’ve built something from scratch that fits your space perfectly, and it works just like the high-end versions.
Now every time you raise or lower it, you’ll know exactly how it came together, stitch by stitch.
You can also check out @OnlineFabricStoreon YouTube to see these steps visually.
The link to the full video tutorial is below:
Customizing Your DIY Roman Shades
Making your own Roman shades means you can tailor every part to match your style and needs. From fabric to finishes, below are simple ways to customize them:
- Pick any fabric: Use bold prints for a statement or go with soft neutrals for a calm, timeless look.
- Blend your hardware: Paint or wrap the wood mounting board so it matches your trim or wall color.
- Skip visible seams: Use products like Stitch Witchery for a clean, no-sew finish.
- Adjust the folds: Change dowel spacing for tighter or looser pleats, depending on how structured you want it to look.
- Add finishing touches: Try a decorative pull at the bottom or use a cord condenser for a tidy, organized lift cord setup.
- Match your style: Whether you want something rustic, modern, or classic, your design choices shape the final result.
Let me know if you want it even shorter or more detailed.
Smart Tips to Make Your Roman Shades Better
There are a few things I found really helpful while making these shades, small steps that made a big difference in how neat and functional they turned out. Here are a few practical tips to keep in mind.
- Measure the window and fabric carefully for a snug, even fit.
- Iron every seam and fold, as this keeps the fabric crisp and easier to work with.
- Use a ruler to align the stitch witchery strips straight across.
- Mark pulley and cord lock positions before drilling anything.
- Practice blind hem stitching on scrap fabric if it’s your first time.
- Raise and lower the shade a few times after hanging to train the fabric folds.
Take it slow, double-check your placements, and trust the process, and your shade will turn out great.
What to Avoid When Making Roman Shades
I ran into a couple of small mistakes that could’ve easily been avoided with a little extra care. These are some things worth steering clear of while making your Roman shade.
- Don’t rush the cutting, as fabric that’s too small can’t be fixed later.
- Avoid skipping the ironing step; it keeps everything aligned and sharp.
- Don’t place rings or pulleys too close to the edges, as they might cause snags.
- A light dowel at the bottom won’t weigh the fabric down evenly.
- Never skip stitching the rings through both fabric and dowel.
- Make sure the cord lock or cleat is facing the right way before screwing it in.
Avoiding these few missteps will help your shade work smoothly and look polished from day one.
Conclusion
Making your own Roman shades isn’t just about saving money, as it’s about creating something that truly fits your style and space.
You get to choose the fabric, finish, and function, all while learning a skill that’s both creative and practical.
I’ll admit, it takes a little patience and planning, but once you step back and see that clean, custom shade hanging in your window, it’s worth every minute.
Updating a single room or refreshing your entire home, this project allows you to add a personal touch that store-bought options simply can’t match.
So take your time, enjoy the process, and don’t worry about small imperfections. You made it yourself, and that’s what makes it feel just right in your home.