
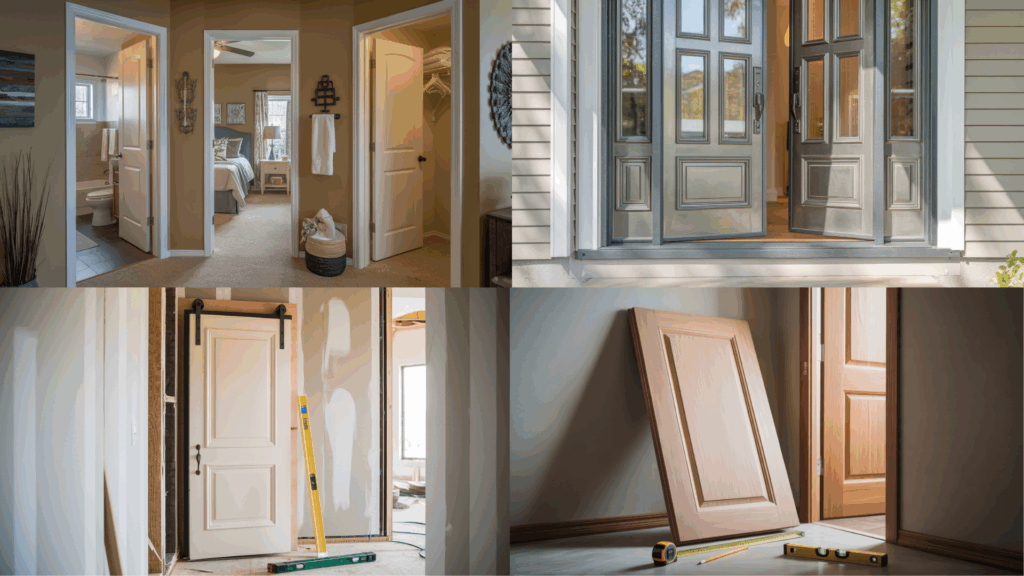
When I first started working on home projects, I thought hanging a door would be as simple as buying one, cutting a hole, and installing it.
Then I learned the hard way: if the rough opening isn’t right, everything else goes wrong. The door won’t close smoothly, the frame could shift, and you might even be stuck redoing the whole thing.
If you’re in the same boat, maybe building a wall, replacing an old door, or just planning ahead, getting the right measurements from the start will save you a ton of stress.
In this guide, I’ll walk you through what a rough opening is, the standard measurements for different types of doors, and the mistakes you’ll want to avoid.
No matter if you’re working with an interior or exterior door, prehung or slab, I’ve got you covered.
What Is a Door Rough Opening?

Let’s start with the basics.
A rough opening is the framed space in your wall where the door and frame will eventually go.
It’s intentionally a bit larger than the actual door itself, usually about 2″ wider and 2.5″ taller, to leave room for the frame (also called the jamb), shims, and any necessary adjustments.
For example, if you have a 30″ wide by 80″ tall door slab, the rough opening should be approximately 32″ wide and 82.5″ high.
This space makes installation easier and ensures the door operates properly once it’s installed.
Think of it like a pocket for the door system. If that pocket is too tight or out of square, you’re going to run into issues like sticky doors, crooked frames, or even drafts in the case of exterior doors.
Standard Rough Opening Sizes by Door Type
Here’s where things get more specific. Rough opening sizes depend on whether you’re installing an interior door, an exterior one, or using a prehung or slab version.
1. Interior Doors
For the inside of your home, like bedrooms, bathrooms, or closets, you’re most likely working with lightweight, hollow-core doors.
These typically come in a few standard sizes:
| Door Slab Size | Rough Opening Size |
|---|---|
| 24″ x 80″ | 26″ x 82.5″ |
| 28″ x 80″ | 30″ x 82.5″ |
| 30″ x 80″ | 32″ x 82.5″ |
| 32″ x 80″ | 34″ x 82.5″ |
| 36″ x 80″ | 38″ x 82.5″ |
These rough openings give you the wiggle room needed to shim the frame so the door hangs level.
I always double-check my floor plan and existing wall studs before framing anything, which saves a lot of hassle later.
2. Exterior Doors
Exterior doors are a different story. They’re heavier, thicker, and come with extras like weather stripping, insulation, and thresholds.
| Door Slab Size | Rough Opening Size |
|---|---|
| 36″ x 80″ | 38″ x 82.5″ |
| 36″ x 84″ | 38″ x 86.5″ |
| 32″ x 80″ | 34″ x 82.5″ |
Because these doors deal with the elements, that extra room around the frame is even more important.
Don’t forget to factor in space for the threshold at the bottom, especially if you live in an area with a lot of rain or snow.
3. Prehung Doors
Prehung doors come already attached to a jamb, so they’re much easier to install as a unit. These are my personal favorites for remodeling projects.
When using a prehung door, the rough opening needs to be about 2″ wider and 2.5″ taller than the door size.
Example: A 30″ x 80″ prehung door → Rough Opening: 32″ x 82.5″
This makes room for the entire frame and lets you adjust the door during installation so it’s level and plumb.
4. Slab Doors
Slab doors are just the door panel, no frame, no hinges, no nothing.
If you’re replacing an interior door and your frame is still in good shape, this is usually the best route.
But be careful: If the frame is warped or out of square, hanging a slab door can become a real challenge.
You won’t need to adjust the rough opening, but you’ll want to measure the existing frame precisely.
Framing Guidelines for Rough Openings
Framing your rough opening the right way makes all the difference. Here’s what I always keep in mind when I’m setting things up:
- King Studs go full height and support the entire structure on each side.
- Jack Studs (or trimmers) are shorter and support the header.
- The header spans across the top of the opening, especially important for load-bearing walls.
- Cripple Studs fill in the space above the header to the top plate.
And don’t forget:
- Always use a level.
- Check both plumb (vertical) and square (corners).
- Make sure to account for your flooring if it hasn’t been installed yet. I’ve made the mistake of framing for a door before putting in tile, and ended up with a huge gap at the bottom.
For a standard 80″ door, your rough opening should be about 82.5″ tall to accommodate the jamb and a bit of clearance.
For width, just add 2″ to the door slab size.
Common Mistakes to Avoid
Even if you follow all the charts and guides, there are still a few pitfalls to watch for. Here are some I’ve either made myself or seen too many times to count:
- Forgetting the Subfloor: If you measure from the subfloor instead of the finished floor, your door could end up too short or scraping the ground.
- Too Tight of a Fit: I know it’s tempting to make it “just snug,” but doors need space to be adjusted. Shimming is essential, and you’ll regret it if you don’t have room to work.
- Ignoring the Level: Even a tiny tilt can throw off the swing of your door. Use a good level, and don’t eyeball it.
- Wrong Header Size: In load-bearing walls, don’t guess. Check the code or consult a contractor to be sure the header can carry the load.
- Not Reading Manufacturer Instructions: Some doors come with special requirements. I always give the label or install sheet a once-over before framing.
Door Rough Opening Size Chart
Here’s a table I like to keep on my garage wall for quick reference:
| Door Type | Slab Size (in) | Rough Opening (in) |
|---|---|---|
| Interior | 30 x 80 | 32 x 82.5 |
| Exterior | 36 x 80 | 38 x 82.5 |
| Prehung | 32 x 80 | 34 x 82.5 |
| Slab (existing frame) | Match existing | N/A |
Bonus Considerations: Codes & Regional Factors
Before you start framing, take a quick peek at local building codes.
I live in an area where fire-rated doors are required between the garage and the main house.
That changes the door type, and sometimes even the rough opening dimensions.
Also:
- ADA-compliant doorways need a wider opening (typically 36″ minimum finished width).
- If you’re in a humid or coastal region, materials can swell. You may want to add extra margin or use composite jambs.
Conclusion
Getting your rough opening right is one of those foundational steps that makes everything else easier.
When you leave the right amount of room for the jamb, for shimming, for adjustments, you end up with a door that opens smoothly, seals properly, and just feels “right.”
No matter if you’re building a wall from scratch or just trying to install a prehung door in your hallway, don’t rush the framing.
Use the right measurements, take your time with the level, and always leave a little room to adjust.
If this guide helped you out, let me know.
I’m happy to share a printable cheat sheet or even walk through a door install in a future post.