
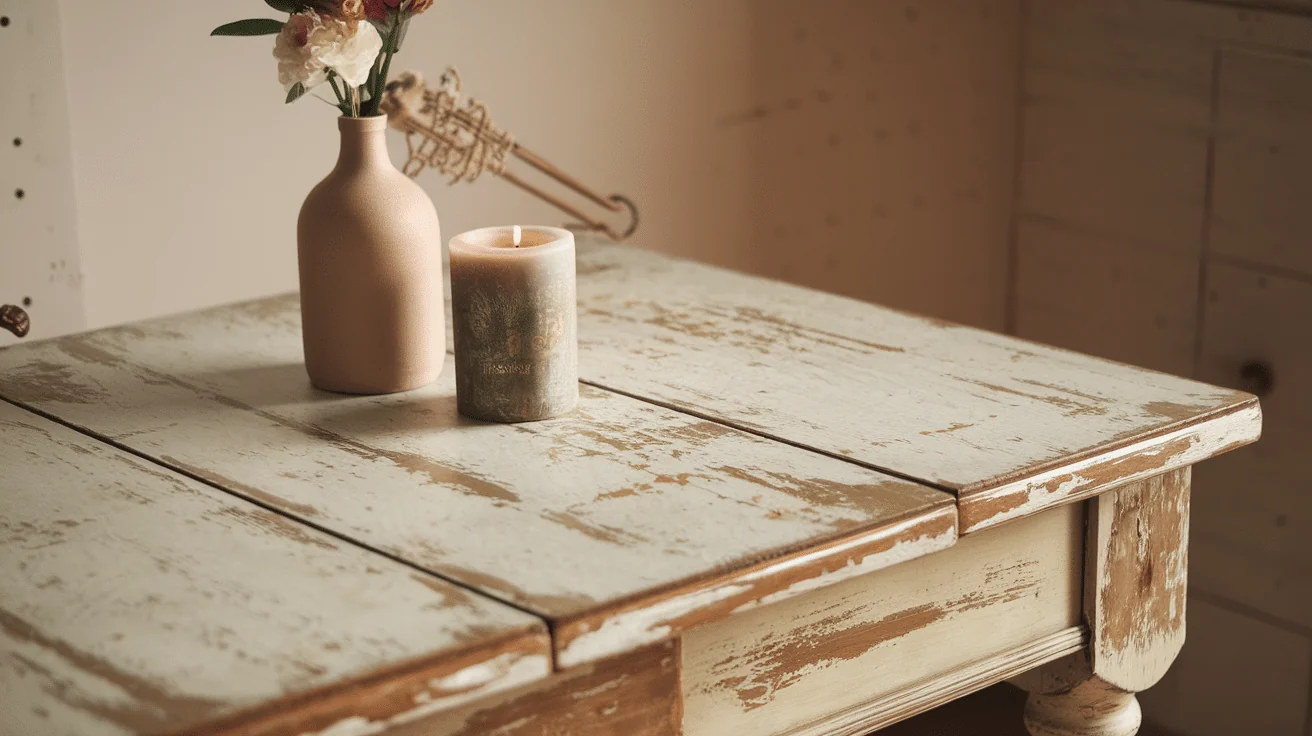
Have you ever tried getting that beautiful sun-bleached look on your wooden furniture only to end up with something that looks… well, wrong? You’re not alone.
In this guide, I’ll walk you through the exact steps to create that gorgeous, light-washed wood finish you’ve been dreaming about. No more guesswork or ruined projects.
I’ve been refinishing furniture and have made every mistake possible so you don’t have to. The techniques I’m sharing have been tested on dozens of wood types in my workshop.
If you’re looking to brighten up dark furniture, create a coastal vibe, or refresh tired wood pieces, you’ll find your solution here.
This isn’t complicated – with the right products and simple steps, you’ll be transforming wood like a pro by this weekend.
erstanding the Process: Bleached Wood
I want to help you grasp the basics of wood restoration before you begin your project. Let’s break down what stripping and bleaching actually involve.
What Stripping and Bleaching Entail
Stripping removes old finishes from your furniture. I use chemical strippers that dissolve varnish, paint, or lacquer from the wood surface. These chemicals break down the finish so you can scrape it away, revealing the bare wood underneath.
Bleaching is completely different. It lightens the wood’s actual color. When I bleach wood, I’m not removing anything—I’m changing the natural pigments in the wood fibers.
Think of it this way: Stripping removes what’s on top of the wood. Bleaching changes the wood itself.
The Key Differences
Here’s how they differ:
- Stripping: targets man-made finishes (varnish, paint, stain)
- Bleaching: targets the natural color of the wood
You might need both or just one. It depends on your goals.
Important Factors to Consider
Before you start, ask yourself these questions:
- What type of wood am I working with? Oak responds differently than maple or pine.
- How old is my furniture? Antiques require extra care. Don’t rush this decision.
- What’s currently on the surface? Paint needs different strippers than shellac or polyurethane.
Not all woods bleach evenly. Some, like cherry and mahogany, might get blotchy, while others, like oak and ash, usually bleach beautifully.
Remember this: You can always go darker later, but you can’t undo excessive bleaching. Start gradually.
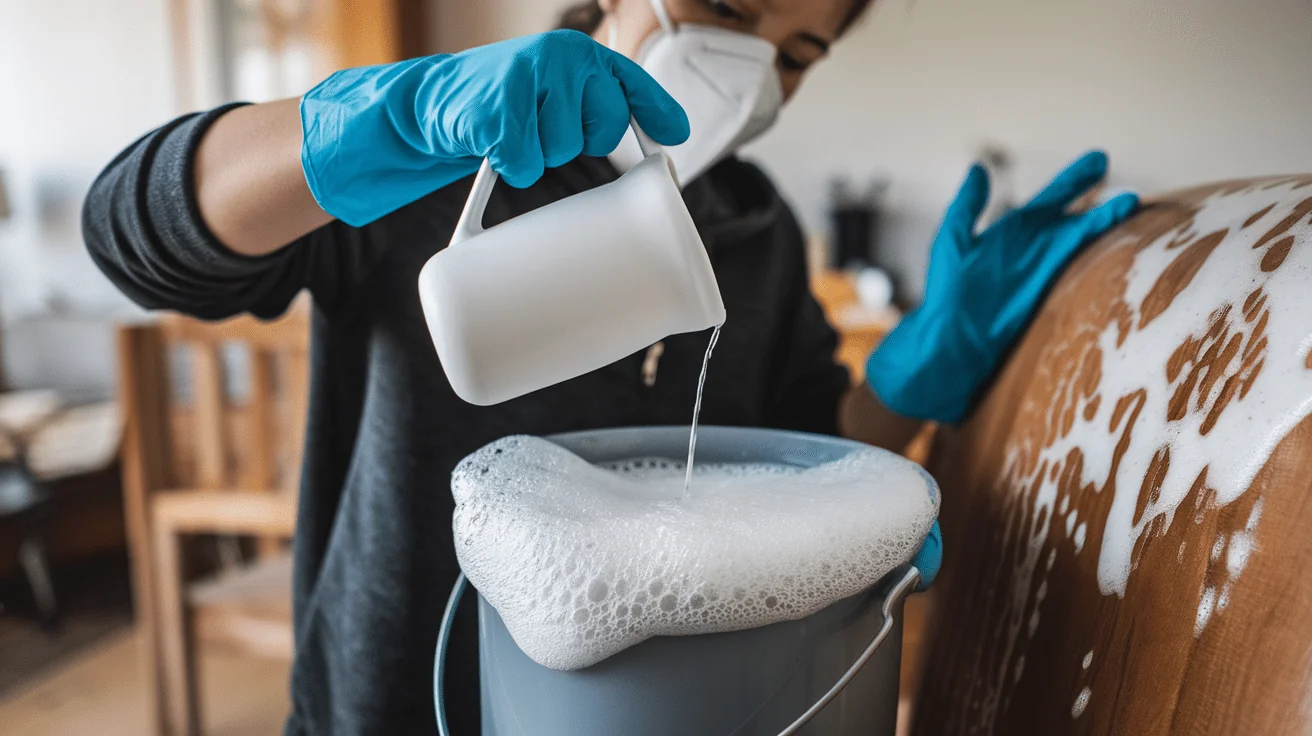
Required Supplies and Tools

Before I start stripping paint, I always gather everything I need. You’ll want to do the same. Having the right tools makes all the difference between a smooth project and a frustrating one.
- Paint stripper (gel formula works best on vertical surfaces)
- Neutralizer (to stop the chemical action)
- Clean water
- Stiff plastic scraper
- Wire brush
- Sandpaper (medium and fine grit)
- Clean rags or paper towels
- Plastic drop cloths
- Brushes for applying stripper
But that’s not all.
Protective Gear
Your safety matters most.Never skip these items:
- Chemical-resistant gloves
- Safety goggles
- Long sleeves and pants
- Respirator mask (rated for chemical fumes)
- Good ventilation or fans
Recommended Brands
I’ve tried many products over the years. These work well:
- Citristrip (less toxic, orange scent)
- Smart Strip by Dumond (eco-friendly)
- Klean-Strip Premium (strong, works fast)
- 3M respirators (worth the extra cost)
- Nitrile gloves by Venom Steel (chemical resistant)
Helpful Extras
- Plastic containers for used stripper
- Old toothbrushes for detailed areas
- Utility knife for cleaning corners
- Bucket of clean water
- Spray bottle for neutralizer
Set everything up before you begin. Your future self will thank you!
Preparing Your Workspace
Setting up properly saves me time and headaches later. You’ll need a good space before touching any chemicals or tools.
Choosing Your Area
Location matters more than you think. I always look for:
- Good airflow (open windows on opposite sides work best)
- Space to move around the furniture or item
- Access to water
- No food, pets, or children nearby
Never work in a closed room. The fumes can be dangerous.
Protection Zone
I cover everything I don’t want stripper on:
- Plastic sheeting on floors (tape down the edges)
- Drop cloths on nearby furniture
- Cardboard under project legs
- Tape along the edges of walls or trim
- Extra covering on walkways
One drip can ruin a floor. Better safe than sorry!
Setting Up For Success
- Position your work at waist height if possible
- Set up a fan blowing outward through a window
- Place your supplies within easy reach
- Create a designated “clean zone” for breaks
- Have a garbage bag ready for used materials
Lighting Check
Poor lighting leads to mistakes. I make sure to:
- Work during daylight when possible
- Add extra lamps pointing at my work area
- Avoid shadows where I might miss spots
- Keep light sources away from chemicals
Put on your safety gear before bringing in chemicals. Once you’re ready, your workspace should feel organized and safe.
Step-by-Step Guide to Stripping and Bleaching
Ready to give your furniture a fresh, natural look? This simple guide walks you through safely stripping old finishes and lightening wood using easy-to-find products. No fancy tools are needed—just a little time, the right gear, and some elbow grease.
Step 1: Cleaning the Furniture Surface

I always start with a clean slate. You should remove all hardware first – those knobs and pulls get in the way.
Dust and dirt will ruin your results. Wipe everything down with:
- Mild soap and water
- A clean, damp cloth
- Special attention to corners and crevices
Let the piece dry completely before moving to the next step. This might take an hour or so.
Step 2: Applying a Paint or Varnish Stripper
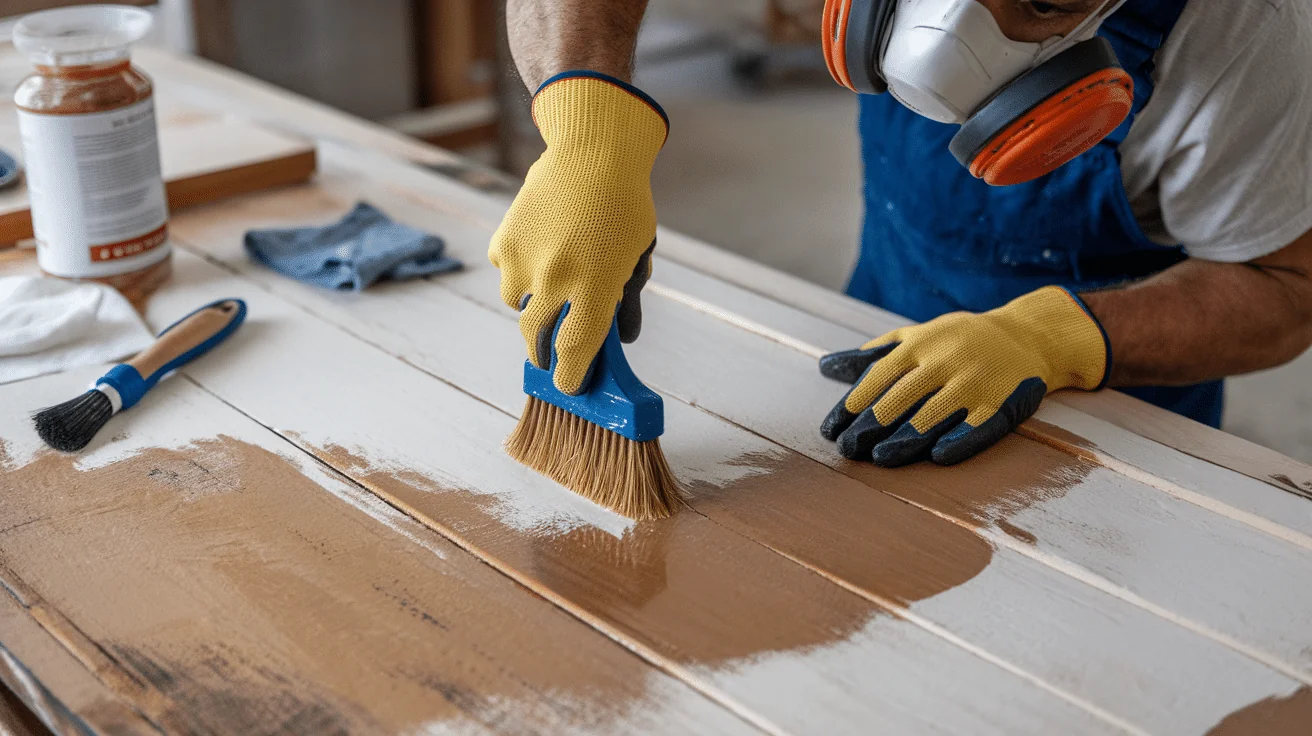
Choosing the right stripper makes all the difference. I look at what I’m removing:
- For thick paint: Stronger chemical strippers
- For light varnish: gentler, eco-friendly options
- For detailed areas: Gel formulas that cling to vertical surfaces
Apply it thick! A thin layer won’t work well. I use:
- A cheap brush with natural bristles
- Even strokes in one direction
- Extra product in carved areas
Wait until the mixture bubbles up. Depending on your product, this takes 15-30 minutes. Some stubborn finishes might need a second coat.
Step 3: Scraping and Removing Old Finishes
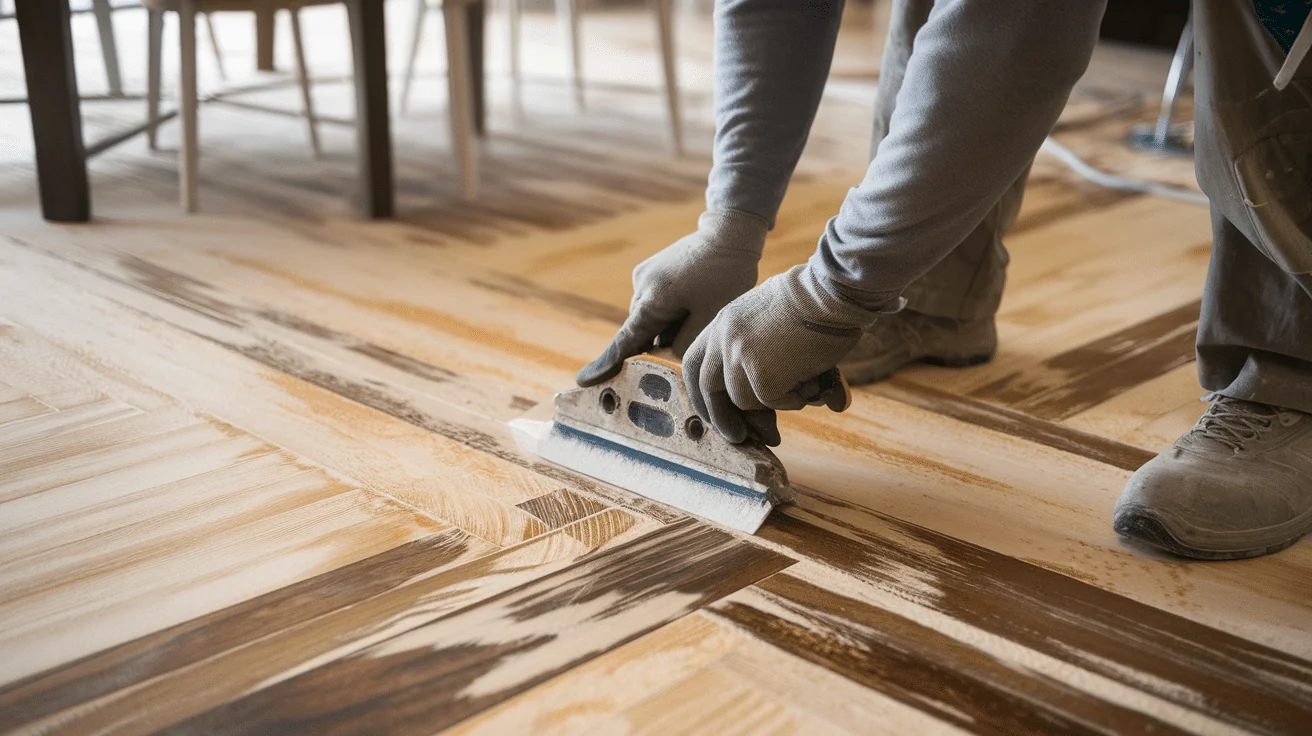
Now comes the satisfying part. The finish should look wrinkled or bubbled.
I scrape with:
- Plastic scraper for flat areas
- Wooden craft sticks for curves
- An old toothbrush is used for detailed spots
Work in small sections. Don’t let the stripper dry out. If it starts to dry, apply more right away.
Collect the goop in a newspaper or old containers. This stuff isn’t good for drains!
Step 4: Sanding Down the Wood
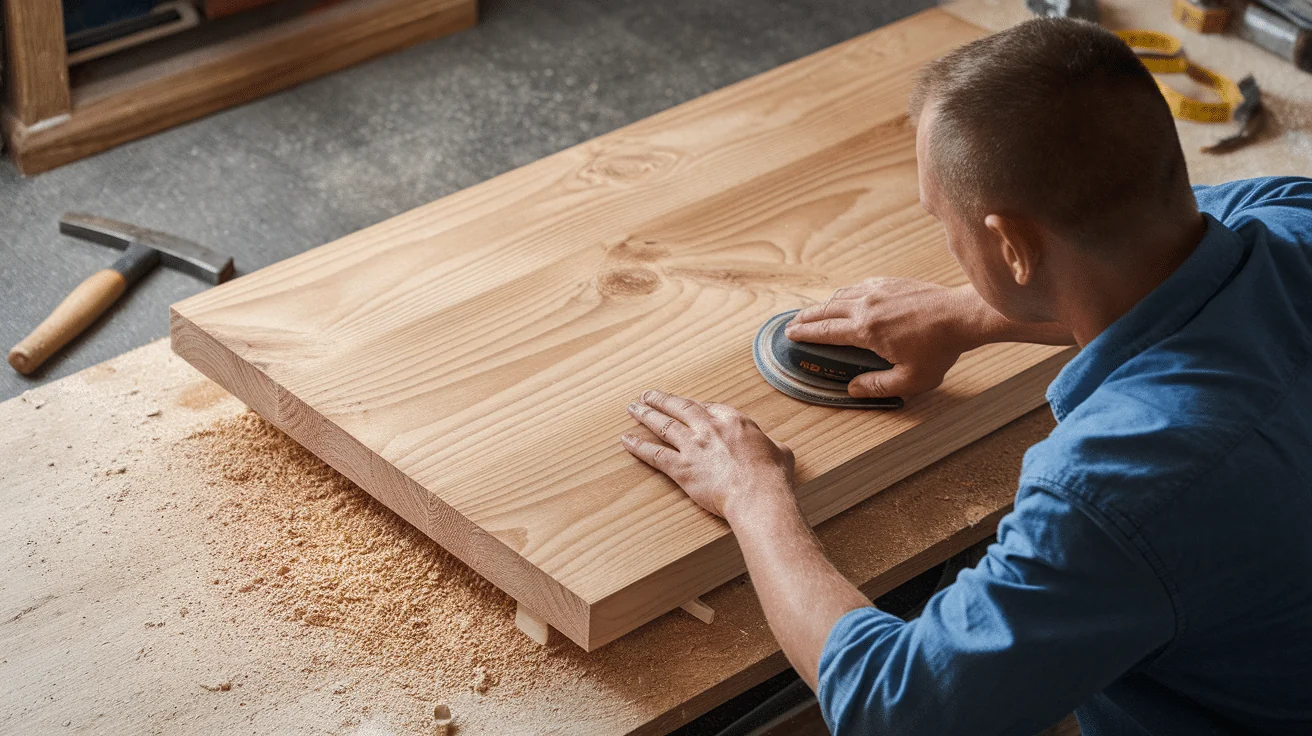
Once all the finish is gone, I let the wood dry completely. Then I sand:
- Start with 100-grit sandpaper for rough spots
- Move to 150-grit for the whole surface
- Finish with 220-grit for smoothness
Always sand with the grain, never against it. Wipe away dust between grits with a tack cloth.
Step 5: Applying Wood Bleach

Now, we lighten things up. Two common bleach types:
- Two-part wood bleach (strongest option)
- Oxalic acid (good for water stains)
I apply evenly with:
- A foam brush
- Rubber gloves (always!)
- Consistent, overlapping strokes
Let it work its magic for the time listed on the product. Sometimes, I need 2-3 applications for dramatic lightening. Wait a full day between applications.
Step 6: Neutralizing the Bleach
This step can’t be skipped! Leftover bleach ruins new finishes.
I neutralize with:
- White vinegar for oxalic acid
- The neutralizer that came with two-part bleach
- Several wipe-downs with clean water
Test with pH paper if you have it. The wood should be neutral when done.
Step 7: Final Sanding and Finishing Prep
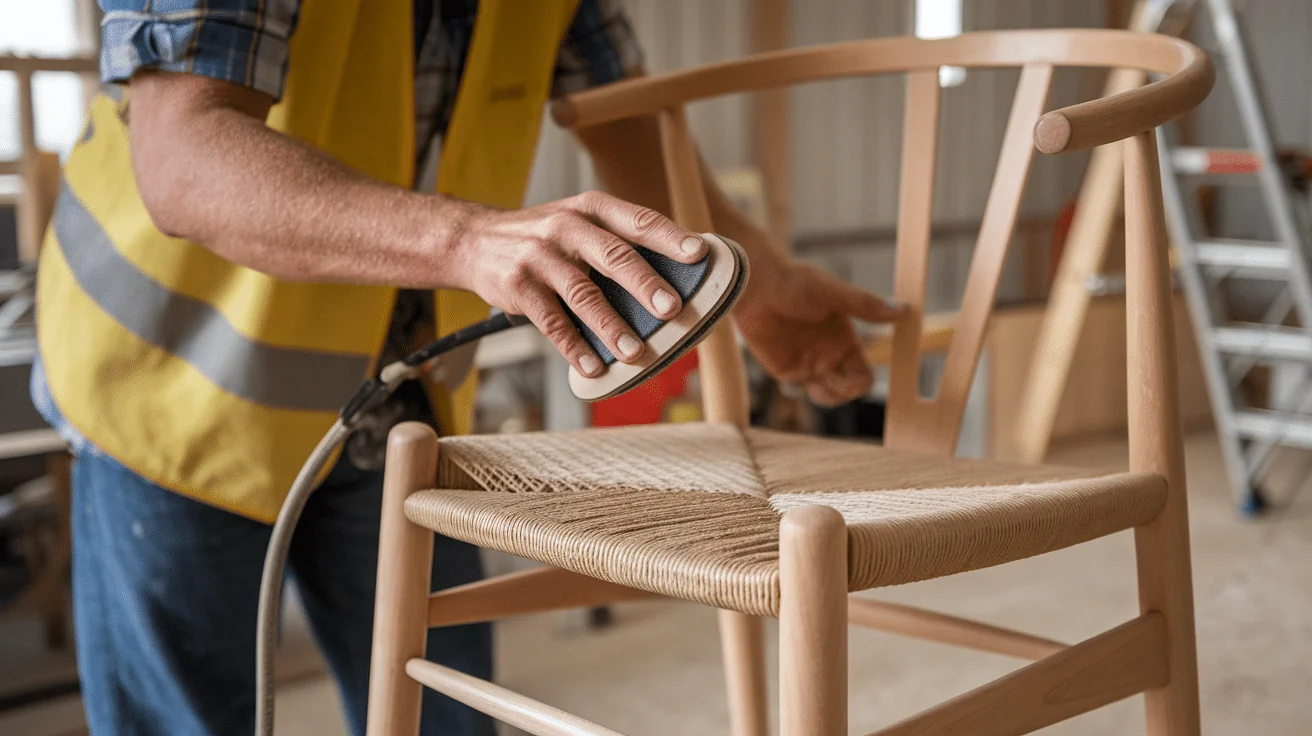
After the wood dries completely (I wait 24-48 hours), do one last gentle sand.
- 220-grit sandpaper
- Light pressure
- Quick once-over
Vacuum every speck of dust, then wipe with a tack cloth. Your wood is now ready for its new life!
Touch the surface – it should feel as smooth as glass. If not, a little more sanding might be needed.
Tips for Best Results
Adjusting for Different Wood Types
Not all woods react the same way. I adjust my approach based on what I’m working with:
For oak and ash (open grain):
- Extra time to clean deep pores
- Pay special attention when sanding to prevent cross-grain scratches
- Sometimes, multiple bleaching sessions
For maple and cherry (tight grain):
- Gentler strippers to prevent blotching
- More careful bleach application
- Shorter chemical contact times
Pine and softer woods need a lighter touch. I sand them more gently to avoid divots.
Dealing with Stubborn Issues
Sometimes, things don’t go as planned. When I hit problems:
For uneven bleaching:
- Apply bleach only to darker areas using a small brush
- Feather the edges to blend with lighter areas
- Consider a wood brightener product for an overall evening
For stubborn stains:
- Try oxalic acid specifically on water stains
- Use a two-part bleach for tough color issues
- Sometimes, accept that some marks are part of the wood’s character
Dark spots after bleaching might be:
- Metal reactions (from nails or hardware)
- Deep oil penetration
- Actual wood figure that won’t bleach out
I test solutions in hidden spots first. Sometimes, the perfect result requires accepting some natural variation.
Be patient with yourself. Even experienced refinishers face challenges with each unique piece.
Finishing Touches
Options for Final Finishes
After all that work, I want to make sure the finish looks perfect. You have several great options,
Natural look preserves the bleached appearance best:
- Water-based polyurethane (minimal yellowing)
- Matte or satin finish (less shiny)
- Very thin coats (2-3 is usually enough)
For whitewashed effects, I use:
- White pickling stain (applied lightly)
- Diluted white paint (1 part paint to 3 parts water)
- Gentle wiping technique to control the coverage
Clear sealers create different looks:
- Danish oil for a warm, hand-rubbed feel
- Shellac for traditional protection
- Hard wax oil for a natural, touch-friendly surface
Maintaining Bleached Wood
Bleached wood needs special care. I protect it by:
- Keep it out of direct sunlight
- Using coasters and mats to prevent water rings
- Dusting with soft cloths rather than chemical sprays
Most bleached furniture will eventually amber slightly. This is normal aging.
For cleaning, I only use:
- Mild soap and water
- Gentle wood cleaners
- Soft cloths
Preserving the Light Appearance
The enemy of bleached wood is UV light. To keep that airy look:
- Apply a finish with UV inhibitors
- Consider window films that block harmful rays
- Rotate items occasionally so they age evenly
Touch-up kits help with small damage:
- Keep a small container of your finish
- Note your exact process for future reference
- Address scratches quickly before they darken
Some woods will naturally darken over time. I reapply a light bleach solution every few years on pieces that get heavy use.
Remember that well-finished bleached wood should last for generations if properly maintained. Your hard work will pay off with a unique, beautiful piece that stands out from mass-produced furniture.
Common Mistakes to Avoid
I’ve made plenty of mistakes over the years. Instead of making them yourself, you can learn from them.
Rushing the process leads to poor results. I always allow:
- Full drying time between steps
- Complete chemical reactions before neutralizing
- Enough time for proper ventilation
Never mix chemicals.This includes:
- Different brands of strippers
- Bleach and stripper residue
- Ammonia-based cleaners with bleach
Skimping on materials ultimately costs more. I use enough products to do the job right the first time.
Conclusion
Stripping and bleaching wood furniture is a journey that transforms dark, dated pieces into bright, refreshed treasures. I’ve shared the supplies, workspace setup, step-by-step process, and finishing techniques that will help you succeed.
While it takes patience and attention to detail, the results are worth every minute spent. Your newly lightened furniture will bring an airy, clean aesthetic to your space while preserving the character and quality of the wood beneath.
Remember that each piece has its personality and challenges, so embrace the learning process. With these techniques in your toolkit, you’re ready to tackle even the most stubborn finishes and create something truly special.
Your refinished pieces will be more than furniture—they’ll be accomplishments you can proudly display for years to come.