
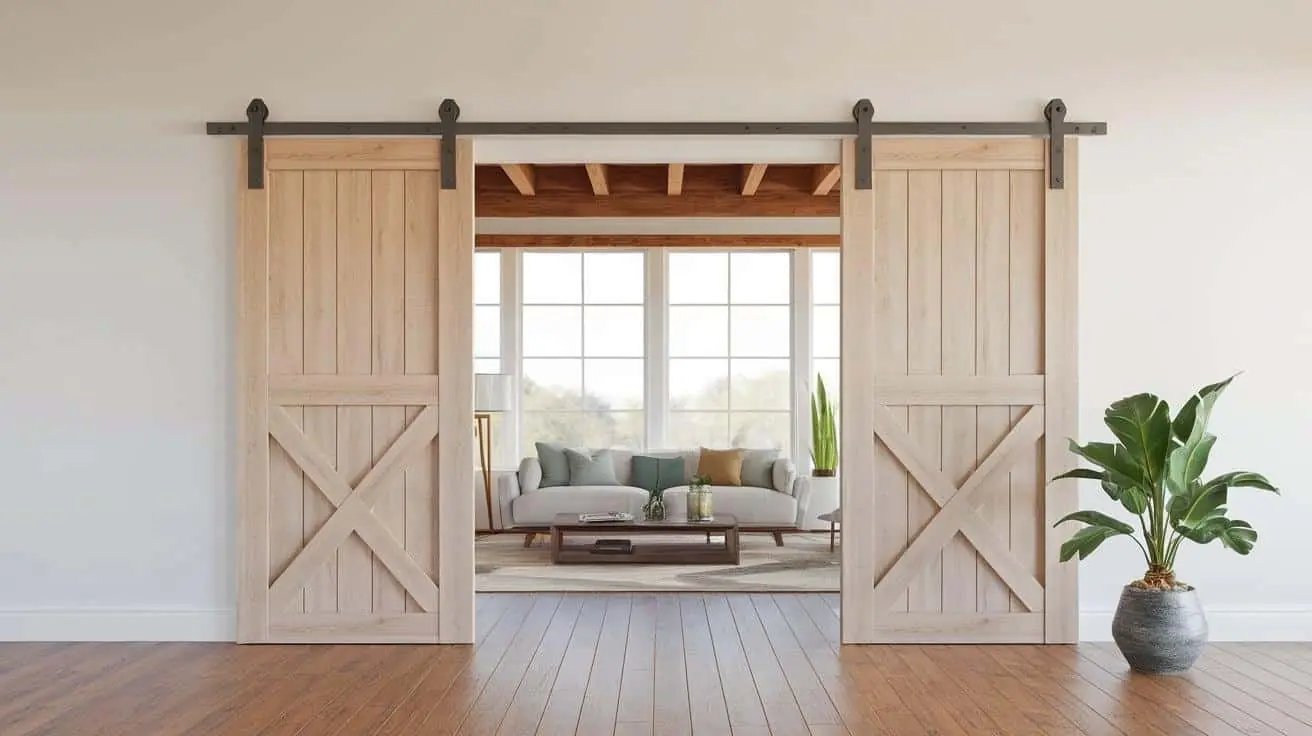
Building your own barn door at home is easier than you might think. More and more homeowners are adding barn doors to their homes as a practical and stylish choice. These sliding doors save space, add character, and bring a touch of rustic charm to any room.
When you make a barn door yourself, you’ll spend much less money than buying pre-made options. Plus, you get to pick exactly how it looks to match your home perfectly.
In this guide, you’ll learn:
- What materials you need
- Simple steps to follow
- Tips to avoid common mistakes
I’ve helped hundreds of homeowners create beautiful barn doors, and I’ll walk you through every step of the process.
By the end of this article, you’ll have all the knowledge you need to build a barn door that looks like it was made by a professional.
Tools and Materials You’ll Need
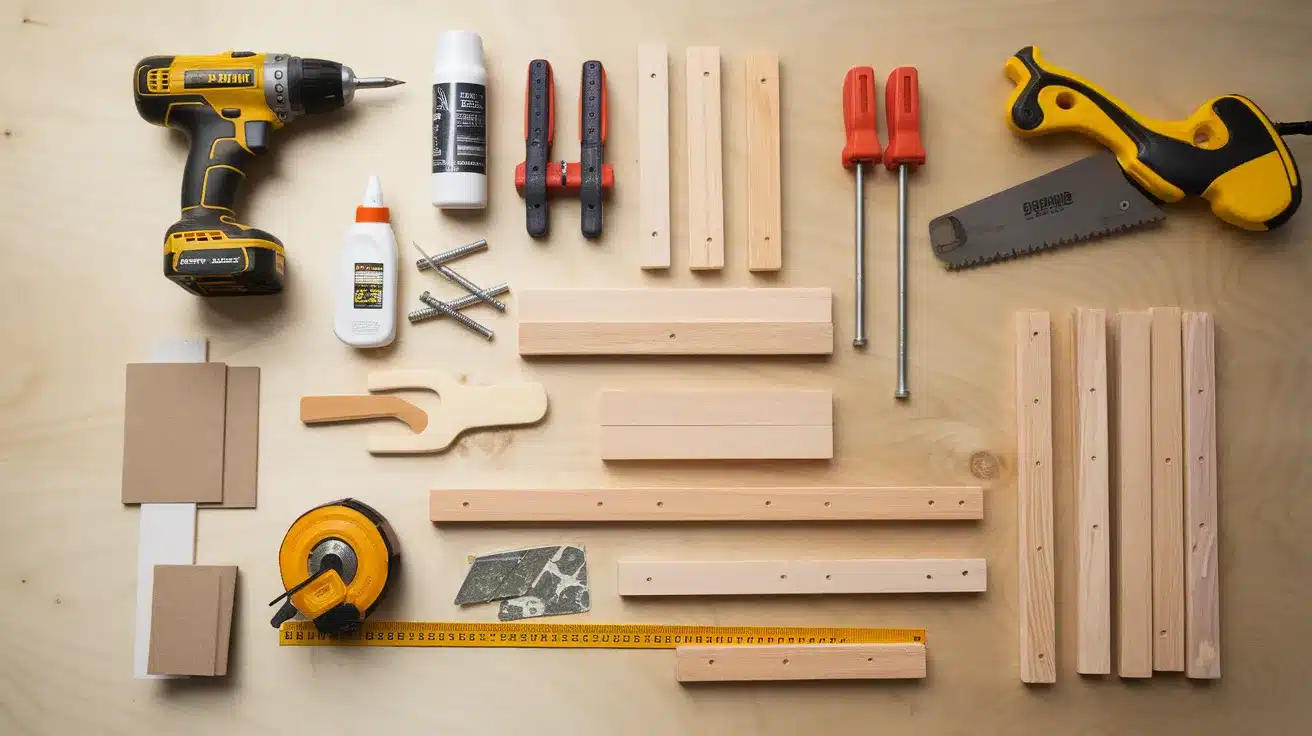
Before we start building, let’s gather everything you’ll need. Having all your supplies ready will make this project go much smoother.
Essential Tools
- Measuring tape
- Circular saw or miter saw
- Drill with various bits
- Screwdriver set
- Hammer
- Level
- Pencil for marking
- Clamps (at least 2)
- Safety glasses and gloves
I always recommend wearing safety gear when working with power tools. Your eyes and hands deserve protection!
Required Materials
- Wood boards (pine or oak work well)
- Wood glue
- Sandpaper (medium and fine grit)
- Screws (1½-inch and 2½-inch)
- Door handle or pull
- Barn door hardware kit with track
- Paint or stain (if desired)
- Clear coat finish (if desired)
The size and amount of wood will depend on your door opening. Measure twice, buy once!
You don’t need fancy tools to build a great barn door. Most homeowners already have the basics. If you’re missing something, consider borrowing from a friend before buying.
What wood type are you thinking of using? Each kind has its own look and feel.
Choosing the Right Wood and Style for Your Barn Door
The wood you pick will set the tone for your entire door. Each type brings its own character to your project.
Wood Types to Consider
- Pine is my go-to choice for many doors. It’s budget-friendly, light and easy to work with and takes paint and stain well.
- Cedar costs more but offers natural resistance to moisture, pleasant smell and fewer knots than pine.
- Oak is worth looking at if you want extra strength for larger doors, beautiful grain patterns and long-lasting durability.
- Reclaimed wood gives you unique character with a story, is often harder, more stable wood and has a built-in weathered look.
I’ve built doors with all these woods, and each has its pros and cons. Your choice should match both your skill level and your home’s style.
Design Styles That Work
- Traditional barn doors features X-braces for support, simple, clean lines and often painted white or black.
- Rustic styles includes visible wood grain, metal accents and sometimes mixed wood types.
- Modern designs tend to have clean, straight lines, minimal hardware and often painted in bold colors.
You can mix these styles too! Don’t feel stuck in just one category.
Step-By-Step Guide to Building the Barn Door Frame
The frame is where your door takes shape. This part sets the foundation for everything that follows. Let me walk you through each step.
Step 1: Measure and Mark Your Wood
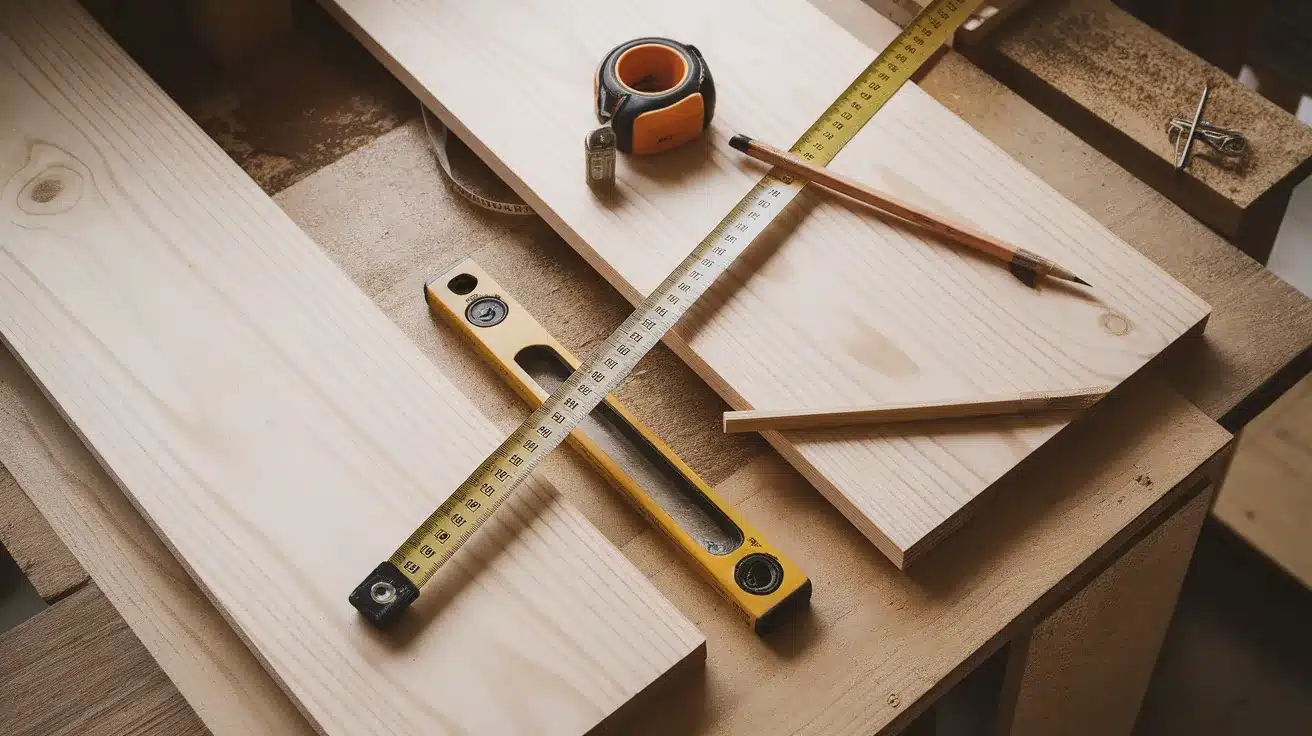
Measure your door opening first. Add 2 inches to both height and width for proper overlap. Always measure twice before cutting once. This simple rule has saved me from countless mistakes.
Mark all your cuts clearly with a pencil:
- 2 vertical pieces (stiles) – cut to your full door height
- 3 horizontal pieces (rails) – cut to your door width minus the width of both stiles
- 1 diagonal brace (optional) – measure after assembling the frame
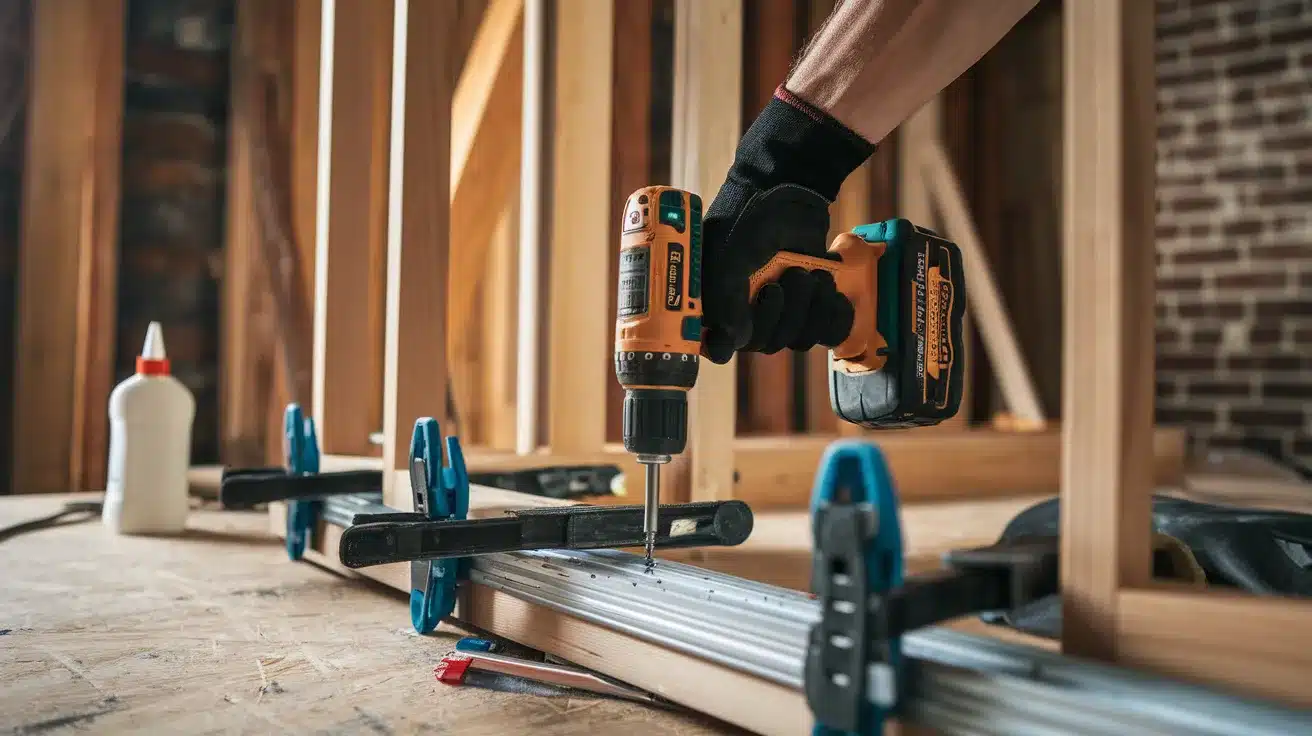
Step 2: Make Your Cuts
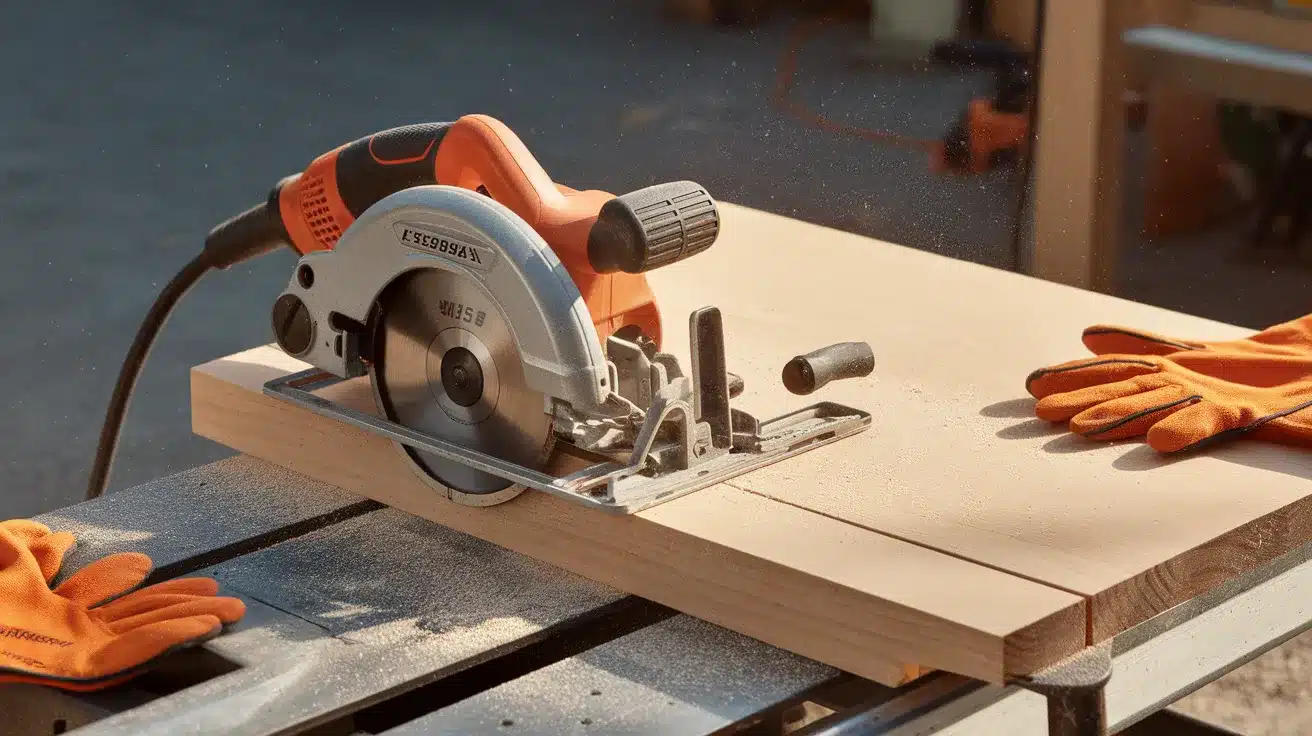
Set up your saw on a flat, stable surface. Keep your fingers at least 6 inches from the blade at all times. I like to cut all similar pieces at once.
This way, if you need to adjust your saw, all matching pieces will still be identical. For the cleanest cuts, use a speed square as a guide or mark a straight line to follow.
Step 3: Assemble the Frame
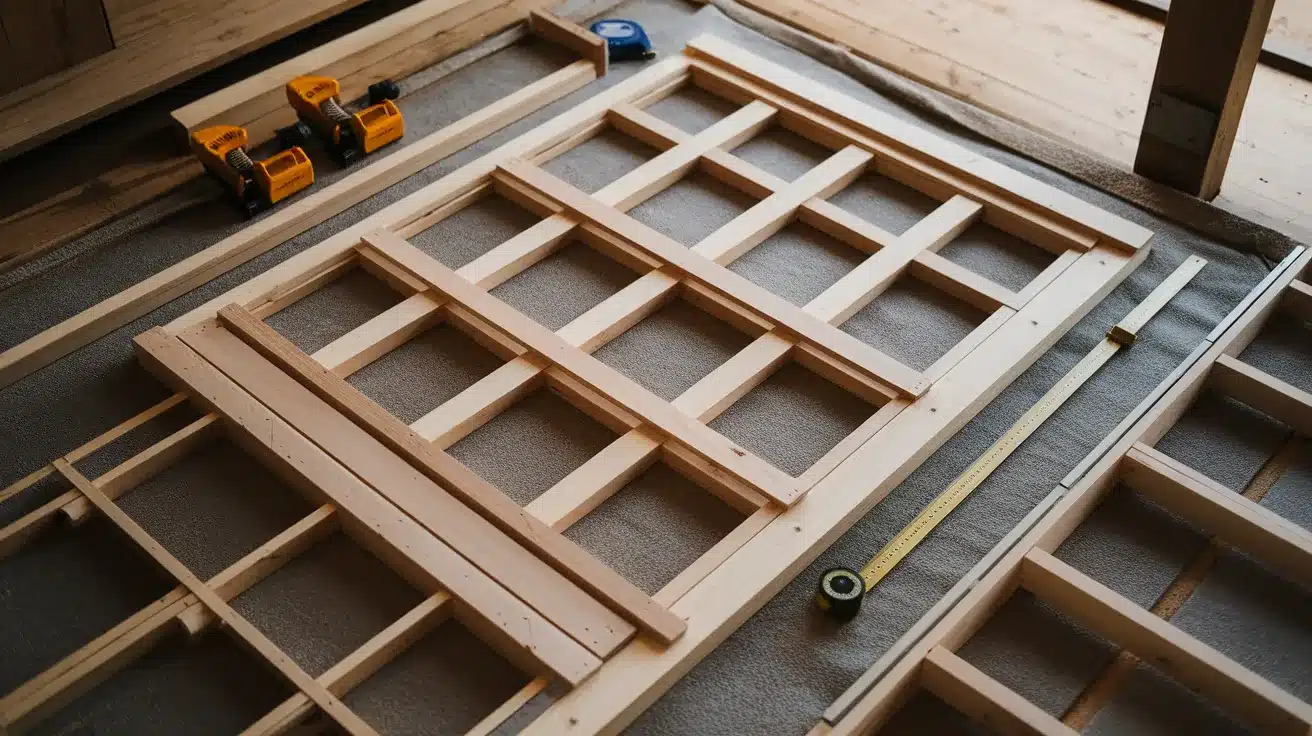
Lay out all pieces on a flat surface. Place the bottom and top rails between the stiles. Check that your frame is square before securing it.
Measure diagonally from corner to corner – both measurements should match. Apply wood glue to all joining surfaces. This makes your frame much stronger than screws alone.
Step 4: Secure the Pieces
Pre-drill holes for your screws to prevent the wood from splitting. I use 2½-inch screws, driving two through each stile into the ends of the rails.
Keep screws 1 inch from the edge of the wood. Wipe away any excess glue with a damp cloth before it dries.
Step 5: Add the Middle Rail and Brace

Position your middle rail halfway up the door or where it looks best to you. If adding a diagonal brace, place it from the bottom corner to the opposite top corner. This prevents sagging over time.
Let your frame dry overnight before moving on to the next steps. Patience here pays off with a sturdier door.
Finishing Touches: Sanding, Staining, or Painting Your Barn Door
The finish you choose will make or break your project. This final step turns your wood pieces into a stunning door that looks made by a pro.
Sanding for a Perfect Base
Start with medium-grit sandpaper (120) and work up to fine-grit (220). Always sand in the direction of the wood grain. Going against the grain leaves scratches that will show up once you apply stain.
I always sand every surface, even the back of the door. You’ll be surprised how often you see both sides of a sliding door.
Don’t rush this step. Run your hand over the wood after sanding. If you feel any rough spots, keep sanding until the surface feels smooth as glass.
Choosing Your Finish
Natural wood with stain shows off the wood grain and adds warmth to a room. This works well if you want to highlight the natural beauty of your wood.
Paint gives you endless color options to match or contrast with your walls. I find that black, white, and navy blue are popular choices for barn doors.
Two-tone finishes let you paint the frame one color and stain the panels another for a custom look.
Applying Stain
First wipe the door with a tack cloth to remove all dust then apply stain with a clean cloth, working in small sections.
Let it sit for 5-15 minutes (check the can for exact timing) and wipe off excess stain with a clean cloth.
Test your stain on scrap wood first. The same stain can look very different on pine versus oak. For a deeper color, apply a second coat after the first is completely dry.
Painting Tips
Start with a good primer made for wood. And use a high-quality brush for the frame and edges. A small foam roller works best for larger flat areas.
I like to sand lightly between coats of paint with very fine sandpaper (320 grit). This extra step makes a huge difference in the final smoothness.
Sealing for Protection
No matter if you stain or paint, a clear topcoat helps protect your door from scratches and wear. For stained doors, polyurethane gives great protection. Apply 2-3 thin coats with light sanding between each.
For painted doors, a clear water-based topcoat helps prevent chips and marks.
Let your door fully cure before hanging it. This usually takes 24-72 hours depending on your products and humidity levels. Patience at this stage prevents fingerprints and smudges in your finish.
Troubleshooting Common Barn Door Installation Issues
Even with careful planning, you might face a few bumps along the way. Let’s see some easy solutions to the most common problems I’ve seen when installing barn doors.
1. Door Scrapes Against the Floor
This happens more often than you’d think. If your door drags on the floor, check if your track is mounted at the correct height. Sometimes, the solution is as simple as raising the track by a quarter inch.
Another fix is to trim a small amount from the bottom of the door. I prefer to remove the door first, mark a straight line, and make a clean cut with a circular saw. Just remember to reseal the cut edge before rehanging.
2.The Door Doesn’t Stay Closed
If your door slides open on its own, your floor or wall might not be level. Try adding a door guide at the bottom that keeps the door in place when closed. Some guides even have a small latch function.
For a simple fix, I like to add a small magnetic catch. These are easy to install and keep the door from drifting open without making it difficult to open when needed.
3. Noisy Operation
Nobody wants a squeaky door. If your barn door makes noise when sliding, the most likely culprit is the wheels or the track. Apply a small amount of silicone lubricant to the track where the wheels roll.
Avoid using WD-40 or oils that can attract dust and eventually make the problem worse. I learned this the hard way and had to clean an entire track system after using the wrong lubricant.
4. Gap Between Door and Wall
A gap between your door and wall looks unfinished and reduces privacy. Add a piece of matching wood trim along the wall where the door closes. This creates a stop for the door and covers the gap.
For bathroom doors where privacy is important, consider adding a small rubber bumper to create a tighter seal when the door is closed.
5. The Door Jumps Off the Track
This scary problem usually happens because the door guide at the bottom isn’t properly installed. Make sure your bottom guide is securely fastened to the floor and positioned so the door can’t swing outward.
If you have children who might pull on the door, consider using a track system with safety features that prevent the door from coming off even if lifted.
Conclusion
Building your own barn door is a project you can be proud of. I’ve covered how to select the right wood, build a sturdy frame, add panels that match your style, finish the door beautifully, and fix common problems.
Remember that your first door doesn’t need to be perfect. Each step is a chance to learn and improve your skills. The small mistakes often add character that makes your door unique.
I hope this guide gives you the confidence to start building. Your home deserves personal touches that show your style—and a handmade barn door does exactly that.
Have you built your barn door yet? Share photos in the comments below! If you run into any questions along the way, ask below and I’ll help you troubleshoot your project.