
Hey there! Welcome to my blog. Today, I’m sharing how to build your own bird feeder pole. Why make one yourself? Because it’s fun!
There’s something special about creating something with your own hands. When you build your own bird feeder pole, you get to see birds enjoy something you made. That feeling is hard to beat.
It’s also way cheaper than buying one from a store. Most of us already have some of the materials lying around.
The best part? You can make it exactly how you want it:
- Tall or short
- With one hook or many
- Painted or natural
Building your own pole means better birdwatching, too. You’ll place it just right – where birds feel safe and you can see them clearly from your window.
Supplies You’ll Need
Let’s gather everything before we start. You don’t need fancy tools for this project.
Basic Materials
- Metal pole (1-inch diameter, 6-8 feet long)
- Heavy base (concrete block, large planter, or metal flange)
- 2-4 Shepherds hooks or S-hooks
- Weather-resistant screws
- Electric drill with metal bit
- Outdoor paint or stain
- Sandpaper (medium grit)
Optional Upgrades
- Squirrel baffle (cone or cylinder style)
- Solar-powered light cap
- Decorative finial for the top
- Small plant hooks for hanging flowers
Do you have old items you can repurpose? An old broom handle or metal pipe works great as a pole. That flower pot collecting dust is the perfect base!
Now, let’s move on to putting it all together.
Step-by-Step Guide to Creating a DIY Bird Feeder Pole
Building your bird feeder pole isn’t complicated. I’ve broken it down into six manageable steps anyone can follow. Even if you’re not the handiest person, you can tackle this project in a single afternoon.
Just take it one step at a time!
Step 1: Choose Your Location
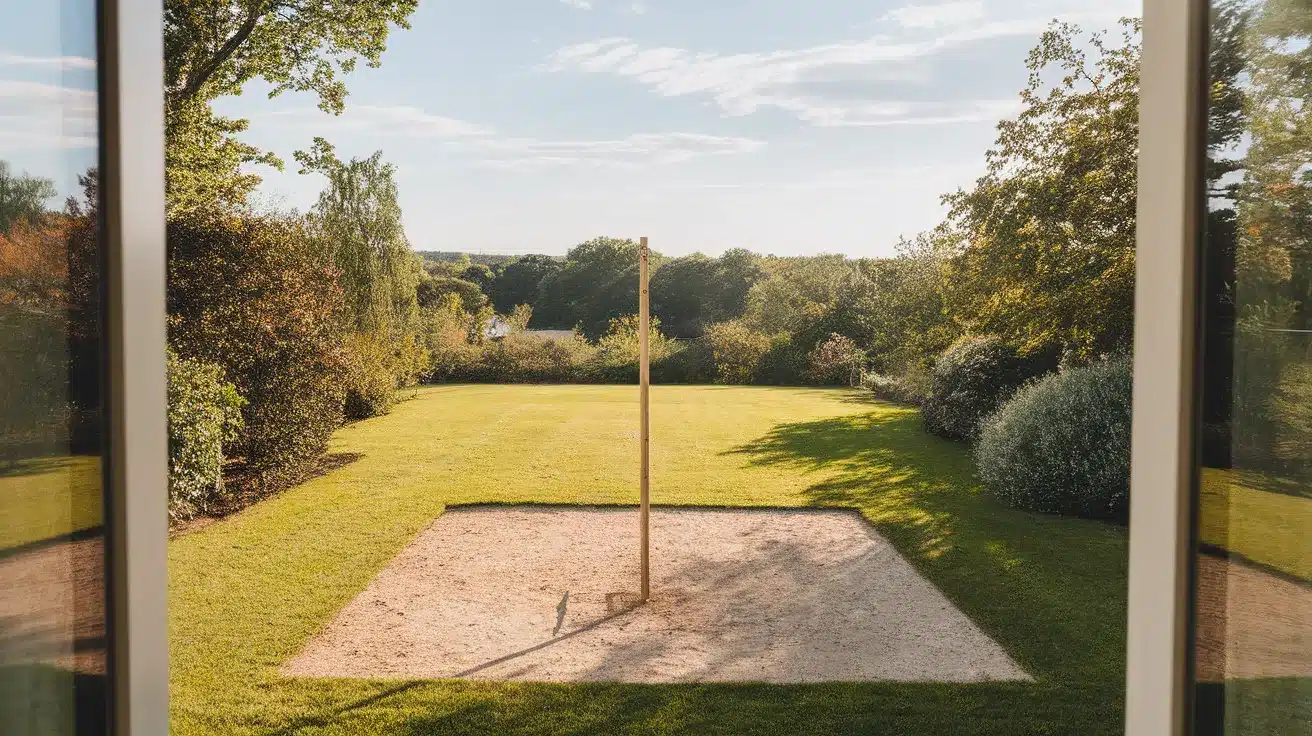
Find the perfect spot in your yard. I recommend a place that’s visible from your window but not too close to trees. Birds need to feel safe from predators.
Check the soil, too. Is it soft enough to dig? Or will you need a heavy base? I once placed mine on hard clay and had to switch to a planter base instead.
Remember to keep your feeder away from bushes where cats might hide.
Step 2: Cut and Prep Your Pole
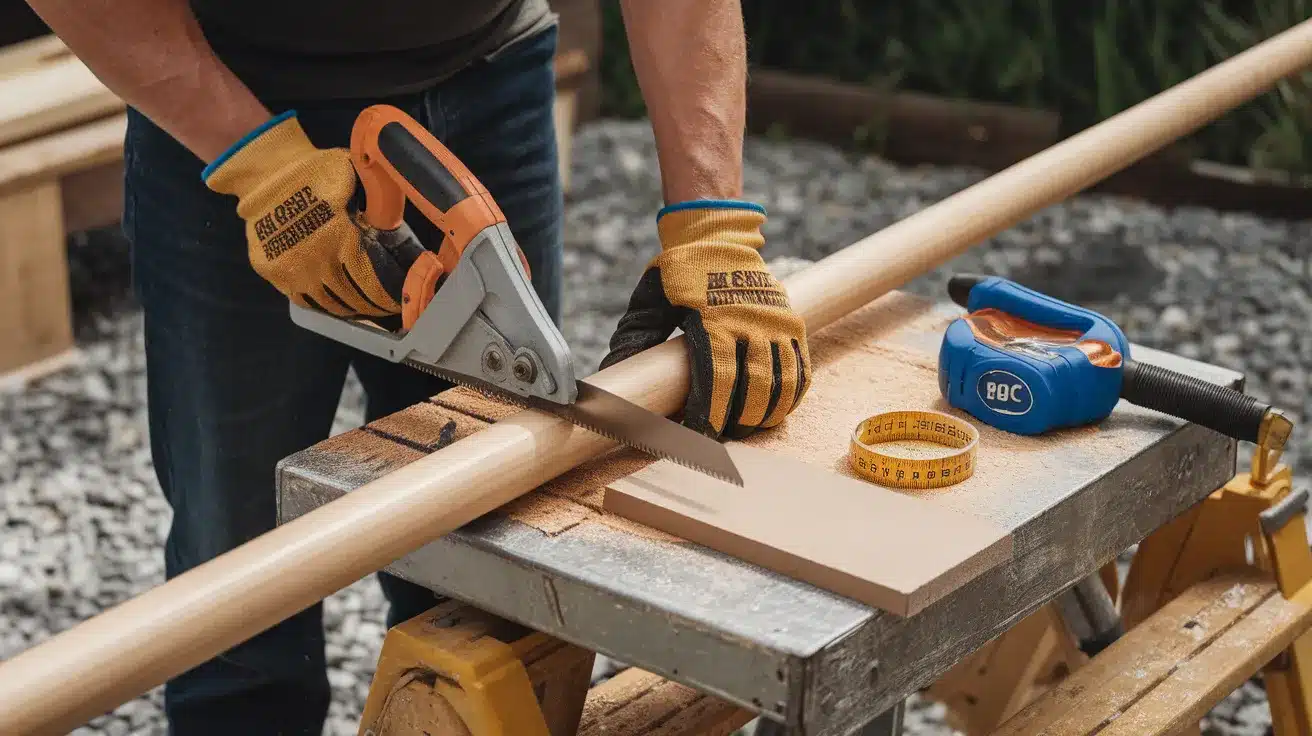
Measure and cut your pole to the right height. I like mine to be about 7 feet tall, with 1 foot going into the ground or base.
You have options like metal pipe, which is the most durable, wooden posts that look natural, and PVC pipes, which are cheap and easy to work with.
Sand down any rough edges. This keeps both you and the birds safe.
Step 3: Secure the Base
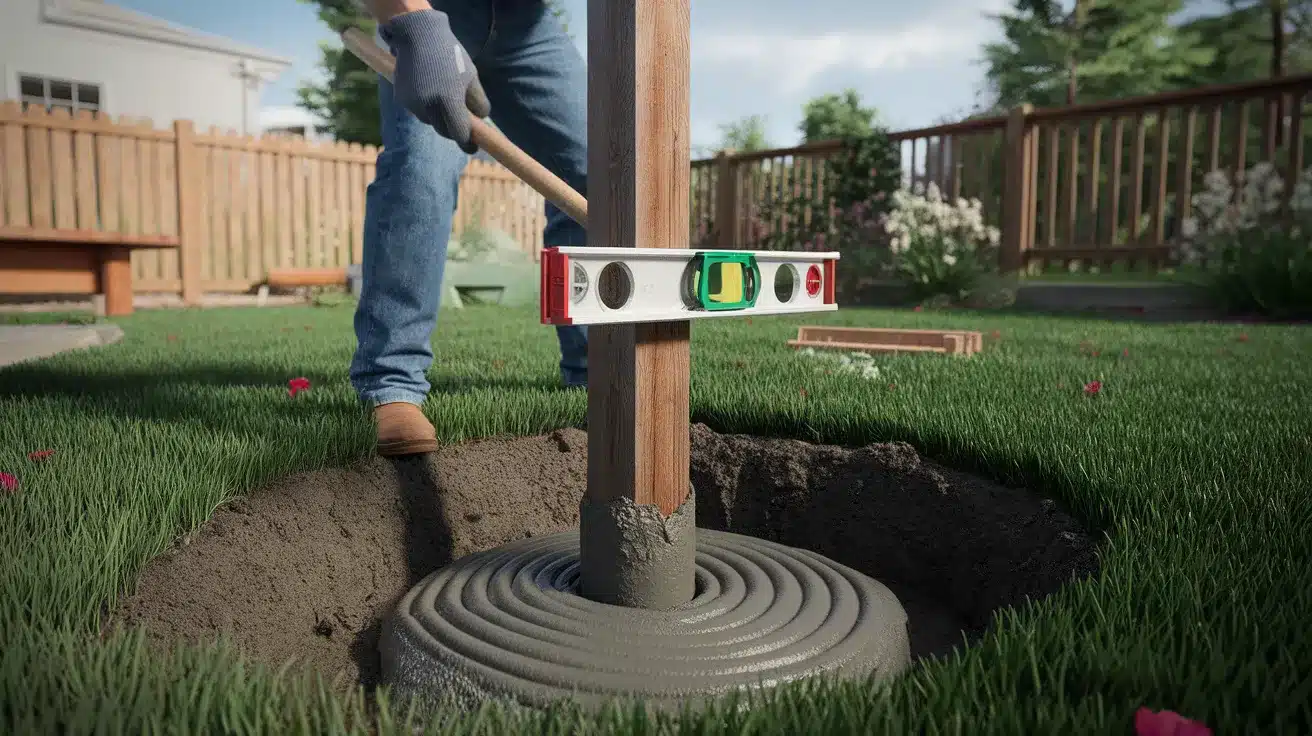
This is crucial for stability. Without a good base, the whole thing will topple over.
For ground installation, first dig a hole 12 inches deep and mix quick-setting concrete. Then, place the pole in the center, pour the concrete, and let it set overnight.
For an above-ground base, fill a large planter with concrete, secure a pole in the center, and let it dry completely.
Step 4: Attach Hooks or Arms
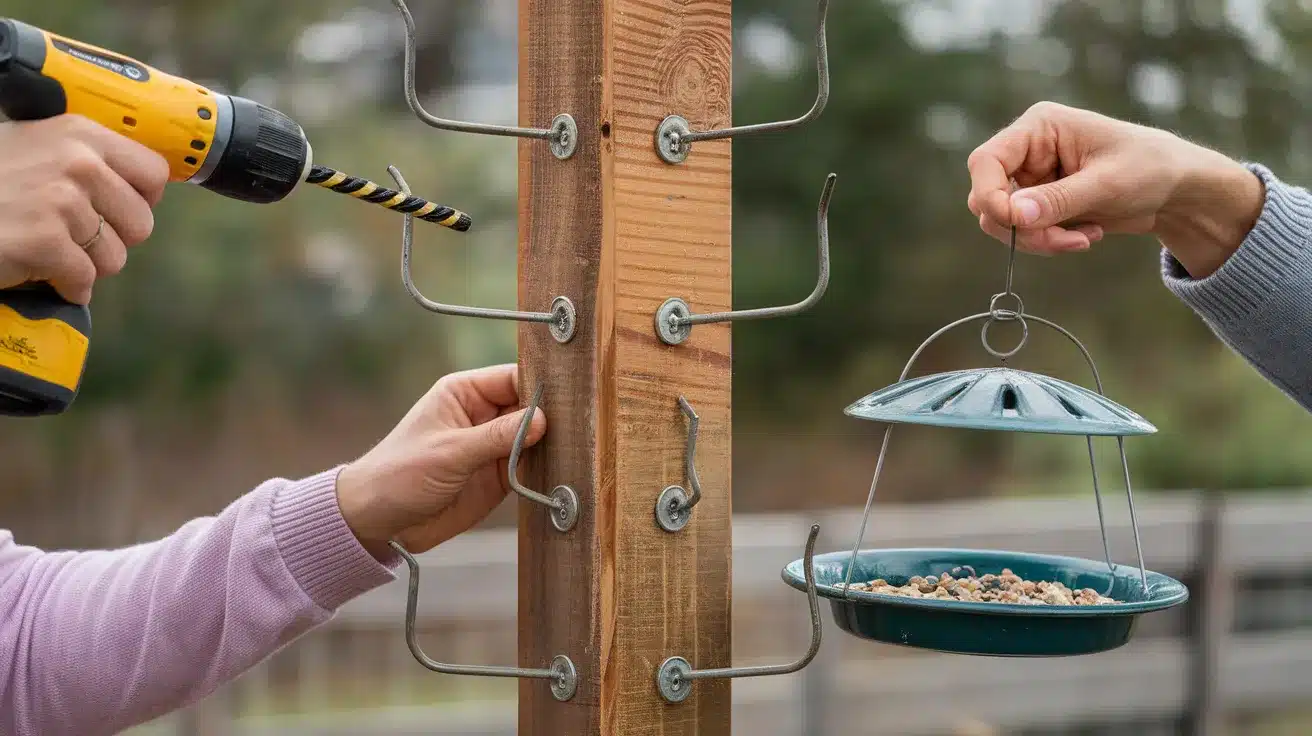
Drill small pilot holes where you want your hooks. Space them about 8-10 inches apart. Screw in your hooks or arms firmly. I use S-hooks because they’re easy to adjust, but shepherd’s hooks look nicer.
Test each attachment by hanging something heavy from it.
Step 5: Add Finishing Touches
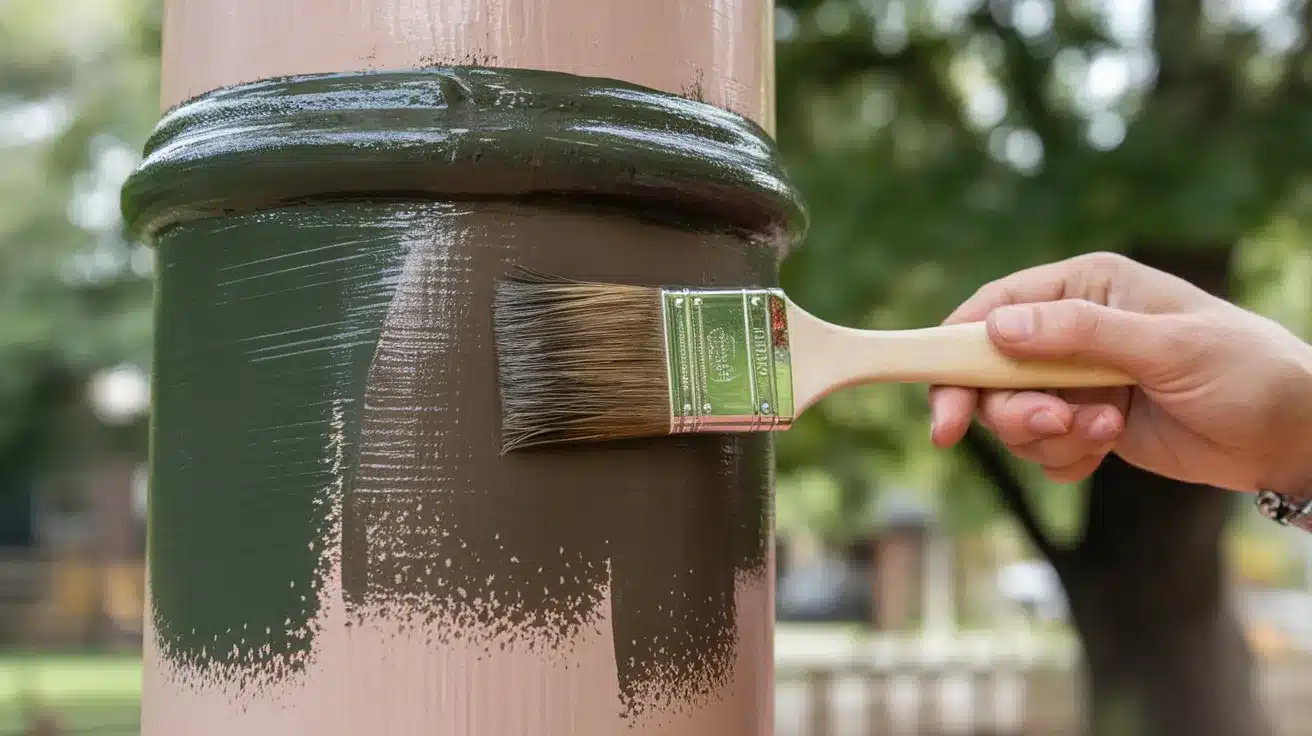
Paint or seal your pole to protect it from the weather. Dark colors, like green or brown, blend better with nature than bright colors.
I’ll give mine two coats of outdoor paint. Let it dry completely between coats.
Creative DIY Bird Feeder Pole Ideas
Why settle for ordinary when you can make something special? Here are five unique ideas that go beyond the basic pole. Each one adds character to your yard while serving birds just as well.
The best part? Most use items you might already have lying around.
1. Branch and Metal Pipe Combo
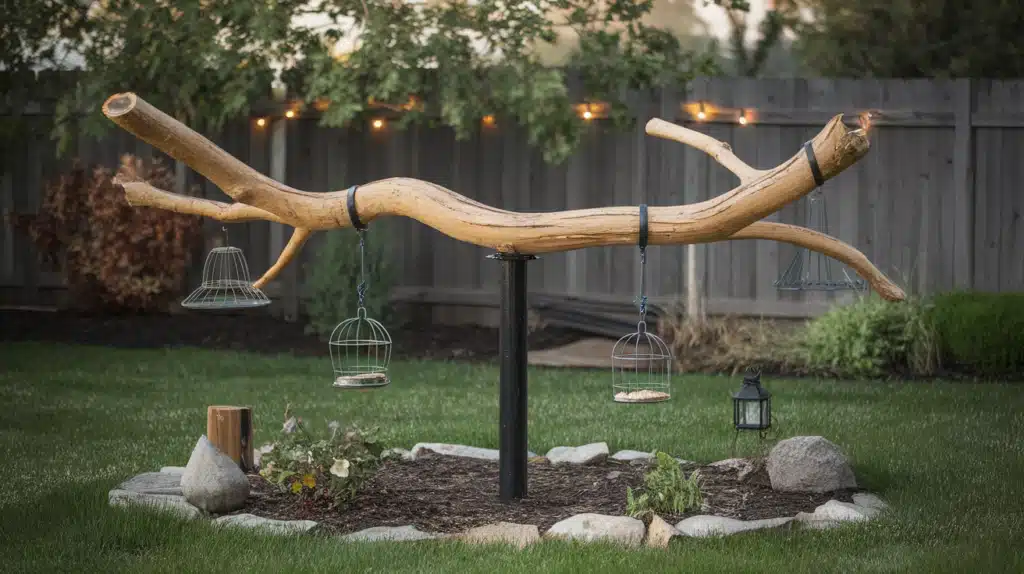
Take a fallen branch with interesting twists and attach it to a metal pipe base. Sand the branch, seal it with outdoor varnish, and add hooks where small offshoots occur naturally. This gives birds multiple perching spots while adding rustic beauty to your yard.
2. Repurposed Garden Tool Stand
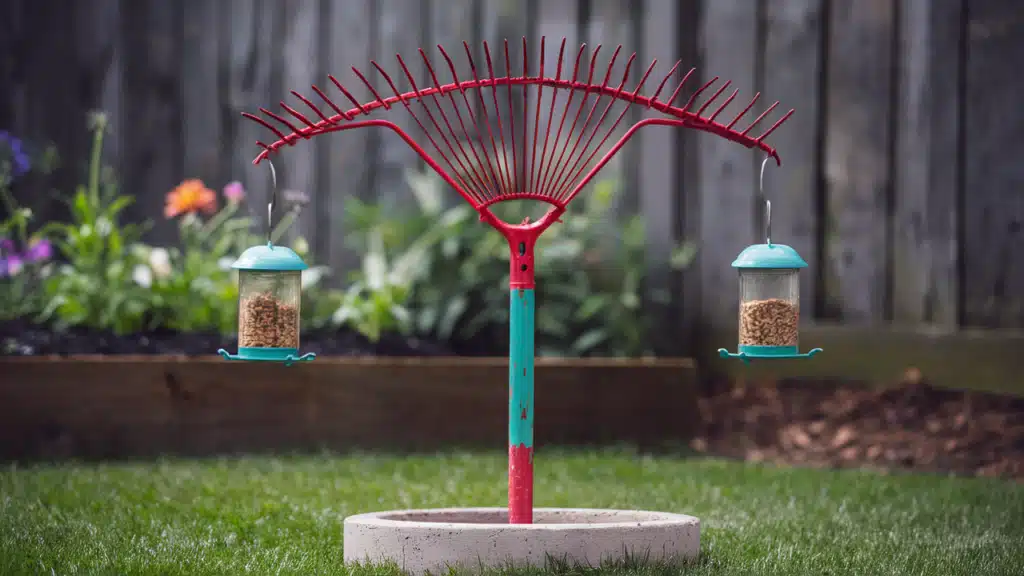
Transform an old rake, shovel, or garden tool into a unique bird feeder pole. I flipped an old rake upside down, secured it in concrete, and hung feeders from the tines. The wooden handle got a coat of paint, and it’s now a conversation starter with visitors.
3. Copper Pipe Beauty
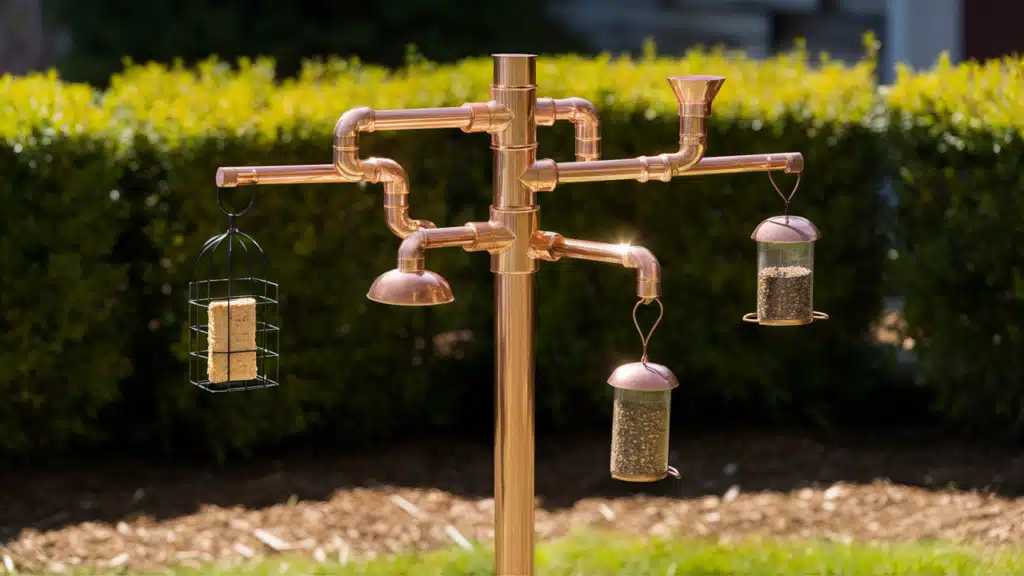
Using copper plumbing pipes and fittings, create a gleaming pole. The warm metal develops a beautiful patina over time. Add T-junctions and elbow fittings to create multiple arms for different types of feeders. Birds seem attracted to the shiny surface when it’s new.
4. Vintage Lamp Post Conversion
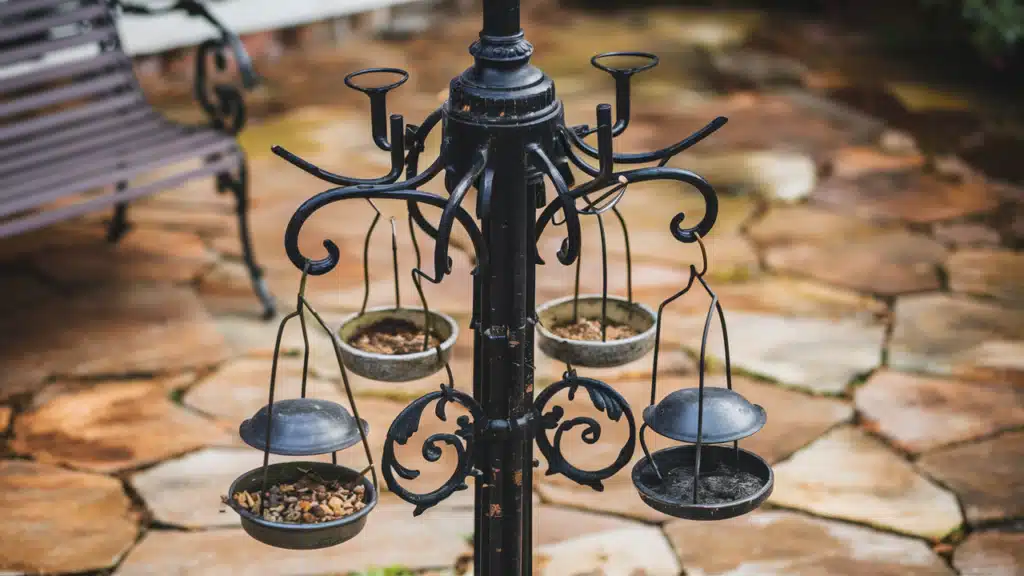
Find an old-fashioned lamp post at a yard sale or thrift store and repurpose it. Remove the light fixtures and add hooks where they once were. The decorative scrollwork makes perfect attachment points for feeders, and the heavy base ensures stability.
5. Living Trellis Feeder
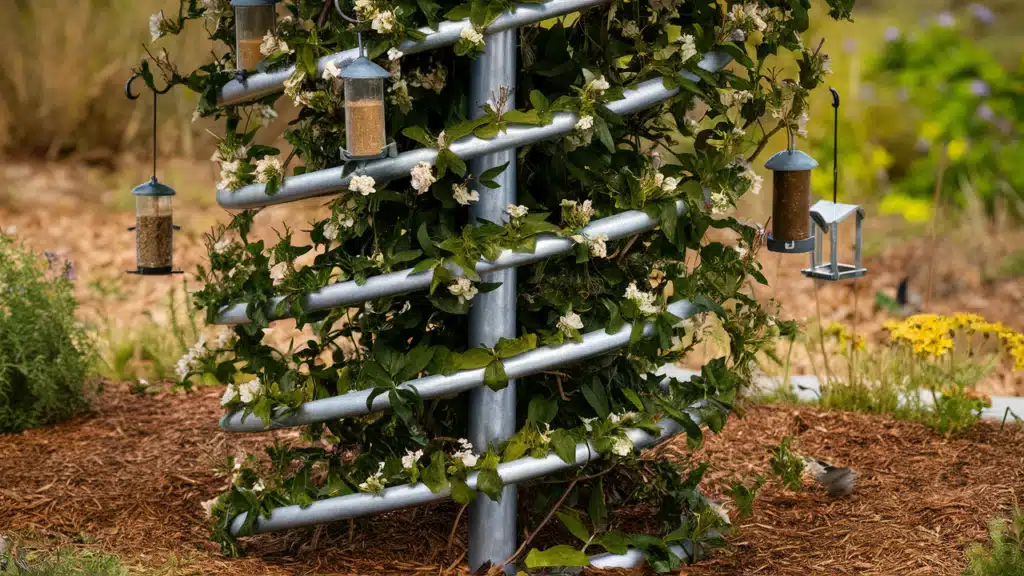
Plant a sturdy climbing plant like morning glory or jasmine around a metal pole. As it grows, train it to spiral upward. Add hooks that extend beyond the foliage. Birds love the combination of natural cover with feeding stations, though you’ll need patience as the plants mature.
Tips for Building a DIY Bird Feeder Pole
After building several bird feeder poles over the years, I’ve learned what works and what doesn’t. These tips will help you avoid common mistakes and create a feeder station that lasts for years. A little extra thought now saves headaches later!
1. Make It Squirrel-Proof
Squirrels can be persistent little thieves! I learned this the hard way when they emptied my feeders in just one day. The best defense is a baffle—a dome or cylinder that blocks climbing critters. Place it below your feeders, at least 4 feet from the ground.
Keep your pole at least 10 feet away from trees, fences, or anything squirrels can jump from. They can leap surprisingly far!
Another trick: Use a metal pole instead of wood. Squirrels have a harder time climbing smooth metal surfaces.
2. Choose Weather-Resistant Materials
Rain, snow, and sun will test your pole’s durability. I made my first one from untreated wood and had to replace it after just one year.
For metal poles, look for galvanized steel or aluminum that won’t rust. If using wood, choose cedar or pressure-treated lumber.
Apply outdoor sealant or paint, even to pre-treated materials. This extra layer makes a huge difference in extending your pole’s life.
3. Get the Height Right
Your bird feeder pole should be tall enough to keep cats away—at least 6 feet above ground. But don’t make it so tall that you need a ladder for refills!
I’m 5’8″, and I found that a 7-foot pole works perfectly. I can reach the feeders on tiptoes when needed, but they’re high enough to be safe from predators.
Consider your own height when deciding how tall to make your pole.
4. Build a Solid Base
A wobbly pole is a disaster waiting to happen. Wind, snow, and even large birds can tip it over. For freestanding poles, use at least 1 cubic foot of concrete as a base. That’s about the size of a milk crate.
If you’re using a planter base, make sure it’s wide and heavy. Fill the bottom with rocks before adding soil or concrete.
5. Place It Where You’ll Enjoy It
What’s the point of attracting birds if you can’t see them? Place your feeder pole where you spend time. Near a kitchen window is ideal—you can watch while doing dishes. Or try a spot visible from your favorite chair.
Just remember to keep it at least 3 feet away from windows to prevent bird collisions. If it must be closer, add window decals to make the glass visible to birds.
Conclusion
Building your own bird feeder pole doesn’t have to be perfect. Mine certainly isn’t! It leans a little to the left, and the paint job is spotty in places.
But you know what? The birds don’t mind one bit. What matters is that you created something useful with your own hands. Something that brings nature closer to your home.
I’d love to see what you come up with! Share a photo of your DIY bird feeder pole in the comments below. Did you add something unique? Use materials I didn’t mention? Your ideas might inspire others.
Remember: This simple weekend project pays off for years. Each morning, you’ll wake up to birds singing in your yard. Each evening, you’ll smile knowing you created their gathering place.
That’s worth way more than the few dollars and hours you put into it.
Happy building and happy birdwatching!