
Building your own closet may seem like a big task, but it’s a rewarding DIY project that can change any room. You don’t need to be a professional to create a custom closet that works for you.
Whether you need extra storage or want to design a space that fits your personal style, this guide will help you do it step by step.
Each step is explained clearly, from measuring the space and choosing materials to installing shelves and adding final touches. This project is perfect for anyone looking to add a functional, personalized closet to their home.
You’ll learn the right tools and materials that you will need, common mistakes to avoid, and tips on organization.
By the end, you’ll have a custom closet built from scratch that meets your needs and fits your space perfectly. Let’s get started!
Tools and Materials Required for Building a Closet
Before starting your DIY closet project, gather all the necessary tools and materials. Below is a list of what you’ll need to get the job done efficiently:
- Measuring tape: Used to measure the space and ensure accurate cuts.
- Saw (circular or handsaw): For cutting wood panels to the desired size.
- Drill: Essential for making holes to insert screws.
- Screwdriver: To drive screws into place during assembly of the closet frame.
- Level: Ensures that all components are installed straight and even.
- Hammer: For driving nails, if needed in certain areas.
- Plywood or MDF panels: Used for building the structure, shelves, and panels.
- Closet rods: To hang clothes and make the closet functional.
- Shelf brackets: Support the shelves to keep them in place.
- Screws: Used to securely assemble all the parts.
- Paint or wood stain: For a smooth, polished finish on the closet.
How to Build a Closet from Scratch?
Building a strong and stable frame is the foundation of any successful closet project. Follow these simple steps to ensure your frame lasts.
Step 1: Gather Materials and Tools
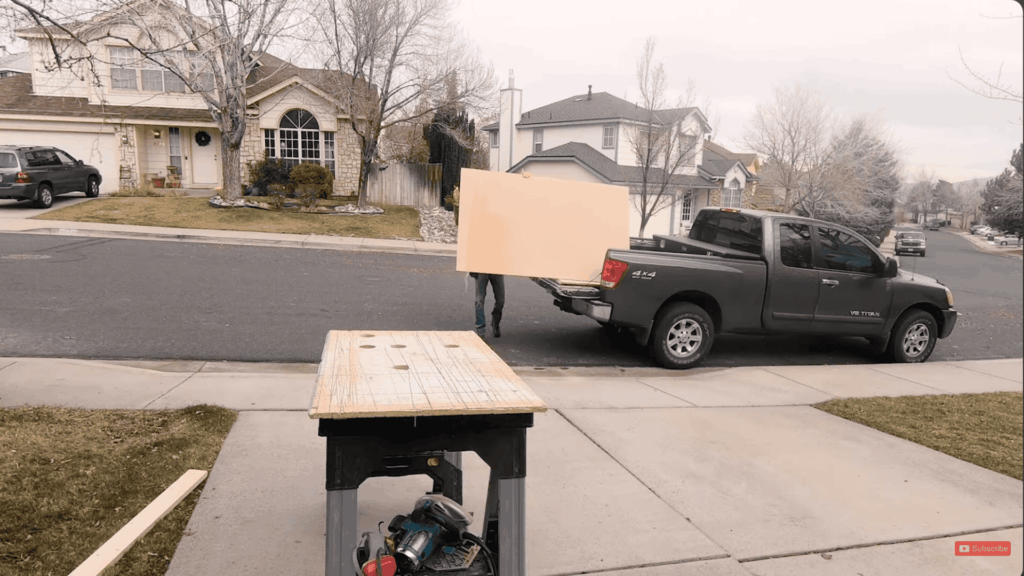
MDF works well for closet shelves because it is easy to cut and shape.
You will need tools like a circular or table saw, measuring tape, miter saw, brad nailer or screws, a level, and sandpaper.
Before starting, make sure all tools are ready to avoid delays. It helps keep the process smooth and simple.
You should also gather extra materials like shelf brackets, primer, paint, and a caulking gun. These items help you finish the closet neatly and give it a clean, polished look.
Step 2: Cut the MDF Shelves
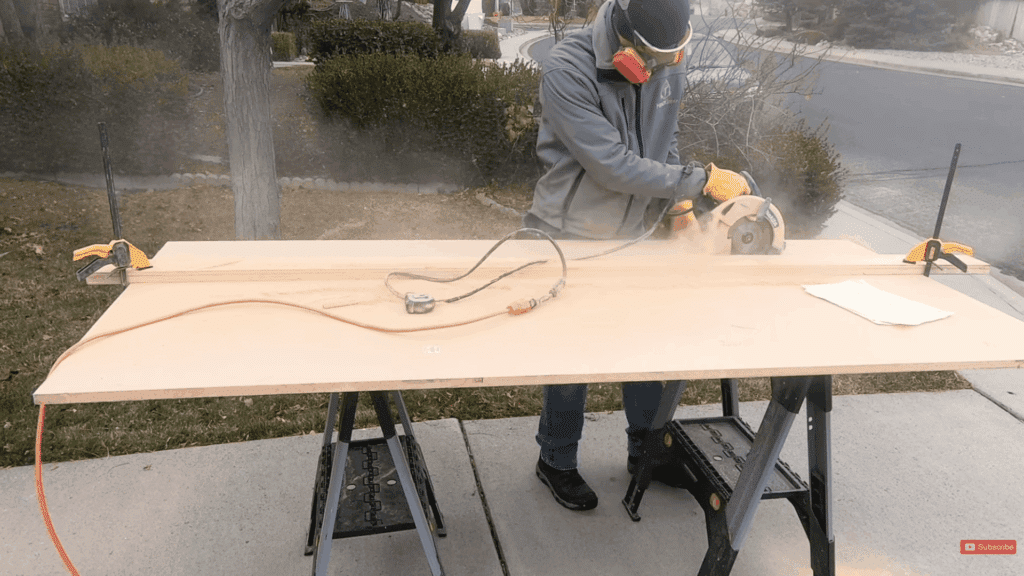
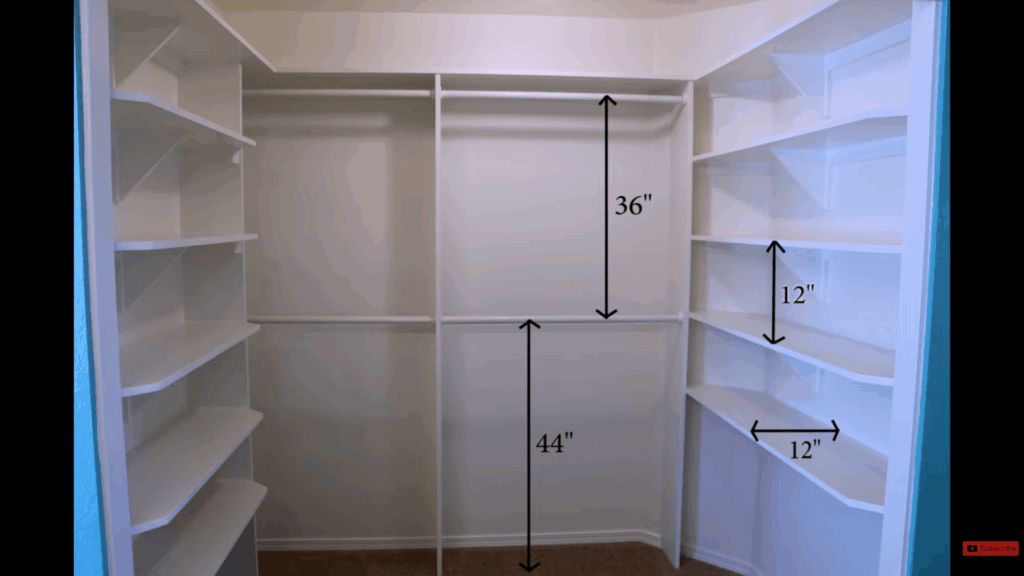
Cut the 3/4-inch MDF sheet into the desired shelf widths, ideally 12 inches each for this project.
If you don’t have a table saw, you can use a circular saw with a straightedge guide. Ensure all cuts are straight and precise. It’s important to measure and plan ahead to avoid mistakes.
Cut several shelf supports from the same MDF, with each strip at least 2 inches wide.
These supports will eliminate the need for bulky shelf brackets.
Step 3: Sand and Paint the Shelves

After cutting, sand the edges of the shelves with 180- or 220-grit sandpaper to remove any rough spots.
Cleaning off dust after sanding is essential to prepare for painting.
Use oil-based primer for the best finish, as it helps smooth the surface and ensures paint adheres well to the MDF. Apply one coat of primer and then two coats of paint for a durable finish.
Allow drying time between coats, flipping the shelves over after one side dries to paint the other.
Step 4: Prep the Closet Space
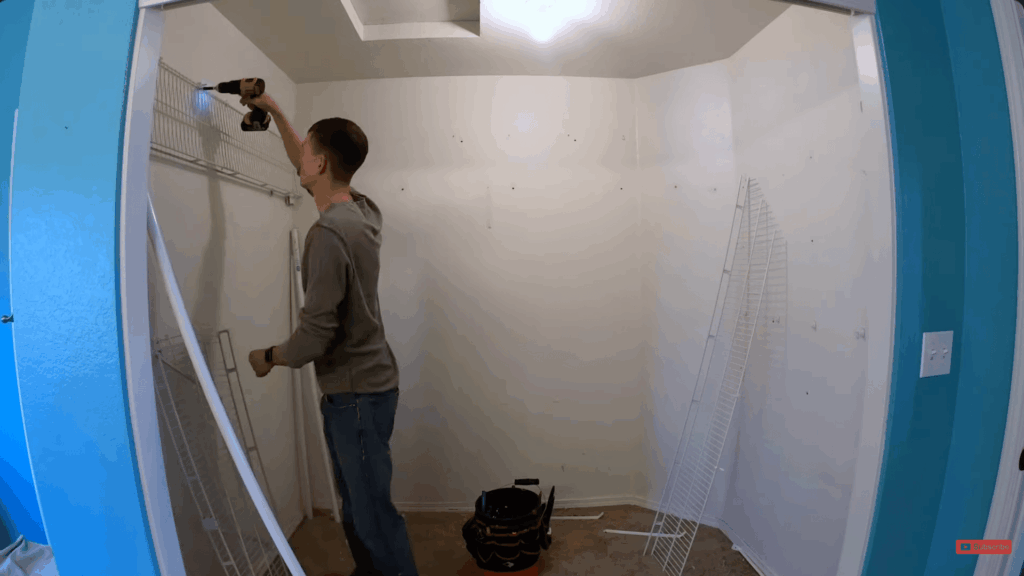
While the shelves dry, get the closet space ready for installation. Start by removing any old shelves and clearing out the area.
Patch any holes or damage on the walls, then repaint to give the space a fresh look. This helps create a clean and smooth surface for the new shelves.
Try to match the wall color with the shelves for a neat finish.
Use a level to draw straight lines on the wall so you can place the shelves evenly and keep everything properly aligned.
Step 5: Install Shelf Supports
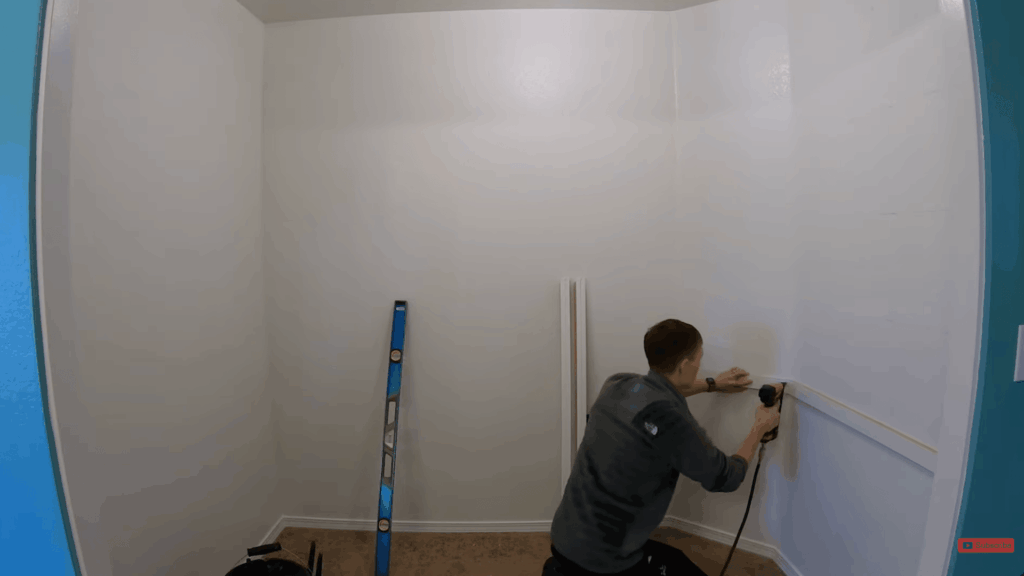
Install the shelf supports first. Use a stud finder to locate the studs in the wall, marking them clearly.
Using a level, draw vertical lines to guide the placement of the supports. Nail the supports into the studs with a brad nailer or screws, ensuring they’re level and secure.
If the shelves are longer than three feet, consider using triangular MDF supports for extra stability.
Properly aligned shelf supports are key to making sure the shelves stay sturdy and functional.
Step 6: Install the Shelves
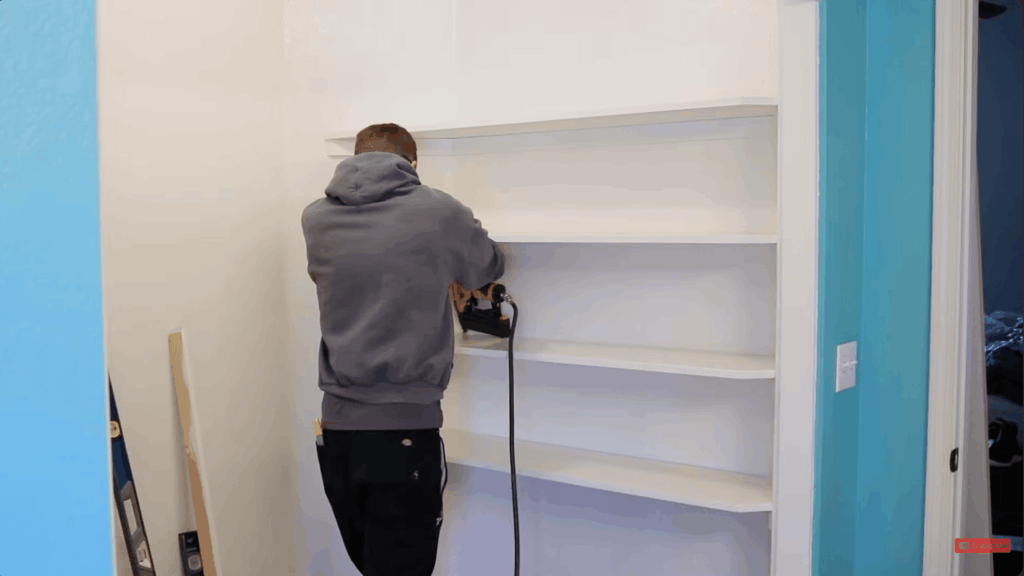
With the supports securely in place, begin installing the shelves one by one. Set the first shelf on the supports and check that it is level before securing it.
Use nails or screws to fix it in place, and double-check alignment with a level.
Continue adding the rest of the shelves, making small adjustments as needed for a proper fit.
If your design includes vertical dividers or extra supports, install them carefully. Trim baseboards or carpet if needed, then add closet rods to complete the setup.
Step 7: Finishing Touches and Design Tips
Once the shelves are installed, add caulking around the edges for a smooth, professional finish.
This step is optional, but it helps hide any gaps and makes the closet look more polished.
You can also touch up any visible nail or screw holes with paint for a clean look. Finally, consider designing the layout by measuring your space and sketching it.
Planning the placement of hanging rods and shelves will help maximize storage and ensure everything fits your needs.
This tutorial is based on a helpful video by Handyman Startup. You can check out the original video on their YouTube channel here or watch it below.
Tips to Make Your Closet Last Longer
A few simple habits can keep your closet strong and looking neat over time. Regular care and small fixes help prevent bigger problems later.
- Avoid overloading shelves: Too much weight can cause shelves to bend or weaken over time, so spread items evenly.
- Use proper supports: Strong brackets and well-fixed supports help keep shelves stable and safe for daily use.
- Keep moisture away: Damp areas can damage wood, so ensure good airflow to prevent swelling or mold.
- Clean regularly: Dust and dirt can build up, so wipe shelves and rods to maintain a clean space.
- Fix issues early: Tighten loose screws or repair small cracks before they turn into bigger problems.
- Use protective finishes: Paint or sealant helps protect the surface from wear, stains, and scratches.
- Organize smartly: Avoid clutter by arranging items properly, which reduces strain on shelves and rods.
Average Cost to Build a DIY Closet
Building a DIY closet organizer costs $50 to $1,000, based on size and materials. Simple setups with wire shelves or pine boards cost $40–$200, with plywood around $50, rods $10–$20 per foot, and screws under $20.
Larger plywood systems with trim and hardware hit $300-$850 for walk-ins, saving thousands over pros who charge $1,500+.
Shop big-box stores for deals on MDF or laminate. Basic tools like a saw and drill are enough.
When I helped a friend build his closet, we noticed that shopping at big-box stores helped us save on MDF and laminate.
Measure your space first. Add shelves, rods, and pulls to fit your needs. Total stays low since you skipped labor. Pick melamine-coated boards to resist wear.
Common Mistakes to Avoid when Building a Closet
Even experienced DIYers make mistakes, but knowing what to watch out for can save you time and effort. These are some common errors to avoid while building your closet.
- Not Measuring Properly: Always double-check your measurements before cutting any materials. Incorrect measurements can lead to wasted materials and a poorly fitting closet.
- Skipping the Level Check: Make sure the frame and shelves are level during construction. An uneven closet can cause doors to misalign and shelves to sag.
- Choosing the Wrong Materials: Using low-quality materials can lead to a less durable closet. Stick to sturdy options like plywood or MDF for better support.
- Ignoring Proper Ventilation: Ensure your closet has adequate airflow to prevent musty smells and mold. Ventilation can be overlooked during the planning phase.
- Not Securing Everything Properly: Ensure that all parts are securely fastened. Loose shelves or rods can create safety risks and lead to instability over time.
- Skipping Finishing Touches: Neglecting paint, trim, or other finishing details can leave your closet looking unfinished. Small touches make a big difference.
Conclusion
Building your own closet may feel like a big job, but simple steps make it easier to handle.
With the right tools, clear planning, and a bit of patience, you can create a closet that fits your space and your storage needs perfectly.
This kind of project not only improves your room but also gives you a sense of satisfaction every time you use it.
Take your time with each step, and don’t worry about getting everything perfect on the first try. Small improvements can make a big difference in the final result.
If you’ve built your own closet or plan to start soon, share your experience or tips in the comments below.