
Providing your dog with a safe, comfortable place outside is something many pet owners consider. I have seen how a simple shelter can make a big difference, especially during heat or rain.
That is why I put together this guide on building a dog house with simple tools and easy methods.
In this article, you will learn why building a dog house at home is a smart choice, what tools and materials you need, and how to build each part step by step.
I will share common mistakes to avoid to keep the structure strong and safe.
This guide keeps everything simple, so you can follow along and create a dog house that fits your pet and works well in all weather.
Why Build a Dog House At Home?
Building a dog house at home gives better control over size, comfort, and safety. Store-bought options may not always fit a dog properly.
A custom build ensures enough space for movement while still keeping the area warm and secure. It also allows the use of strong materials that last longer in different weather conditions.
Another big reason is cost savings. Buying a ready-made dog house can be expensive, especially for large breeds.
Building one at home often costs less and still provides the same level of protection. Basic tools and simple materials are enough to get started.
It also helps create a safe and familiar space for the dog. A well-built house protects from rain, heat, and cold while giving a place to rest comfortably.
Build a Dog House: Easy Step-by-Step
Follow these simple steps to build a strong and safe dog house. Each step keeps the process clear so even beginners can complete it easily.
Tools and Materials You Will Need
Getting the right tools and materials makes the build easier and faster. It also helps avoid delays and keeps the structure strong and stable.
Step1:Build the Base
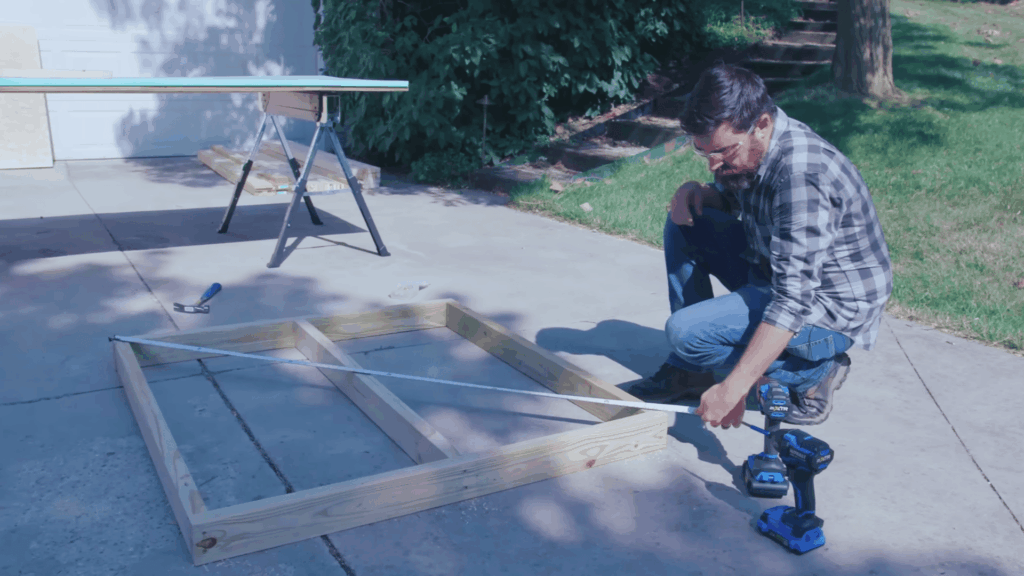
Start by cutting wooden pieces for the base. Make sure the measurements are close, but small gaps are fine and can be adjusted later. Use a drill and screws to fasten the pieces together tightly.
This base acts as the foundation, so it must be level and strong. A solid base helps the dog house stay stable over time.
Even if the cuts are not perfect, the plywood added later will help hold everything in place and improve the overall structure.
Step 2:Cut and Label Frame Pieces
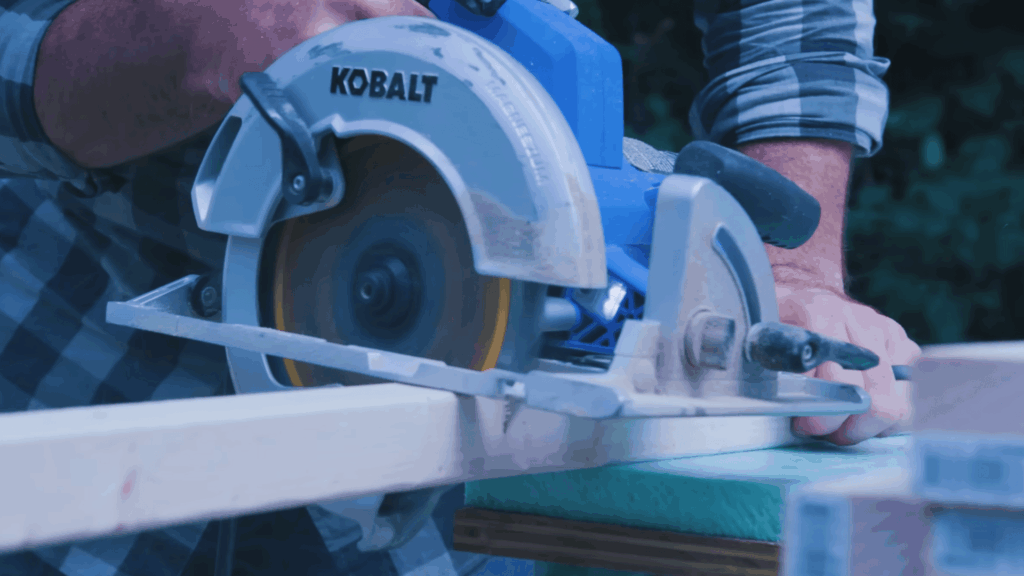
Cut all the framing pieces needed for the walls and roof. Use simple tools like a miter saw or a speed square for angled cuts. It is helpful to label each piece with a pencil right after cutting.
This avoids confusion later when many similar pieces are lying around. The cuts do not have to be exact, as this is basic framing work.
Keeping everything organized at this stage makes the assembly faster and reduces mistakes during the next steps of the build.
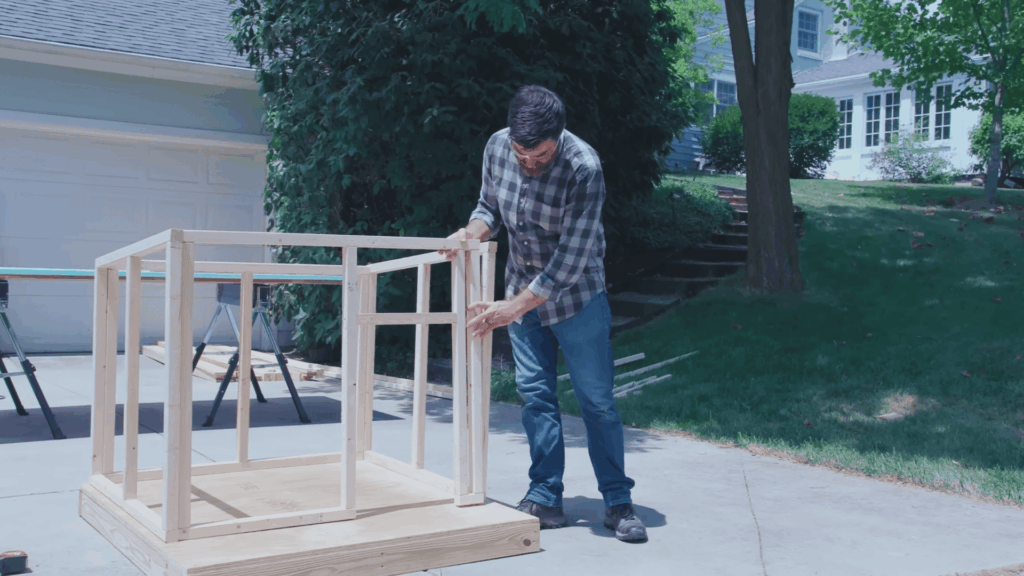
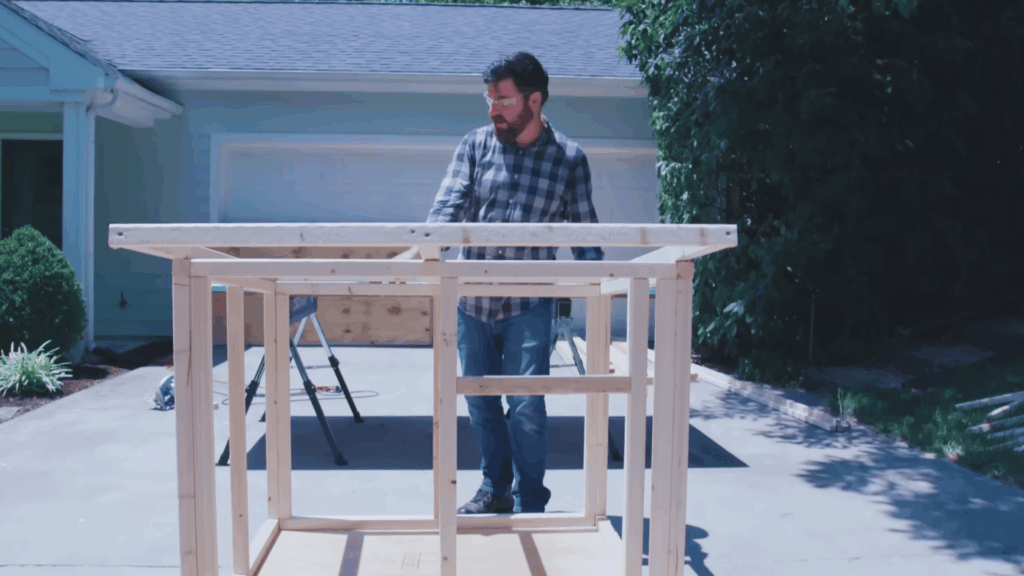
Step 3: Assemble Wall Frames
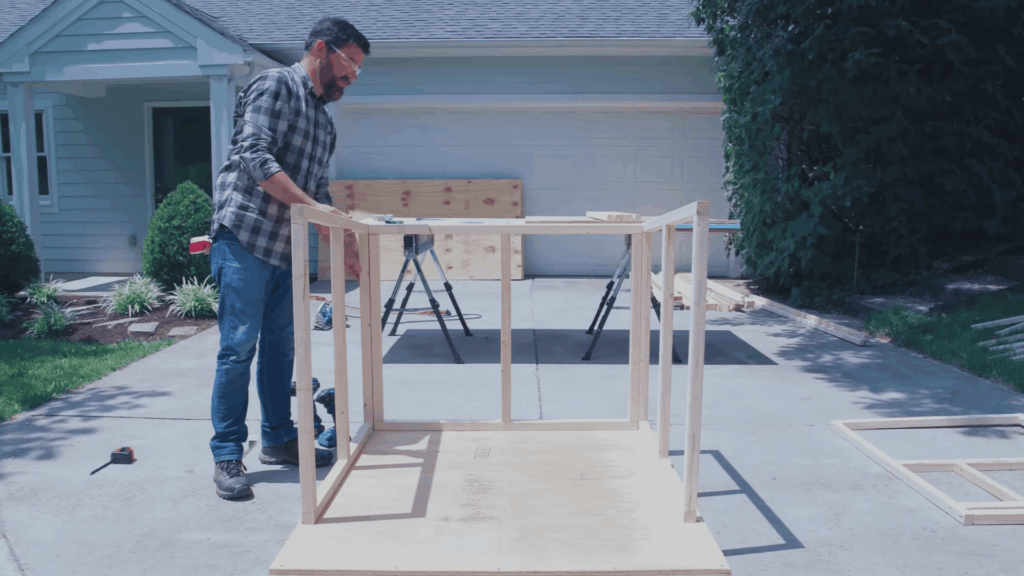
Begin assembling the wall frames by drilling pilot holes before inserting screws. This step helps prevent the wood from cracking, especially when working with smaller pieces.
Attach the back wall to the base first so it can support the other sides. Then add the side walls and finally the front.
This method makes the process easier, especially when working alone. Once all walls are connected, the structure becomes more stable and holds its shape better for the next steps.
Step 4: Create the Door Opening
Build the front wall while leaving space for the entrance. The size of the opening should match your dog’s size, allowing easy movement in and out.
A good rule is to make the opening a few inches wider than the dog’s shoulders. This ensures comfort without letting too much air enter. Adjust the height if your dog is taller.
Taking time here helps create a practical and comfortable entry that fits your dog properly and keeps the inside space protected.
Step 5: Install the Roof Frame
Attach the roof frame to the wall structure. Let the front edge extend slightly outward to help block rain from entering the doorway.
Make sure the back edge is properly aligned so the plywood panels sit flat later. If the alignment is off, it can cause gaps or uneven surfaces.
A properly placed roof frame supports the entire top layer and improves water flow.
This step is important for keeping the dog house dry and well-protected in different weather conditions.
Step 6: Attach Plywood Panels
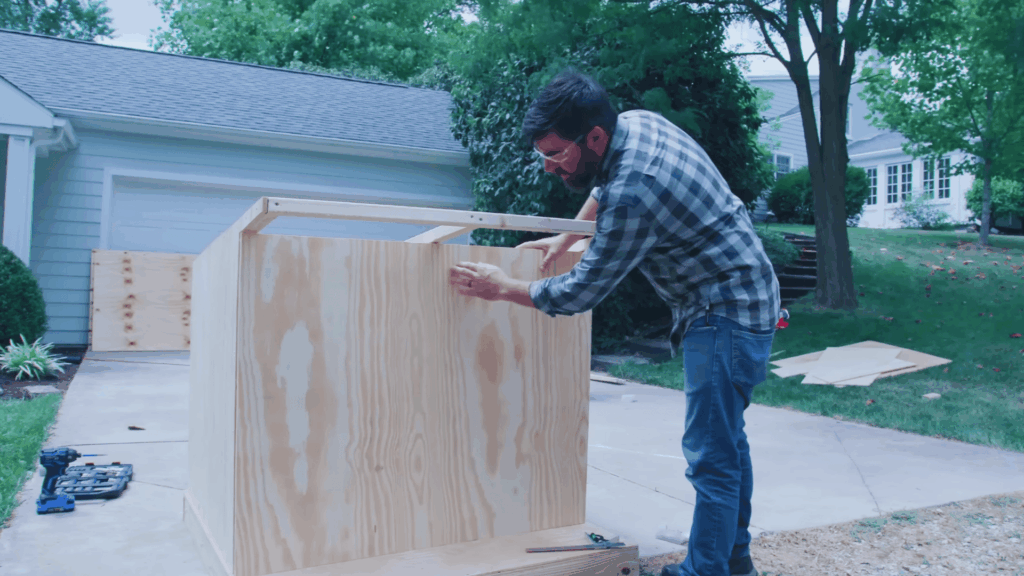
Measure and cut plywood panels for all sides of the dog house. Try to keep the wood grain running in the same direction for a neat and uniform look.
Place the panels on the frame and mark the door opening from the inside before cutting it out. Once everything fits properly, secure the panels using screws or nails.
These panels strengthen the structure and give the dog house its final shape. Proper fitting also helps reduce gaps and improve insulation inside the house.
Step 7: Build and Cover the Roof
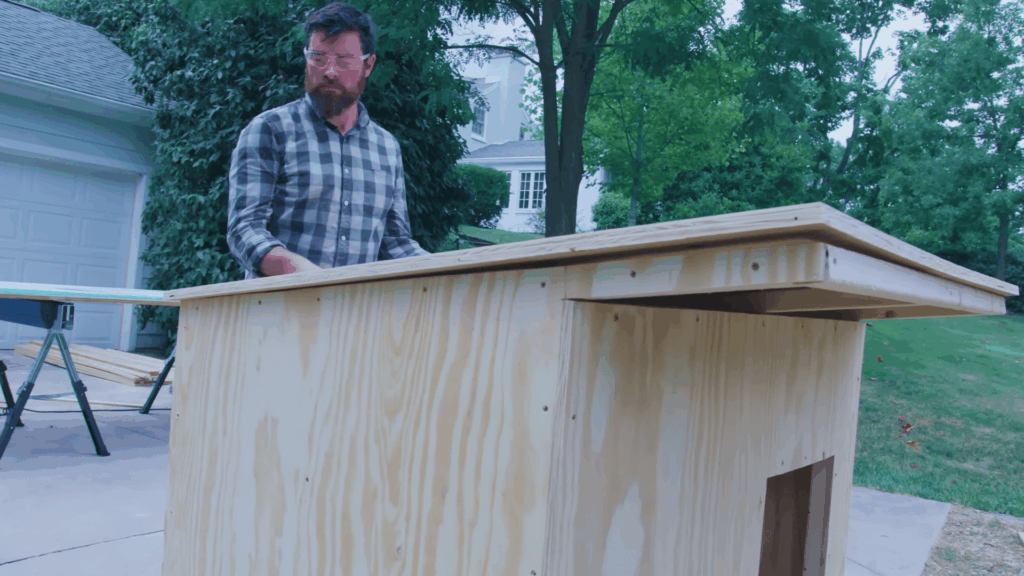
Cut plywood for the roof and allow a small overhang on all sides. This extra space helps with water drainage and gives room for trim.
Attach the roof panels securely, then add drip edges and roofing material, such as shingles.
These layers protect the dog house from rain and sun exposure. Finish by adding trim pieces along the edges for better sealing.
A well-covered roof increases durability and keeps the inside dry, making the dog house more comfortable for everyday use.
Step 8: Finish and Check Safety
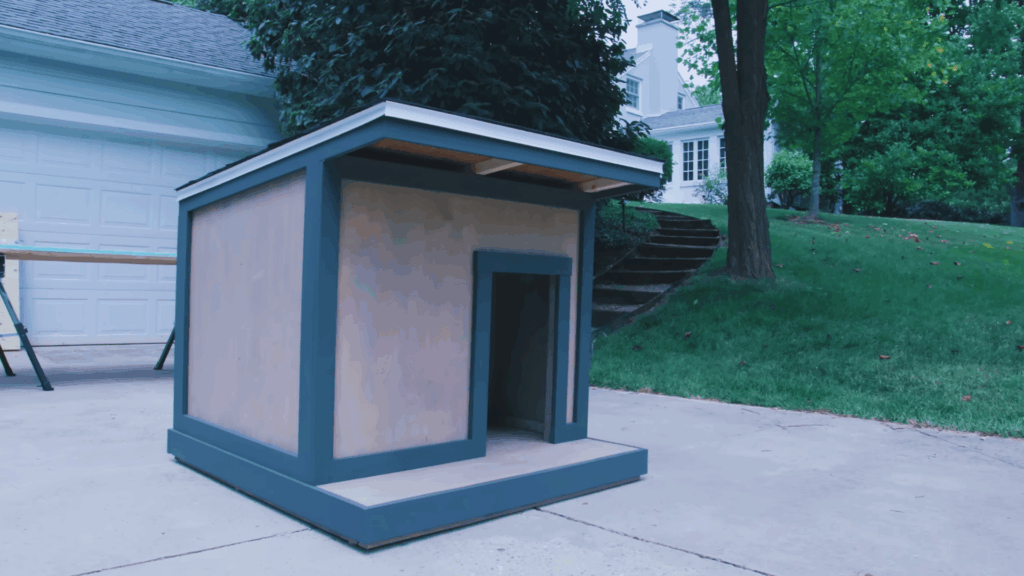
Check the entire dog house carefully before finishing. Look for any sharp nails or screws that may be sticking out inside. Fix these areas to prevent injury to your dog.
Apply paint or sealant to protect the wood from moisture and weather damage. This also improves the overall look of the dog house.
Taking time to inspect and finish properly ensures the structure is safe, strong, and ready for use. A clean finish helps the dog feel more comfortable inside.
You can check out this video for more detailed steps:
Mistakes to Avoid When Building a Dog House
Small mistakes can affect the strength and comfort of the dog house. Paying attention to these points helps avoid problems later.
- Wrong Size Choice: A house that is too small can make it uncomfortable, while one that is too large can reduce warmth. Always match the size to your dog’s height and length.
- Weak Base Support: A poorly built base can shift or sink over time. Use strong wood and keep it level to support the full structure.
- Skipping Pilot Holes: Driving screws directly into wood can cause cracks. Drilling pilot holes helps keep the frame strong and intact.
- Poor Roof Alignment: An uneven roof can lead to gaps and water leaks. Make sure edges are straight and properly fitted before securing.
- Ignoring Ventilation: A closed space without airflow can trap heat. Leave small gaps or vents to keep the inside fresh.
- No Weather Protection: Leaving wood untreated can lead to damage from rain and sun. Apply paint or sealant to extend its life.
Wrapping Up
Building a dog house at home may feel like a lot at first, but I can tell you it gets easier once you start. When I break it down step by step, it becomes a simple and rewarding project.
What I like most is that I can adjust everything to fit my dog perfectly, from the size to the design.
Taking your time with the base, walls, and roof really helps create a strong and safe space. Small details, like smooth edges and proper sealing, make a big difference in your dog’s comfort.
In the end, it is not just about building a shelter. It is about giving your dog a place that feels safe and cozy in every season.
If you plan to build one, give it a try and see how it turns out. And if this guide helped you, share it with others or drop your thoughts below!