
I know building your own shed can feel like a big task at first. When I started, I had no idea where to begin or what tools I really needed.
That’s why I put together this guide on how to build a storage shed from scratch as a beginner.
I want to help you avoid confusion and take things step by step without feeling stuck.
In this article, I will share the full process in a simple way. You will learn how to plan your shed, choose materials, and build each part from the ground up.
I also share basic tips that helped me stay on track. If you want a clear and easy guide, this will help you get started with confidence.
What Is a Shed and Why Do You Need One?
A shed is a small outdoor building used for storage or simple work. People usually place it in a backyard or garden.
It helps keep tools, equipment, and other items safe from weather and damage.
You can store lawn tools, bikes, or boxes you do not use every day. Sheds come in different sizes and materials, such as wood, metal, or plastic.
Some are simple, while others include shelves, windows, or a small work area. Many people use sheds to free up space at home and stay organized.
A shed can also be used for hobbies or light DIY work, making it a useful and practical addition to any home setup.
Key Features of the Shed
- Extra Storage: A shed gives you space to store tools, bikes, and seasonal items so your home stays clean and less cluttered.
- Better Organization: You can keep things in one place, making it easier to find what you need without searching around the house.
- Protects Your Items: A shed keeps your belongings safe from rain, sun, and dust, helping them last longer.
- Creates Workspace: You can use it as a small area for DIY work, repairs, or hobbies without disturbing your home.
- Frees Up Indoor Space: Moving extra items to a shed helps open up space inside your house for daily use.
- Flexible Use: A shed can be used for storage, work, or even a quiet place, depending on your needs.
Tools and Materials You’ll Need Before Building a Shed
Having the right items ready makes the building process smoother and saves time. It also helps you avoid delays once you start working on your shed.
- Measuring Tape: Helps you mark accurate sizes so each part fits properly during the build.
- Hammer and Nails: Used to join wood pieces together and secure the frame and panels.
- Power Drill: Makes it easy to drive screws and drill holes quickly with less effort.
- Saw (Hand or Power): Needed to cut wood into the correct sizes for the base, walls, and roof.
- Level Tool: Ensures your shed stays straight and even, which is important for stability.
- Wood (Lumber): Forms the main structure, including the base, walls, and roof frame.
- Plywood or Panels: Used for covering the walls and roof to give the shed its shape.
- Roofing Material: Protects the shed from rain and sun, such as shingles or metal sheets.
- Screws and Fasteners: Hold parts tightly together and provide stronger support than nails alone.
- Safety Gear: Includes gloves and goggles to keep you safe while cutting, drilling, and building.
How to Build a Shed from Scratch As a Beginner?
Building a shed is a simple project when you follow the right steps. With basic tools and a clear plan, you can create a strong, useful space for storage or work.
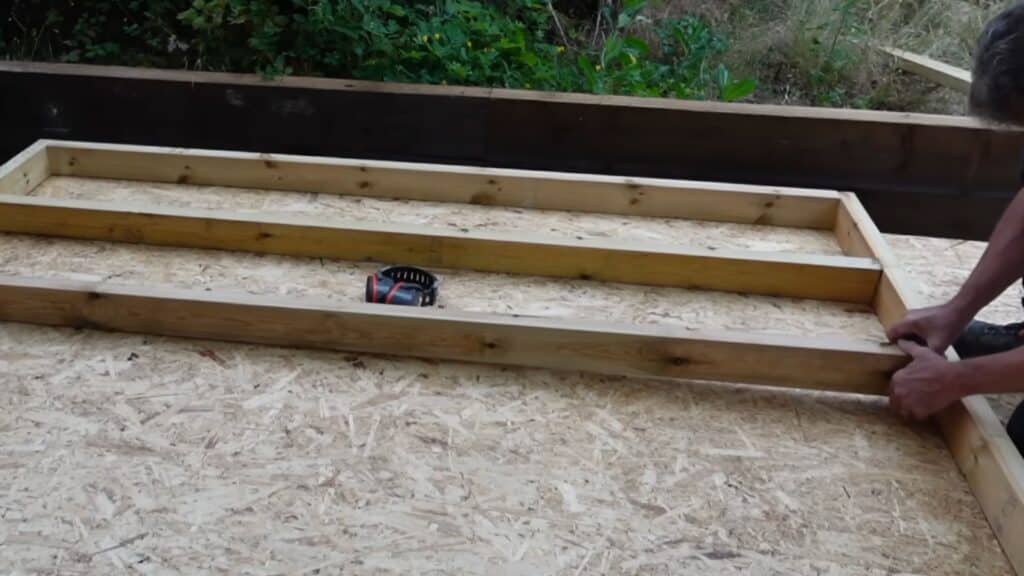
Step 1: Prepare a Square Base
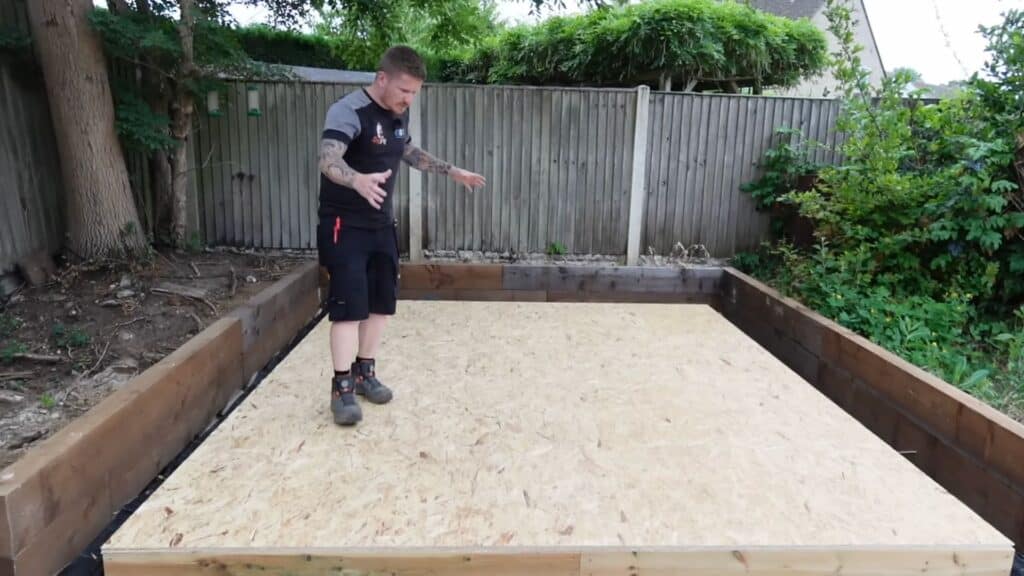
Start by creating a strong, level base for your shed. This is one of the most important parts of the entire build.
A solid base keeps your shed stable and prevents future problems like leaning or uneven walls.
You can use timber, concrete blocks, or a gravel foundation, depending on your budget and ground type. Make sure the surface is flat and square by checking measurements from all sides.
Taking extra time here will make the rest of the process much easier and help your shed last longer.
Step 2: Cut Top and Bottom Plates
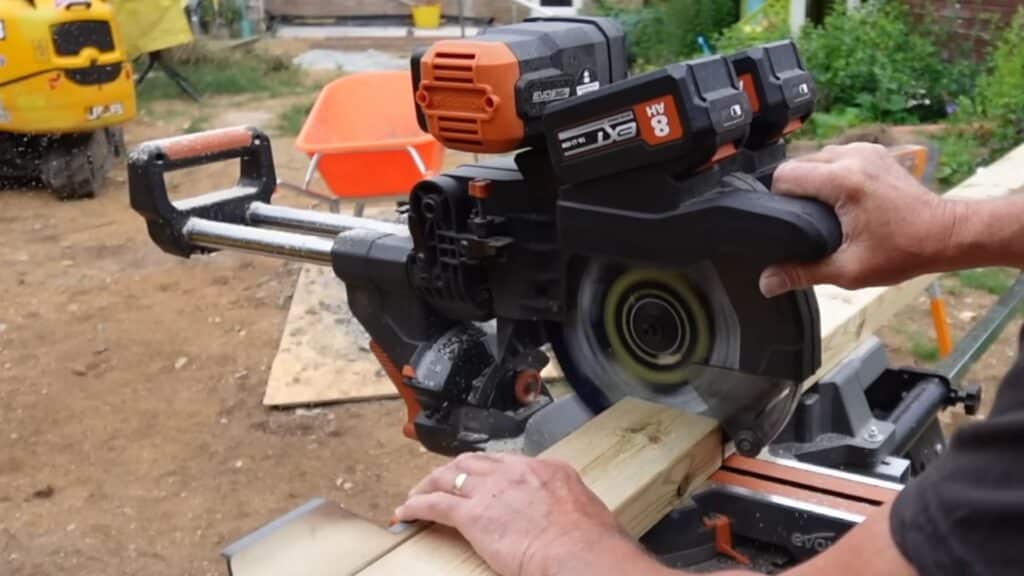
Cut two long pieces of timber that will form the top and bottom plates of your wall frame.
The bottom plate sits directly on the base, while the top plate runs along the upper edge of the wall.
Measure carefully and cut both pieces to the same length to keep everything aligned. Using treated timber is a smart choice because it handles outdoor conditions better.
These plates act as the main structure of your wall, so accurate cuts will help you avoid issues later when assembling and fitting the frame together.
Step 3: Build the Wall Frame on the Ground
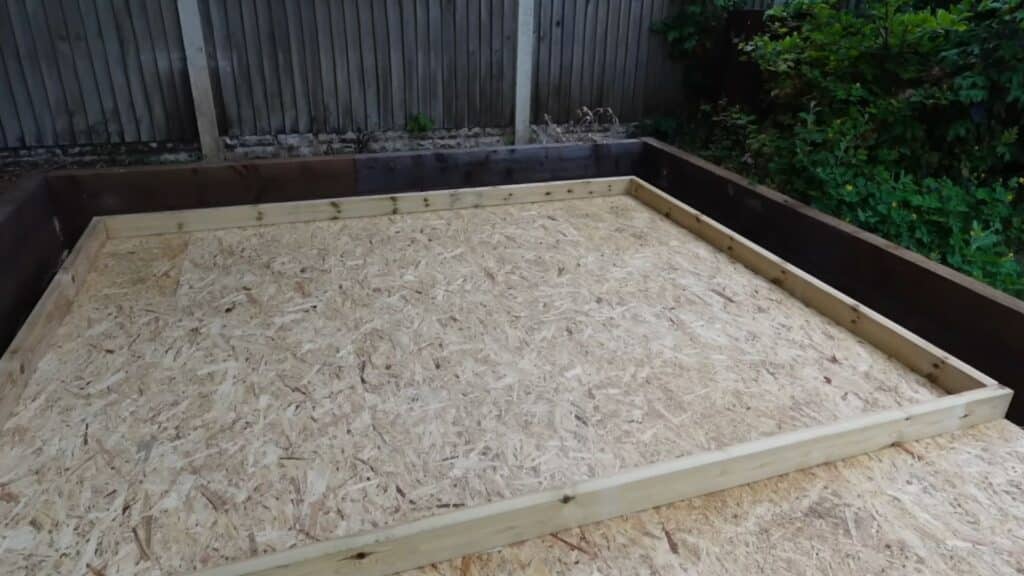
Lay out all your wall components flat on the ground before assembling them. Place the top plate, bottom plate, and side studs in position to form a rectangular frame.
Building on the ground makes the process easier, especially for beginners, because it allows better control and alignment.
Make sure the frame matches the size of your base so it fits properly when lifted.
This method also improves safety and reduces strain compared to building walls in an upright position, giving you better results with less effort.
Step 4: Fix the Frame Together
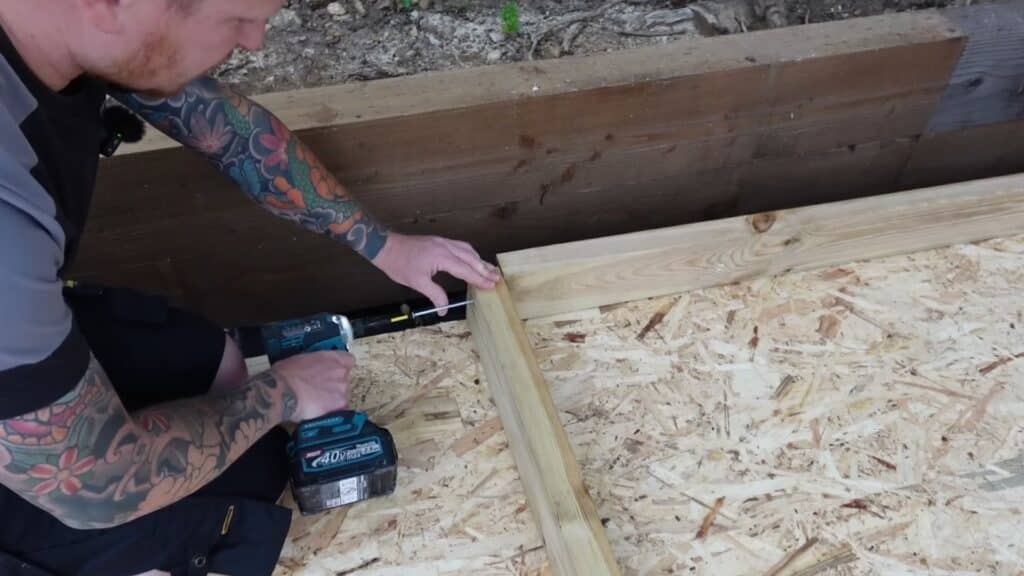
Secure the frame by joining the corners using screws or nails. Screws are often easier for beginners because they allow adjustments if needed.
Align the timber pieces carefully and fasten them tightly to create a solid structure. Avoid placing screws too close to the edges to prevent splitting the wood.
A strong frame at this stage ensures your wall will stay stable and hold its shape over time.
Taking care during assembly helps avoid weak joints and reduces the chance of problems later in the build.
Step 5: Add Vertical Studs
Install vertical studs between the top and bottom plates to strengthen the wall. These studs provide support and help distribute weight evenly.
Space them about 400 mm apart for good stability and easier cladding installation later.
Measure and cut each stud to the correct height so it fits snugly within the frame. Secure them firmly using screws or nails.
Keeping the spacing consistent is important for both strength and appearance. This step plays a key role in making your shed durable and well-structured.
Step 6: Lift and Position the First Wall
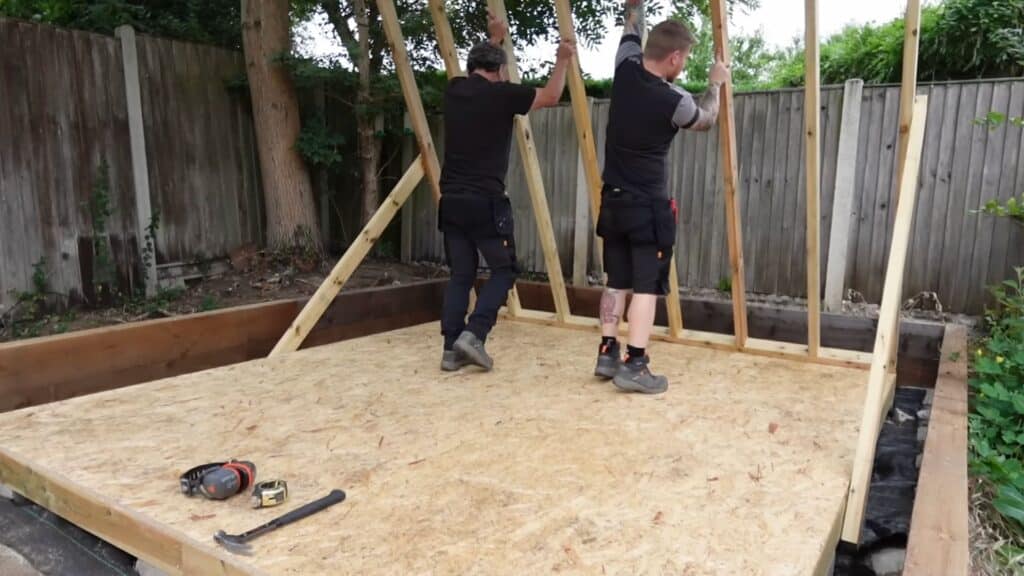
Once the wall frame is complete, carefully lift it into position on the base. If you are working alone, use temporary support pieces to hold the wall upright.
Make sure the wall sits exactly along the edge of the base and does not shift.
Check that it is straight before securing it. Taking your time during this step helps prevent alignment issues later.
A properly placed first wall also makes it easier to attach the remaining walls and keep the entire structure square and balanced.
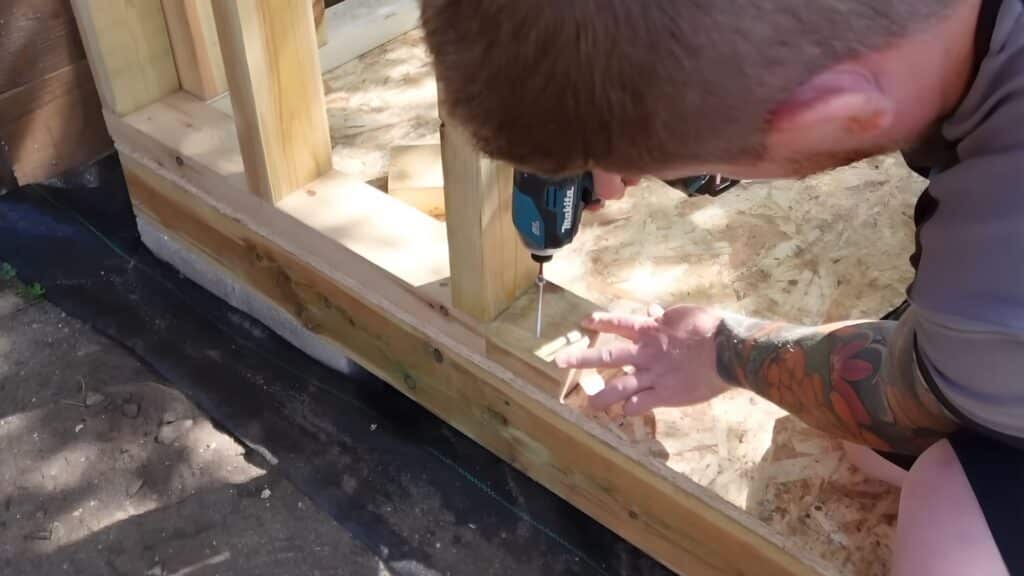
Step 7: Secure the Wall to the Base
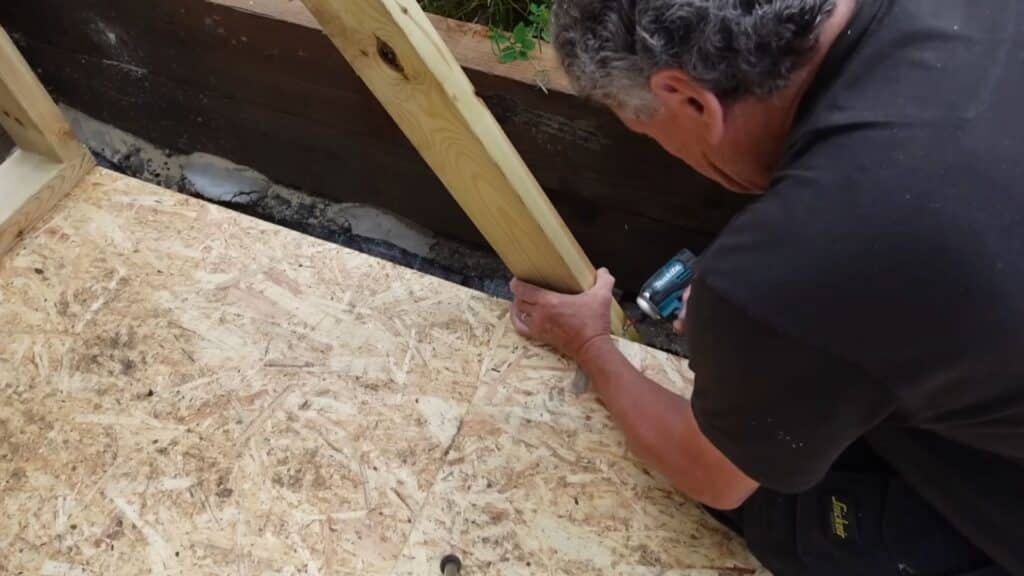
After positioning the wall, fix it securely to the base using screws.
Drive one screw through each stud into the base to hold it firmly in place. Angling the screws slightly can improve grip and stability. This step ensures the wall does not move while you continue building.
Make sure the wall stays straight as you secure it.
A strong connection between the wall and base is essential for the overall strength of your shed and helps it handle wind and everyday use.
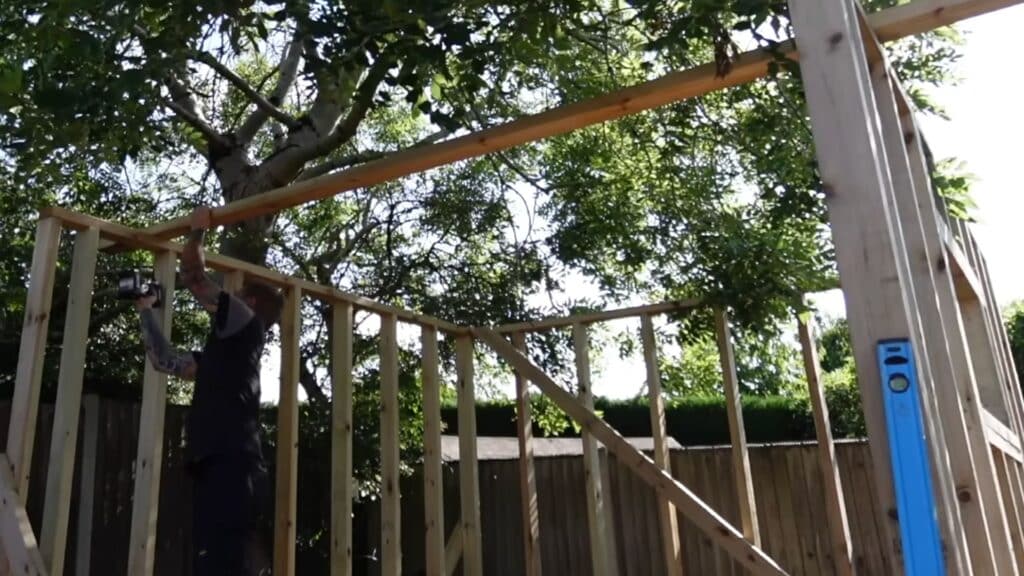
Step 8: Build and Attach Side Walls
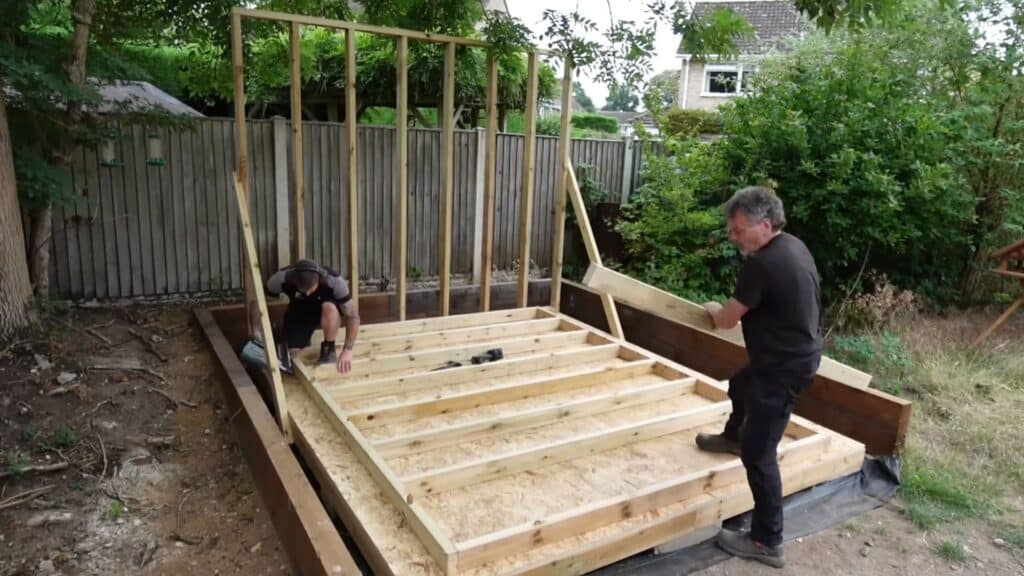
Repeat the same process to build the side walls. Assemble each wall on the ground first, then lift it into place next to the back wall.
Once positioned, attach the side wall by screwing through the corner studs into the adjoining wall. Check that each wall is straight before fixing it permanently.
Keeping corners tight and aligned helps maintain the shed’s shape.
This step gradually forms the main structure and provides the support needed for the remaining walls and roof.
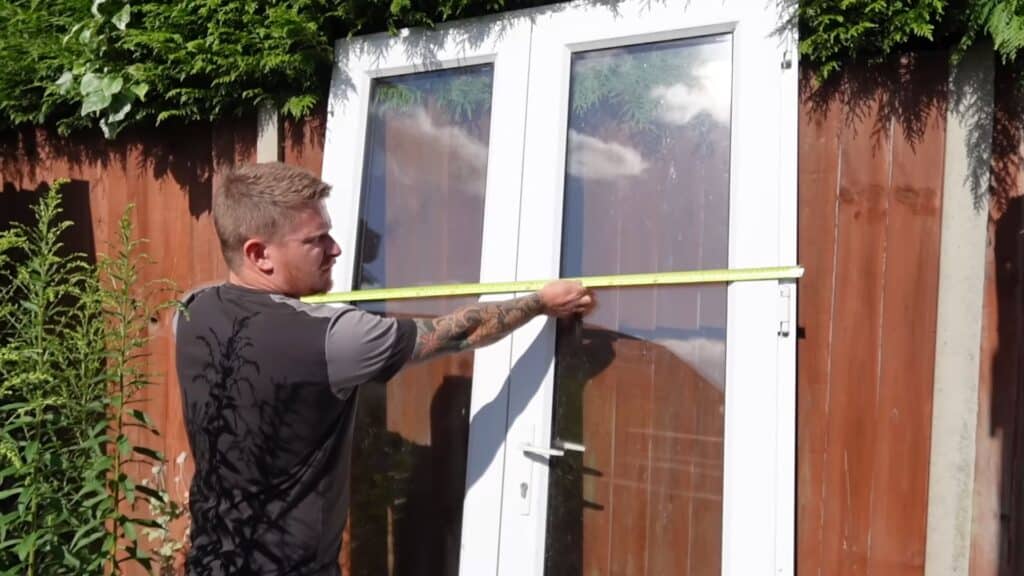
Step 9: Frame Openings for Windows
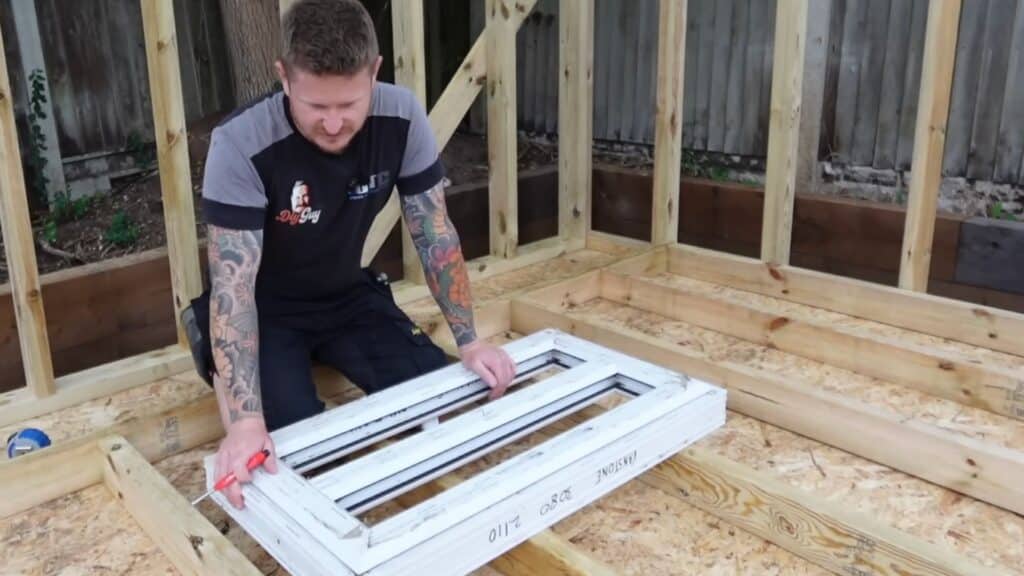
If you plan to add a window, mark its position before cutting any timber. Remove the section of studs where the window will go, then create a frame around the opening.
Use extra timber around the edges to strengthen the area.
This helps support the structure and keeps the window secure. Make sure the opening is slightly larger than the window for easy fitting.
Proper framing around openings is important to prevent weak spots and ensure your shed remains strong and stable.
Step 10: Add Bracing for Stability
To keep your shed from shifting or leaning, add bracing to the walls. This can be done using diagonal or horizontal pieces of timber fixed across the studs.
Bracing helps hold the structure square and prevents movement over time.
Without it, the walls may twist or become unstable. Install the braces firmly and check alignment as you go.
This step is especially important if you are not using solid boards on the outside. Proper bracing makes your shed stronger and more durable.
Step 11: Build the Front Wall and Door Frame
Measure your door carefully and mark its position before building the front wall. Create a frame for the door using strong vertical studs and a horizontal support at the top.
Leave a small gap around the door for easy installation.
Build the wall in sections if needed, then lift and attach it like the others.
Make sure everything is straight and secure. A well-built door frame ensures smooth opening and closing while adding strength to the front of your shed.
Step 12: Strengthen the Frame with Noggins
Add short horizontal pieces of timber, known as noggins, between the vertical studs. These help strengthen the entire wall structure and reduce movement.
Measure each gap carefully and cut the noggins to fit tightly.
Secure them firmly using screws or nails. Staggering their positions can make installation easier.
This final step adds extra support and improves the durability of your shed. Once completed, your frame will feel solid and ready for the next stages, like roofing and cladding.
This tutorial is based on a helpful video by The DIY Guy. You can check out the original video on their YouTube channel here or watch it below.
Quick Tips to Build Your Shed Faster and Easier
A few smart steps can save time and reduce effort during the build. Good planning also helps avoid mistakes that slow you down.
- Plan Before You Start: Make a clear layout and list of steps so you don’t waste time figuring things out during the build.
- Prepare All Materials Early: Keep tools and materials ready in one place to avoid stopping work again and again.
- Use Pre-Cut Wood: Buying pre-cut lumber saves time and reduces the need for extra cutting work.
- Work on a Flat Surface: A level ground makes building easier and helps you avoid fixing alignment issues later.
- Use Power Tools: Tools like a drill or electric saw speed up work and reduce manual effort.
- Build in Sections: Work on the base, walls, and roof separately to stay organized and avoid confusion.
- Ask for Help: Having one extra person can make lifting and fitting parts much faster and easier.
- Check Measurements Twice: Accurate measurements prevent errors that can slow down the whole process.
Conclusion
Building a shed might feel like a big project at first, but once you take it step by step, it becomes much easier to manage.
I’ve noticed that staying patient and focusing on one task at a time really helps avoid mistakes.
From preparing a solid base to framing and strengthening the walls, each step adds to a strong final result.
You don’t need advanced skills to do this well. With careful measurements and steady work, even basic tools can help you build a shed that lasts for years.
The key is to stay consistent and not rush through important parts. Once everything comes together, the effort feels worth it. You end up with a useful space built by your own hands.
Start your shed build today and turn your plan into a finished project.