
Making your own pantry shelves at home can be a smart and easy project. Many people want more storage space without spending a lot of money.
DIY shelves help keep food and kitchen items neat and in one place. This project doesn’t need fancy tools or skills.
With a little time and effort, anyone can build strong shelves that work well. It’s a simple way to improve the pantry and make things easier to find.
This guide will show how to do it step by step. From cutting wood to putting it all together, the process is clear and easy to follow. Let’s get started on building pantry shelves.
Why Build DIY Pantry Shelves?
Building DIY pantry shelves is a smart way to make the most of your space while keeping costs low.
It allows you to save money, customize the shelf size to fit your exact needs, and add as much storage as your pantry allows.
Unlike store-bought shelves, which may not match your space or budget, DIY shelves can be tailored to fit perfectly.
They also help keep your pantry organized and neat. Best of all, there’s a real sense of satisfaction that comes from completing a hands-on project and creating something useful for your home.
Tools & Materials Needed
| Tools | Materials |
|---|---|
| Measuring tape | Plywood sheets (for shelves) |
| Pencil and graph paper | 1×2 boards (for cleats and trim) |
| Stud finder | Wood screws (1¼ inch) |
| Level | Wood filler |
| Power drill & screwdriver | Pocket hole plugs |
| Miter saw, or circular saw | Drywall anchors (if needed) |
| Pocket hole jig | Wood glue |
| Brad nailer or finish nails | Primer (water-based, like Zinsser) |
| Orbital sander (with fine and coarse grit) | Paint (cabinet-grade, e.g., Bright White) |
| Countersink drill bit | Painter’s caulk |
| Paint roller and brush | Sandpaper (various grits) |
| Painter’s tape | Cleaning rag (for wiping dust) |
Step-by-Step Guide to Build DIY Pantry Shelves
You don’t need to be a pro to build strong, great-looking pantry shelves. Just follow these clear steps to do it yourself from start to finish.
Step 1: Clear and Prep the Pantry
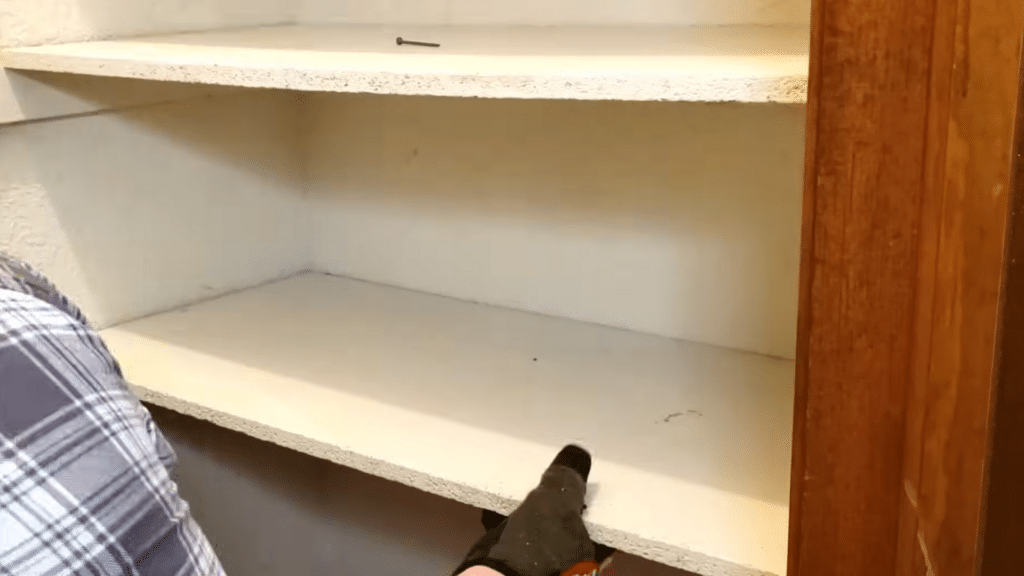
Start by emptying your pantry. Remove all food, bins, and anything stored inside. Use a hammer to pull out old shelves and cleats. If the shelves were nailed in, like in this example, they should come out easily.
Once everything is removed, clean the walls and floor so you have a fresh space to work in. This also makes it easier to measure accurately in the next step.
Step 2: Measure and Make a Shelf Plan

Use graph paper to draw your pantry. First, draw a top-down view (rectangle). Write down the full width and depth. Then draw a front view (what the wall looks like from straight on). Now plan your shelf layout:
- Decide how many shelves you want.
- Choose how much space is between each one (e.g., 20″ below bottom shelf for bulk items, 16″ above that, then 12″ between the rest).
- Don’t forget to include the thickness of the shelf wood (¾”) in your spacing.
- For deep or wide shelves, plan for a vertical center support for strength.
Doing this ahead of time helps you get the spacing right before you cut anything.
Step 3: Cut All Wood Pieces
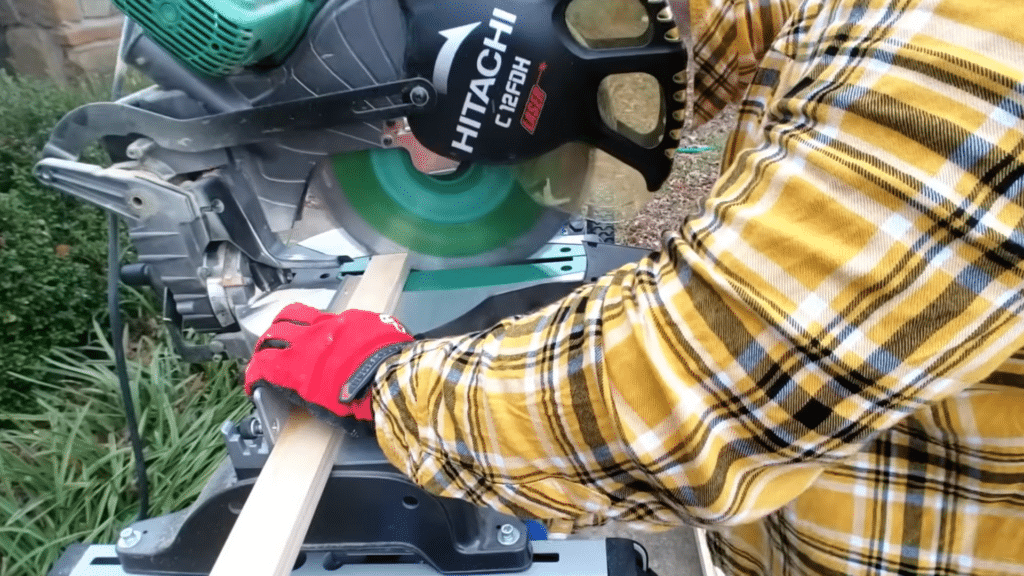
You’ll need two types of wood: plywood for the shelves and 1×2 boards for cleats and trim. Here’s how to cut everything:
- Cut plywood strips 11¼” deep for all shelf pieces. You can have the store cut them lengthwise for you.
- Back shelves: 69″ wide
- Side shelves: 24¾” wide
- Trim (1×2)for shelf fronts: cut to match the front edges
- Vertical support: measure from floor to top shelf (75¾” in this example)
- Cleats (1×2): Back wall: 69″, Side walls: 35¼” (subtract the back cleat width), Door wall: 10″ (to avoid sticking out)
Make a cut list and plan your board usage to reduce waste.
Step 4: Mark Wall and Install Cleats
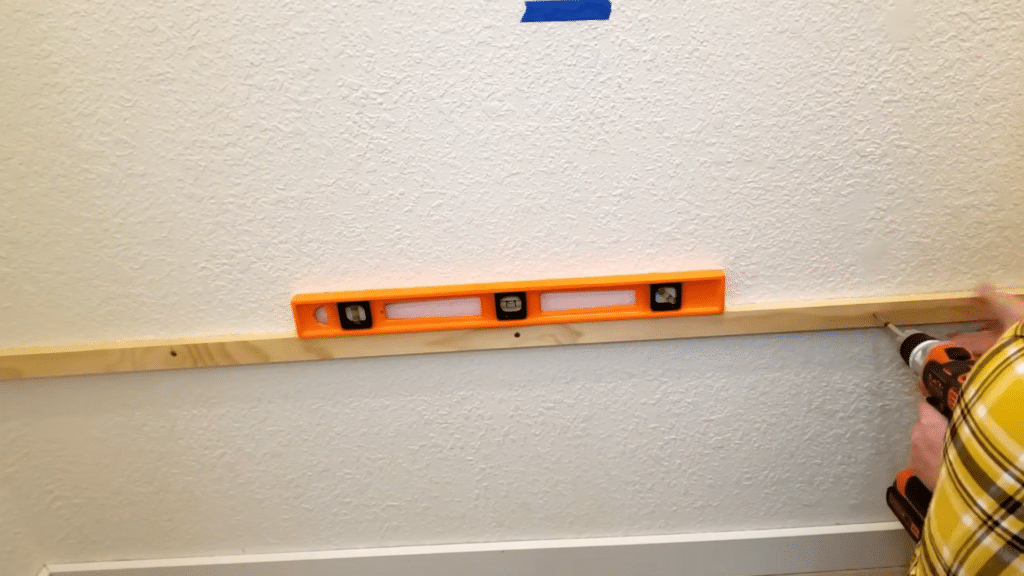
Use painter’s tape and a measuring tape to mark where each shelf will go on the wall. Start with the lowest shelf and work up. Use a stud finder to locate studs in each wall; these give your shelves strength.
To install cleats:
- Cut and test-fit one back cleat.
- Mark where the studs hit that cleat.
- Hold it in place with a level and screw into the center stud first.
- Adjust the cleat until it’s level, then screw it into the remaining studs.
- Use wood spacers between each cleat to keep shelf spacing consistent.
Repeat for side and front wall cleats. Use pocket holes to join cleats at the corners, and drywall anchors if there’s no stud.
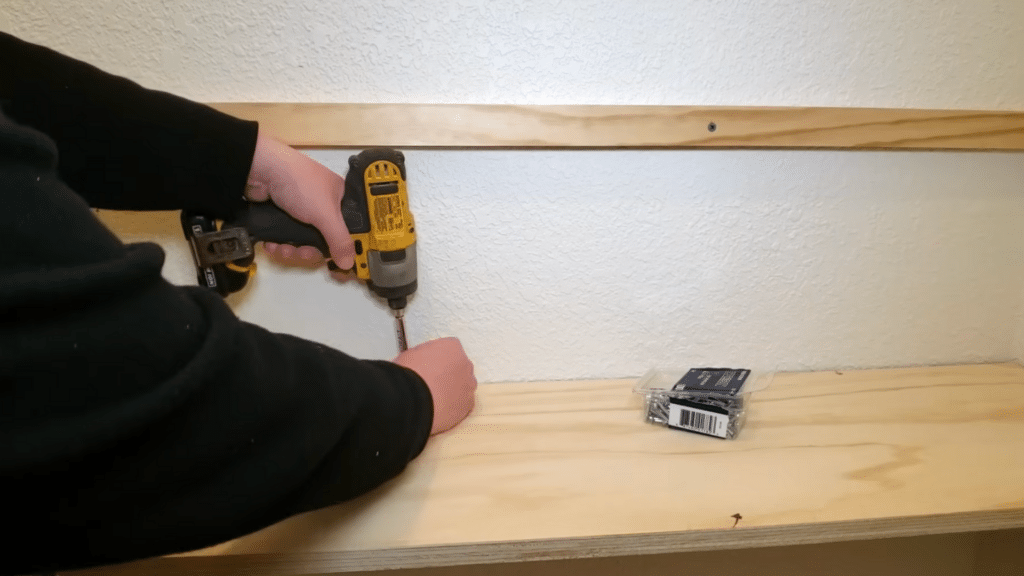
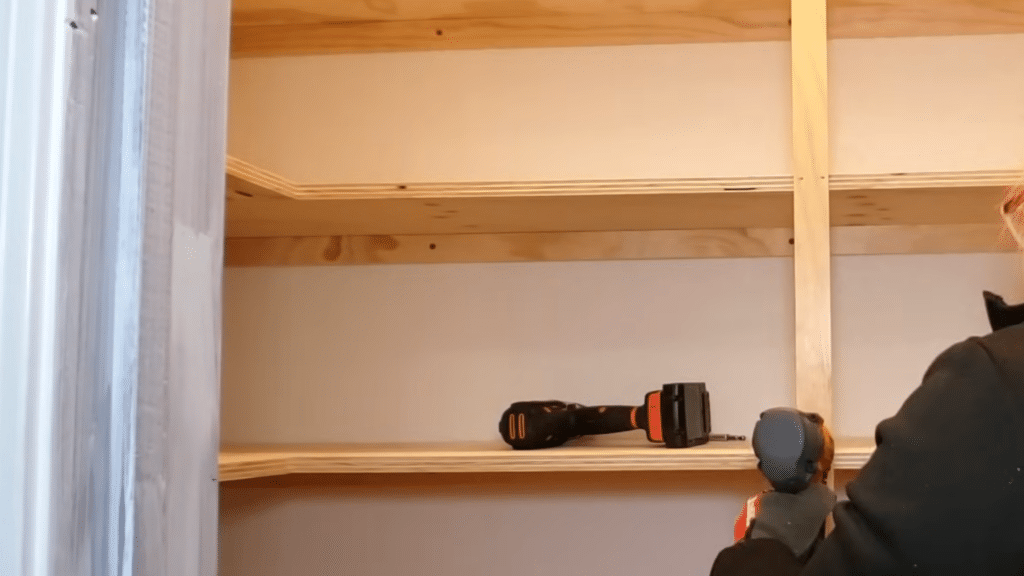
Step 5: Dry-Fit and Install Shelves
Before screwing anything in, test-fit all shelves:
- Place the long back shelves first, then the side pieces.
- Adjust sizes slightly if something’s tight or uneven.
Once they fit:
- Drill pilot holes in the top of each shelf (use a countersink bit so screw heads sit below the surface).
- Label and remove each shelf after drilling.
- Screw long shelves into the cleats with 1¼” wood screws.
- Refit the side shelves and screw them into the cleats and into the long shelf using pocket holes underneath.
- Attach the center support bar (if using) with nails or screws into each shelf.
Now the structure is secure and ready for finishing touches.
Step 6: Add Trim (Shelf Facing)
To hide the raw plywood edges and make the shelves look built-in, add 1×2 trim to the front:
- Cut trim pieces for each shelf front.
- Use mitered cuts for inside corners so they fit together neatly.
- Nail them into the shelf fronts using a brad nailer or finish nails.
This small step makes a big difference in appearance.
Step 7: Fill, Sand, and Paint
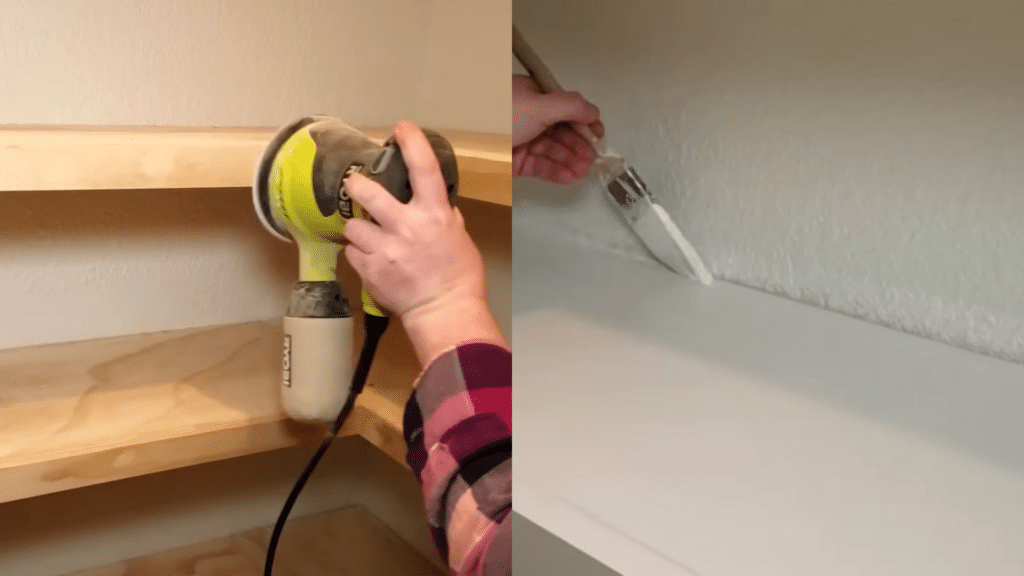
To give your pantry shelves a polished look:
- Use wood filler to cover nail holes, screw holes, seams, and visible knots.
- Plug pocket holes with wood plugs and glue.
- Sand everything smooth with an orbital sander, start with coarse grit if needed, then finish with fine grit.
- Wipe down all dust with a damp rag and let it dry.
- Apply primer
- Paint 2 coats using cabinet-grade paint
- Caulk the back edge where shelves meet the wall for a seamless finish.
- Touch up wall color as needed.
Let the paint cure fully before placing anything on the shelves.
For a more detailed guide, watch this YouTube Tutorial by @TheNiftyNester:
Budget Breakdown
Here’s a simple cost guide (prices may vary):
| Item | Approx. Cost |
|---|---|
| Wood boards (5–6 pcs) | $30–$60 |
| Shelf brackets (10–12) | $20–$40 |
| Screws and anchors | $5–$10 |
| Paint or stain | $10–$20 |
| Sandpaper | $5 |
| Total (est.) | $70–$130 |
Making your own DIY pantry shelves is much cheaper than buying pre-made units.
How Long Does it Take?
Building DIY pantry shelves can take:
- 2–3 hours for small or simple projects
- 4–6 hours for larger pantries or painted shelves
You can split it across two days if needed (cut and paint one day, install the next).
Smart Tips for Pantry Shelf Design and Safety
These simple tips will help you make the most of your space, keep things accessible, and ensure your shelves stay safe and sturdy for years to come.
For Small or Narrow Pantries:
- Use corner shelves to maximize space.
- Try adjustable brackets for flexible shelf placement.
- Add vertical shelves to neatly store cans and jars.
- Use the back of the door for hanging racks or small storage bins.
For Deep Pantry Shelves:
- Use slide-out bins or baskets to reach items in the back.
- Store tall items in the back and short items in the front.
- Rotate food regularly so nothing gets lost or expires.
- Label containers to keep things easy to find.
Safety and Stability Tips:
- Always screw cleats or brackets into wall studs when possible.
- Use strong wall anchors if there are no studs.
- Don’t overload shelves; check weight limits for brackets.
- Inspect shelves once a year for sagging, loosening, or damage.
Wrapping Up
Building pantry shelves on your own may seem like a big task, but breaking it into simple steps makes it doable.
From planning and cutting to sanding and painting, each part of the process adds up to a shelf setup that fits your space and style.
Good design and smart storage choices will help you stay organized every day. Take your time, follow the guide, and don’t skip the finishing touches; they make a big difference.
Once it’s done, you’ll have shelves that truly work for your needs. If this guide helped you, leave a comment or share your project results!