
If you’ve ever tried painting with a spray gun, you’ve probably heard people talk about spray tip sizes. Maybe you felt a bit confused by all the numbers and letters. Don’t worry, you’re not alone.
I was once right where you are, holding a spray gun and wondering why the paint was spraying too fast, too slow, or just plain wrong.
Understanding spray tip sizes can really make your painting job go smoothly. The right spray tip can help you avoid a mess, save time, and make your project look like a pro did it.
Through this blog, I’ll help you learn everything you need to know, step by step, in super simple words. Whether you’re painting a wall, fence, cabinet, or even your deck, this info will help you spray smarter.
What Is a Spray Tip?
A spray tip is the small metal piece at the front of a paint sprayer. It controls how much paint comes out and how wide the spray pattern is.
Think of it like the nozzle on a garden hose. Just like twisting the nozzle changes how the water sprays, changing the spray tip affects how your paint comes out.
Spray tips come in different sizes, and each size does something different. Some spray tips are best for thin materials like stain. Others are made for thick paints like latex.
Picking the right spray tip helps the paint stick better and reduces drips and overspray.
How to Read Spray Tip Sizes
Spray tip sizes usually come as a three-digit number, like 515 or 310, and each part of the number has a special meaning.
The first digit tells you how wide the spray pattern will be.
You just multiply that number by 2 to get the fan width in inches. For example, a tip that starts with 5 will spray in a 10-inch wide fan (5 x 2 = 10).
The last two digits show the size of the opening, or orifice, which controls how much paint comes out. A 15 means the hole is 0.015 inches wide.
So, if you’re using a 515 tip, it sprays in a 10-inch wide pattern with a 0.015-inch hole—good for medium to thick paints like latex.
A 310 tip, on the other hand, sprays a 6-inch fan with a smaller 0.010-inch hole, making it better for thinner materials like stain or sealer.
Different Spray Tip Sizes
Spray tips aren’t one-size-fits-all. I’ve found that each size works better for certain paints and projects.
Below, you’ll find the most common spray tip sizes and what they’re good for. This should help you pick the best one for your job.
1. 209 Spray Tip
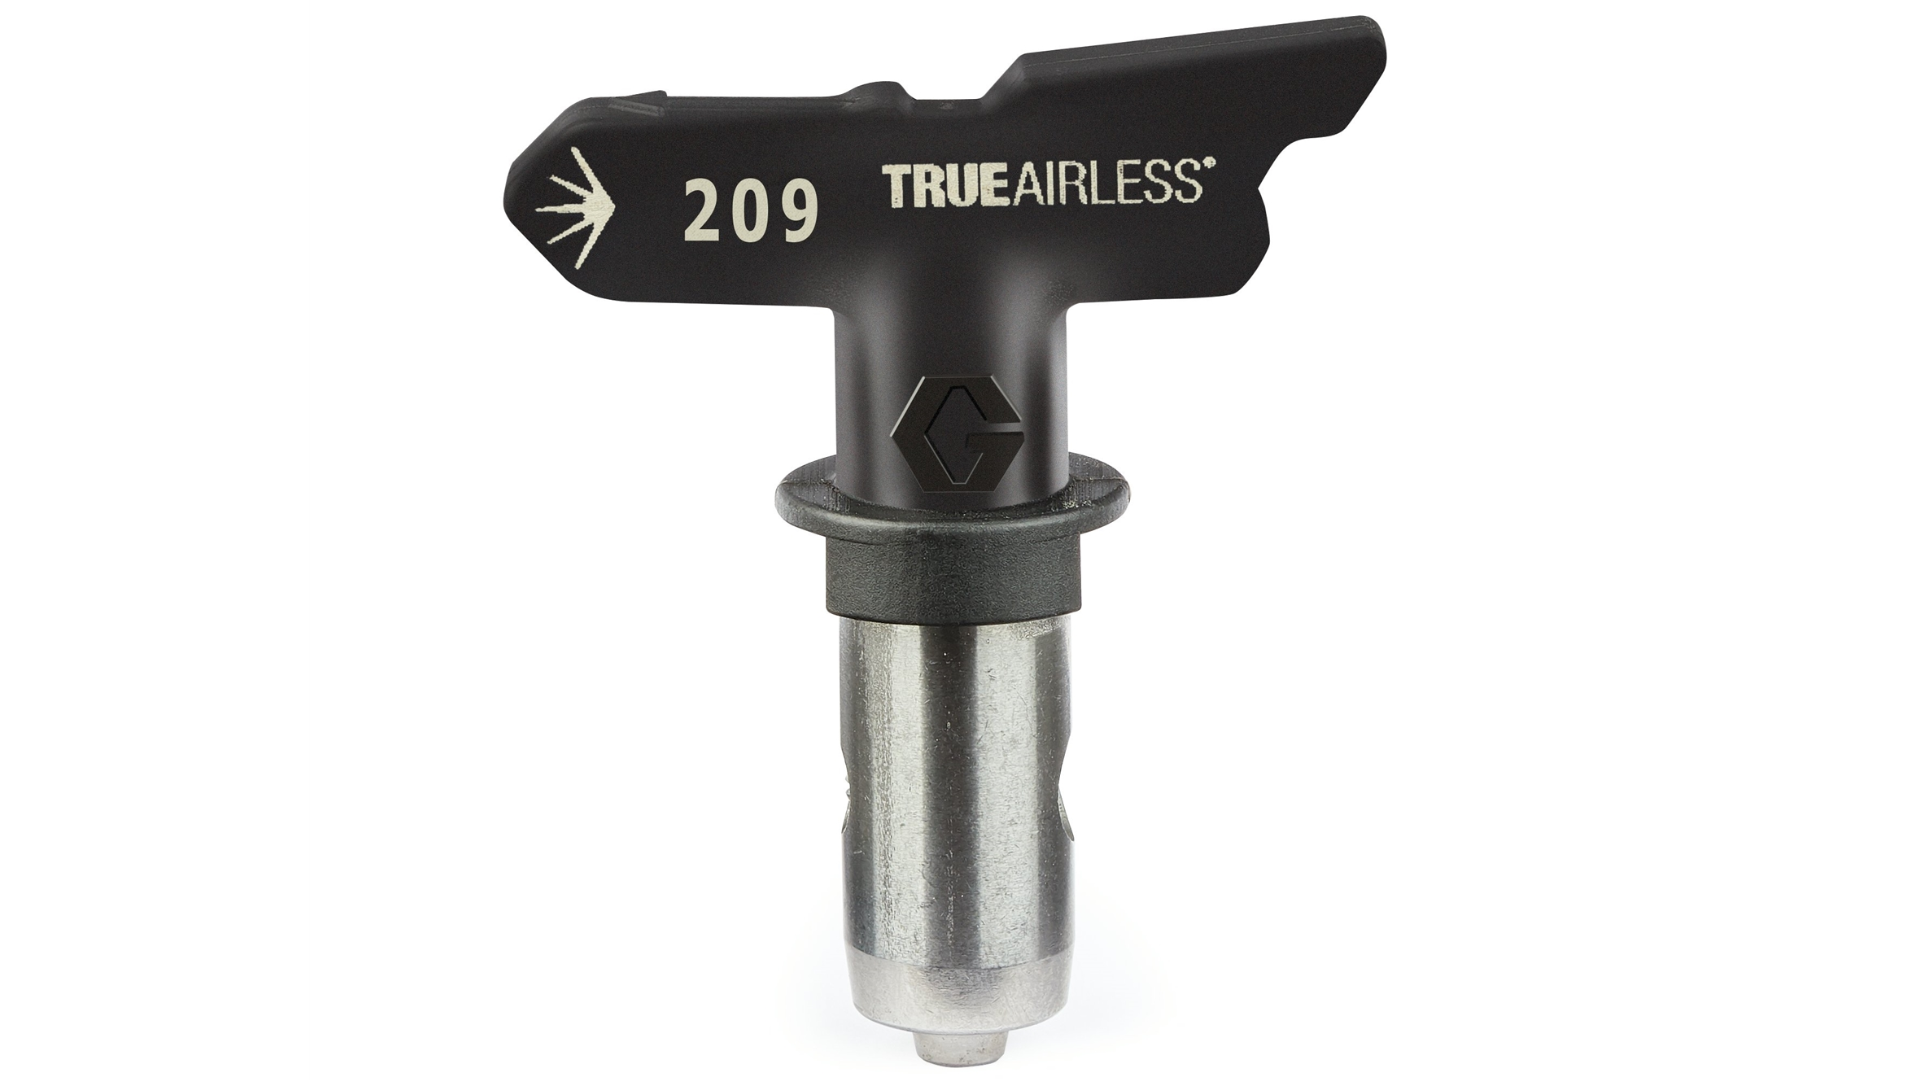
The 209 tip has a small fan width and a tiny hole. It sprays in about a 4-inch wide pattern and works best with very thin materials, like wood stains or sealers.
This tip is great for small, detailed work, like spraying furniture, crafts, or touch-ups. It gives you lots of control and keeps the paint from running or dripping.
2. 310 Spray Tip
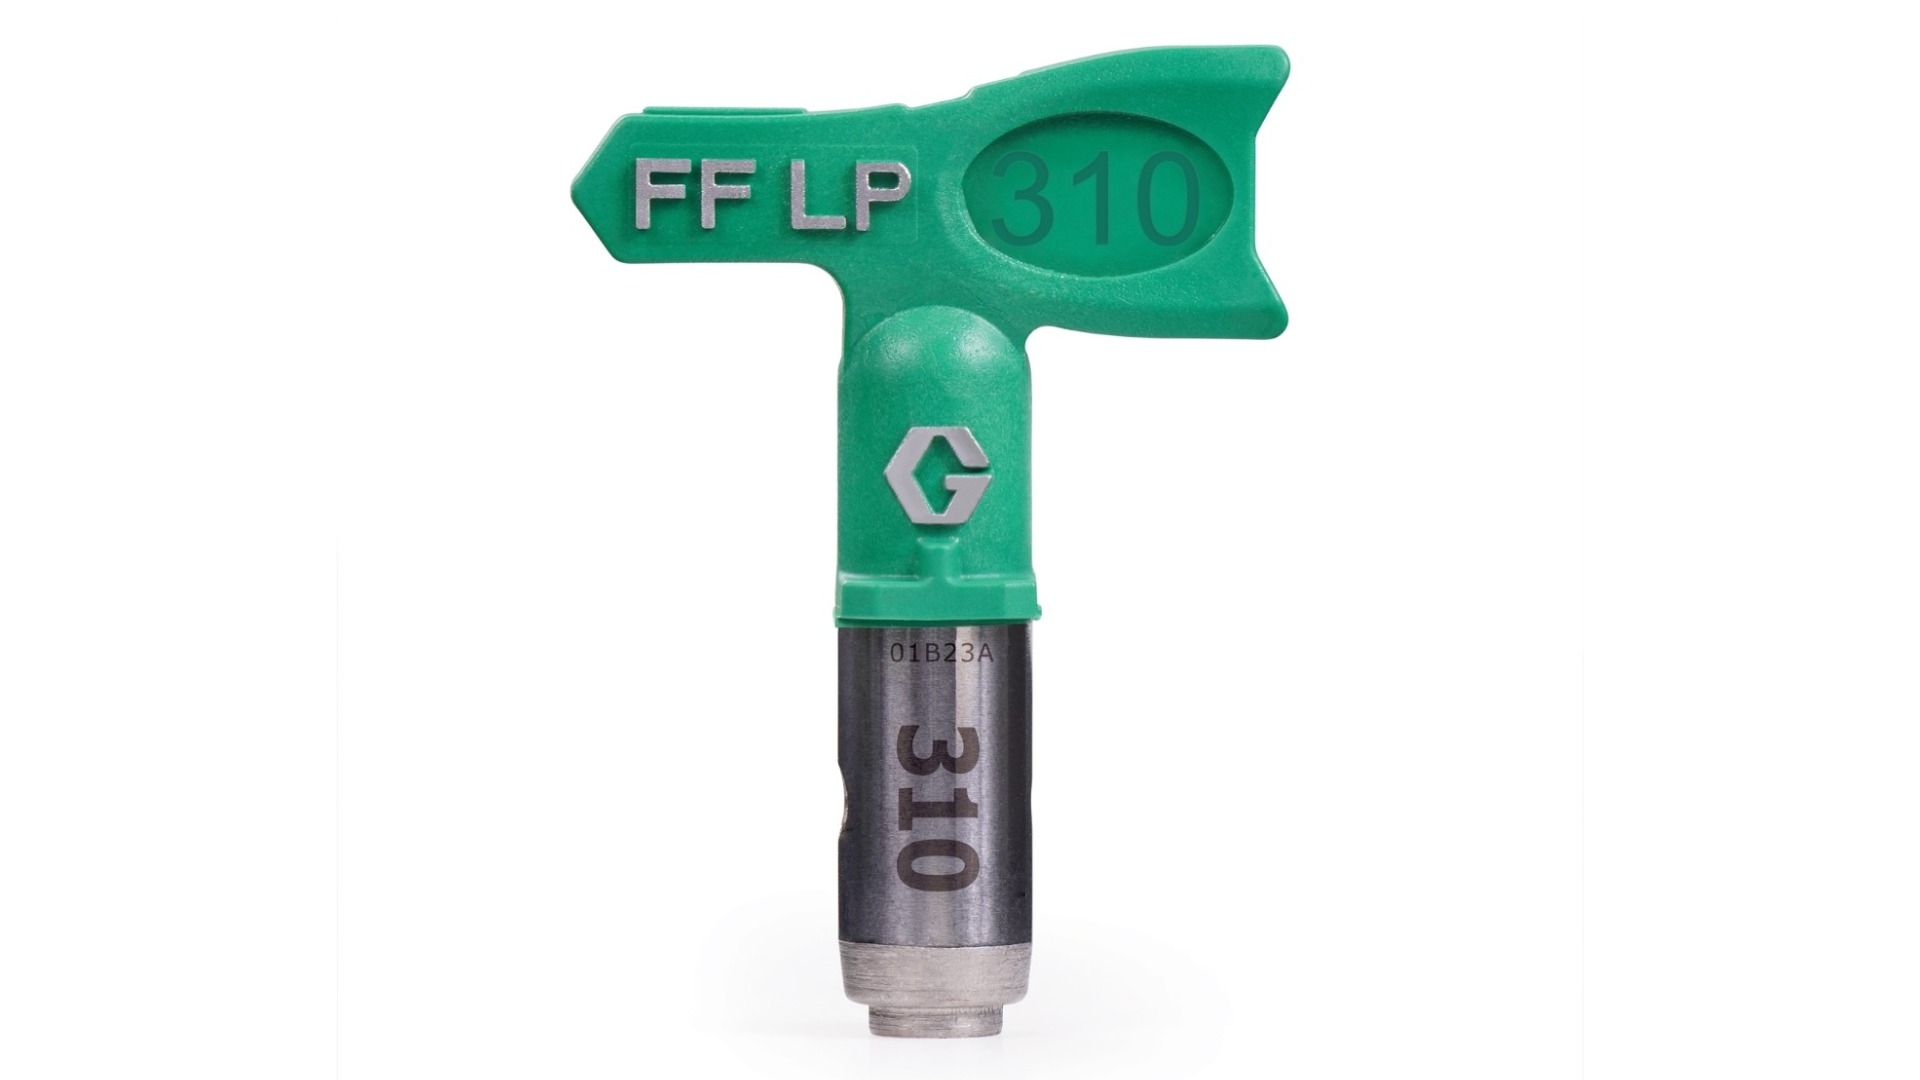
The 310 tip sprays in a 6-inch wide fan and has a smaller hole size. It’s perfect for thin paints or stains, and it’s commonly used for trims, cabinets, railings, or doors.
This size gives clean, precise lines without too much overspray. It’s a smart choice when you want neat edges or are working in tight spaces.
3. 415 Spray Tip
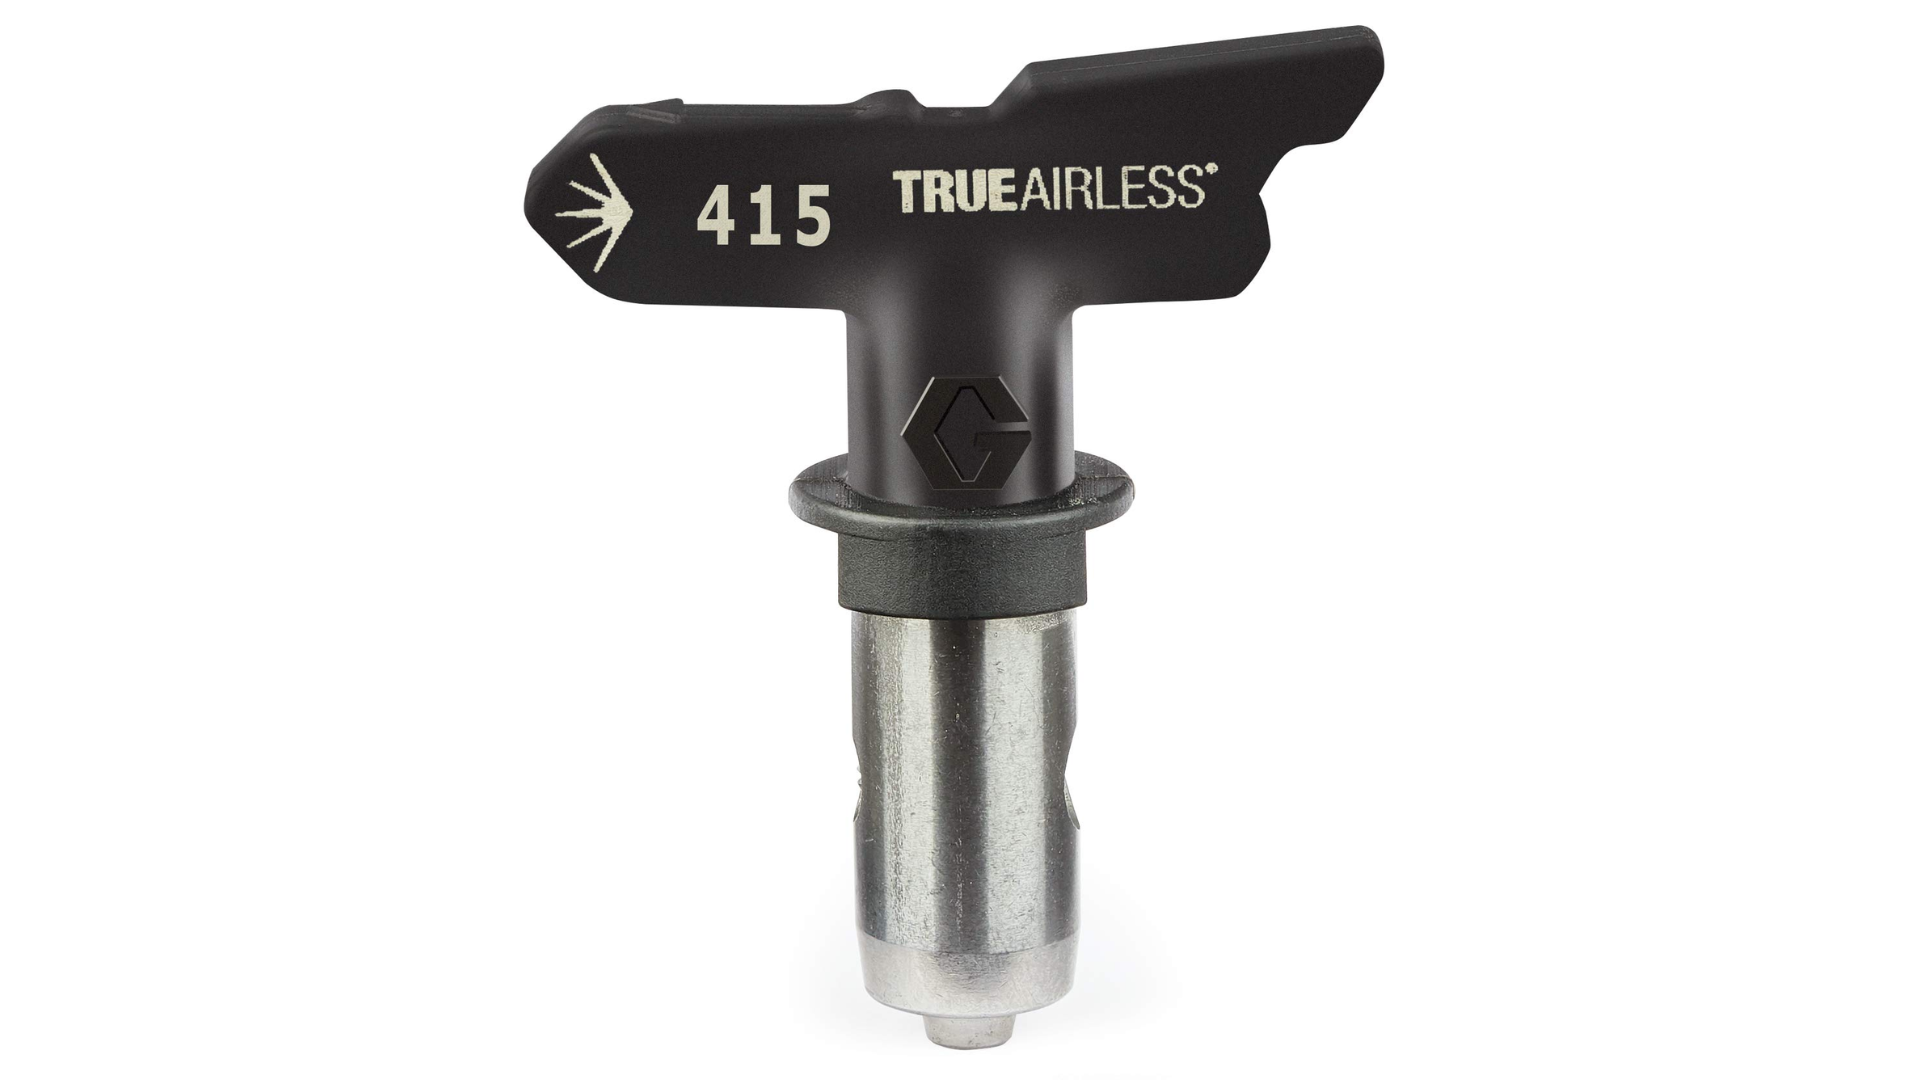
The 415 tip creates an 8-inch wide spray and has a medium-sized hole.
This one is a popular all-around spray tip. It works well with latex and acrylic paints, which are used for most home walls and ceilings.
If you’re painting a room or a fence, this tip gives you good coverage without wasting paint.
4. 515 Spray Tip
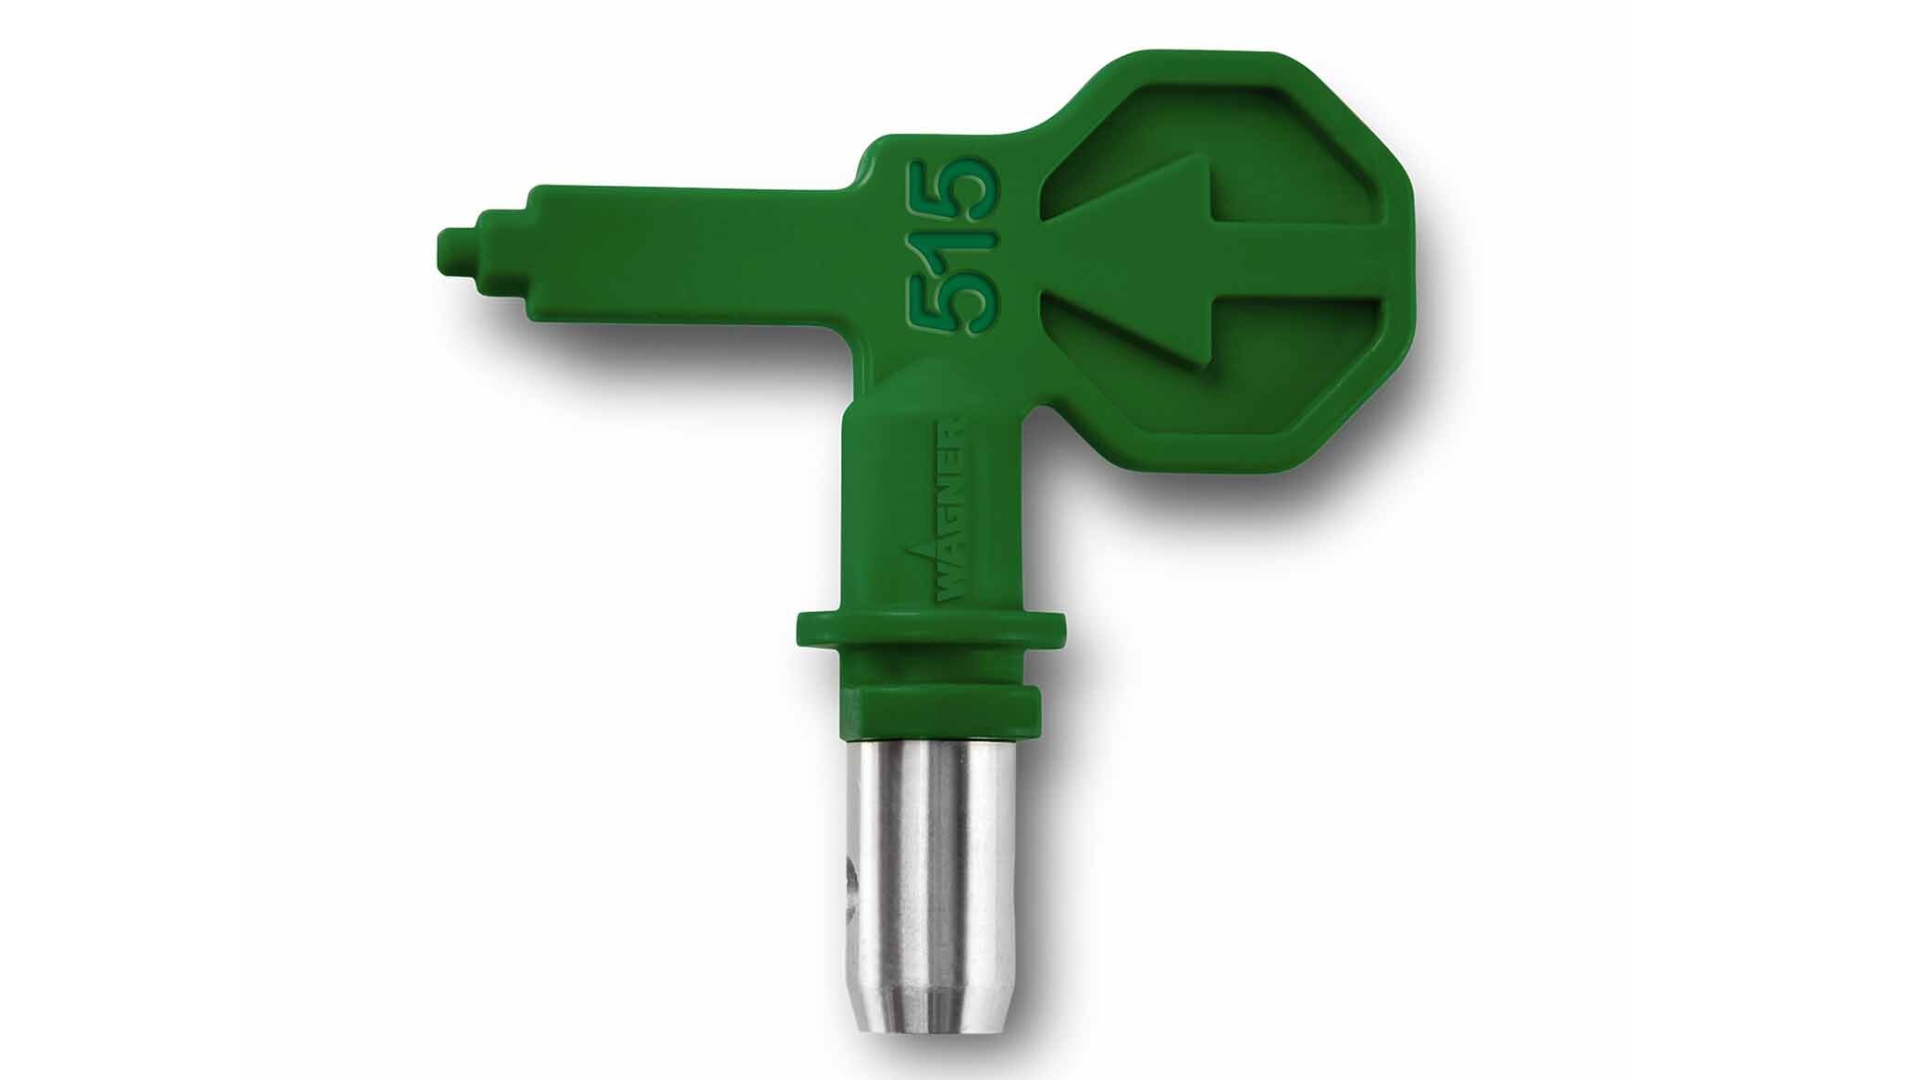
The 515 tip has a 10-inch spray fan and a slightly larger hole.
It’s perfect for medium to thick paints, like indoor or outdoor latex. This tip is great when you need to cover big areas like interior walls, ceilings, or garage doors.
It saves time while still giving a smooth finish, as long as you keep your spray gun moving.
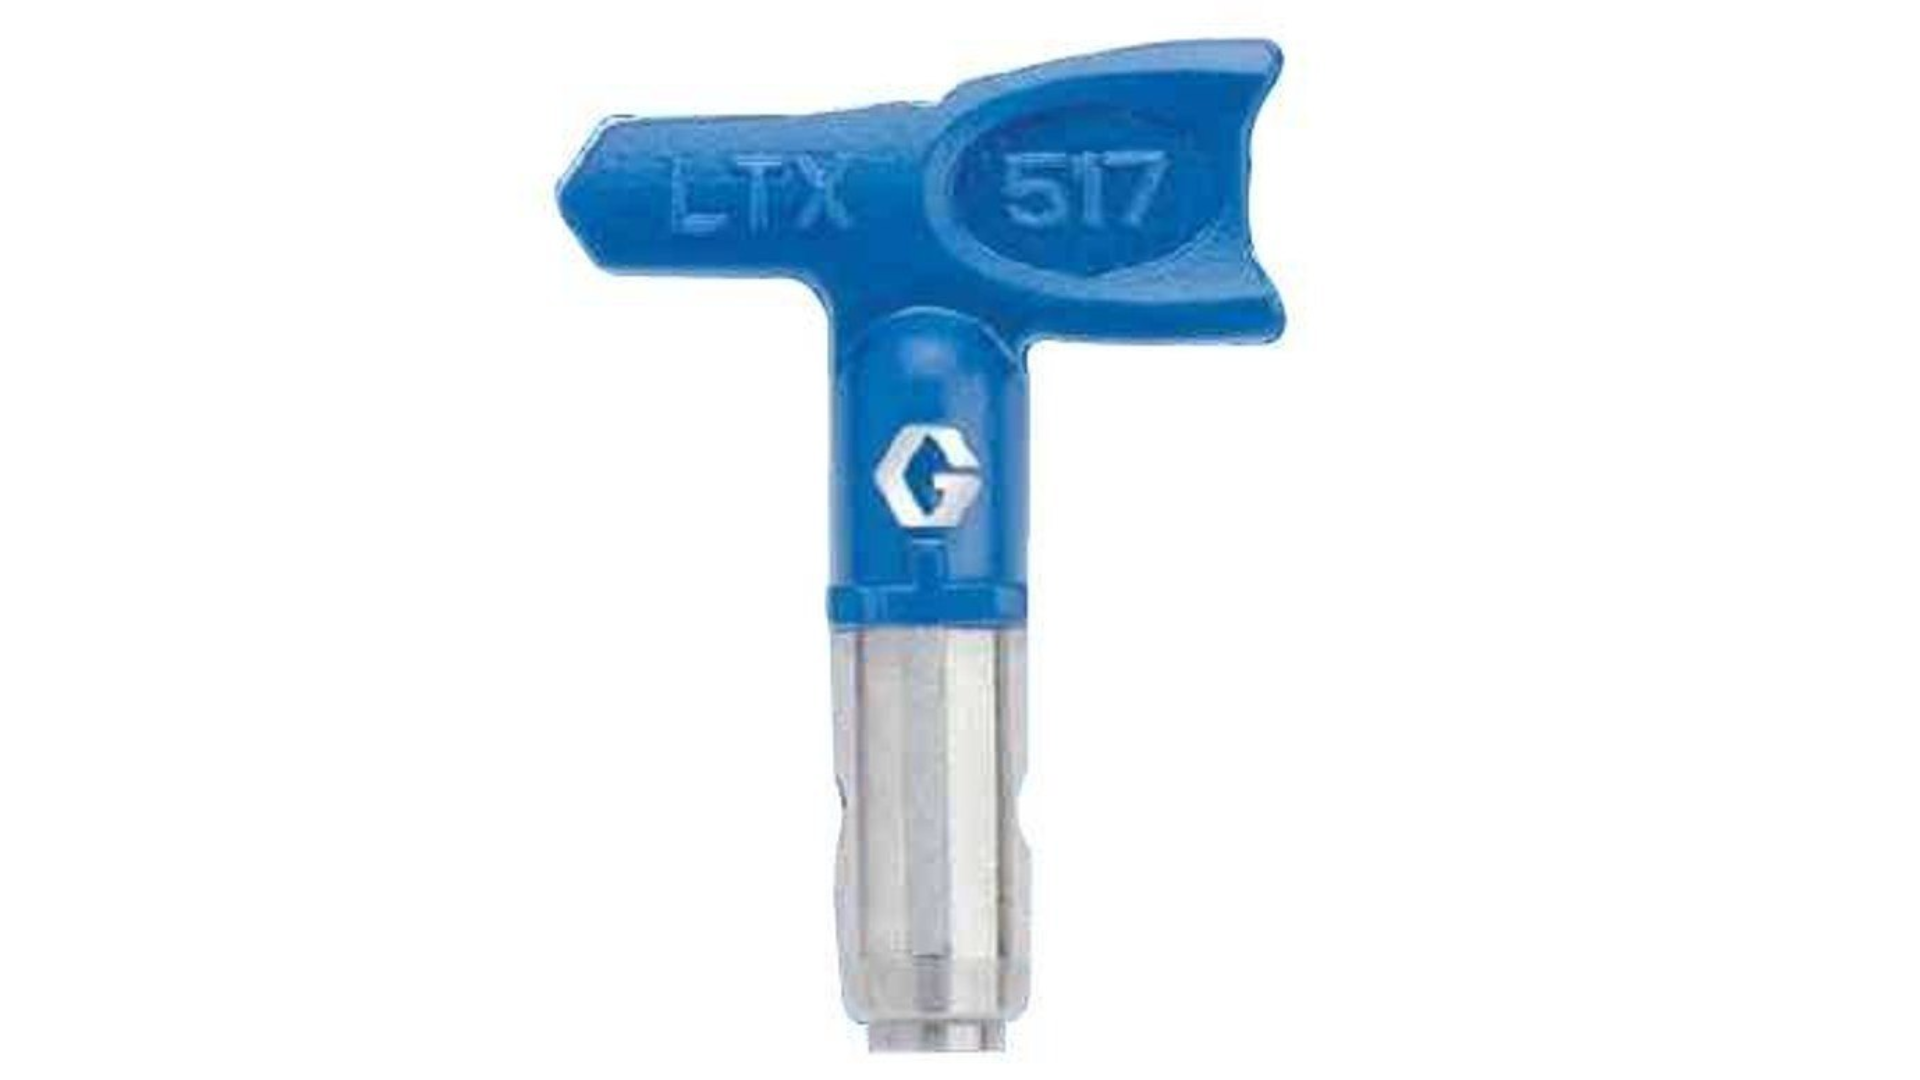
5. 517 Spray Tip
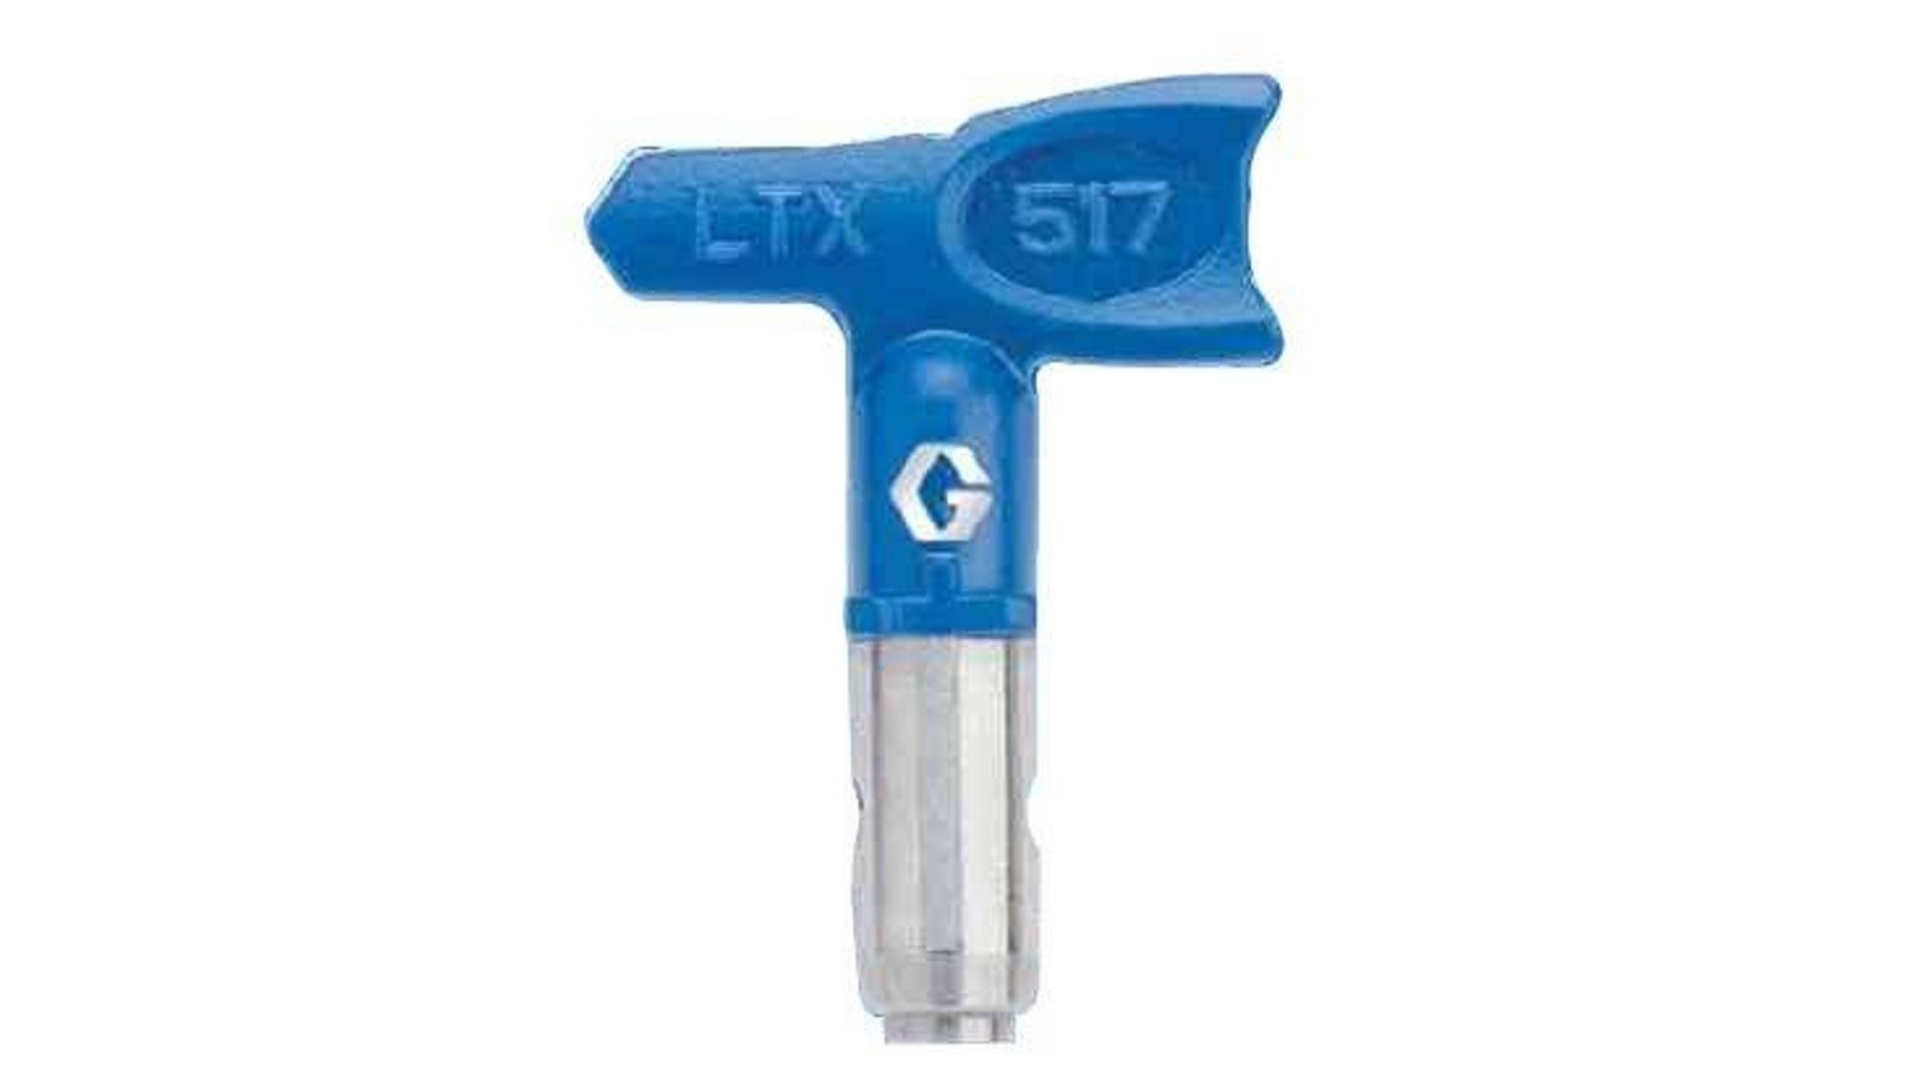
The 517 tip also gives a 10-inch wide spray, but with a bigger hole than the 515.
It’s made for thicker paints and heavier coatings. This tip is a good fit for large outdoor projects like siding, barns, or textured walls.
If your paint feels too thick for other tips, the 517 can handle it.
6. 619 Spray Tip
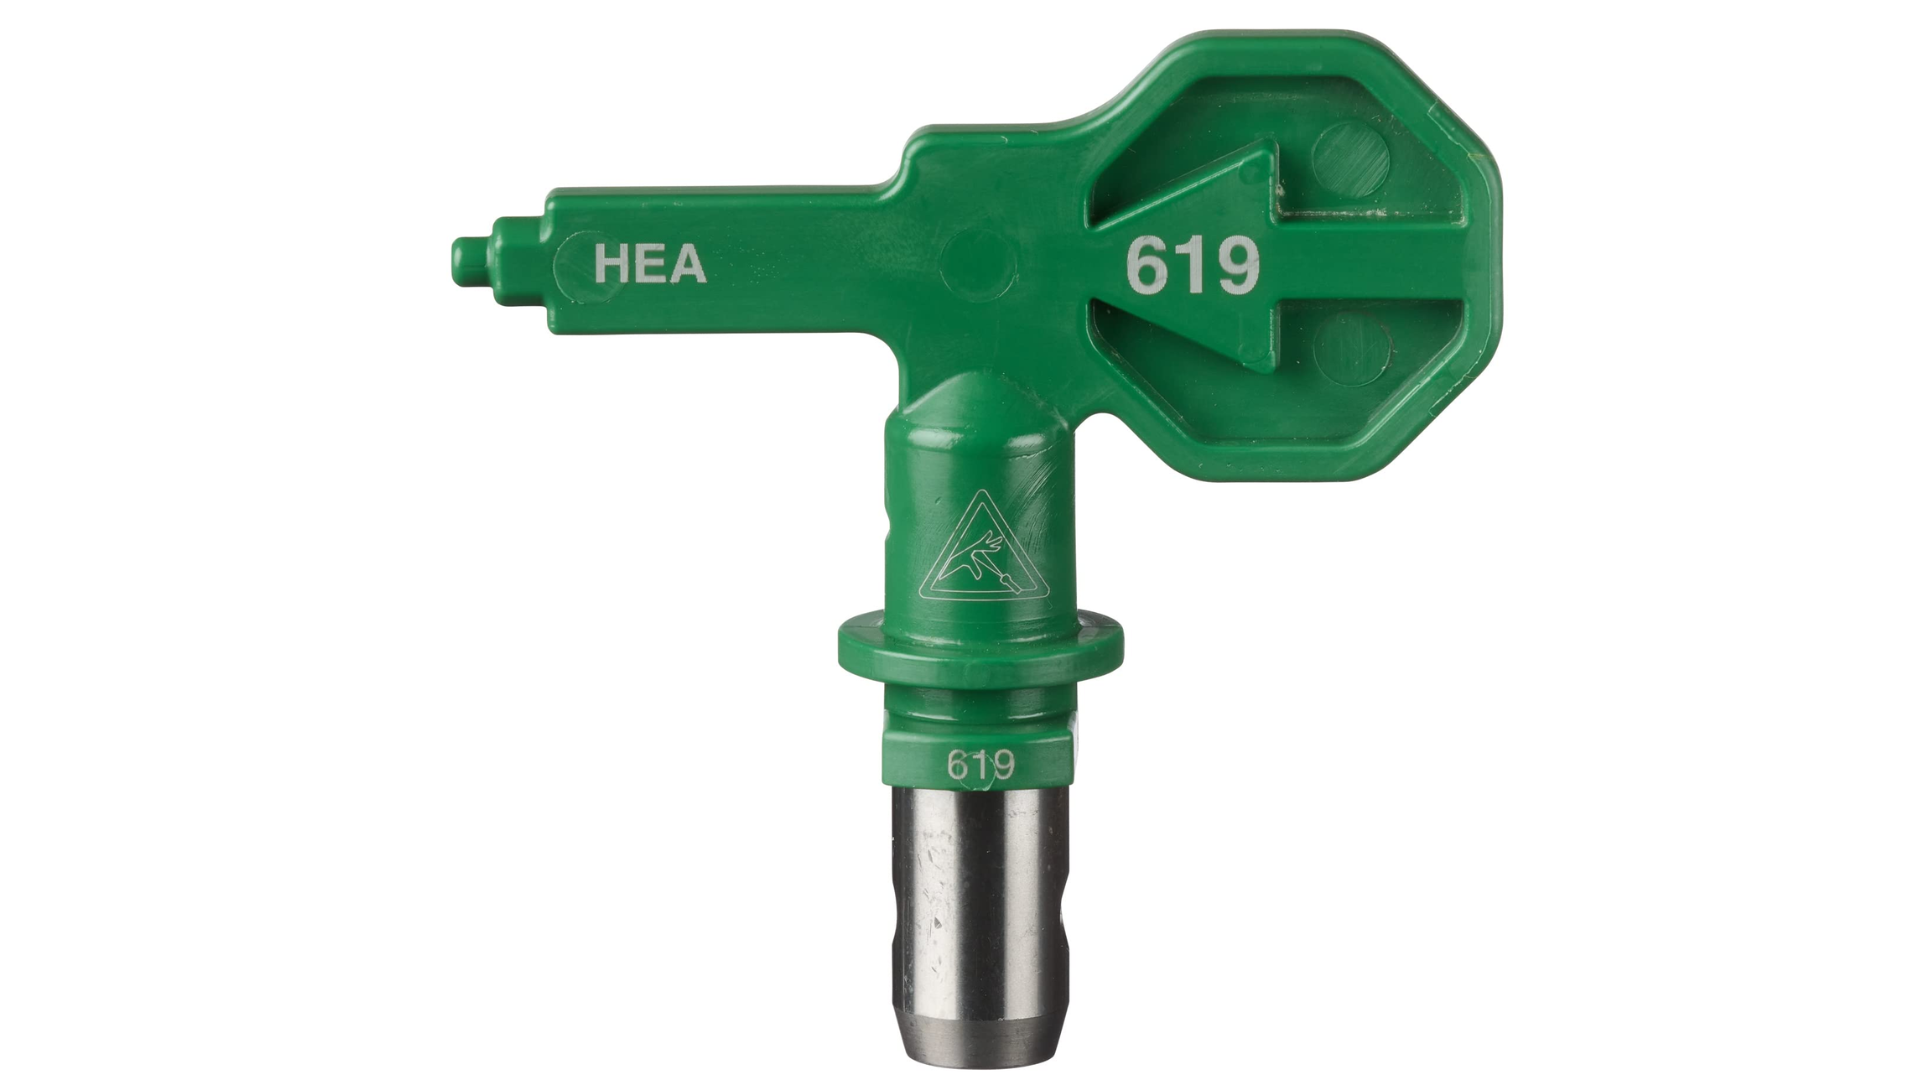
The 619 tip is one of the biggest common spray tips.
It gives a 12-inch spray pattern and has a wide opening. It’s meant for very thick materials like deck coatings, elastomeric paints, or waterproofing products.
This tip sprays a lot of paint fast, so you need to move quickly. It’s best for large, flat areas where speed matters more than fine detail.
Why Spray Tip Size Matters?
The size of your spray tip affects everything: how much paint comes out, how wide the paint spreads, and how smooth the finish looks.
If your tip is too small, the paint might not flow well. If it’s too big, you could end up wasting paint and making a mess.
- Spray Pattern: Larger tips cover more area quickly, but can waste paint. Smaller tips give you better control.
- Material Thickness: Thicker materials, like latex paint, need a bigger tip to come out easily. Thin stains or sealers work better with smaller tips.
- Surface Type: Wide, flat areas like walls or fences need wider fans. Smaller surfaces, like furniture or cabinets, need smaller tips for detail work.
- Clogging Risk: If the tip is too small for thick paint, it may clog often. That’s frustrating and slows you down.
How Different Spray Tip Sizes Affect the Spraying Process
Spray tip sizes affect how fast, how smooth, and how wide your paint goes on.
If you’ve ever dealt with drips, streaks, or uneven color, the spray tip might be the reason.
1. Small Tip Sizes (like 209, 310, 311)
Small spray tips let out less paint and create a narrow fan pattern.
They are ideal for detailed work like cabinets, trim, and furniture, where you need more control and want to avoid a mess.
These tips work best with thin materials such as stains or sealers. The smaller opening helps apply just enough paint for neat, clean results.
But if you try using thick paint with a small tip, it might clog or spray unevenly, which can slow you down and ruin the finish.
2. Medium Tip Sizes (like 415, 515)
Medium spray tips are the most versatile. They spray a medium to wide fan, making them great for walls, fences, and general home projects.
These tips handle latex and acrylic paints really well and give a nice, balanced spray, not too heavy and not too light.
They’re a great go-to for many painting jobs. Just be careful not to use them on small surfaces where the spray might go too wide.
Also, they might struggle if you’re using extra-thick coatings.
3. Large Tip Sizes (like 517, 619)
Large spray tips let out a lot of paint quickly and have a wide spray pattern.
These are best for large surfaces like ceilings, decks, siding, or barns. They’re built for thicker paints and heavy coatings, so you can finish big jobs faster.
But because so much paint comes out at once, you’ll need good control. If you move too slowly, you can end up with drips, puddles, or wasted paint.
Choosing the Right Spray Tip for the Job
Picking the right spray tip depends on what you’re painting and the type of paint you’re using.
This chart will help you match your project with the best tip size so you get smooth, clean results without wasting paint.
| Project Type | Recommended Tip Sizes | Paint Type | Why It Works |
|---|---|---|---|
| Trim or Cabinets | 210, 310 | Thin stain, enamel | Smaller tips give control and reduce drips |
| Interior Walls | 415, 515 | Latex or acrylic paint | Medium tips cover evenly without using too much paint |
| Fence or Deck | 515, 517, 619 | Outdoor latex, wood stain | Larger tips spray more paint for wide outdoor areas |
| Furniture (Staining) | 209, 310 | Thin stain | Small tips avoid overspray and are great for detail |
Helpful Hint: Start with the smaller tip if you’re unsure. You can always move up if the paint doesn’t flow well.
Other Tips to Make Spraying Easier
Before we wrap up, here are a few simple tips that helped me a lot when I was learning to use a paint sprayer:
- Practice on Scrap Wood First: Try spraying on a test piece to check the fan width and paint flow before working on your actual project.
- Keep Your Gun Moving: Always move the sprayer while pulling the trigger. Staying in one spot too long can cause drips or thick patches.
- Overlap Each Pass: Overlap your spray lines by about 50% to get a smooth and even coat across the whole surface.
- Use a Filter: Use a filter in your sprayer or inside the spray tip holder. It helps catch debris and prevents clogging.
- Clean Tips After Every Use: Rinse your spray tips as soon as you’re done. Clean tips spray better and last longer.
Conclusion
So now you know the truth: spray tip sizes aren’t just confusing numbers, they’re the secret to smooth, clean, and fast painting.
Once I learned how to choose the right spray tip, my projects started looking so much better. I made fewer messes, saved on paint, and actually enjoyed the process. You can do the same.
Whether you’re spraying a fence, a kitchen cabinet, or a whole house, picking the right spray tip makes a huge difference.
Don’t stress about getting it perfect right away, just start with the guide above, test things out, and adjust as needed.
I hope this post helped make things clearer and easier for you.