
I used to think my coffee maker stayed clean on its own. But over time, I noticed my coffee tasted off, and that’s when I learned why cleaning really matters.
If you’re like me, you probably use your machine every day but don’t always think about what builds up inside.
In this guide, I’ll show you how to clean a coffee maker the right way, step by step. You’ll learn how often to clean it, signs to watch for, and what you need before you start.
I’ll also share easy methods for deep cleaning, natural options, and ways to keep it clean longer.
By the end, you’ll know exactly what to do to keep your coffee fresh and your machine working well without any guesswork or stress.
What You Need Before You Start Cleaning?
Before starting, gather all the items needed for a smooth cleaning process. Having everything ready saves time and makes the steps easier to follow.
- White vinegar
- Descaling solution
- Fresh Tap water
- Dish soap
- Baking soda
- Soft sponge
- Microfiber cloth
- Paper filters
- Small cleaning brush
- Measuring cup
- Spray bottle
- Rubber gloves
How to Deep Clean a Coffee Maker?
Cleaning a coffee maker step by step helps remove buildup and keeps the taste fresh. Following the right order makes the process simple and effective.
Step 1: Empty the Machine

Start by pouring out any leftover coffee from the carafe, then rinse it with clean water.
Remove all used coffee grounds from the filter basket and discard them.
Check inside the machine for any loose residue or wet grounds stuck around the filter area and rinse that section as well.
This step is important because leftover coffee and debris can block the cleaning process and reduce the effectiveness of the solution inside the machine.
Step 2: Prepare the Cleaning Solution
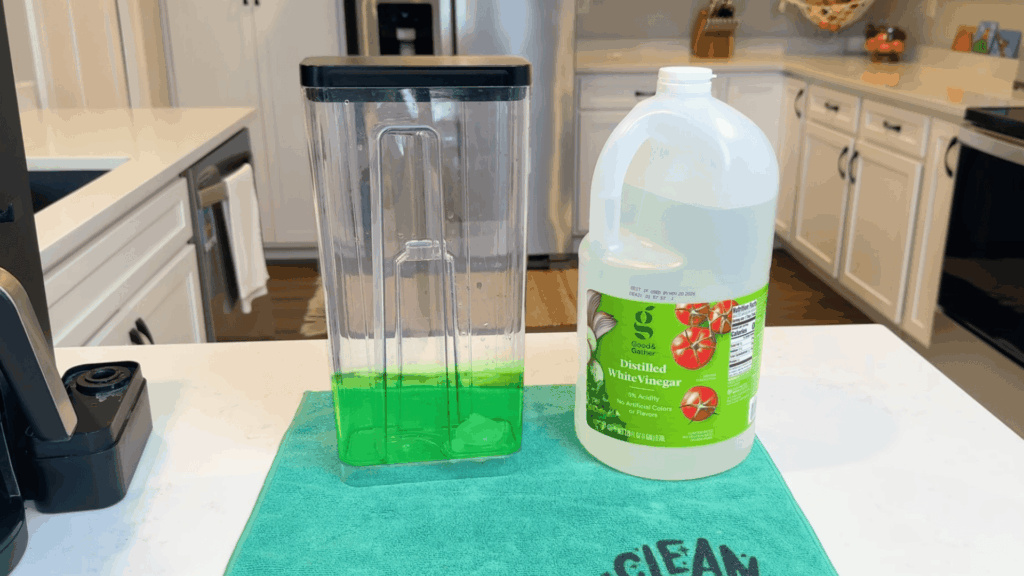
Fill the water reservoir with a mixture of equal parts white vinegar and water.
This solution helps break down mineral buildup and old coffee oils inside the machine.
If using a store-bought descaling product, follow the instructions on the label for the correct ratio. Make sure the tank is filled enough to run a full brew cycle.
A proper mix ensures the internal pipes and heating components are cleaned evenly and thoroughly.
Step 3: Run Half Brew Cycle

Turn on the coffee maker and let it begin a normal brewing cycle. Allow it to run until about half of the cleaning solution has passed through into the carafe.
Then turn off the machine and let the solution sit inside for about 15 to 20 minutes.
This soaking step is important because it helps loosen hard water buildup and stuck-on residue in hard-to-clean areas.
Step 4: Complete the Cycle
After the resting time is over, turn the coffee maker back on and allow the remaining cleaning solution to run through the system.
This step pushes out the loosened buildup from inside the machine.
Once the cycle finishes, empty the carafe and rinse it properly with water.
This ensures that the dirty liquid does not sit inside. At this point, most of the internal cleaning is done, and the machine is ready for rinsing.
Step 5: Rinse with Fresh Water

Fill the water reservoir with clean, fresh water and run a full brew cycle.
This step removes any leftover vinegar or cleaning solution from inside the machine.
After the first rinse, check the water in the carafe. If it looks cloudy or smells like vinegar, run another rinse cycle. Repeat this until the water runs clear.
This step is very important because leftover cleaner can affect the taste of your coffee.
Step 6: Clean Removable Parts
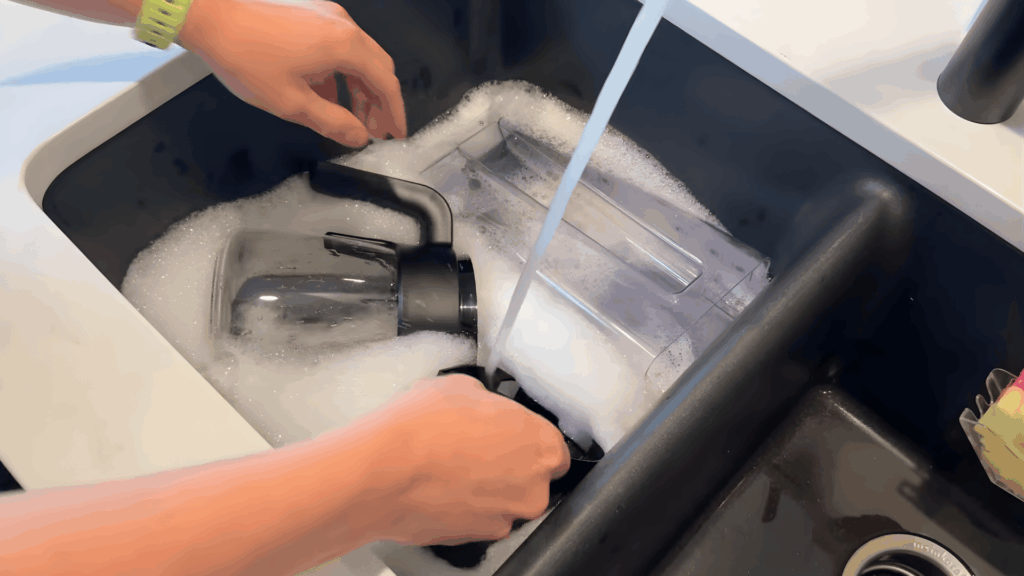
Take out all removable parts such as the carafe, filter basket, and lid. Wash them with warm water and dish soap using a soft sponge.
Pay close attention to corners and edges, where coffee residue can accumulate over time.
Rinse each part thoroughly to remove any soap and let them air dry completely. Clean parts help prevent future buildup and keep your coffee tasting fresh with every use.
Step 7: Wipe and Reassemble the Machine
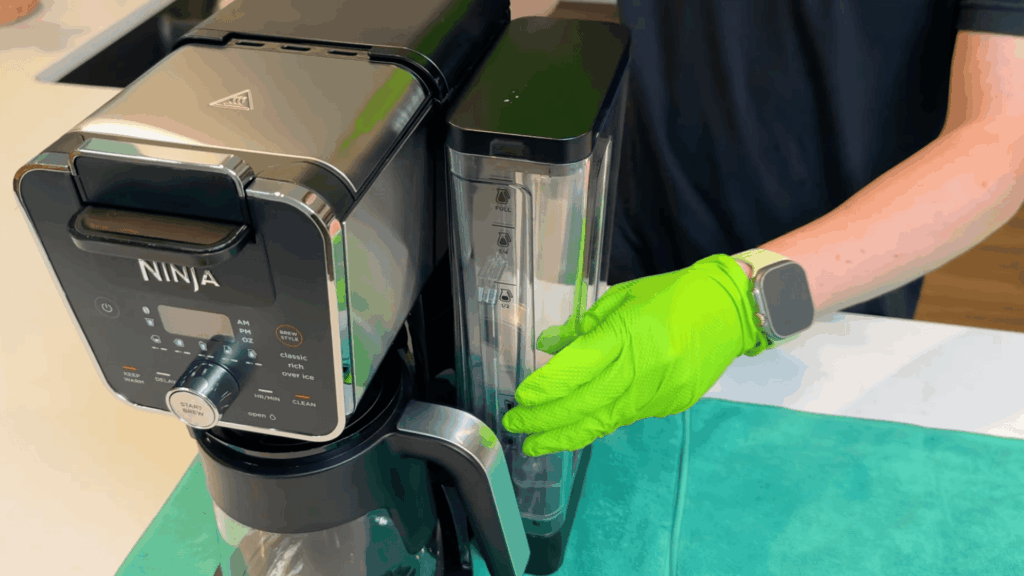
Unplug the coffee maker before cleaning the outer and fixed parts for safety. Use a damp cloth or sponge to wipe the exterior and clean areas that cannot be removed.
Focus on spots where coffee spills or stains may have built up, such as the heating plate and top section.
Once everything is clean and fully dry, put all the parts back together properly so the machine is ready to use again.
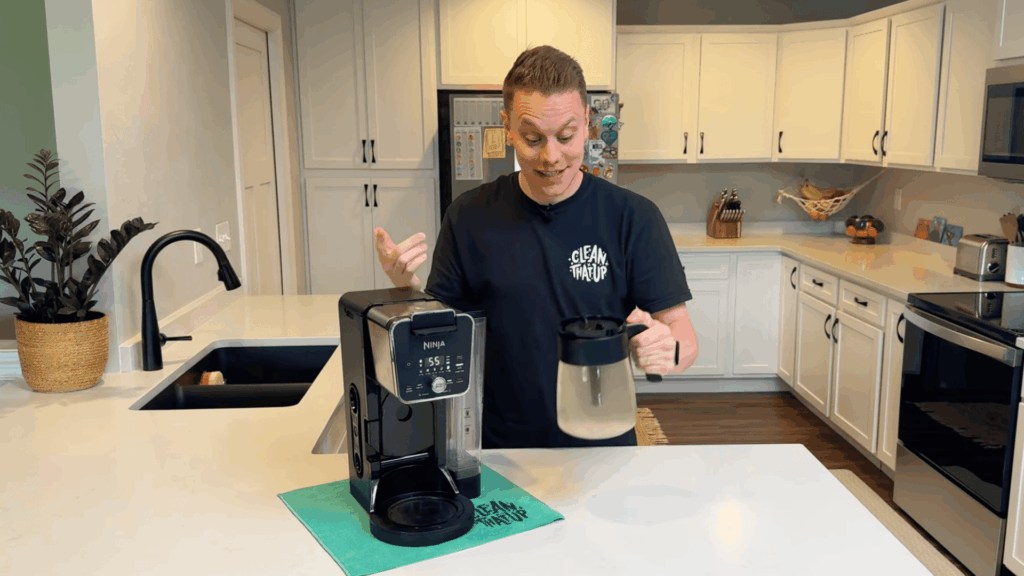
This tutorial is based on a helpful video by Clean That Up. You can check out the original video on their YouTube channel here or watch it below.
Best Natural Cleaners for Coffee Makers
Natural cleaners are a safe, simple way to clean a coffee maker without harsh chemicals. They are easy to find and work well for removing buildup and odors.
- White vinegar: It helps clean mineral buildup and remove coffee oils from inside the machine.
- Baking soda: It helps remove stains and neutralize odors from the carafe and other parts.
- Lemon juice: It helps break down residue and leaves a fresh smell after cleaning.
- Salt: It helps scrub tough stains gently without scratching the surface.
- Apple cider vinegar: It works like white vinegar and helps remove buildup inside the machine.
- Hydrogen peroxide: It helps clean bacteria and keeps the machine fresh when used in small amounts.
- Hot water and dish soap: It helps clean removable parts and wash away daily coffee residue.
Why You Need to Clean Your Coffee Maker?
I didn’t think much about cleaning my coffee maker at first. I used it every day and assumed hot water kept it clean. But after a while, I noticed my coffee tasted bitter and a bit off.
That’s when I realized old coffee oils and mineral buildup were sitting inside the machine.
Over time, buildup forms inside. Hard water leaves minerals, and coffee oils stick to hidden parts. This buildup affects the taste and smell of your coffee.
In some cases, bacteria and mold can also grow in damp areas, which is not something you want in your daily cup.
A dirty coffee maker also has to work harder. This can slow it down and even shorten its life.
When you clean it regularly, your machine runs better, and your coffee tastes fresher every time. It’s a simple habit that makes a big difference in your daily routine.
Signs Your Coffee Maker Needs Cleaning
A coffee maker often shows clear signs when it needs cleaning. Over time, buildup from coffee oils and minerals can affect both taste and performance. Paying attention to these signs helps keep your coffee fresh.
- Coffee tastes bitter or unusual: This happens when old coffee oils and residue build up inside the machine and mix with fresh coffee.
- Brewing takes longer than usual: Mineral buildup can block water flow, slowing the brewing process and affecting performance.
- Strange or musty smell from the machine: Moist areas inside the machine can trap odor, leading to an unpleasant smell during brewing.
- Visible buildup or stains inside the carafe: Coffee stains and residue inside the carafe show that regular cleaning has been missed.
- Coffee comes out lukewarm instead of hot: Buildup inside the heating parts can reduce heat transfer, causing the coffee to brew at a lower temperature.
- Unusual noises during brewing: Blocked water lines or internal buildup can make the machine work harder, leading to strange sounds.
- Water flow seems slower than normal: Clogged internal parts can reduce water flow, leading to weak or uneven brewing.
How Often Should You Clean a Coffee Maker?
Cleaning a coffee maker regularly helps keep the taste fresh and the machine working well. When cleaning is delayed, coffee oils and mineral deposits start to build up inside.
This can affect the flavor and slow down the brewing process over time.
For daily use, the carafe and filter basket should be rinsed after each brew. Washing them with warm, soapy water helps remove leftover oils and keeps the machine ready for the next use.
This simple step prevents buildup from forming too quickly.
A deep clean is usually needed once a month. If the coffee maker is used often or the water is hard, cleaning every two weeks works better.
Following this routine helps maintain better taste and keeps the machine in good condition for longer use.
How to Clean Different Types of Coffee Makers?
Different coffee makers need slightly different cleaning methods. Using the right steps for each type helps keep them working well and tasting fresh.
1. Drip Coffee Maker
A drip coffee maker is easy to clean with a vinegar-and-water mix.
Fill the reservoir with equal parts white vinegar and water, then run a brew cycle until it reaches the halfway point. Turn it off and let the solution sit for about 15 to 20 minutes to break down the buildup.
After that, complete the cycle and discard the liquid. Run two rinse cycles with clean water. Wash the carafe and filter basket with soap to remove oil and stains.
2. Keurig Coffee Maker
Cleaning a Keurig is easy and takes a few steps to keep it working properly. Remove the water tank, lid, and drip tray, then rinse them with warm water.
Fill the tank with a vinegar mix or descaling solution and run brew cycles without inserting a pod. Discard the water after each run. Repeat until the tank is empty.
Then run two or three cycles using fresh water to rinse out any leftover cleaner and keep your coffee tasting normal.
3. Espresso Machine
Espresso machines need regular cleaning to prevent buildup and keep the taste fresh. After each use, remove the portafilter and rinse it to clear coffee residue.
Clean the basket with warm water and mild soap if needed. Run the cleaning solution through the machine according to the instructions.
The steam wand should be wiped and flushed with steam to remove milk residue. Rinse all parts well and let them dry before placing them back into the machine.
Tips to Keep Your Coffee Maker Clean Longer
Regular care also helps your coffee taste better and keeps the machine working well. Small steps after each use can stop buildup and save time later.
- Rinse the carafe and filter after each use: This helps remove leftover coffee oils and prevents buildup from forming quickly inside the machine.
- Empty coffee grounds right after brewing: Leaving wet grounds can cause odor and residue buildup over time.
- Use filtered water to reduce mineral buildup: This lowers hard water deposits that can clog the machine.
- Wipe the machine exterior often: This prevents stains, dust, and dried coffee from collecting on the surface.
- Leave the lid open to air dry: This helps moisture dry out and reduces the chance of mold or bad smells.
- Run a rinse cycle once a week: This keeps the inside fresh and clears light buildup before it gets worse.
- Avoid letting coffee sit for too long: Old coffee can leave stains and strong odors inside the carafe.
- Deep clean the machine on a regular schedule: This removes hidden buildup and keeps the machine working properly.
Quick Daily Cleaning Routine for Coffee Maker
Keeping a quick daily routine helps prevent buildup and keeps your coffee tasting fresh. These simple steps take only a few minutes but make a big difference over time.
| Step | What to Do | Why It Matters |
| Empty carafe | Pour out leftover coffee after each use | Stops stains and the old coffee smell |
| Rinse carafe & lid | Wash with warm water daily | Removes oils that affect taste |
| Discard grounds | Throw away used coffee grounds | Prevents odor and mess |
| Rinse the brew basket | Run under water after brewing | Clears residue and avoids clogging |
| Wipe exterior | Clean with a damp cloth | Keeps the machine clean and spill-free |
Common Mistakes to Avoid when Cleaning
Cleaning mistakes can reduce performance and affect coffee taste. Avoiding these errors helps keep the machine working properly for longer.
- Using too much vinegar or cleaner can leave a strong smell and affect the coffee’s taste.
- Skipping rinse cycles: Leftover cleaner can stay inside and mix with your next brew.
- Not cleaning removable parts: Dirt and oils can build up in parts like the filter and carafe.
- Ignoring regular cleaning: Waiting too long allows buildup to get worse over time.
- Using hard water without proper care can cause mineral deposits to form inside the machine.
- Not unplugging before cleaning: This can be unsafe when wiping or cleaning the machine.
- Scrubbing with rough tools: This can damage surfaces and parts of the coffee maker.
- Forgetting hidden areas: Spots like the water tank and lid can collect residue.
When to Replace Your Coffee Maker?
You should replace your coffee maker when it no longer works well or gives poor results. If your coffee tastes off even after cleaning, the buildup inside may be too strong to remove.
If brewing takes longer than normal, the heating element could be weak.
Check for leaks, cracks, or loose parts, as these signs often get worse over time. If you keep fixing the same issue again and again, it may cost more than buying a new one.
Loud noises or uneven brewing are also warning signs. Most coffee makers last about 3 to 5 years with regular use.
If your machine is older and shows these problems, it’s better to replace it and avoid daily frustration.
Conclusion
Keeping your coffee maker clean may seem like a small task, but it makes a big difference in how your coffee tastes every day.
A simple routine can help you avoid bad flavors, slow brewing, and unwanted smells. Once you get used to these steps, cleaning becomes quick and easy instead of something you put off.
This guide gives you everything needed to keep your machine in good shape without stress.
From deep cleaning to daily care, each step helps your coffee stay fresh, and your machine last longer.
If you’ve tried any of these tips or have your own routine, share your experience in the comments below. Your input can help others keep their coffee better, too.
Frequently Asked Questions
Can a Dirty Coffee Maker Make You Sick?
Yes, buildup can lead to bacteria or mold, which may affect health over time.
Can You Use Vinegar in All Coffee Makers?
Vinegar works for most machines, but some brands recommend avoiding it, so always check the manual first.
How to Keep a Coffee Maker Smelling Fresh?
Clean parts regularly, let the machine dry fully, and avoid leaving old coffee or water sitting inside.
How Many Rinse Cycles Should You Run After Cleaning?
Run for 1 to 2 cycles, or until the water comes out clear and odor-free.