
Are you tired of your plain IKEA Havsta looking just like everyone else’s? I’ve been there, too. After months of experimenting with my own Havsta cabinet, I’ve discovered some amazing transformations that don’t require special skills.
In this article, I’ll share simple hacks to turn your basic Havsta into a custom piece that looks expensive and unique.
You’ll learn:
- How to change the legs for an instant upgrade
- Easy ways to transform the doors without power tools
- Budget-friendly hardware swaps that make a huge difference
These solutions work whether you have the cabinet, TV unit, or sideboard version. I’ve tested each hack personally and included before-and-after photos so you can see the real results.
No more scrolling through Pinterest wishing you could afford custom furniture. With these tricks, your Havsta will look like it came from a high-end store—not a big box retailer.
What You’ll Need for This Hack
Before we dive in, let’s gather all the supplies. You don’t need fancy tools for these transformations. Most items can be found at your local hardware store or online.
Here’s everything I used to upgrade my Havsta:
- Wood primer (I recommend Zinsser Bull’s Eye 1-2-3)
- Satin finish paint in your color choice
- 2-inch foam roller
- Small angled paintbrush
- Screwdriver set
- New hardware (knobs or handles)
- Measuring tape
- Pencil
- Sandpaper (220 grit)
Don’t panic if you’re missing something. Many of these hacks work with just a few basic supplies.
Have you got an old Havsta collecting dust? Perfect! The best part? You can complete most of these transformations in a weekend—no special woodworking skills required.
Lay down a drop cloth before starting to keep your space clean. Trust me—paint splatters are no fun to clean up later!
Step-by-Step: How I Hacked My IKEA Havsta
Assemble the Base Unit (or Leave It Disassembled?)
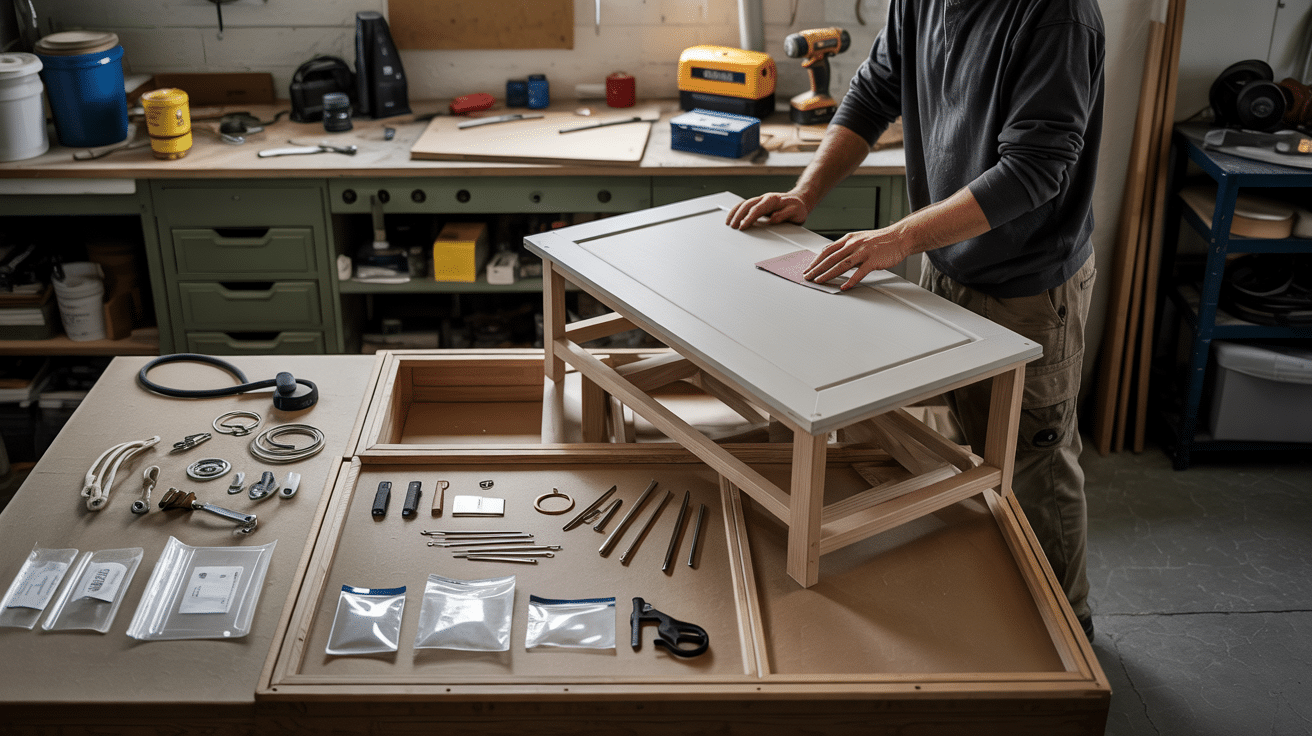
I found it much easier to customize my Havsta before assembly. This lets you work on flat pieces rather than awkward angles.
If you’re painting, definitely keep the unit unassembled. You’ll get better coverage and won’t have to tape off adjacent sections.
Remove all hardware from the drawer fronts and doors and set aside in labeled bags. This will save time when reassembling later.
Prep for Paint or Stain
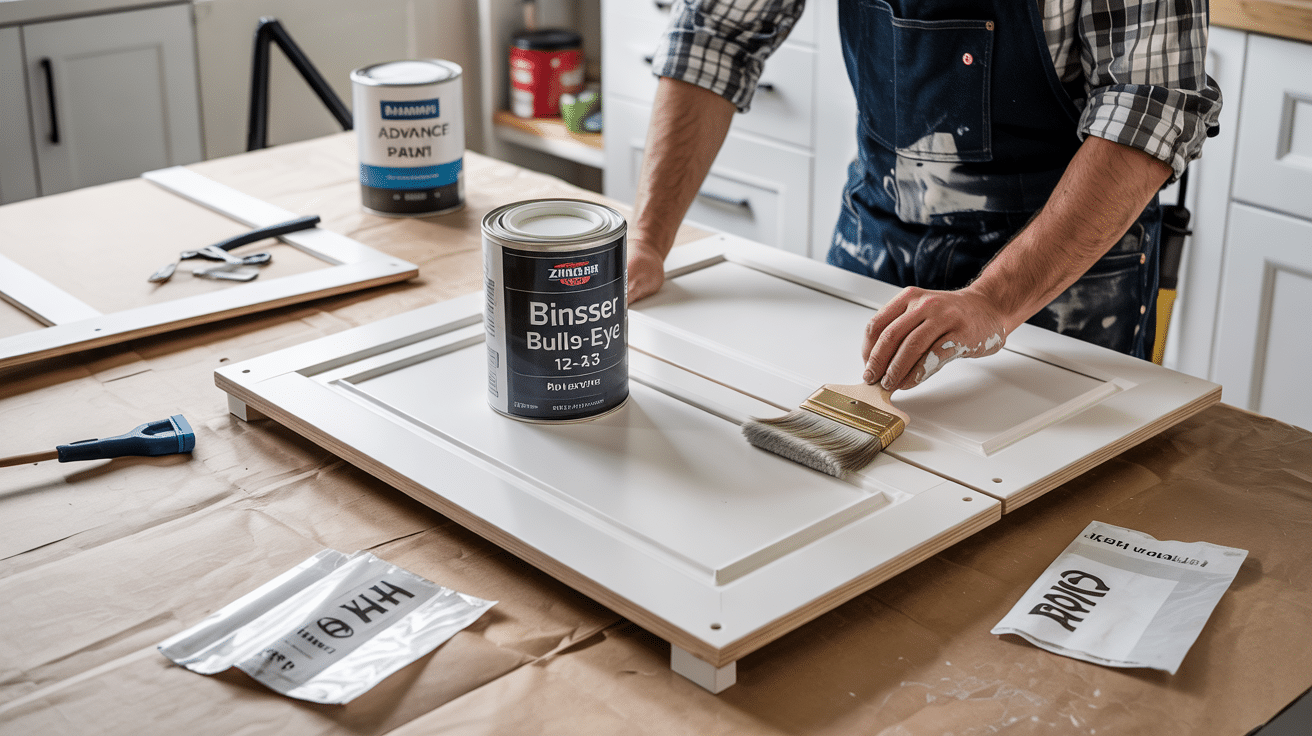
The slick IKEA finish needs proper prep. I learned this the hard way!
Start by lightly sanding all surfaces with 220-grit sandpaper. You don’t need to remove all the finish – just rough it up enough for primer to stick.
I swear by Zinsser Bull’s Eye 1-2-3 primer. It grips that tricky IKEA laminate without issues. One coat is usually enough.
I used Benjamin Moore Advance in a satin finish for the paint. It’s pricier than basic paint but resists chipping on high-touch surfaces like cabinet doors.
Add Trim, Molding, or Built-In Details
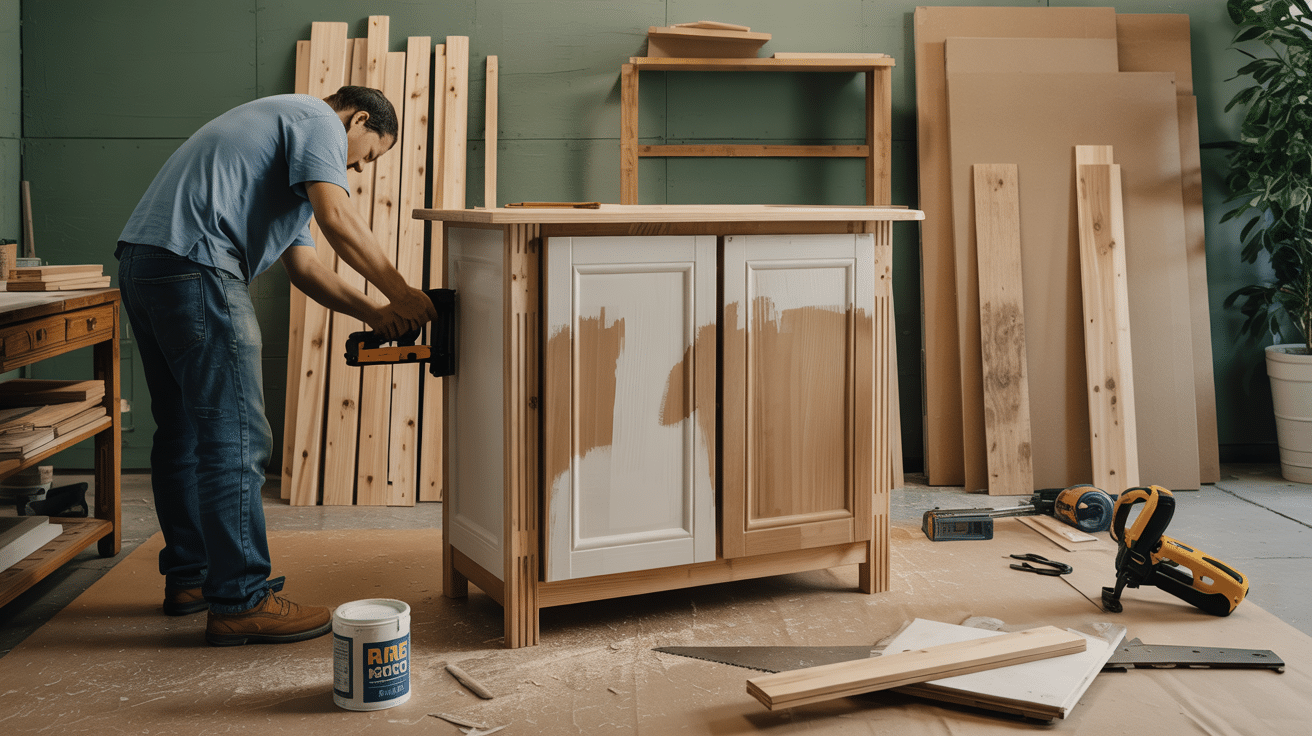
Adding trim makes the biggest impact for minimal effort. I used simple 1×2 pine boards from Home Depot.n For measuring: Always measure twice, cut once! I used a miter box and hand saw for clean 45° corner cuts.
A brad nailer makes this job quick, but wood glue and clamps work, too, if you’re patient.
Pro tip: Pre-paint your trim before attaching it to avoid difficult detail work later.
Upgrade the Hardware
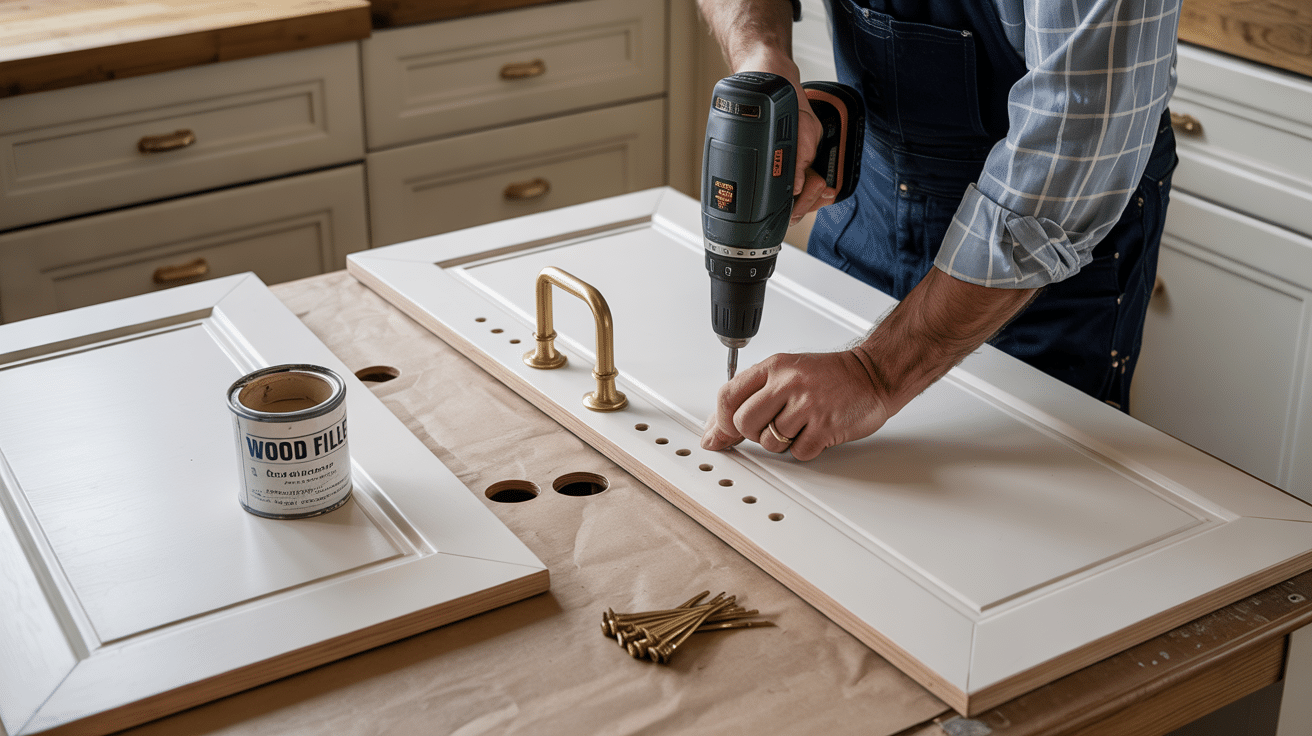
Switching out the hardware instantly elevates the look. I replaced the original knobs with brass handles from Amazon.
If you need different hole spacing:
- Fill old holes with wood filler
- Let dry completely and sand smooth
- Measure and mark new holes carefully
- Use a drill with the proper size bit
Always double-check measurements before drilling!
Finishing Touches
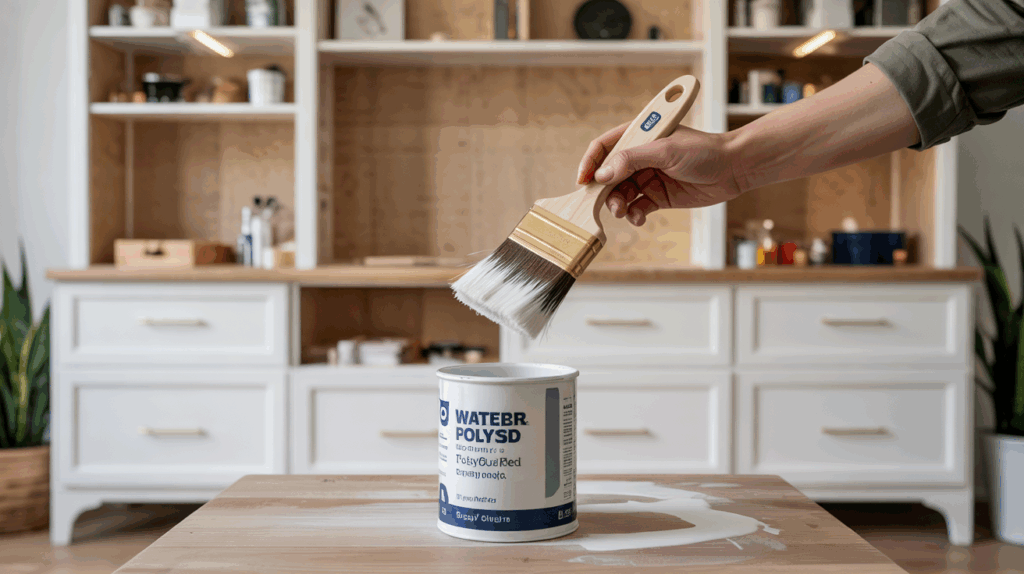
A clear sealer protects your paint job from scratches. I applied two light coats of water-based polyurethane.
Consider these extra upgrades:
- Replace the back panel with beadboard or wallpaper
- Add puck lights under the upper cabinets
- Install glass inserts in doors for a curio cabinet look
- Place the unit between two walls with trim for a built-in appearance
Allow everything to cure fully (about 7 days) before heavy use to prevent dings in your beautiful new finish.
Tips for Customizing Your Own IKEA Havsta Hack
Everyone’s space is different. Here are my best tips from customizing three Havsta units in my own home.
Take your time with planning. I spent a weekend measuring my space and sketching ideas before buying supplies, which saved me from costly mistakes.
Paint colors can look different in your home than in the store. Always test sample patches on a spare piece of wood first. I wanted navy until I saw how dark it made my small living room.
Don’t be afraid to mix and match elements. My favorite hack combined:
- Painted cabinet body
- Stained wood doors
- Custom leather pull handles
Measure your interior space before buying baskets or storage containers. The Havsta’s interior dimensions are slightly different from those of standard IKEA boxes.
Consider the room’s overall style. My farmhouse-style Havsta looks great with shiplap backing, while my modern unit works better with clean lines and minimal hardware.
If you make a mistake, don’t panic! I drilled holes in the wrong spot and easily fixed them with wood filler. No one can tell now.
Remember that bold choices (like bright colors) might affect resale value if you’re renting. I stick to reversible changes in my apartment.
Conclusion
You’re now ready to transform your basic IKEA Havsta into something truly special. These simple hacks don’t require expert skills, just a little patience and creativity.
Remember, the beauty of DIY furniture transformation is making it uniquely yours. Maybe you’ll paint it a bold color that matches your personality, or perhaps you’ll go for a classic look with upgraded hardware. Either way, your Havsta won’t look like everyone else’s anymore.
I’d love to see what you create! Share your before-and-after photos in the comments below.
The best part? When friends ask where you got that gorgeous cabinet, you get to smile and say, “Would you believe it’s just an IKEA Havsta?”
Happy hacking!