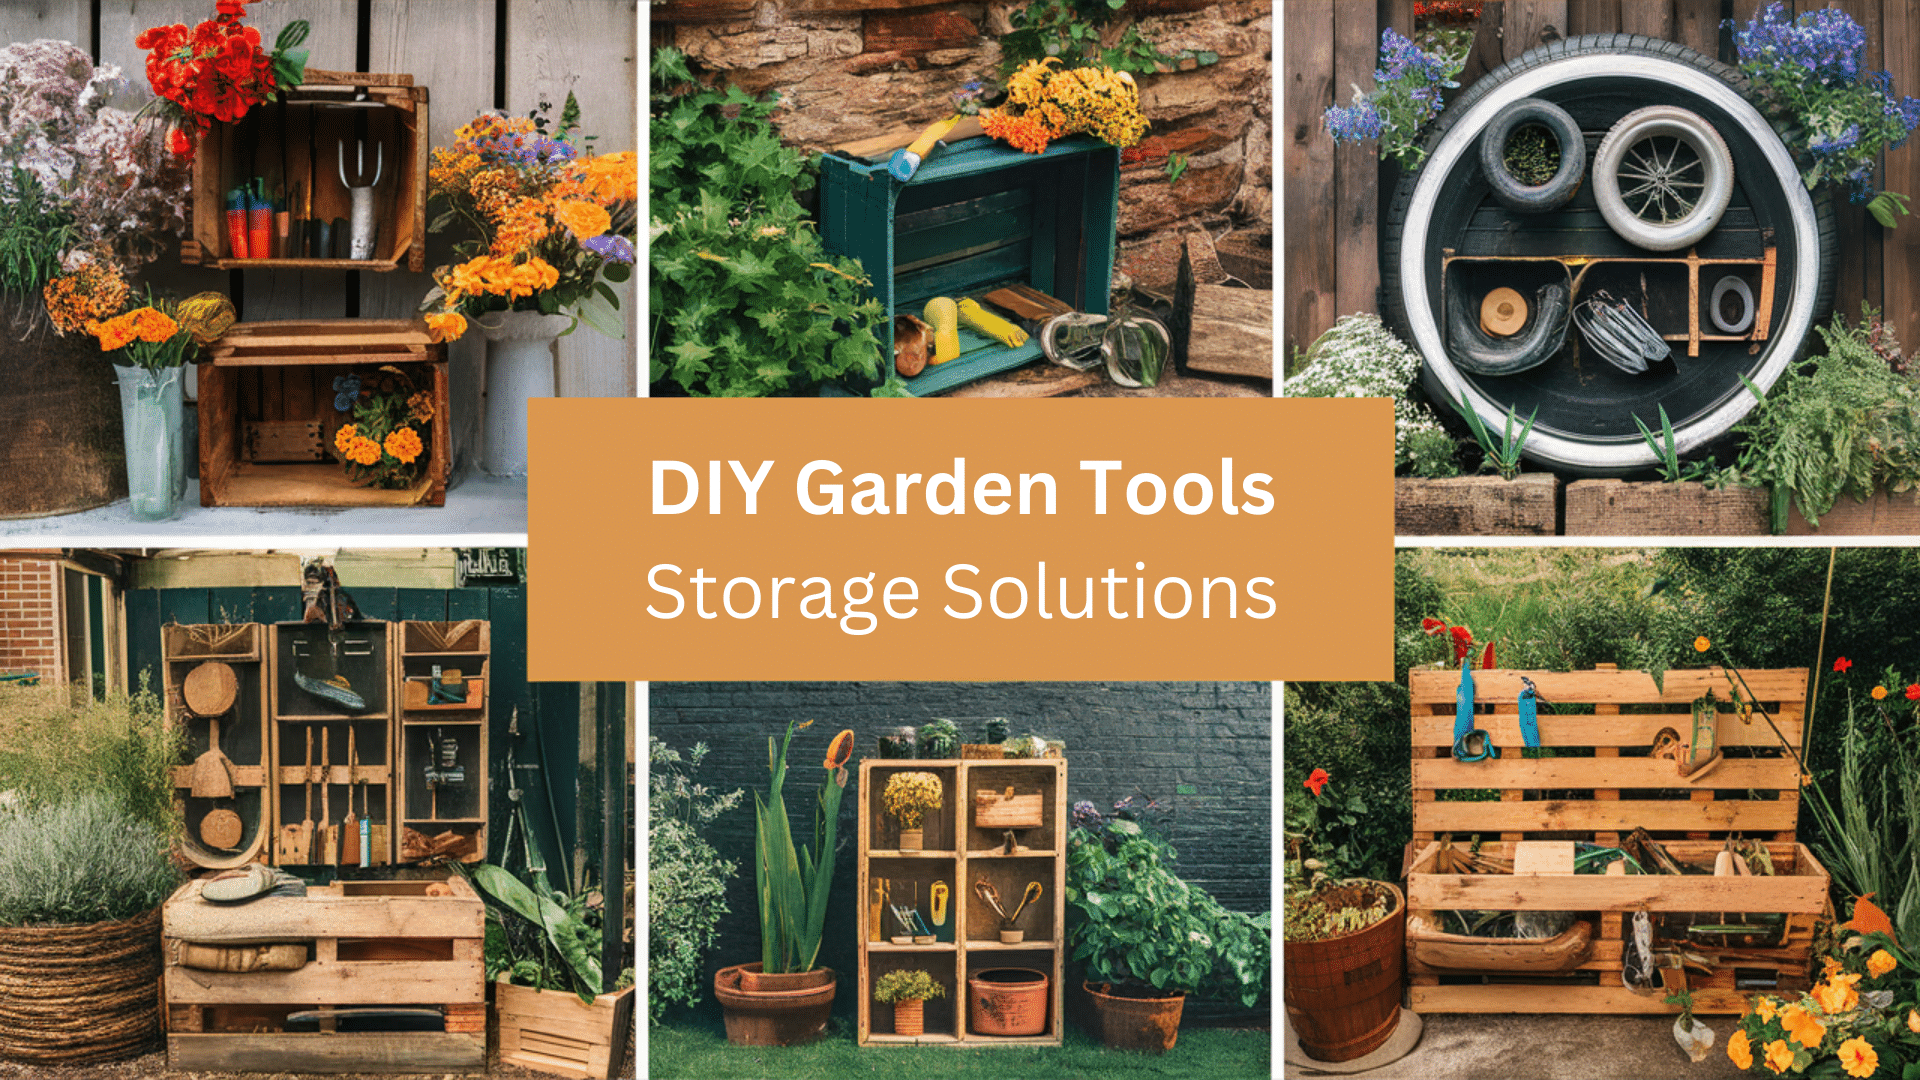
Have you been staring at those garden tools scattered across your yard? I was in the same spot last year.
Organizing your garden tools is easier than you think. With some basic supplies and a little patience, you can create storage solutions that keep everything in its place without spending a fortune on expensive systems.
In this guide, I’ll walk you through:
- Practical DIY garden tool storage ideas
- The basic materials you’ll need (nothing fancy)
- Common mistakes and how to avoid them
Many people worry about creating storage that won’t last or looks messy. I had those same concerns! But after trying different methods, I found simple approaches that work well.
You don’t need to be an expert. This guide breaks everything down into small, manageable steps that anyone can follow.
Trust me – if I could transform my cluttered yard into an organized garden space, you can too.
Why Create DIY Garden Tool Storage?
Before we get into the how-to, let’s talk about why DIY garden tool storage makes sense:
- Save money: Commercial storage solutions can cost $100-300
- Update your space: Tidy up without major landscaping
- Fix organization issues: Prevent lost tools and tripping hazards
- Eco-friendly: Repurpose materials you might already have
- Satisfaction: Complete a home improvement project yourself
I built my garden tool storage last year when I wanted to clean up my yard but couldn’t afford store-bought options. The total cost was under $50, and my solutions still work great today.
Creative DIY Garden Tool Storage Ideas
Looking to organize your garden tools in a way that’s both functional and visually appealing? These are some creative DIY solutions that will help keep your gardening equipment tidy and easily accessible.
Transform your cluttered garden space into an organized outdoor haven with these simple, budget-friendly solutions.
1. Repurposed Wooden Pallet Storage
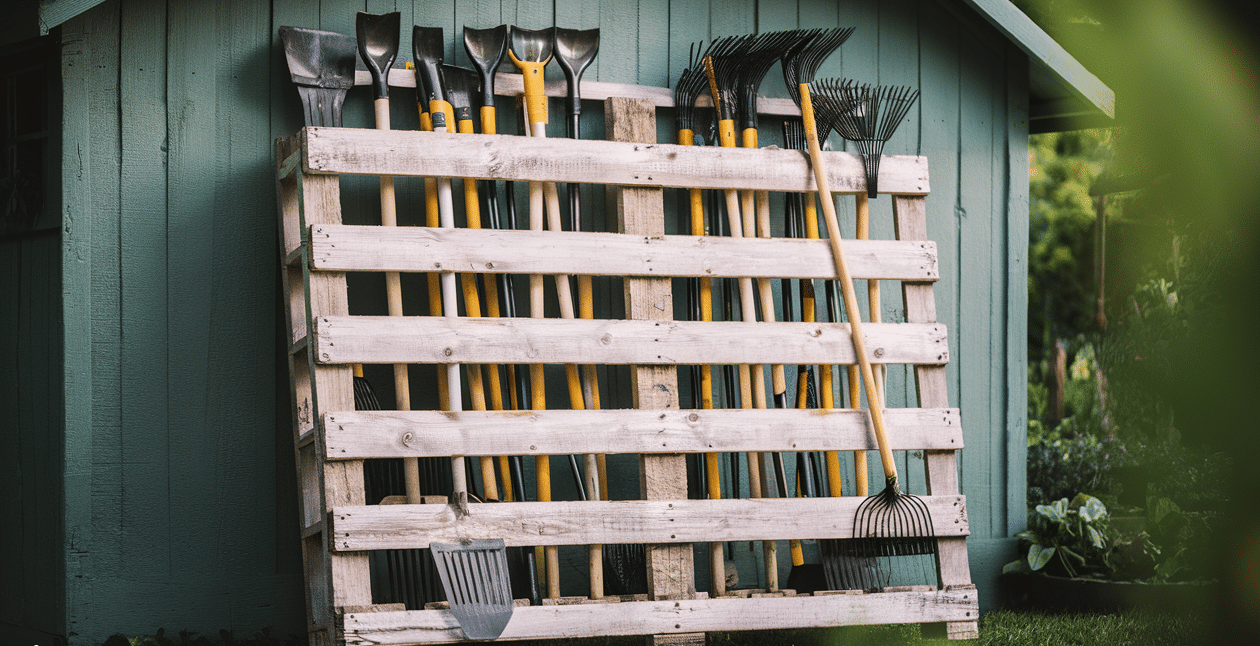
Wooden pallets are a hidden treasure for gardeners looking to create budget-friendly tool storage. These sturdy, versatile platforms are frequently discarded by businesses, making them an incredibly cost-effective solution for organizing garden tools.
Here’s how to set it up in under an hour:
- Stand the pallet upright against a wall
- Sand rough edges for safety
- Add a coat of outdoor paint or sealant (optional)
- Slide long-handled tools between the slats
This works perfectly for shovels, rakes, and hoes, keeping them off the ground and easy to grab when needed. The whole process takes about an hour, plus drying time if you paint it. Most of that time is spent preparing the pallet, so plan accordingly.
2. PVC Pipe Tool Organizer
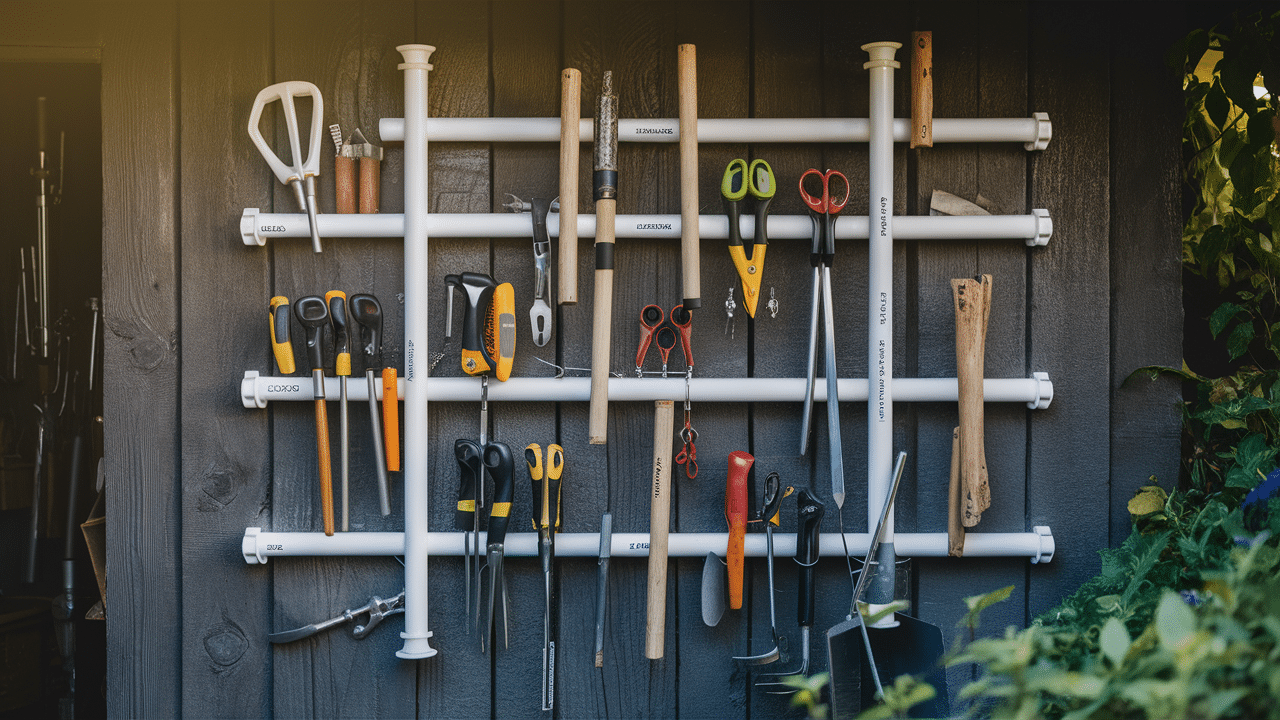
PVC pipes aren’t just for plumbing—they make excellent tool holders, too! Typically found at hardware stores in various diameters, PVC pipes can be easily cut, mounted, and customized to fit almost any garden tool.
Quick steps to create your own:
- Cut PVC pipes to your preferred length (6-8 inches works well)
- Mount them on a board or directly on your wall
- Space them according to tool sizes
- Label each one if you want to get extra organized
This setup is ideal for smaller tools like hand spades and clippers. Everything stays visible and within reach.
For the best results, use pipes with a diameter that matches your tool handles—typically 2-3 inches works for most garden tools.
3. DIY Garden Tool Rack from Old Ladder
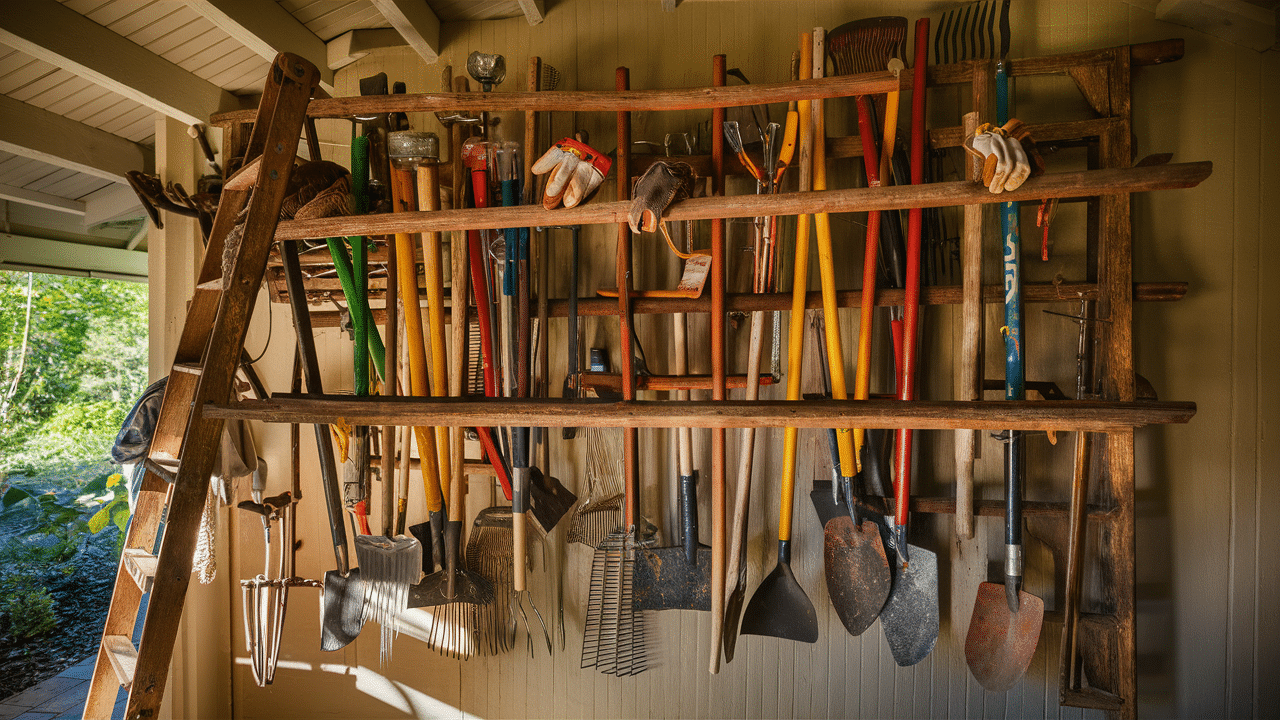
That old ladder in your garage can have a second life as an excellent tool rack! Often overlooked and left to gather dust, these versatile wooden or metal structures can be transformed into a unique and practical storage solution for your gardening tools.
What many people see as a worn-out piece of equipment is actually a potential organizational masterpiece waiting to be repurposed.
Simple instructions to get started:
- Clean the ladder thoroughly
- Lay it horizontally on the ground or mount it on a wall
- Add hooks or use the rungs as they are
- Hang tools by their handles
This works great for tools of all sizes and adds a touch of charm to your garden space.
The ladder method is especially good for homes with limited space, as it can be mounted flat against a wall without taking up valuable floor area.
4. Hanging Buckets for Small Tools
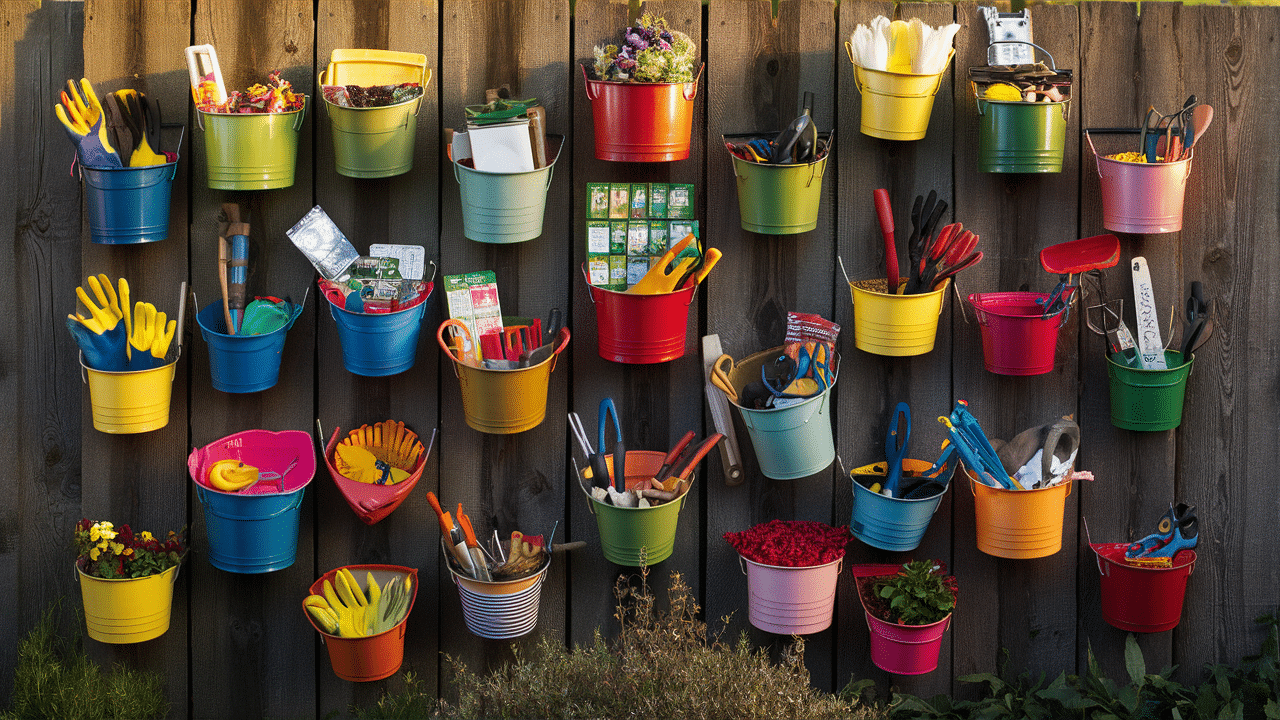
Paint buckets and other containers make perfect homes for smaller gardening items, offering an ingenious and budget-friendly solution to the perennial problem of misplaced garden accessories.
These versatile containers, often overlooked or destined for the recycling bin, can be transformed into organizational lifesavers for gardeners of all skill levels.
Steps for creating hanging bucket storage:
- Clean old buckets or containers
- Drill drainage holes in the bottom if needed
- Attach them to a fence or shed wall with strong screws
- Group similar items together in each bucket
This method works wonderfully for gloves, seed packets, and small gadgets that often get lost.
One common mistake is not securing buckets properly. Make sure to use screws that go into studs or solid wood to prevent the buckets from falling when filled with tools.
5. Magnetic Garden Tool Strip
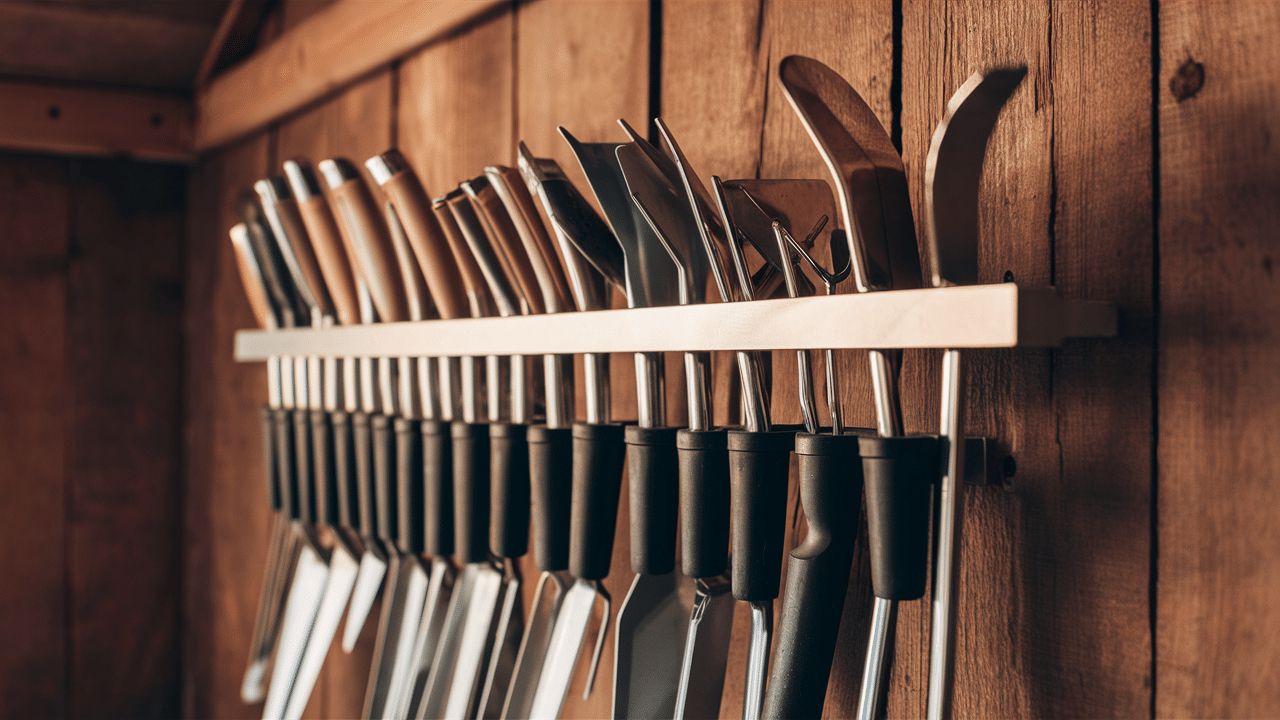
Metal tools stick perfectly to magnetic strips, creating a neat, space-saving solution that transforms cluttered storage into a streamlined, efficient system.
This ingenious approach turns an ordinary wall into a functional display of your most-used garden tools, making them instantly accessible and visually appealing.
Tips for easy installation:
- Purchase magnetic strips from a hardware store
- Mount them at eye level on your shed or garage wall
- Make sure the strip is secured with proper screws
- Stick metal tools directly onto the strip
Your tools will stay put, look neat, and be right there when you need them.
This method works best for metal hand tools like trowels, pruners, and cultivators. Larger or wooden tools will need different storage solutions.
6. Rustic Garden Shed Hooks
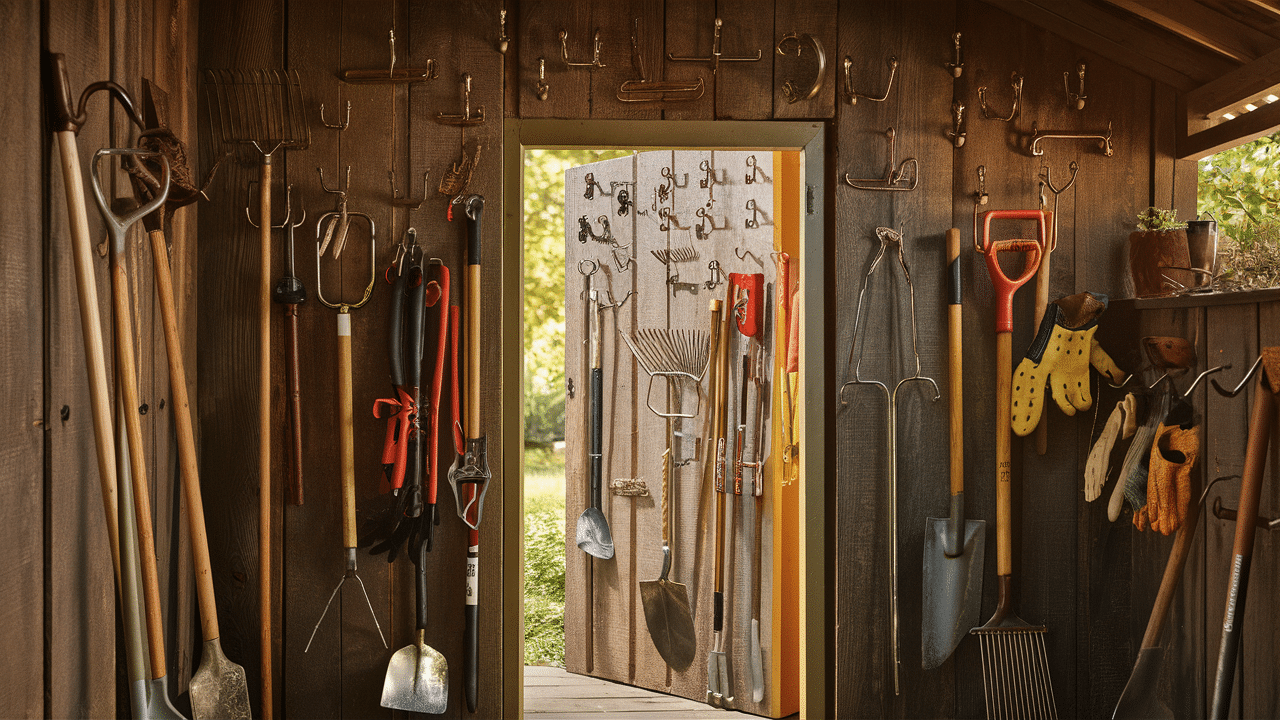
Simple hooks can completely change how you use your shed walls, transforming cluttered, inefficient spaces into organized, functional storage areas.
These modest hardware items are surprisingly powerful tools for maximizing every inch of wall space. They turn blank surfaces into strategic storage solutions that can dramatically improve your gardening workflow.
How to make the most of wall hooks:
- Install different sizes and types of hooks at varying heights
- Use sturdy hooks for heavier tools like shovels
- Add small hooks for hand tools and gloves
- Group similar tools together
This method helps you organize larger equipment neatly and makes the most of small spaces.
When installing hooks, make sure to screw them into studs or use wall anchors to prevent them from pulling out under the weight of your tools.
7. Mobile Garden Tool Cart
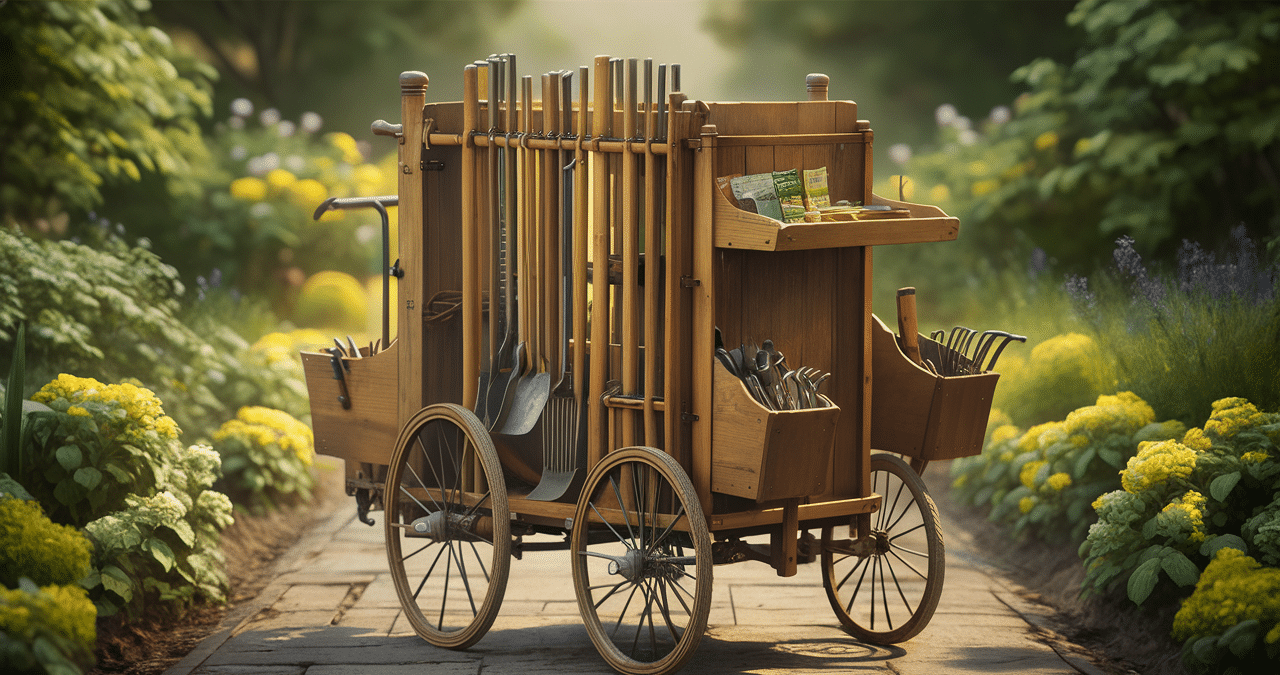
A cart that rolls where you need it can be a game-changer for serious gardeners. It offers unparalleled convenience and efficiency in the most demanding garden spaces.
This mobile solution transforms the way you approach gardening, eliminating countless trips back and forth to your shed and keeping all essential tools within arm’s reach
Steps to build a simple rolling cart:
- Use an old wagon or cart as your base
- Add dividers for different tool types
- Install holders for long-handled tools
- Add a small shelf for gloves and hand tools
The main benefit? Your gardening essentials stay close by as you move around your yard, saving countless trips back to the shed.
For best results, make sure your cart has sturdy wheels that can handle rough garden terrain without getting stuck.
Planning Your Garden Tool Storage
Taking time to plan before you build will save you headaches later. Start by gathering all your tools in one place to see exactly what you’re dealing with—count everything from shovels to small trowels.
Measure your available space carefully, considering factors like weather exposure, convenience to your garden beds, and accessibility for everyone who’ll use the tools.
Think about your gardening habits: which tools do you use most often?
How Many Tools Do You Need to Store?
Taking time to plan before you build will save you headaches later. Count them all, including seasonal items like rakes only used for fall cleanup, holiday planters, or specialized pruning tools used briefly each year.
These seasonal tools often get forgotten during planning but can take up significant space.
Make a complete inventory by walking around your yard and checking every corner of your shed and garage—you might be surprised by how many tools you actually own.
Where Will Your Storage Be Located?
Taking time to plan before you build will save you headaches later. Count them all, including seasonal items like rakes only used for fall cleanup or specialized pruning tools used briefly each year.
Consider weather exposure and convenience when choosing your storage location—tools stored outside will need protection from rain and sun to prevent rust and deterioration. In contrast, tools used daily should be placed within easy reach of your main gardening areas.
How Much Space Can You Dedicate to Storage?
Taking time to plan before you build will save you headaches later.
Count them all, including seasonal items like rakes only used for fall cleanup or specialized pruning tools used briefly each year.
Consider weather exposure and convenience when choosing your storage location—tools stored outside need protection from rain and sun, while tools used daily should be within easy reach of your main gardening areas.
Specialized Storage Ideas for Specific Tools
Creating customized storage solutions for different types of garden tools helps maximize your space while keeping everything organized and accessible. Well-designed storage not only protects your tools but also makes your gardening tasks more efficient.
Hose Storage
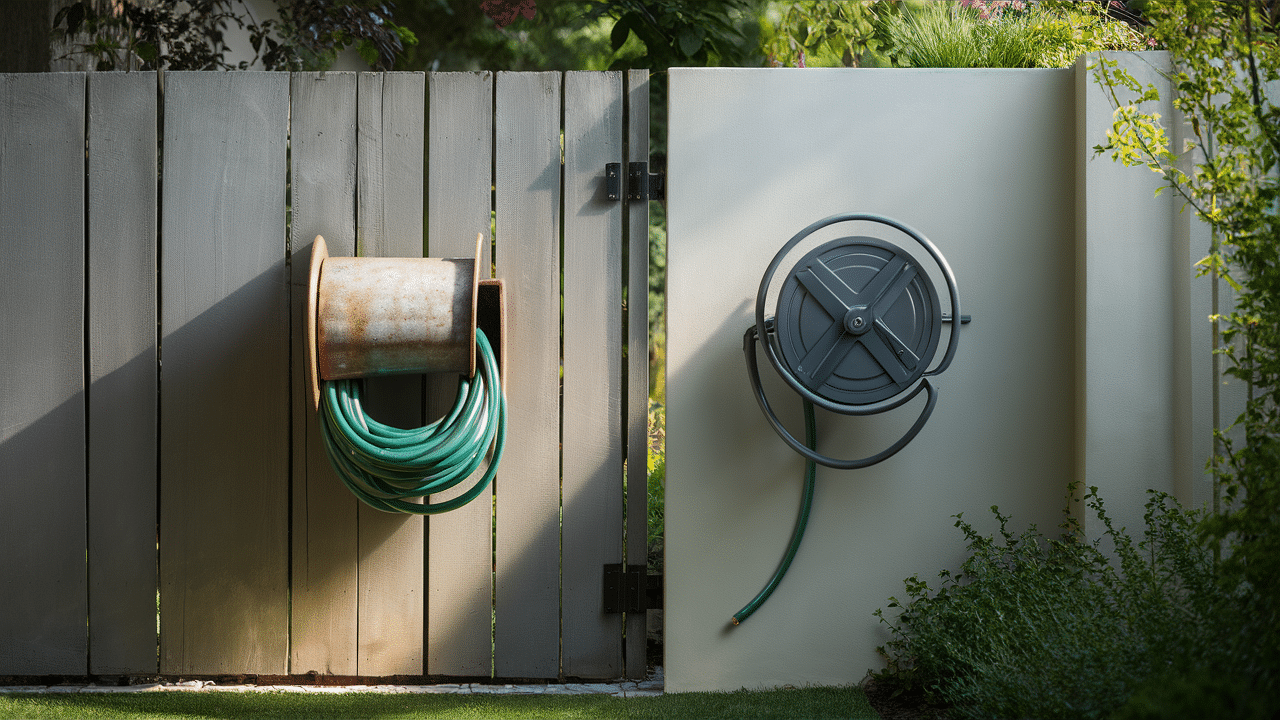
Proper hose storage is essential for extending the life of your garden hoses and preventing the common headaches of tangles and kinks.
Wall-mounted hose reels keep hoses tidy and prevent kinks by giving them a consistent shape to follow when stored. This training trains the material to resist twisting during use.
If you prefer a budget-friendly DIY solution, mount a large bucket sideways to coil your hose inside—this simple hack gives you the same benefits as a commercial hose reel at a fraction of the cost
Small Hand Tools
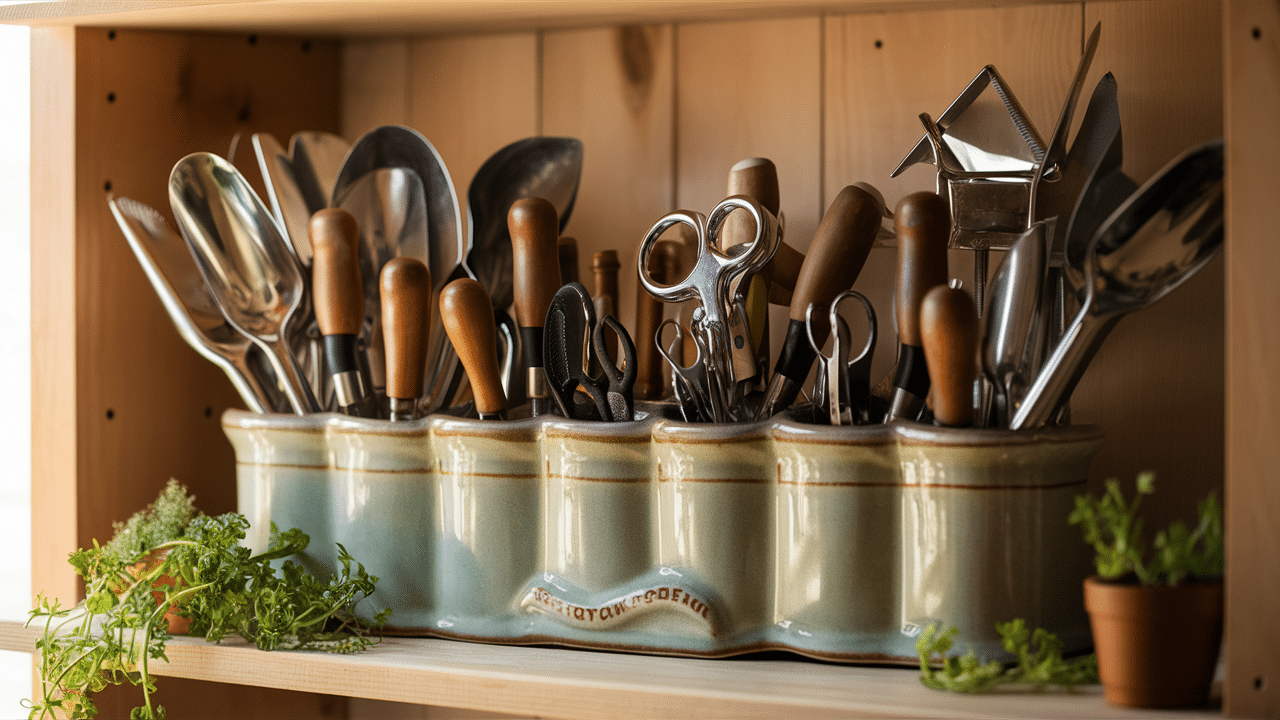
Small hand tools can be challenging to organize, but everyday kitchen items offer surprisingly effective solutions.
Repurposed kitchen utensil holders work perfectly for storing trowels, pruners, and other handheld garden tools, keeping them upright and easily accessible rather than jumbled together in a drawer or bucket.
The compartments designed for sorting spoons and forks naturally separate different tool types and prevent damage to blades and handles.
Power Tools
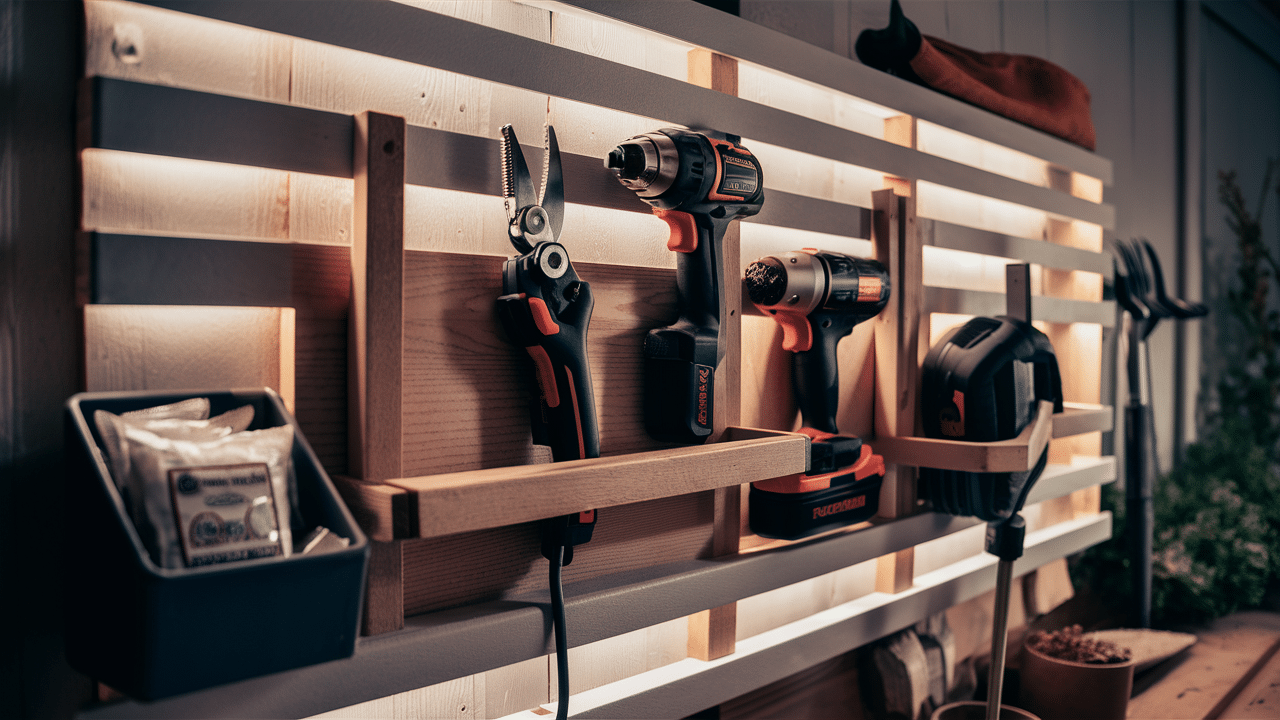
Power tools can transform your gardening experience by reducing physical strain and dramatically improving efficiency.
Some beneficial power tools that can help maintain your garden with less effort such as cordless drill that is perfect for assembling raised beds, trellises, and other garden structures.
Look for one with variable speeds and a battery that holds charge well in outdoor conditions. And next is electric tiller which breaks up soil much faster than manual digging.
Garden Stakes and Supports
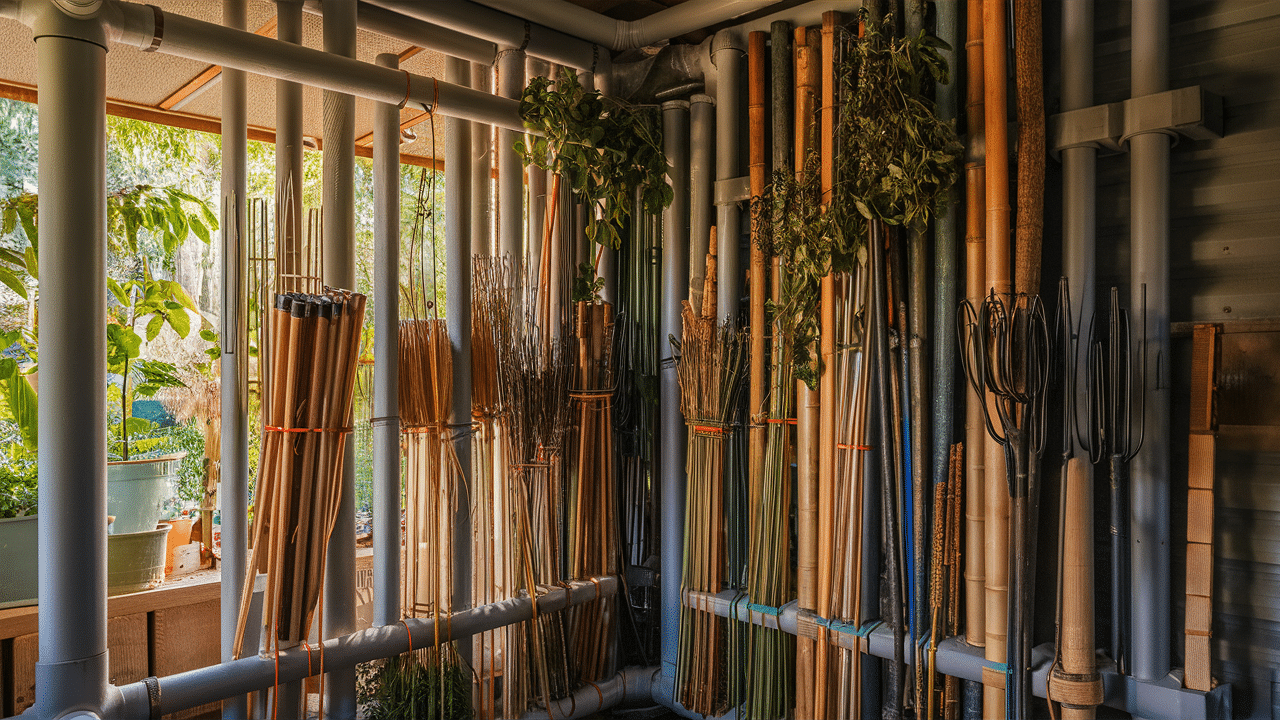
You can put PVC pipes vertically as they make excellent holders and can bundle similar sizes together with rubber bands.
When I organized my tools by type, I found I saved at least 15 minutes each gardening session just by knowing exactly where everything was.
Common Mistakes and How to Avoid Them
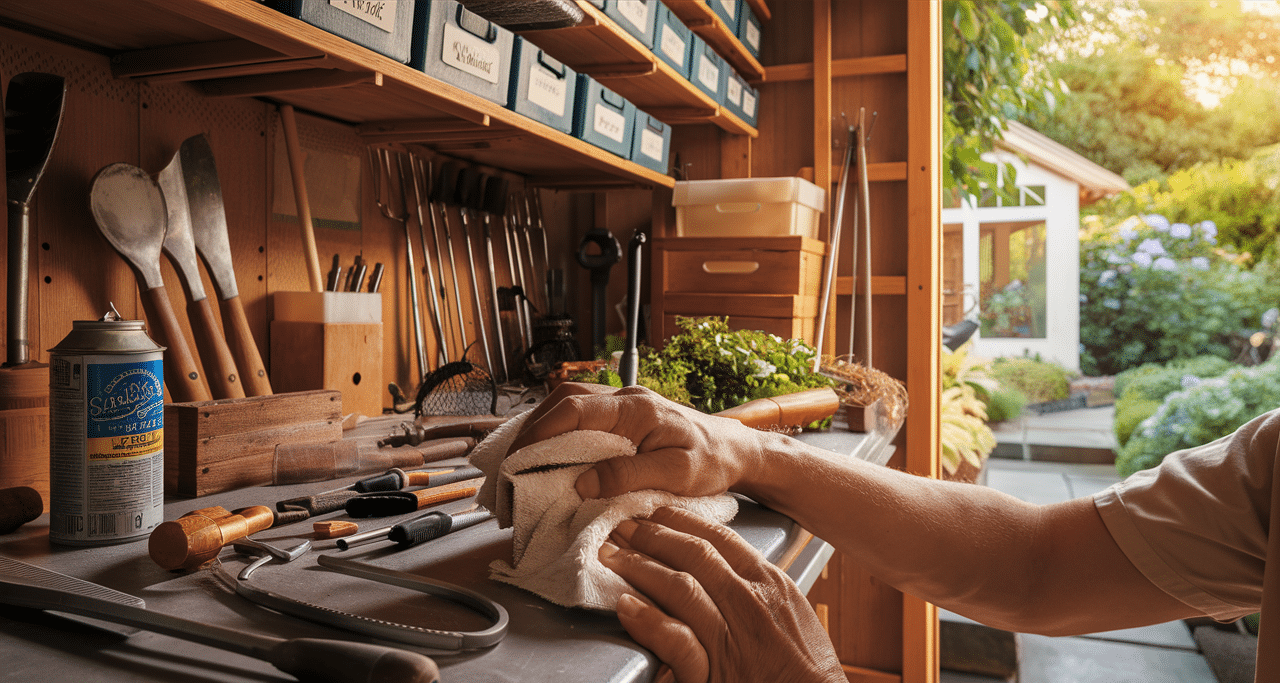
Let me save you from the mistakes I made on my first try: Navigating the world of garden tool storage can be tricky, and I learned some tough lessons that I hope will help you avoid similar pitfalls.
Storage Falling Apart Too Soon
Many garden tool storage projects fail prematurely because they do not use weather-resistant materials. After just a few months of exposure to the elements, rotting wood, rusting metal, and collapsing structures result.
To avoid this common mistake, choose treated wood that resists moisture and insects, galvanized metal that won’t rust quickly, or supplies specifically rated for outdoor use like exterior-grade screws and weather-resistant paint.
I learned this lesson the hard way when my first attempt at a tool rack disintegrated after one rainy season because I used untreated pine boards and regular screws that quickly rusted.
Disorganized and cluttered look
Another frequent issue with garden tool storage is the disorganized, cluttered look that comes from not planning or grouping similar items.
When tools are just thrown into storage without a system, you waste time searching for what you need and the storage area quickly becomes messy again.
The solution is to organize tools by type and frequency of use—keeping hand tools together, long-handled items in their section, and seasonal equipment in a designated area.
Tools Still End up All Over the Yard
A frustrating problem many gardeners face is tools still ending up scattered around the yard despite having storage available.
This usually happens because the storage solution is too far from where you actually garden, making it inconvenient to put tools away when you’re in the middle of working.
The practical fix is to either create multiple small storage areas throughout your garden or use a mobile solution that moves with you.
Damage to Tool Handles
Many gardeners discover their wooden-handled tools cracking or breaking prematurely due to improper storage causing stress on handles.
When long tools like rakes, shovels, or hoes are stored leaning at awkward angles or hung by their handles alone, gravity creates pressure points that eventually weaken or split the handles.
The simple solution is to support long tools at both ends, not just by the handle—store them horizontally on hooks or brackets that support both the head and handle or vertically with the head resting on the ground and the handle secured.
Making Your Storage Look Good
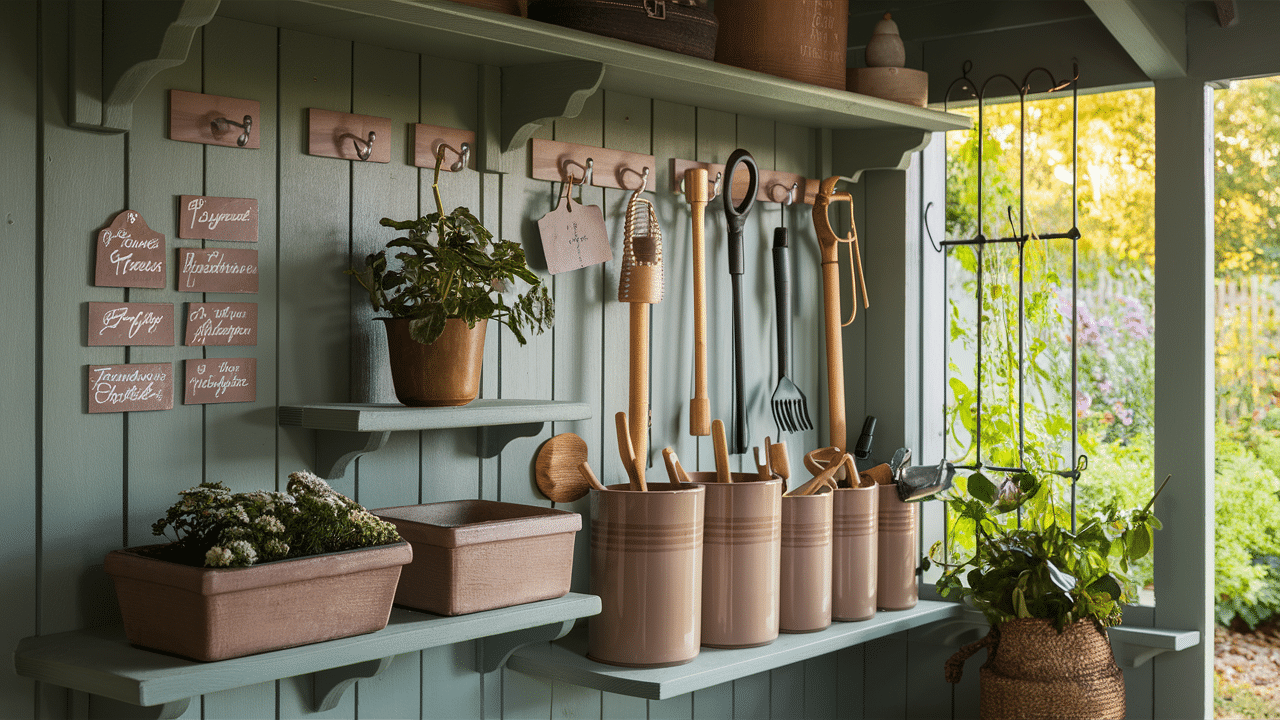
Functional doesn’t have to mean ugly. Try these simple touches:
- Add a coat of paint in a color that complements your garden
- Use matching containers for a cohesive look
- Add plant labels with a permanent marker or paint pen
- Include a small shelf for displaying a potted plant or garden ornament
The shed wall that once held my jumbled tools is now an organized space that actually adds to the appeal of my garden rather than detracting from it.
Long-Term Care for Your Garden Tool Storage
To keep your storage solutions working well:
- Check for loose screws or connections each season
- Apply fresh weather protection to wooden elements yearly
- Clean out dirt and debris regularly
- Reorganize as your tool collection changes
With proper care, your DIY storage should last 3-5 years before needing significant updates.
Conclusion
Creating DIY garden tool storage is a simple way to update your yard without spending much money. By following these steps and taking your time, you can develop solutions that look good and work well.
The key points to remember:
- Use weather-resistant materials
- Plan your storage based on how you actually use tools
- Group similar items together
- Consider visibility and accessibility
This weekend project can save you hundreds of dollars compared to buying pre-made storage systems. Plus, you get the satisfaction of doing it yourself!
Now that you know how to do it, what’s stopping you? Those scattered garden tools could be neatly organized by the end of the weekend.
Have you created DIY tool storage before? Did you try a specific method? Share your experience in the comments below! I’d love to see how your project turned out.

