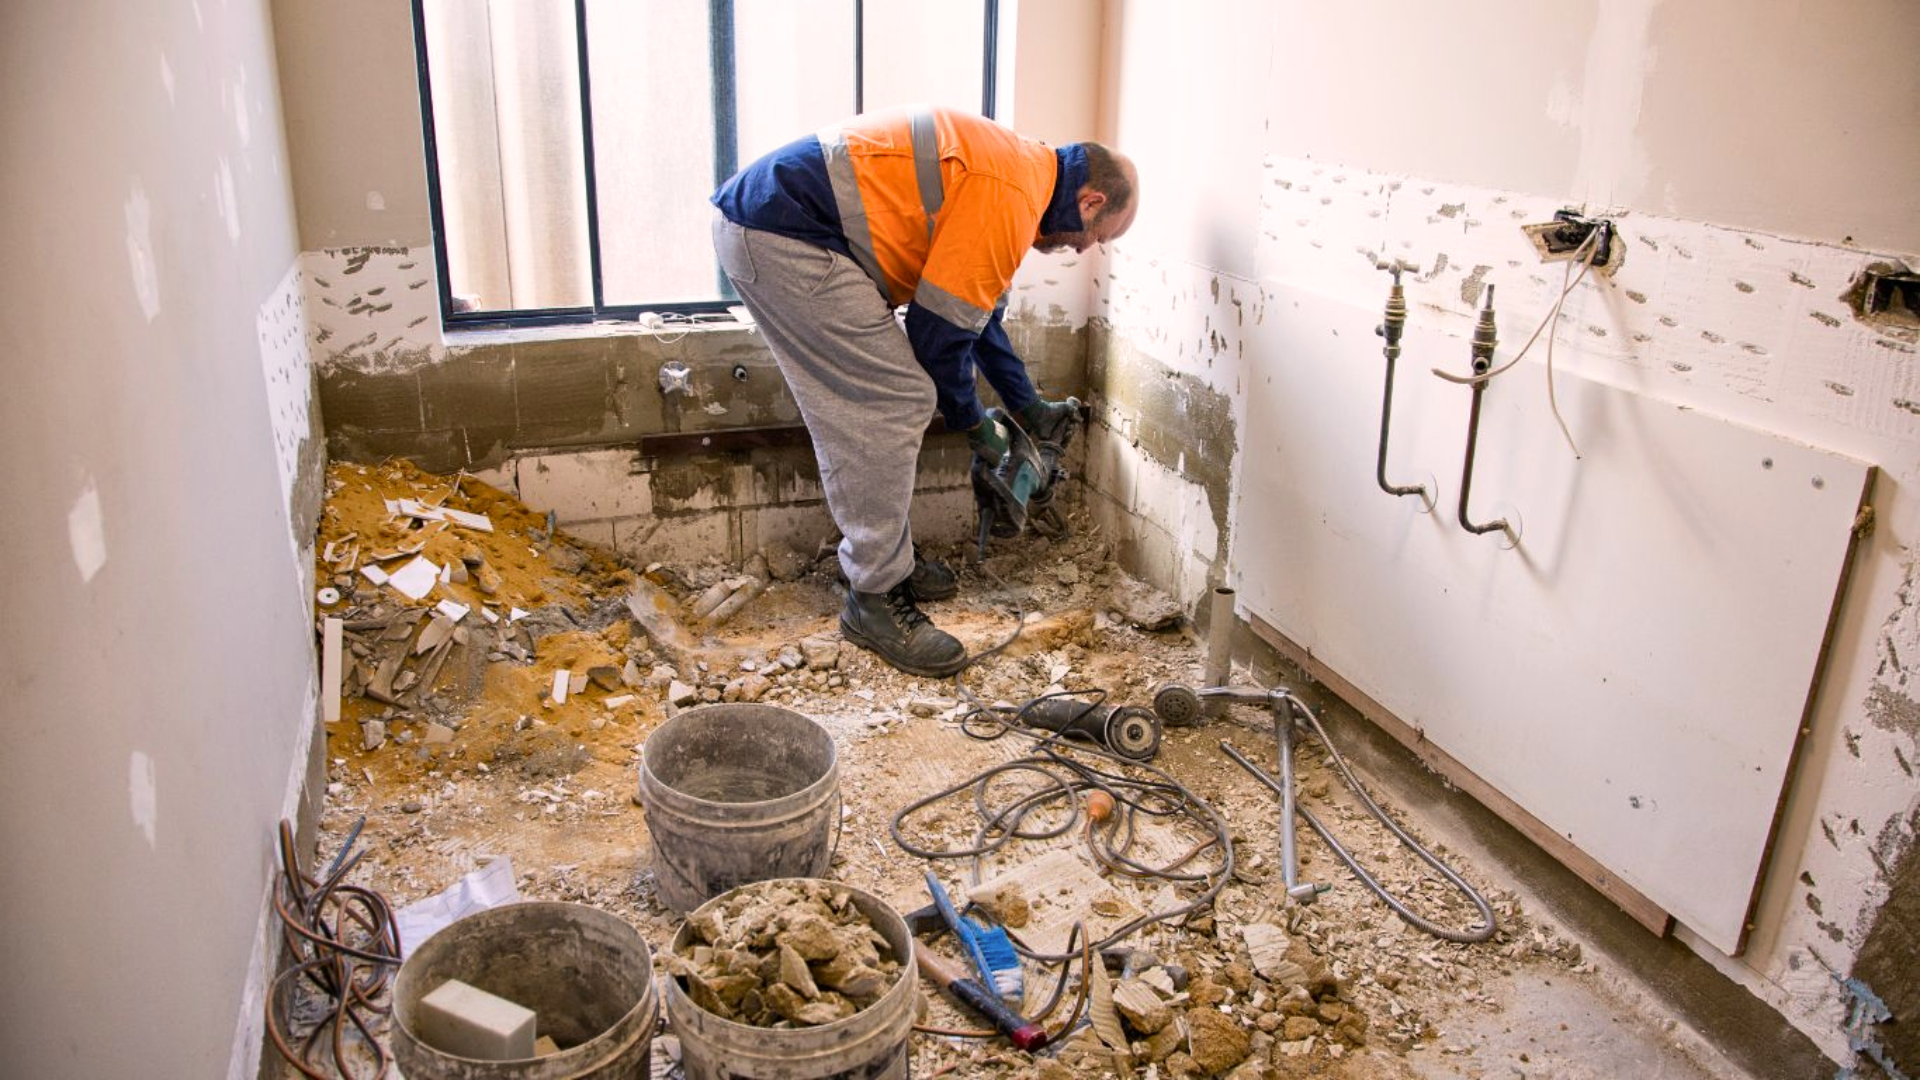
Thinking About Tackling a Bathroom Renovation? Home improvement doesn’t have to drain your wallet. Many homeowners are choosing to demo their own bathrooms for three key reasons:
- Save money on labor costs
- Learn new skills
- Control the entire project
If you’re wondering whether you can handle a bathroom demolition with zero experience, you’re in the right place.
My guide is designed for regular people with basic tools and a can-do attitude. I’ll walk you through every single step with clear, simple instructions that make demolition feel less scary and more doable.
You’ll learn how to safely tear out old fixtures, manage debris, and prepare your space for a fresh start, all without breaking the bank.
By the end of this guide, you’ll have the confidence to change your bathroom yourself.
Ready to get started? Let’s break it down.
Tools and Safety Gear
- Canvas disposal bags or a rented dumpster
- Floor protection (Ram Board, painter’s tape, drop cloths)
- Air scrubber or box fan
- Tools: Pry bar, hammer, channel locks, utility knife, multi-tool, reciprocating saw (Sawsall), pipe cutter
- Safety gear: Gloves, respirator, goggles, steel-toe boots
- Shop vacuum, towels
- SharkBite end caps, sandpaper, and Emory cloth
- Trash bags, test caps for drains
- Screwdrivers (Phillips and flathead)
- SDS hammer with tile scraping bit (optional)
Step-By-Step Bathroom Demolition Process
Preparing for a bathroom renovation requires careful planning and systematic demolition. Follow these steps to safely and effectively remove existing fixtures and finishes.
Step 1: Managing Dust and Air Quality
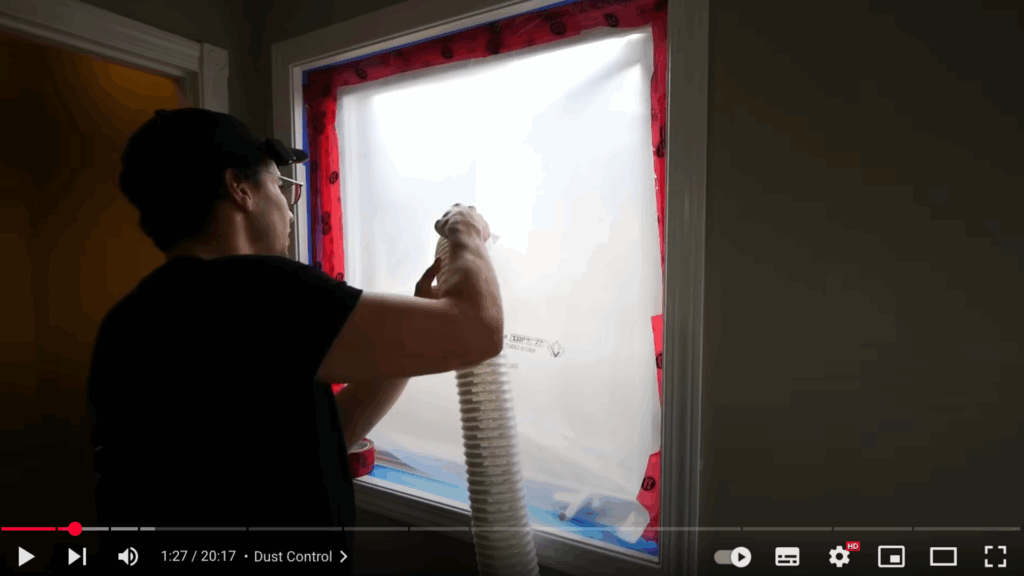
Demolition is a dusty business. To keep the rest of your house clean, you need to manage the air quality in your work area. Use a professional-grade air scrubber that pulls dusty air from the bathroom and vents it outside.
For a budget-friendly alternative, you can place a box fan in an open window, facing outwards, to achieve a similar effect.
If your home has a forced-air HVAC system, it’s crucial to block off any air vents or registers in the bathroom to prevent dust from circulating throughout your house. A simple towel stuffed into the duct works perfectly.
Step 2: Water Shut-Off and Draining the Lines
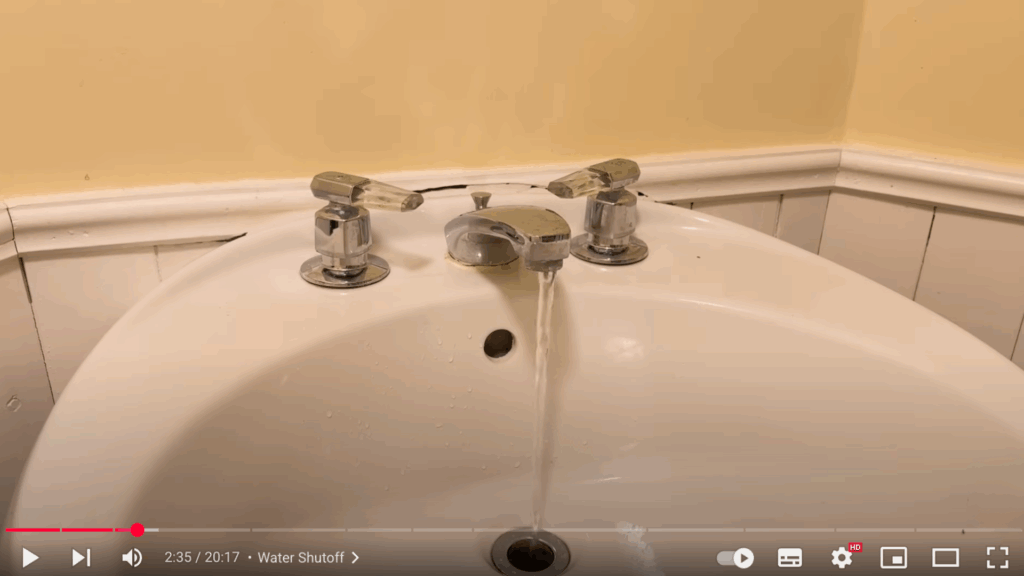
Before you remove any fixtures, you must shut off the main water supply to your house.
You’ll typically find either a quarter-turn valve, which needs to be turned perpendicular to the pipe, or a gate valve, which you’ll turn clockwise until it stops.
Once the main is off, you need to drain the remaining water from the pipes. To do this, open the hot and cold taps on a sink located on a lower level of your home, if possible, and let the water run until it stops completely.
Step 3: Removing the Toilet
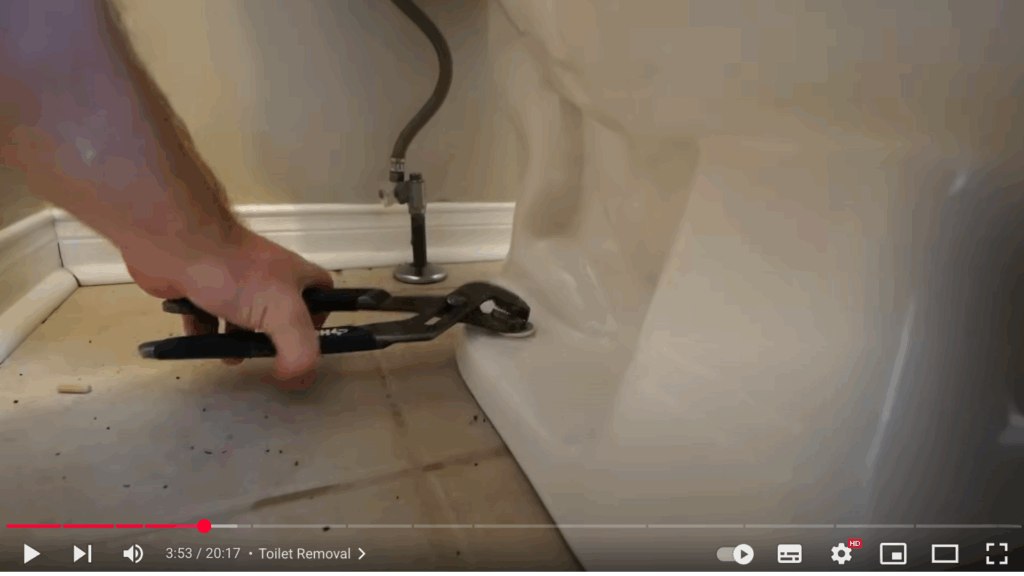
With the water off, you can begin removing the toilet. Even if your toilet has its own shut-off valve, start by flushing the toilet to empty the tank.
Then, use a bucket of water to flush the bowl again, removing most of the remaining water. To get rid of the last bit of water in the bowl, a shop vac (with the filter removed) is your best bet.
Alternatively, you can use a product like “Liquid Lock” to solidify the water. Disconnect the water supply line from the valve; have a towel ready for any spillage. Finally, unbolt the toilet from the floor and carefully lift it out.
Step 4: Tackling the Tub and Surround
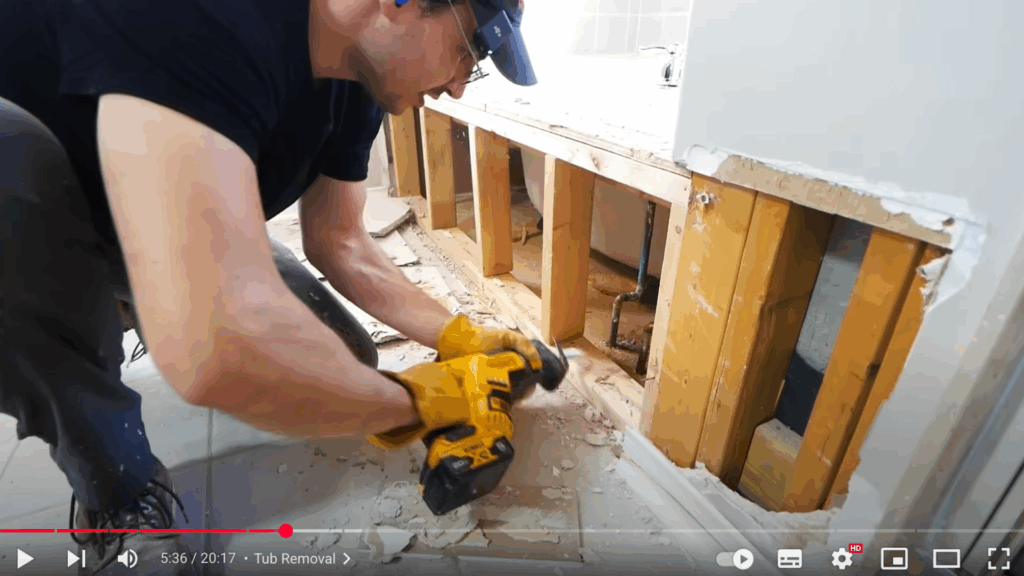
Now for the heavy lifting. Start by smashing and prying off the tile surround. Tubs are often enclosed in a plywood box; if it’s nailed together, you can use the pry bar to pry it apart.
If it’s screwed, you’ll need to unscrew it. Before you can remove the tub itself, you must disconnect the drain.
While a dedicated tool exists, you can improvise by inserting two screwdrivers in an ‘X’ shape into the drain and turning to unscrew it. If your tub has an overflow plate, simply unscrew it.
Step 5: Cutting and Capping Water Lines
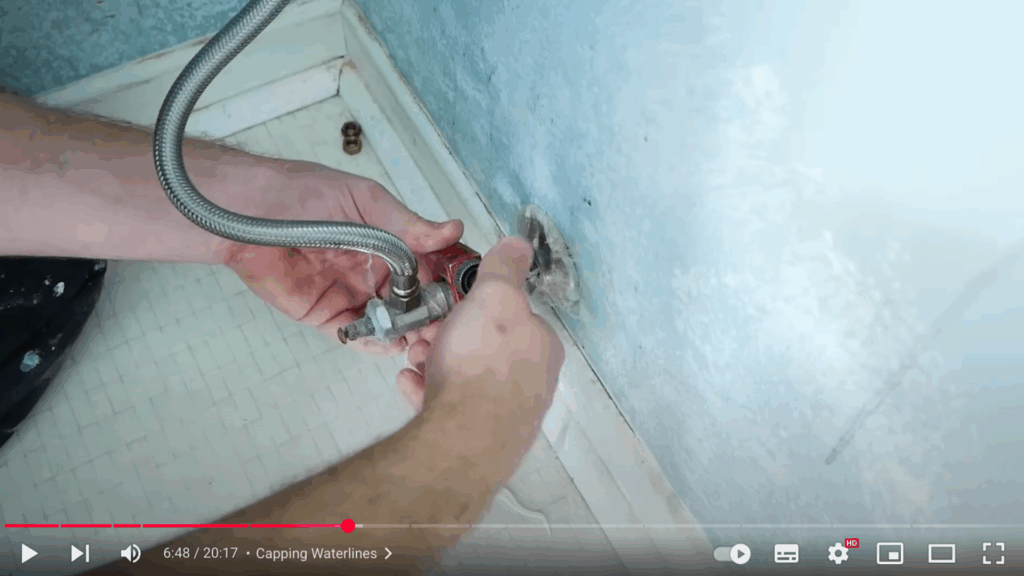
You’ll need to deal with the water lines that fed the tub. Using a pipe cutting tool, tighten and rotate it until the pipe is cut.
Afterward, it’s important to clean the end of the pipe with emery cloth or sandpaper. Then, use a deburring tool to smooth the inside and outside edges.
This preparation is vital for getting a good seal with the temporary cap. Use a SharkBite end cap, a push-to-connect fitting that is easy to install.
A depth gauge tool helps you mark the pipe to ensure the cap is fully seated.
Step 6: Removing the Tile Surround and Lifting the Tub
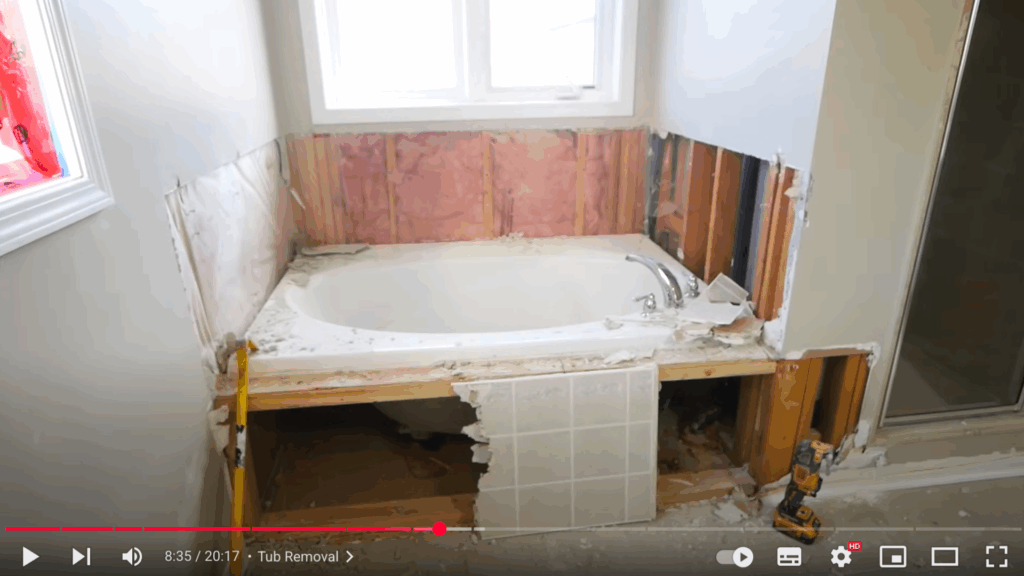
To remove the rest of the tile surround without damaging the adjacent drywall, use a sharp knife to cut the caulk in the corners.
Then, use a multi-tool to score the drywall around the edge of the tile. This allows you to remove the tile and its backer board in large, clean sections.
With all the surrounding elements gone, you can now lift the tub out. This may require some prying and maneuvering, as it’s often a tight fit.
Step 7: Dismantling the Shower Stall
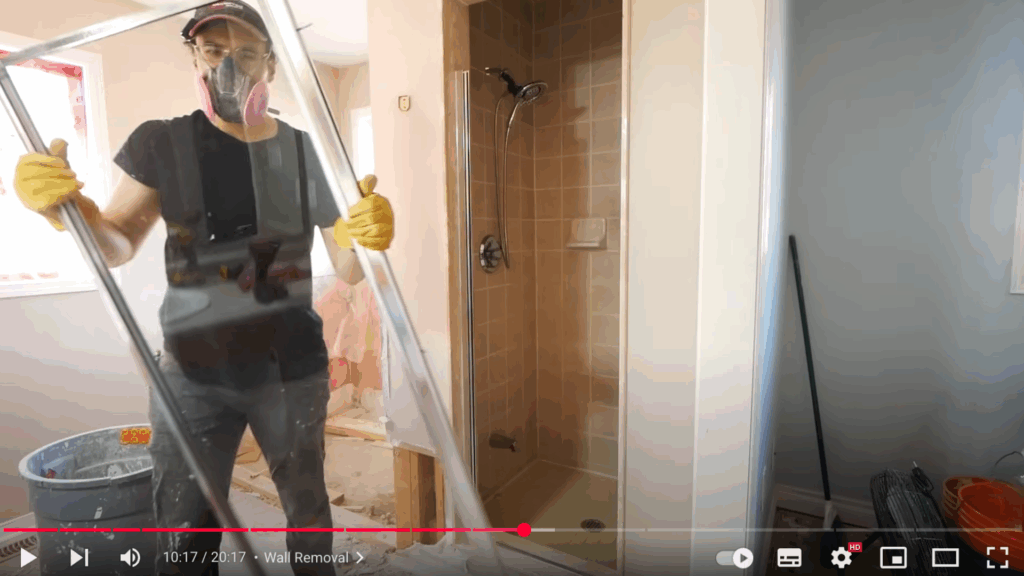
For a separate shower stall, the demolition process is similar. For tiled shower walls, you can smash through from the back if you have access, which is often safer and easier.
When removing tile, always be cautious, as broken pieces are extremely sharp.
Step 8: Removing Walls
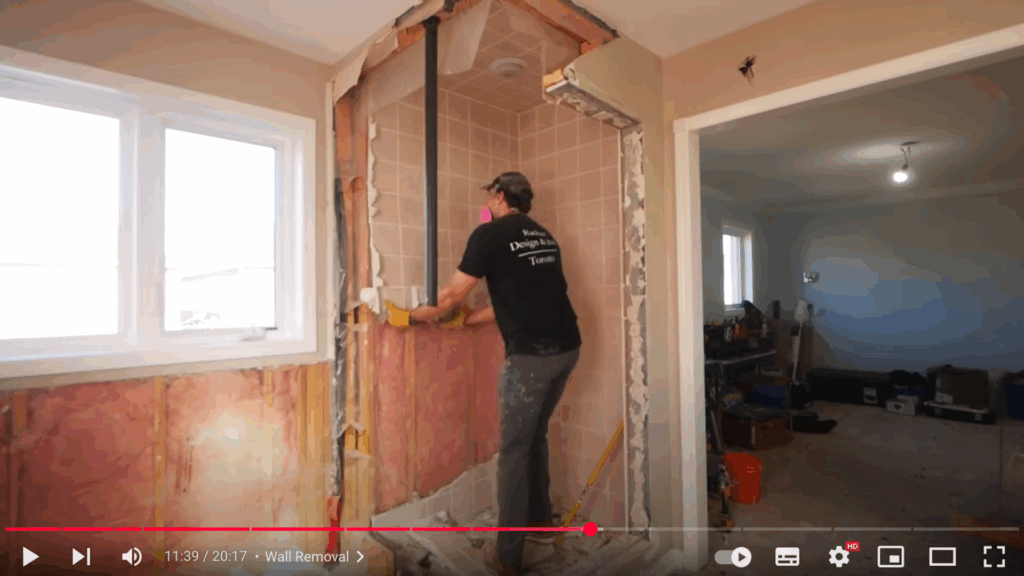
It’s critical to identify if a wall is load-bearing, as removing one can compromise the structural integrity of your home. A general tip is that if the ceiling joists run parallel to the wall, it is likely not load-bearing.
However, if you have any doubts, you must consult a structural engineer. It’s a costly mistake you don’t want to make.
Step 9: Removing the Vanity and Mirror
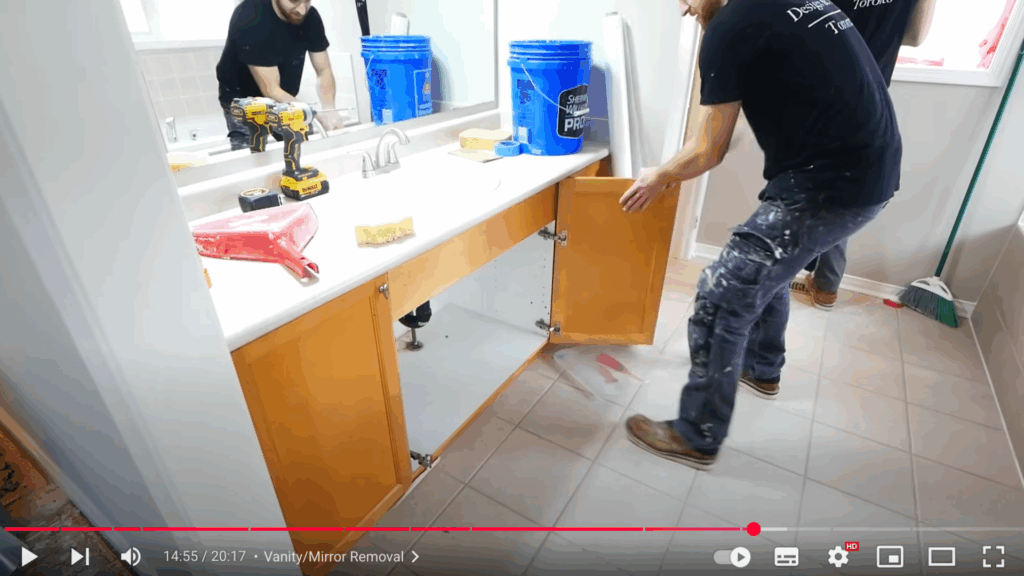
If you’re not salvaging the vanity, you can have some fun smashing it apart. If you are saving it, you’ll need to be more careful. First, disconnect the plumbing. Unscrew the P-trap from the drain and disconnect the hot and cold water lines.
If the drain pipes are glued, you can cut them out. Be sure to cap the drain opening to block sewer gases. For a large, glued-on mirror, it’s a good safety measure to apply tape across the entire surface.
This will hold the pieces together if it shatters. These mirrors are often held by clips at the top, which you can push up with a screwdriver. Then, gently pry the mirror away from the wall to break the adhesive’s bond.
Step 10: Taking Off the Trim
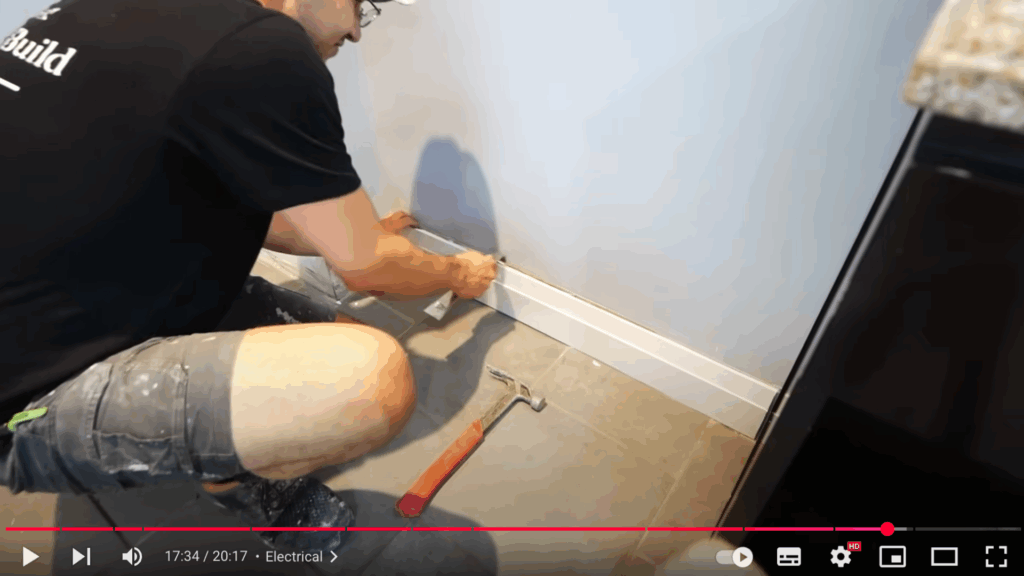
To remove baseboards and other trim without damaging your walls, first, use a utility knife to score the caulk line where the trim meets the wall.
Then, gently use a small pry bar or a putty knife to work it between the trim and the wall, slowly prying it away.
Step 11: Floor Demolition
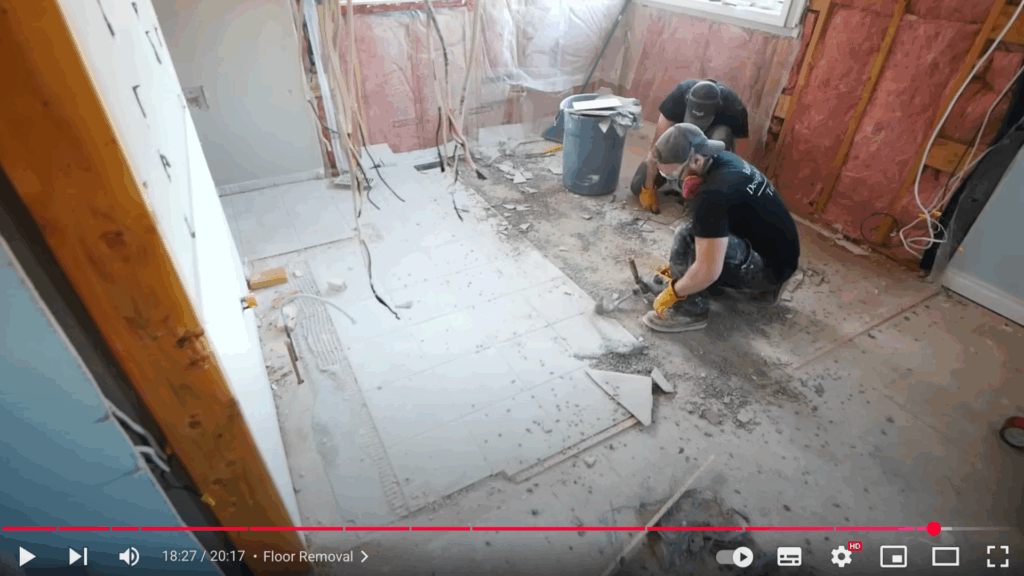
The final major step is removing the floor. While the SDS is helpful, a pry bar will suffice for most floors. This can be heavy and difficult to remove.
This step is where good dust management really pays off. Once the tile and mortar are up, you’ll need to go back and remove all the staples from the subfloor to create a clean surface for your new flooring.
With the floor up and the debris cleared, you’ll be left with a blank canvas, ready for the exciting next phase of your bathroom renovation.
This step-by-step guide is based on an excellent video from Workin’ with Wolkon. Huge thanks to the creator for sharing such a clear and informative tutorial. You can find the original video on their YouTube channel or watch it below.
Bathroom Demolition: Money-Saving Tips
Cut costs without cutting corners during your bathroom renovation. Smart planning and strategic choices can help you save big on your demolition project.
- Resourceful Planning Before You Start: Before rushing to buy new tools, maximize what you already have. Take a walk through your garage, basement, or tool shed. Those old work gloves? Perfect.
- Turn Trash Into Cash: Bathroom vanities, mirrors, and functional toilets can fetch decent money. I recommend posting on local buy/sell groups, using online marketplaces, and donating to habitat restoration centers.
- Strategic Timing: Weekends are your secret weapon. By scheduling your demo during two consecutive days, you avoid lost work hours, extra childcare costs, and unnecessary stress.
- Slow and Steady Saves Dollars: Speed kills your budget, that is. Working carefully prevents expensive mistakes. Each deliberate movement reduces the chance of cracked tiles, damaged walls, and unexpected plumbing issues.
- Free Resources Matter: YouTube tutorials and home improvement forums are gold mines. They’re free educational resources that can save you hundreds in potential repair costs. I’ve learned more from watching 30-minute videos than from expensive workshops. Modern LED bathroom mirror inspiration for large master baths can also guide your salvage choices, helping you recognize which pieces are worth keeping or repurposing before splurging on brand-new upgrades.
When to Call a Professional?
DIY enthusiasm is great, but some challenges require professional expertise. I’ve learned that trying to save money isn’t worth risking your home’s integrity.
Water damage, black mold, and asbestos are hidden threats that can turn a simple renovation into a health and financial disaster.
Plumbing and electrical lines are tricky – one mistake can cause flooding or a fire. If you’re unsure about pipes or wires, it’s time to step back.
Cast iron tubs in concrete are best left to the pros. They’re heavy and can cause serious damage if not handled correctly. Wall movement or floor cracks can signal structural issues that need expert attention.
A professional’s advice now can save you thousands later. Remember, your safety and your home’s integrity come first.
Conclusion
Demolishing a bathroom isn’t just about breaking things – it’s about building confidence. You have the power to transform your space without spending a fortune.
I’ve seen many homeowners go from nervous beginners to proud DIY champions. Take your time and learn with every step. Mistakes will happen, and that’s part of the process.
Each cracked tile or unexpected hurdle is a lesson, not a failure. This journey isn’t just about renovation – it’s about learning new skills.
Most importantly, know your limits. Asking for help isn’t weakness; it’s wisdom. Professional support can save you from costly mistakes. Your safety and the integrity of your home are what matter most.
Ready to start your bathroom makeover?

