
Thinking about making your bathroom more flexible? You are in the right place. Many homeowners want to switch from a shower-only setup to one that better meets their daily needs.
A shower-to-tub conversion can make bath time easier for kids, help with washing pets, and give you a relaxing soak after a long day.
This will help you through everything you need to know about changing your shower space into a functional tub.
This article covers the products you can use, the steps to follow, and tips to keep everything working great. Even if you have a small bathroom or lots of space.
Why Convert Your Shower Into a Bathtub?
A shower-to-tub conversion means changing your current shower space so it can work as a bathtub.
Some people add a tub inside their existing shower area, while others replace the whole shower base with a tub.
The good news is you do not always need to tear out walls or move plumbing lines. Many conversion kits fit right over your current shower pan or inside your shower.
This conversion is popular because it gives you both options in one bathroom. You can still use the showerhead while soaking in the tub.
The project can take a weekend or less. Most conversions work with standard bathroom sizes and do not require professional plumbers.
Best Products for Easy Shower to Tub Conversion
Converting your shower into a functional bathtub doesn’t require extensive renovation when you choose the right products for the job.
| Product Name | Type | Cost Range | Best For | Buy From |
|---|---|---|---|---|
| Acrylic Tub Insert Kit | Acrylic tub insert | Around $600–$1,200 | Fast installation | Home depot |
| Fiberglass Tub Wall Insert | Fiberglass tub system |
unavailable |
Budget-friendly projects | Amazon |
|
Convertible Tub Kit |
Accessible bath system | Around $450–$650 | Seniors, mobility needs | Lowe’s |
| Tub Surround Wall Panel Kit | Waterproof wall panels | Around $300–$900 | Covering old shower walls | Home Depot |
| Faucets & Plumbing Alignment Kit | Conversion drain kit | Around $80–$250 | Aligning the tub drain | Home Depot |
Step-by-Step Process of Converting a Shower to a Tub
Converting your shower to a bathtub changes your bathroom’s functionality, creating a relaxing space for soaking and unwinding daily.
Step 1: Measure Your Shower Space Carefully
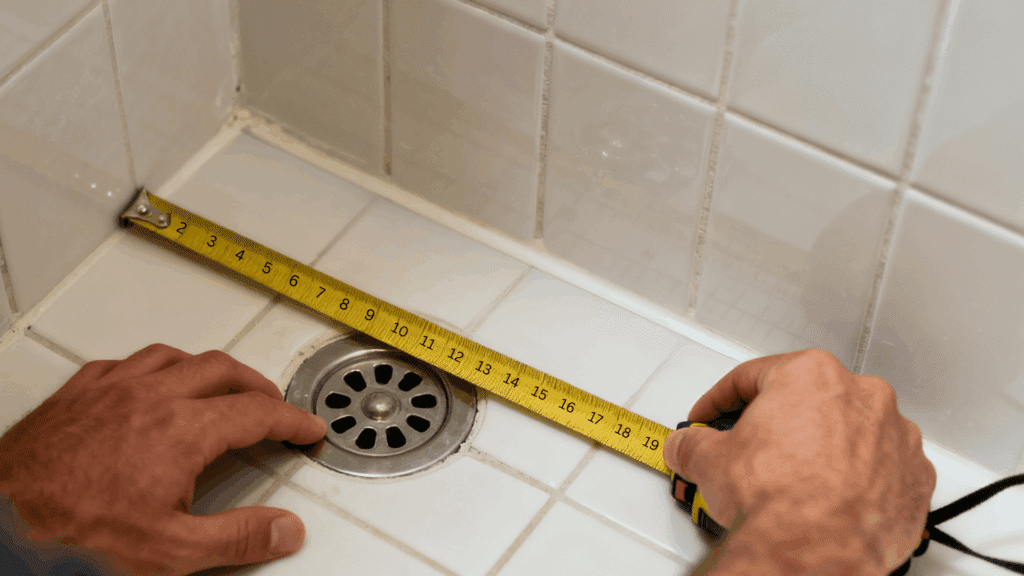
Before you buy anything, grab a tape measure and check your shower dimensions. Measure the length, width, and height of your shower area.
Write down where your drain sits because your new tub needs to line up with it. Check if your walls are flat and even.
Look at the distance between your plumbing fixtures. Most standard tubs are 60 inches long and 30 inches wide, but smaller options exist.
Step 2: Remove Existing Shower Components
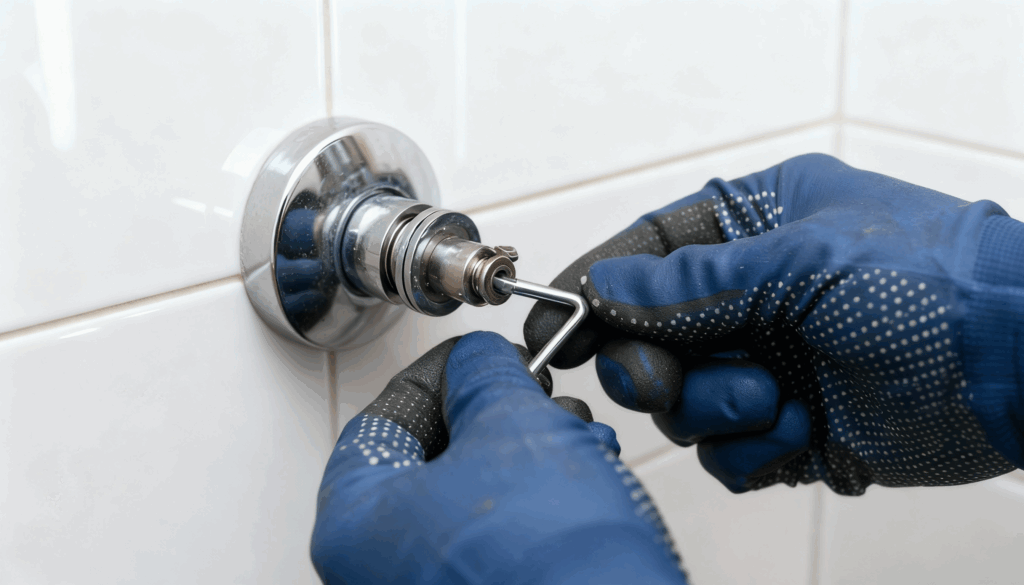
Start by turning off the water supply to your bathroom. Take off the shower head, faucet handles, and drain cover.
If you have a shower door, remove it carefully and set it aside. Pull up any caulking around the shower base with a utility knife.
Some conversions let you keep the shower pan in place, while others need you to remove it. Check your product instructions before taking out too much.
Step 3: Prepare the Shower Base and Walls
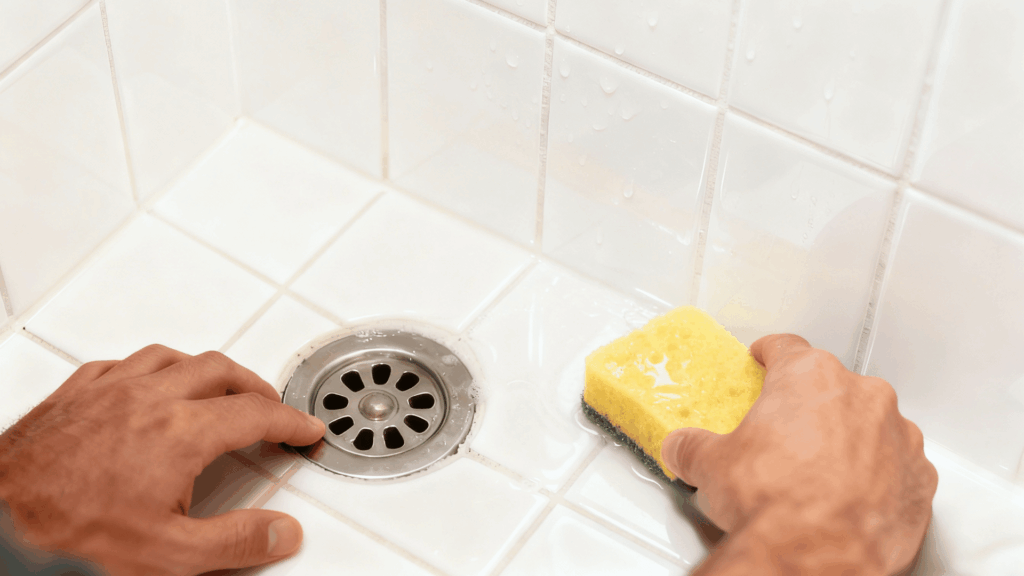
Clean the shower floor completely and remove any soap buildup or mold. Sand down rough spots on the walls if you plan to attach a new tub surround.
Check for any water damage or soft spots in the subfloor. If you find damage, fix it before moving forward.
This step lays a solid foundation for your bath-to-shower conversion. A clean and level base prevents leaks and makes installation easier.
Step 4: Install the New Tub Unit
Follow the manufacturer’s directions exactly as written. Most tubs slide into place or sit on adjustable legs.
Line up the drain hole with your existing plumbing. Some systems use a conversion kit that connects to your current drain without major plumbing work.
Secure the tub to the wall studs with screws or brackets. Make sure the tub sits level in all directions using a bubble level.
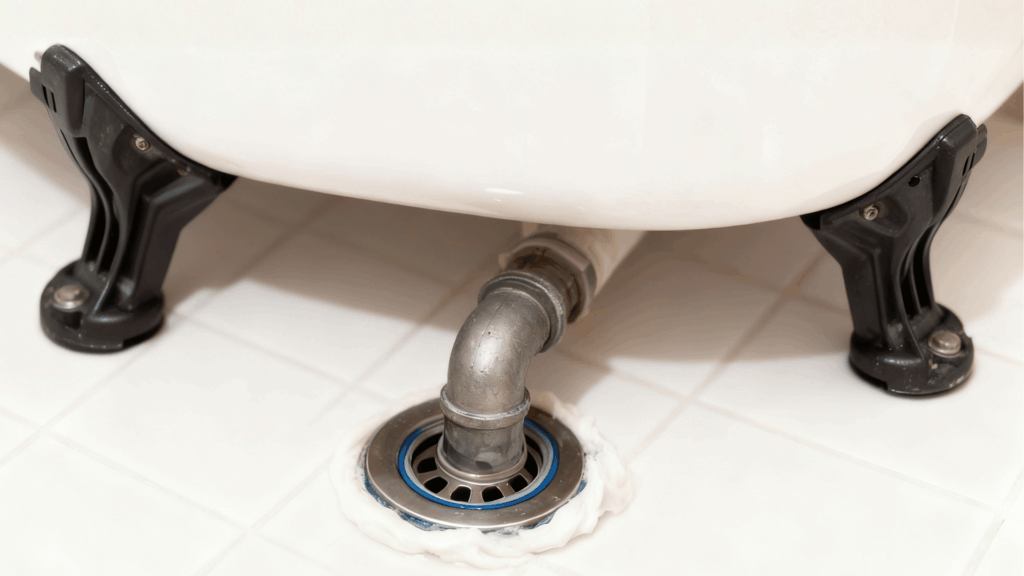
Step 5: Connect Plumbing and Test for Leaks
Attach the drain assembly to your new tub following the instructions. Connect the overflow pipe if your tub has one.
Hook up the faucet and shower head to your existing water lines. Turn the water supply back on slowly and watch for drips.
Fill the tub with a few inches of water and let it sit for 30 minutes. Check underneath for any leaks around the drain.
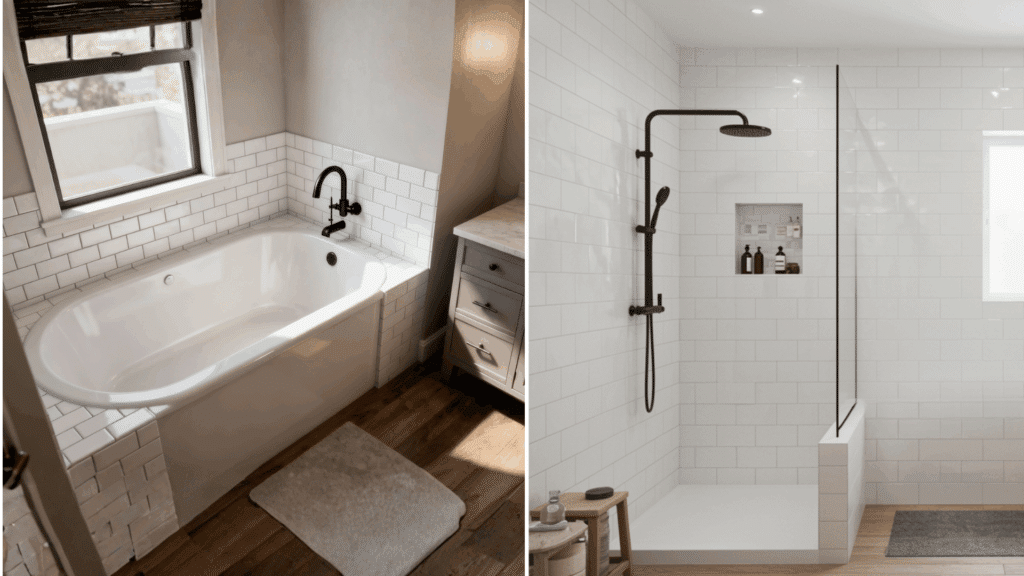
Benefits of Shower-to-Tub Conversions
Shower-to-tub conversions offer homeowners practical solutions for aging in place, increasing safety, and improving bathroom functionality.
- Family Flexibility: Makes bathing young children and pets much easier than using just a shower space.
- Home Value: Increases your property’s appeal, as many buyers want at least one bathtub in the home.
- Relaxation Options: Gives you a place to take long soaks with bath salts or bubbles after stressful days.
- Mobility Support: Helps family members who have trouble standing for long showers or need seated bathing options.
- Water Efficiency: Allows you to choose between quick showers and full baths, depending on your water-use goals.
- Rental Appeal: Makes your home more attractive to renters with families or to those who prefer tubs.
How to Choose the Right Product for Your Shower to Tub Conversion
Start by thinking about who will use the tub most often in your home. If you have kids, pick a tub with a non-slip bottom and a comfortable handle for easy access.
For older adults, consider walk-in options with doors and built-in grab bars. Consider your budget and decide how much work you want to do yourself and how much to hire out.
Make sure the style and color match your current bathroom design and fixtures. Measure your bathroom door width to confirm the tub can actually fit.
Look closely at the material quality, as cheaper plastic cracks faster than acrylic or fiberglass.
Pick a product from a company with good customer service and clear return policies in case you need help or have problems during your conversion project.
Maintenance and Care Tips
Regular upkeep of your shower-converted bathtub ensures lasting functionality, prevents costly repairs, and provides a safe bathing environment for years.
- Regular Cleaning: Wipe down surfaces after each use with a soft cloth to prevent soap scum buildup and staining.
- Gentle Products: Use non-abrasive cleaners designed for your tub material to avoid scratching or dulling the finish.
- Caulk Inspection: Check the caulk lines every few months and reapply any areas that crack or pull away from the walls.
- Drain Care: Remove hair and debris from the drain weekly to prevent slow drainage and potential clogs from forming.
- Ventilation Practices: Run your bathroom fan during and after baths to reduce moisture and prevent mold growth around the tub.
- Surface Protection: Place a bath mat inside the tub to prevent scratches from dropped items or pet nails during washing.
Conclusion
You now have all the information you need to tackle a shower-to-tub conversion in your home.
Even if you choose a simple drop-in tub or a complete walk-in shower to tub conversion system, the results will serve your household for many years.
Remember to measure twice, follow instructions carefully, and test everything. Your new tub will provide comfort, convenience, and value to your home.
Ready to get started? Pick a product that fits your space and budget, then set aside a weekend to make this upgrade happen.