
Brick fireplaces can look dated and tired. The red brick shows its age, and no amount of cleaning can restore its fresh appeal. Homeowners often feel stuck with what they’ve got.
But there’s a solution that changes old brick into something stunning.
German smear creates a rustic, textured look that feels both modern and ageless. It’s not difficult to master, and the results speak for themselves.
This blog breaks down the process into simple steps. Anyone can achieve professional-looking results without hiring expensive contractors. The fireplace can become the room’s best feature again.
What is a German Smear on a Fireplace?
German smear is a mortar technique that gives brick fireplaces a distinctive, aged appearance. The process involves spreading a thin layer of wet mortar over existing brick and then smearing it across the surface.
Some bricks peek through while others get fully covered, creating an irregular, textured finish. This style originated in Germany centuries ago. It’s also called mortar wash or schmear.
The technique works beautifully on fireplaces because it softens the harsh lines of traditional brick. The result looks rustic, adding character to any room.
It’s a permanent change that completely transforms the fireplace’s look.
Materials List for German Smear Fireplace DIY
| Tool / Material | Purpose |
|---|---|
| White tile mortar | Creates the German smear finish |
| Mixing bucket | Holds mortar while mixing |
| Drill with mixing attachment | Blends mortar smoothly and evenly |
| Measuring cup | Controls water-to-mortar ratio |
| Paintbrushes | Applies mortar to the stone surface |
| Construction paper | Protects flooring from splatter |
| Painter’s tape | Secures paper and protects walls |
| Ladder | Reaches upper fireplace areas |
| Gloves | Protects hands from mortar |
| Sponge & water | Removes excess mortar and softens finish |
Stepwise Instructions on How to German Smear Your Fireplace
The German smear process requires careful preparation and attention to detail. Following these steps in order ensures the best results and prevents costly mistakes along the way.
Step 1: Tape and Protect the Surrounding Area
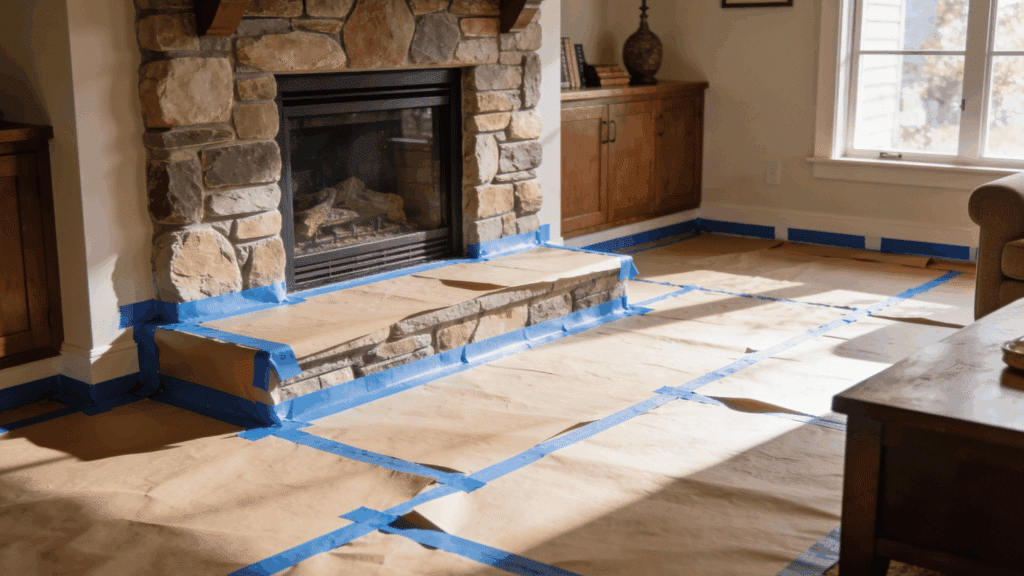
Before mixing any mortar, thoroughly protect the area around your fireplace. Start by taping off the floor using construction paper, which is inexpensive, durable, and easy to work with.
Cut the paper to size and secure it to the floor with painter’s tape, tucking the tape slightly under the stone to protect the nearby wood flooring.
Next, tape off all adjacent walls and the ceiling where the fireplace meets other surfaces. This step is critical because the mortar can splatter during application, and proper prep will save you hours of cleanup later.
Step 2: Mix the White Mortar to the Right Consistency
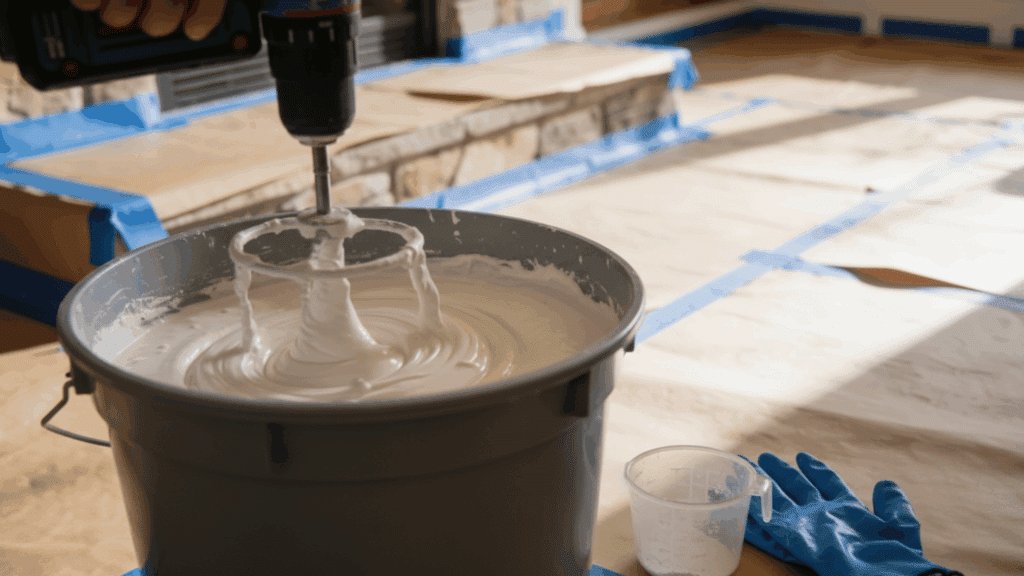
For the German smear technique, use a white tile mortar, as darker mortars won’t give the lightened, modern look you’re aiming for.
Pour the dry mortar into a bucket and slowly add water, mixing as you go. A drill with a mixing attachment makes this much easier and ensures a smooth blend.
The goal is a texture similar to peanut butter; thick but slightly drippy. In this project, the mortar is mixed a bit thinner to create a whitewashed effect. Keep in mind that the mortar looks darker when wet and dries much lighter.
Step 3: Test and Start Applying the Mortar
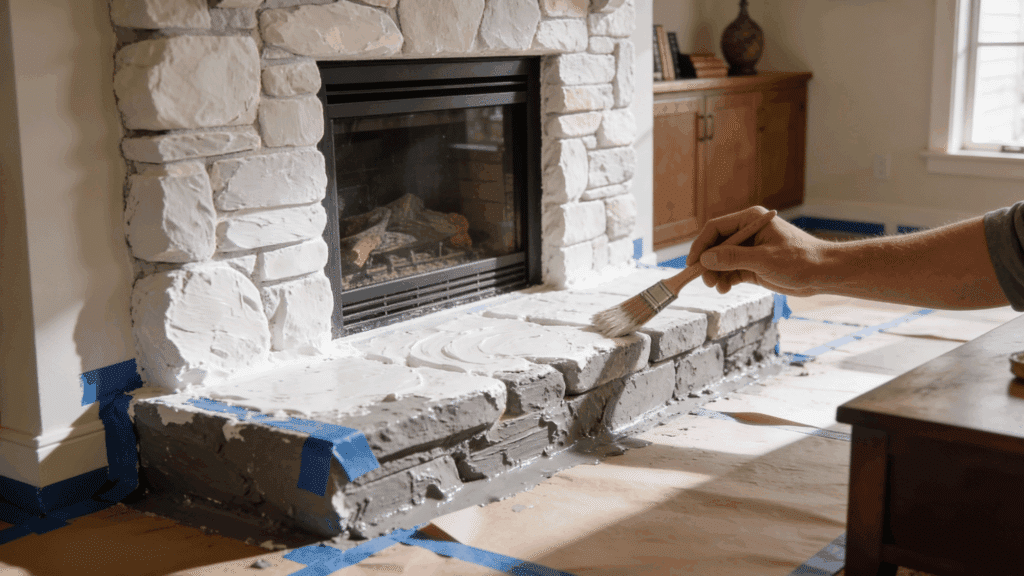
Begin by testing the mortar on a small, less noticeable stone to confirm you like the coverage and color.
Start the application in a highly visible area, such as the corner you see when entering the room, so you can adjust your technique early. Use a paintbrush to lightly brush the mortar onto the stone rather than pushing it deep into crevices.
This allows the stone’s natural texture to show through. Work slowly, remembering that you can always add more mortar, but removing it later is more difficult once it begins to set.
Step 4: Build Coverage and Adjust as You Go
Continue working across the fireplace, gradually moving upward. Each stone can be treated slightly differently depending on its color and texture.
Some stones may need heavier coverage, while others look better with a lighter glaze. If you accidentally apply too much mortar, immediately use a damp sponge to remove excess while it’s still wet.
As you progress, you’ll notice that the areas done earlier begin to dry whiter. Don’t panic if the fresh mortar looks gray or uneven; this is normal and part of the curing process.
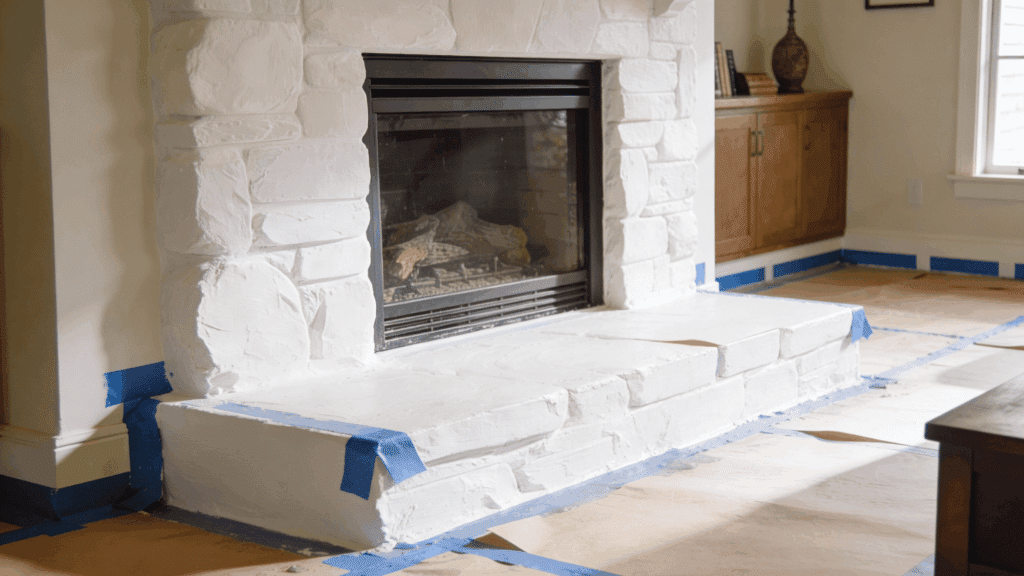
Step 5: Let it Set, Then Refine the Finish
After the entire fireplace is covered, allow the mortar to set for about 45 minutes. Once partially dry, evaluate the finish.
At this stage, you can lightly use a damp sponge to remove mortar from certain areas to reveal more stone or soften brush strokes.
If any stones still show discoloration or bleed-through, let the first coat dry completely, then apply a second, thin layer. This final adjustment phase helps balance rustic texture with a brighter, more modern look.
Creative German Smear Fireplace Rustic Ideas
German smear opens up numerous design possibilities beyond the basic technique. These creative approaches add personality and style, turning a standard fireplace into a true focal point for the room.
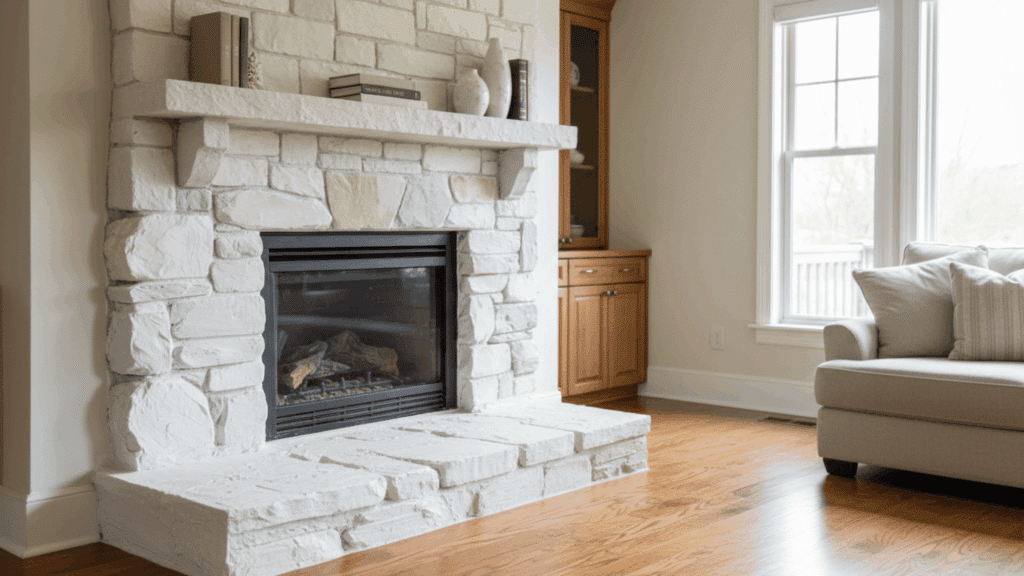
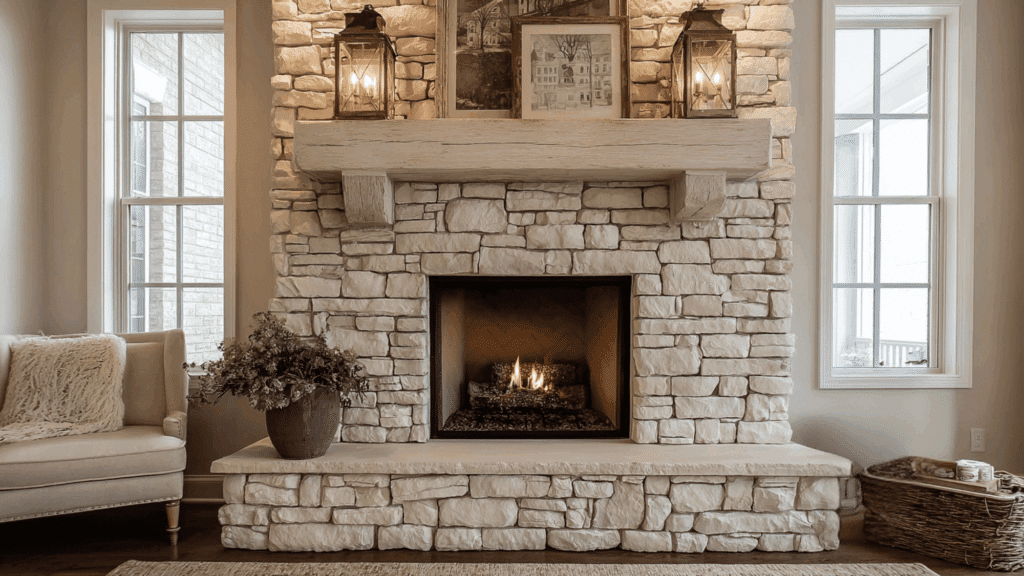
1. Light Whitewashed Stone with Natural Variations
A thin German smear allows the natural stone color and texture to remain visible while softening harsh contrasts. This approach creates an airy, rustic look that feels bright and relaxed rather than heavy.
It works especially well in living rooms with plenty of natural light and neutral furnishings, where the fireplace enhances warmth without dominating the space.
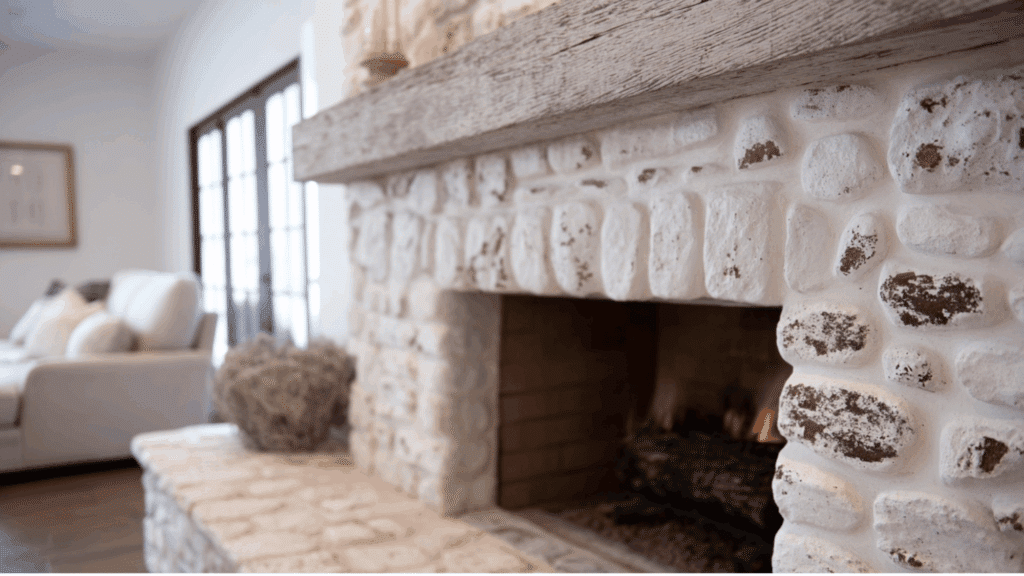
2. Heavy Mortar, Old-World European Style
This style uses thick mortar, pressed deeply into stone joints, to mimic the aged appearance of European cottages and historic homes.
The bold coverage creates strong texture and visual weight, giving the fireplace a timeless, grounded presence.
It’s ideal for traditional or farmhouse interiors where character, depth, and old-world craftsmanship are key design elements.
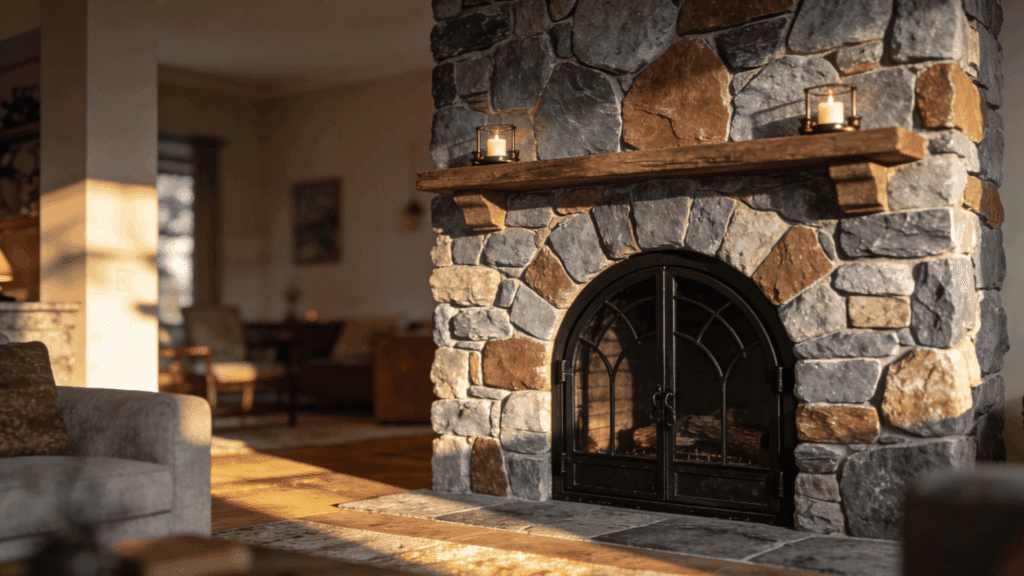
3. Exposed Dark Stone Accents for Drama
By applying heavier mortar to lighter stones and minimal coverage to darker ones, this technique creates striking contrast and dimension.
The darker stones act as natural anchors, drawing the eye and adding depth. This style works beautifully as a focal point in rustic or rustic-modern living spaces seeking visual interest.
4. Warm Cream Smear for Cozy Charm
A cream-toned German smear softens stone surfaces without the starkness of bright white. The warmer hue blends effortlessly with wood accents, soft textiles, and ambient lighting.
This creates a cozy, inviting atmosphere that feels earthy and comfortable, making it ideal for rustic living rooms designed for relaxation and warmth.
5. Vertical Stone with Subtle Smear
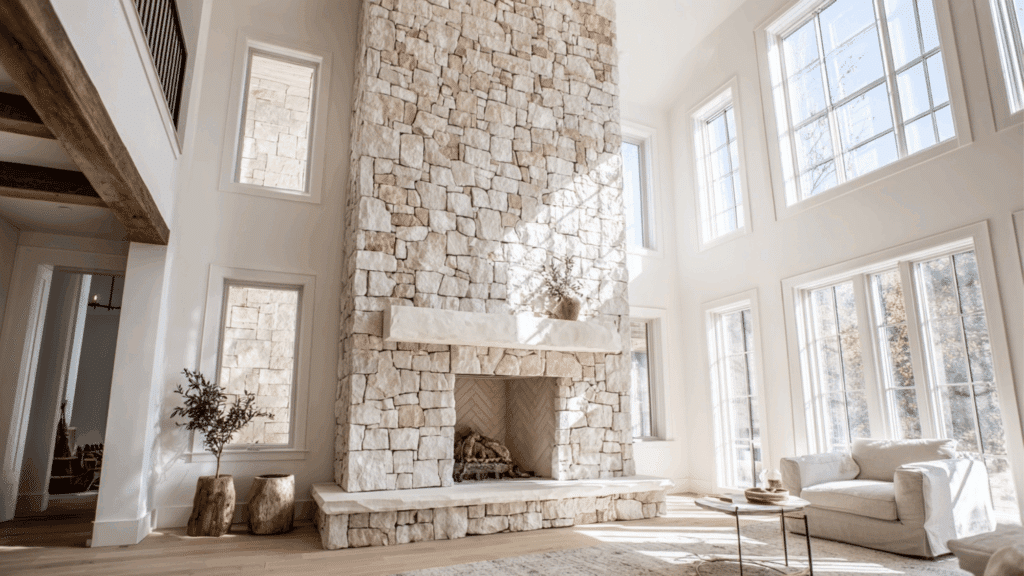
Applying a light German smear to a floor-to-ceiling or vertically stacked stone fireplace boosts height and clean lines.
The subtle coverage tones down strong contrasts while maintaining texture. This approach balances rustic materials with a more modern feel, making tall fireplaces appear elegant and visually elongated.
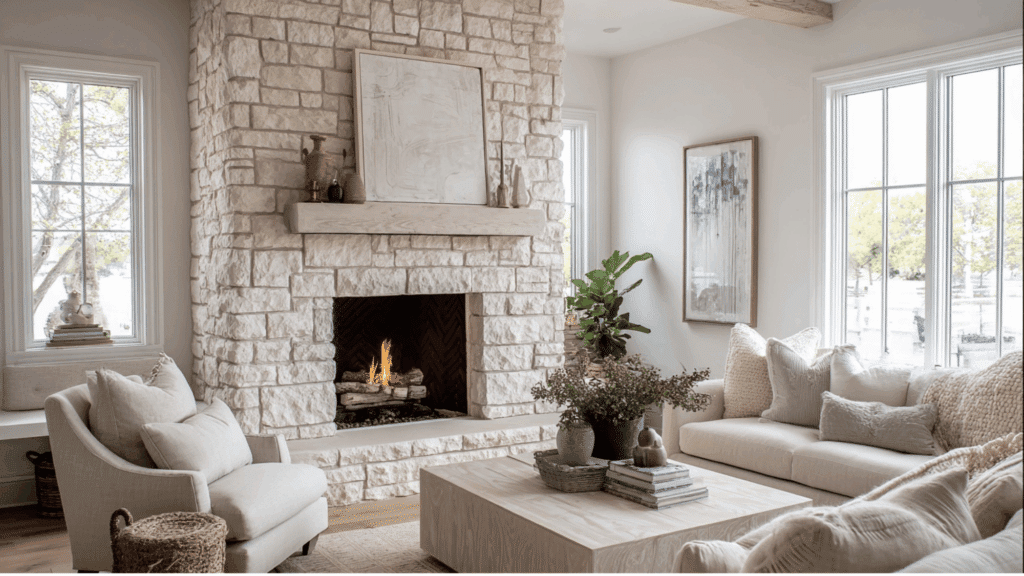
6. Rustic Wood Mantel Pairing
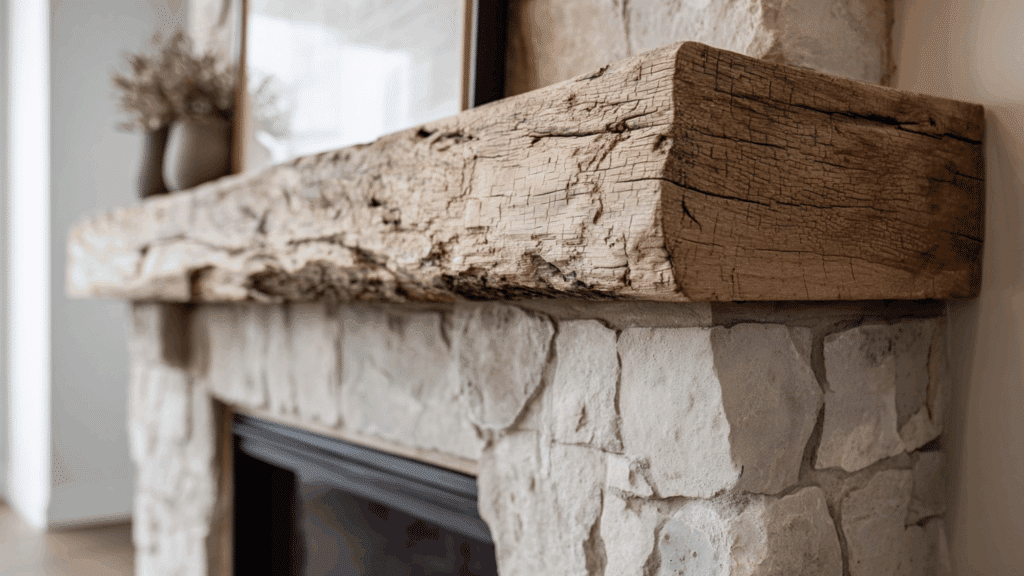
A softly smeared stone fireplace paired with a reclaimed wood mantel creates a beautiful balance of textures.
The lightened stone offsets the richness of natural wood grain, allowing both elements to stand out. This combination delivers warmth, depth, and a classic rustic statement that feels both intentional and timeless.
7. Sandstone with Glowing Warmth
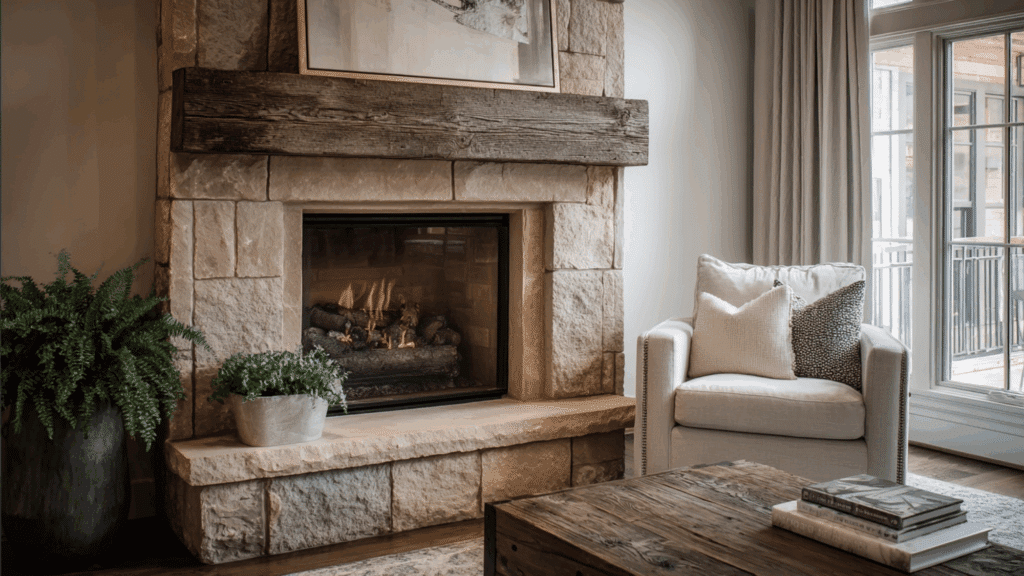
German smear enhances sandstone by gently muting color variations while allowing its natural warmth to shine through.
The result is an organic, refined rustic look with soft earth tones.
This style feels graceful yet grounded, making it perfect for homes that favor natural materials and understated character.
Cost to German Smear a Fireplace: Budget Breakdown
Understanding the costs helps homeowners plan their projects better. Here’s what to expect when budgeting for a German smear fireplace makeover.
| Item | Estimated Cost |
|---|---|
| White or gray mortar mix | $15 – $30 |
| Mixing bucket | $5 – $10 |
| Trowel | $8 – $15 |
| Sponge and rags | $5 – $10 |
| Drop cloths | $10 – $20 |
| Painter’s tape | $5 – $10 |
| Wire brush | $5 – $12 |
| Gloves and safety gear | $10 – $15 |
| Sealer (optional) | $20 – $40 |
| Total DIY Cost | $83 – $162 |
| Professional Installation | $500 – $2,000+ |
To Conclude
German smear breathes new life into tired brick fireplaces without breaking the bank. The technique requires patience and a steady hand, but the payoff is worth every minute spent.
Homeowners gain a custom look that rivals the cost of expensive renovations.
The beauty lies in its imperfection. Each fireplace turns out unique, reflecting personal style and creativity. No two projects look exactly alike.
The fireplace will serve as a stunning centerpiece for years to come, proving that dramatic transformations don’t always need professional help or deep pockets.