
Want to make your kitchen feel warmer and more welcoming? A modern wood backsplash might be just what you need.
Unlike tile or stone, wood brings a natural feel into your space. It adds texture, warmth, and beauty. It can make even the simplest kitchen feel special and unique.
Wood backsplashes are incredibly versatile. Regardless of if your kitchen is rustic, farmhouse, modern, or somewhere in between—wood works.
You can stain it, paint it, or leave it natural for a raw, earthy look. It’s an easy way to add style without changing everything else.
In this guide, I’ll walk you through how to install a modern wood backsplash step by step. You’ll learn what tools to use, how to prepare your wall, and how to install the wood so it looks clean and professional.
Don’t worry if you’re new to DIY. I’ve broken the process into clear, simple steps anyone can follow—even if you’ve never picked up a nail gun before.
I’ve helped lots of homeowners add wood backsplashes to their kitchens over the years. It always makes a big difference.
So grab your tools and roll up your sleeves. Let’s turn your kitchen into a warm, inviting space that truly feels like home!
Tools and Materials You’ll Need
Before you begin your wood backsplash project, make sure you have everything ready. Gathering your tools and materials ahead of time keeps the process smooth and stress-free.
You’ll need basic tools like something to measure with, something to mark lines, and a way to make straight cuts.
A saw will help you trim the wood to fit your space. A sander or sandpaper smooths out rough edges.
For attaching the wood, you can use a nail gun, hammer, or even strong adhesive. You’ll also want protective gear like gloves and safety goggles.
As for materials, pick the type of wood you want to use—panels, planks, or boards. You may also need stain or sealer to protect the surface.
Other helpful supplies include caulk, filler for any gaps, tape, and something to clean with. Having a drop cloth to protect your counters or floors is also a smart idea.
Steps to Installing a Modern Kitchen Wood Backsplash
Installing a modern kitchen wood backsplash is a weekend project that can dramatically change the look of your kitchen.
The process is straightforward if you follow these steps carefully. Take your time and focus on precision for the best results.
1. Plan Your Wood Backsplash Design
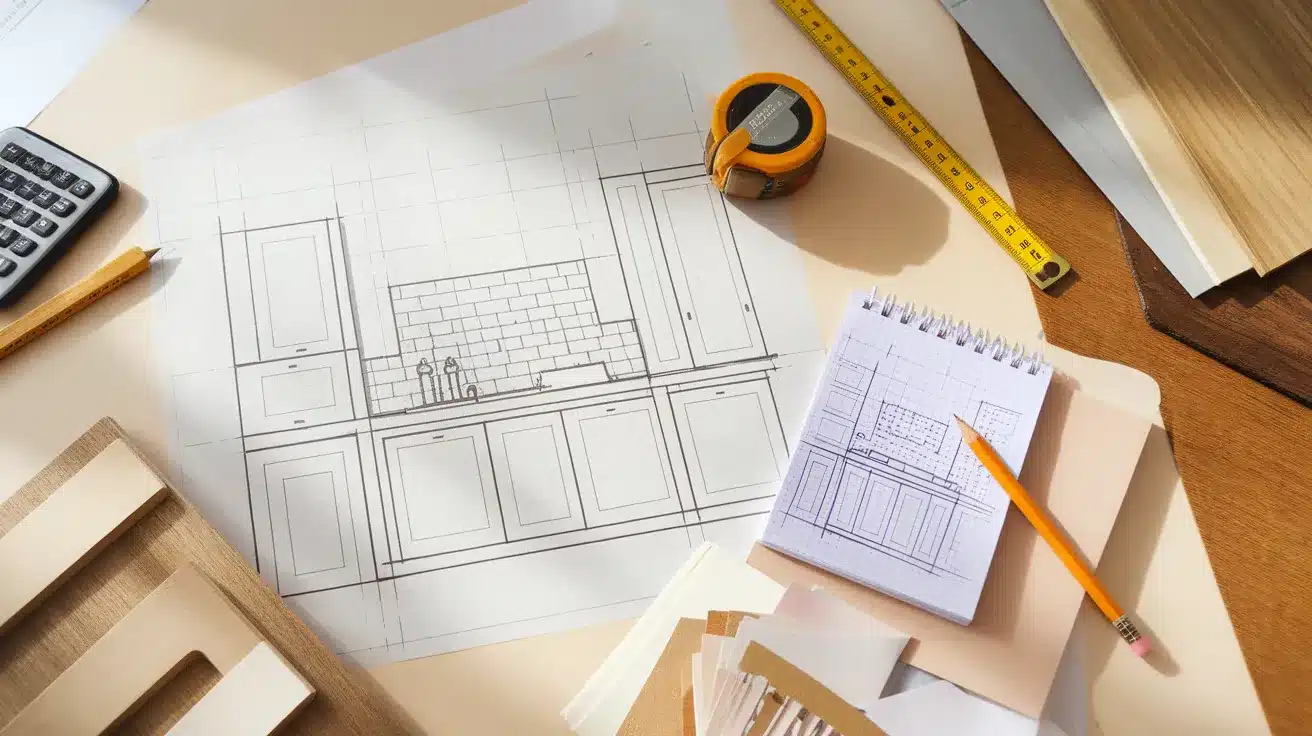
Planning is crucial for a successful backsplash installation. First, measure the wall space you want to cover.
Write down all measurements, including the distance between countertops and cabinets.
Think about the pattern you want to create. Will you install the wood horizontally, vertically, or in a herringbone pattern? Consider how the wood grain will look from different angles in your kitchen.
Choose wood that complements your kitchen’s color scheme and style. Pine offers a rustic look, while walnut or cherry creates a more elegant finish.
Reclaimed wood adds character and sustainability to your project.
Make a sketch of your design and calculate how much material you’ll need. Always buy 10-15% more wood than your measurements indicate to account for mistakes and waste.
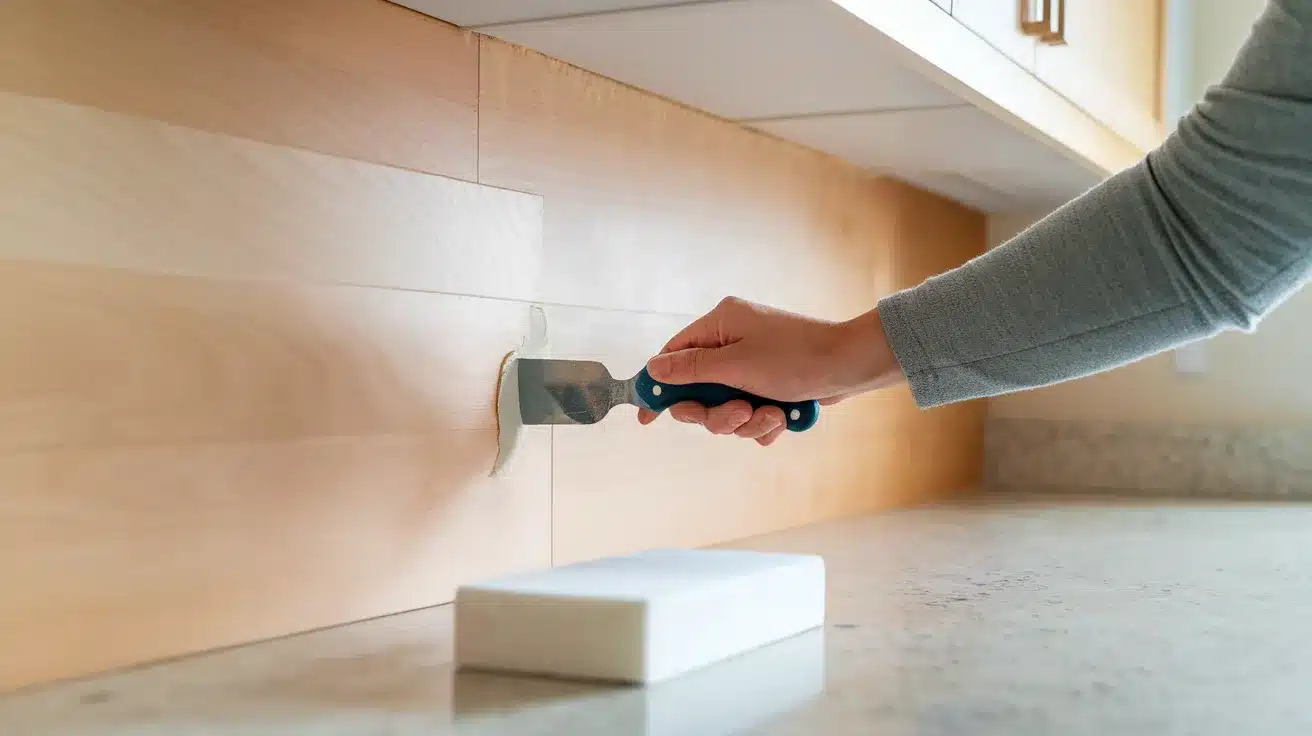
2. Prepare the Kitchen Wall
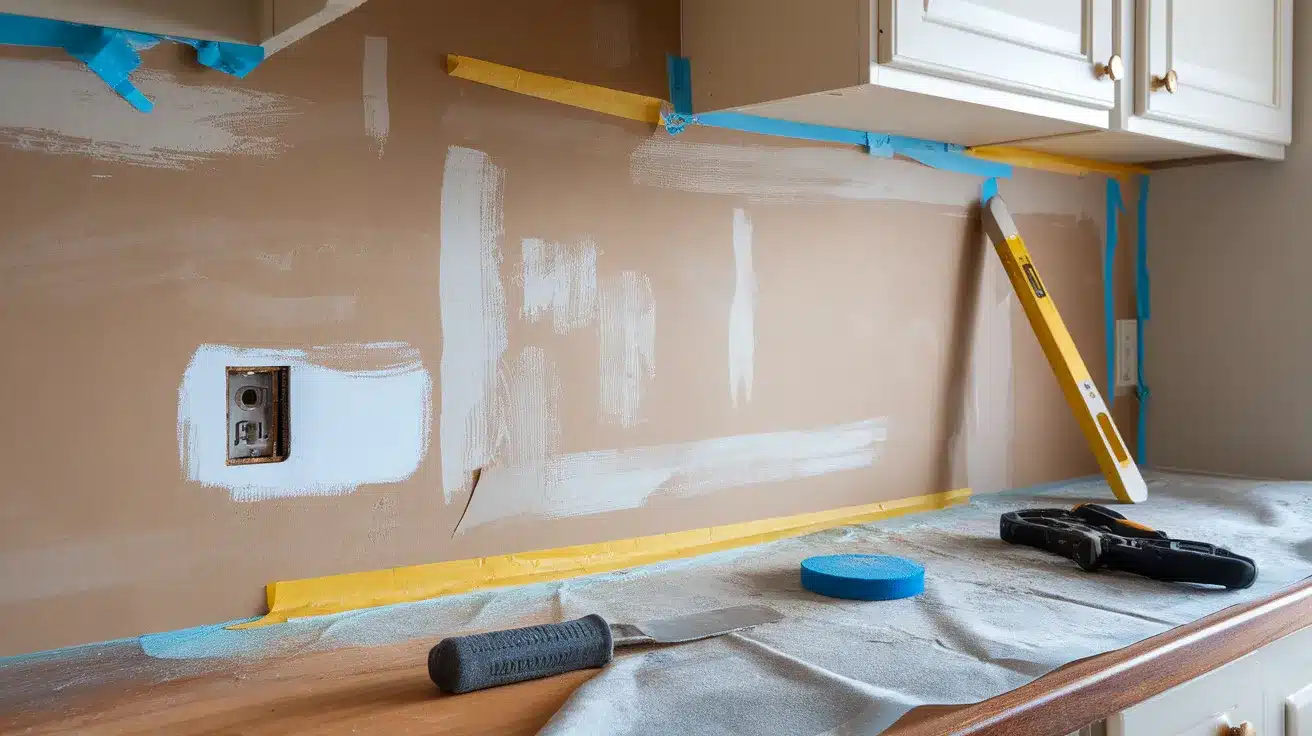
Proper wall preparation ensures your backsplash will last for years. Start by removing any existing backsplash material. Use a putty knife to scrape away old adhesive or caulk.
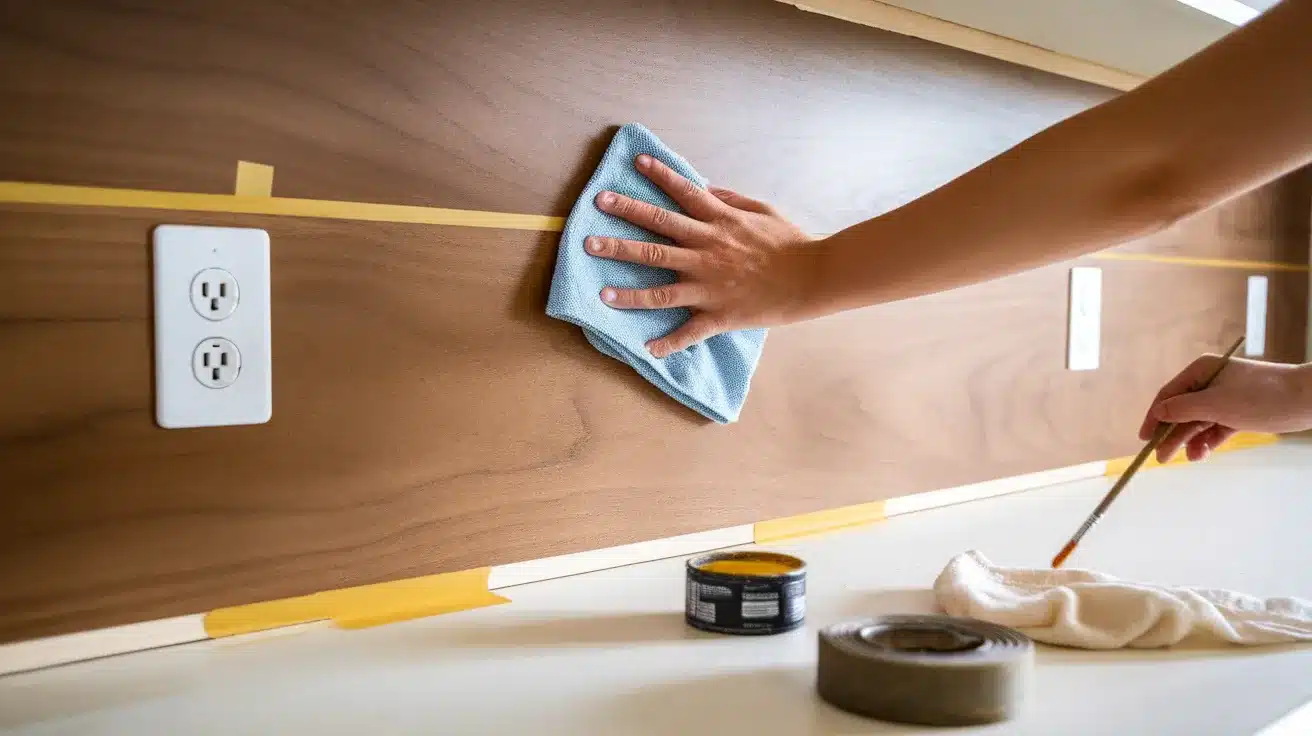
Clean the wall thoroughly with soap and water. Remove all grease, food splatter, and dust. Let the wall dry completely before continuing.
Check if the wall is flat using a level. Fill any holes or dents with spackling compound. Sand the wall lightly once the compound is dry.
Apply painter’s tape along the edges of countertops and cabinets. This protects them from adhesive, stain, and sealer. Lay drop cloths over your countertops to catch sawdust and drips.
If your wall has outlets or switches, turn off the power at the breaker box. Remove the cover plates and make note of their positions for your woodcutting plan.
3. Cut the Wood to Size
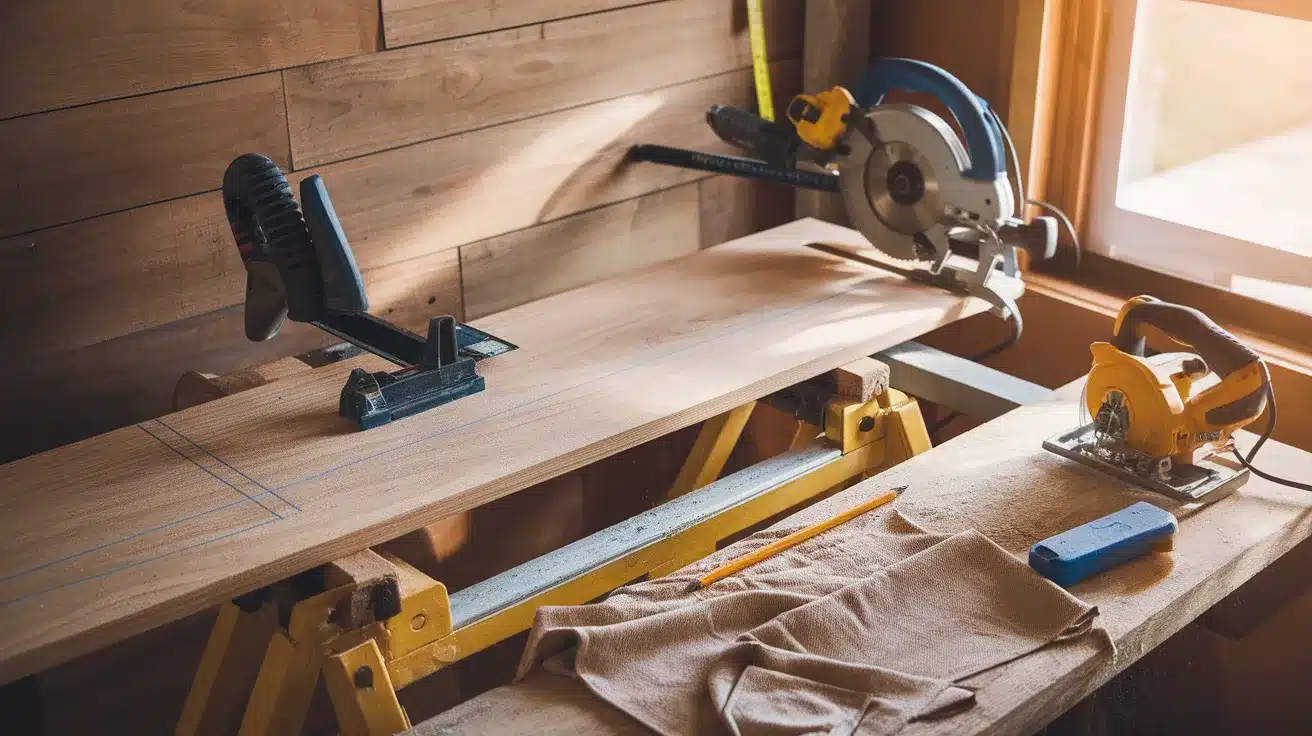
Accurate cutting is essential for a professional-looking backsplash. Measure each section of wall individually, as walls are rarely perfectly straight. Mark your measurements on the wood with a pencil.
When cutting, remember the carpenter’s rule: “Measure twice, cut once.” Use a miter saw for straight cuts and a jigsaw for curved cuts or outlet holes.
For outlet openings, hold the wood piece against the wall and mark the outlet’s position. Drill a starter hole in each corner, then use a jigsaw to cut out the opening.
Sand all cut edges with medium-grit sandpaper, then follow with fine-grit for a smooth finish. Wipe away sawdust with a slightly damp cloth.
Test fit each piece against the wall before proceeding to the next step. Make adjustments as needed for a perfect fit.
4. Apply a Protective Finish
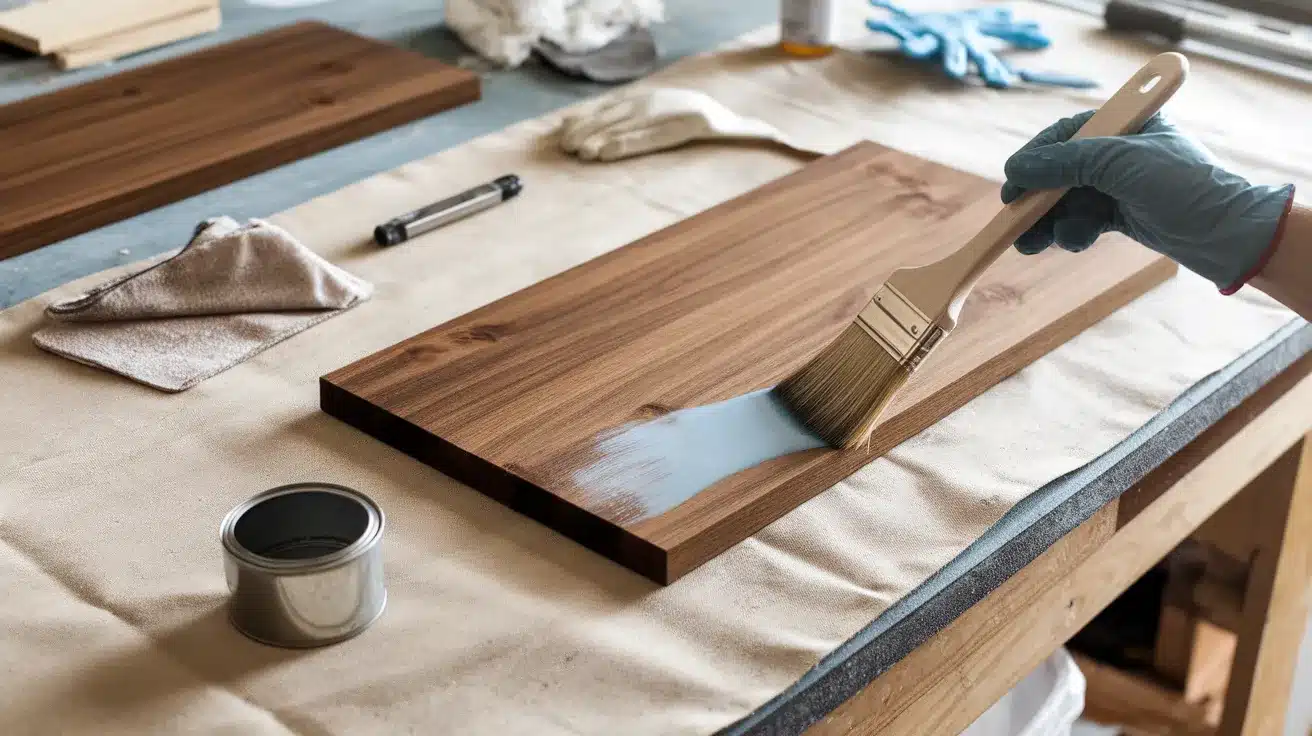
Wood in kitchens needs protection from moisture, heat, and food splatter. Start by sanding all wood pieces with fine-grit sandpaper. Wipe away dust with a tack cloth.
If you want to change the wood color, apply stain according to the manufacturer’s instructions. Work in a well-ventilated area and allow the stain to dry completely.
Apply a water-resistant sealer or polyurethane to all surfaces of the wood, including the backs and edges. This prevents moisture from warping the wood. Use a high-quality brush for an even coat.
Apply at least three coats of sealer for maximum protection. Sand lightly between coats with fine-grit sandpaper. Let each coat dry completely according to the product instructions.
The sealing process may take 1-2 days, but this step is crucial for your backsplash’s longevity. Don’t rush it!
5. Attach the Wood Panels to The Wall

Now comes the exciting part – installing your backsplash! Start at the bottom of the wall and work your way up. Use a level to ensure your first row is perfectly straight.
You have two attachment options: construction adhesive or finishing nails. For a cleaner look, use adhesive. Apply it to the back of each wood piece in a zigzag pattern.
Press each piece firmly against the wall, holding it in place for 30 seconds. For added security, you can use a nail gun with finishing nails to anchor the pieces.
Work in small sections, checking frequently with a level. If using a pattern like herringbone, use spacers to maintain consistent gaps between pieces.
For areas around outlets, carefully test fit your pre-cut pieces before attaching them permanently. Make adjustments if needed for a perfect fit around electrical boxes.
Allow the adhesive to set according to the manufacturer’s instructions before moving on to the next step. Usually, this takes 24 hours for a complete cure.
6. Fill Gaps and Seal Edges
Even with careful installation, you’ll likely have small gaps between wood pieces or along edges. These need to be filled to prevent moisture penetration and create a finished look.
Use wood filler that matches your wood color to fill gaps between pieces. Apply it with a putty knife, slightly overfilling each gap. Once dry, sand it flush with the wood surface.
Apply clear silicone caulk along the bottom edge where the backsplash meets the countertop. This creates a waterproof seal that prevents moisture from getting behind the wood.
Run a bead of caulk along the top edge where the backsplash meets the cabinets or ceiling. Smooth the caulk with a wet finger for a clean finish.
If you used nails, fill the nail holes with wood filler. Allow all fillers and caulk to dry completely before the final step.
7. Final Touches and Cleaning
Once everything is dry, inspect your backsplash carefully. Touch up any missed spots with stain or sealer. Apply an additional coat of sealer over filled gaps for consistent protection.
Reinstall outlet and switch cover plates. You may need longer screws if the covers now sit farther from the electrical boxes due to the wood thickness.
Clean the entire backsplash with a soft cloth dampened with water. Avoid harsh chemicals that might damage the wood finish.
Remove painter’s tape and drop cloths. Clean any adhesive residue from your countertops with the appropriate cleaner for your counter material.
Step back and admire your beautiful new wood backsplash! Take photos from different angles to share your accomplishment.
Conclusion
Congratulations on completing your wood backsplash! That’s no small task, and now your kitchen has a one-of-a-kind feature you created yourself.
This kind of project adds more than just style. It brings warmth, personality, and a handmade touch that you simply can’t get from store-bought materials.
Your new backsplash isn’t just a backdrop—it’s a statement. It shows off your taste and gives your kitchen that cozy, finished look.
Don’t stop here. There’s so much room to experiment with different looks. Pine brings a laid-back, farmhouse vibe. Walnut adds depth and sophistication. Painted wood can offer a fun pop of color in an otherwise neutral kitchen.
You can also explore using wood in other areas—like around a kitchen island, behind open shelves, or even on the ceiling for a dramatic touch.
I’d really love to hear how your project turned out. What type of wood did you use? Did you run into any surprises? What did you love most about the process?
Feel free to share your experience in the comments. Photos, tips, even questions about upkeep or maintenance—everything helps.
Your journey might give another homeowner the courage to pick up a hammer and get started.
So let’s keep the conversation going and inspire more beautiful, DIY kitchens—one wood backsplash at a time.