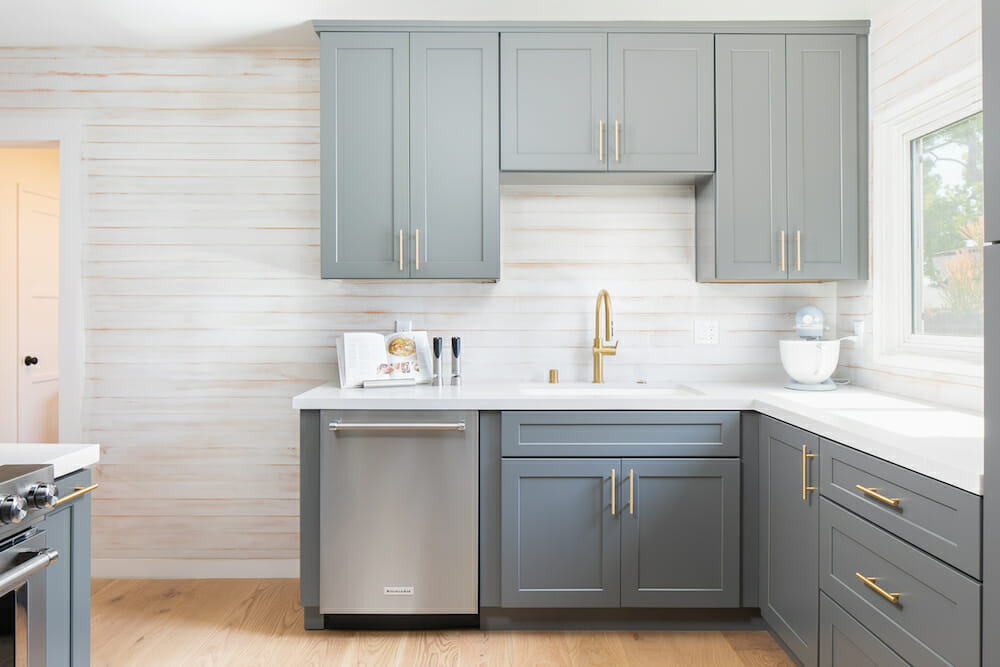
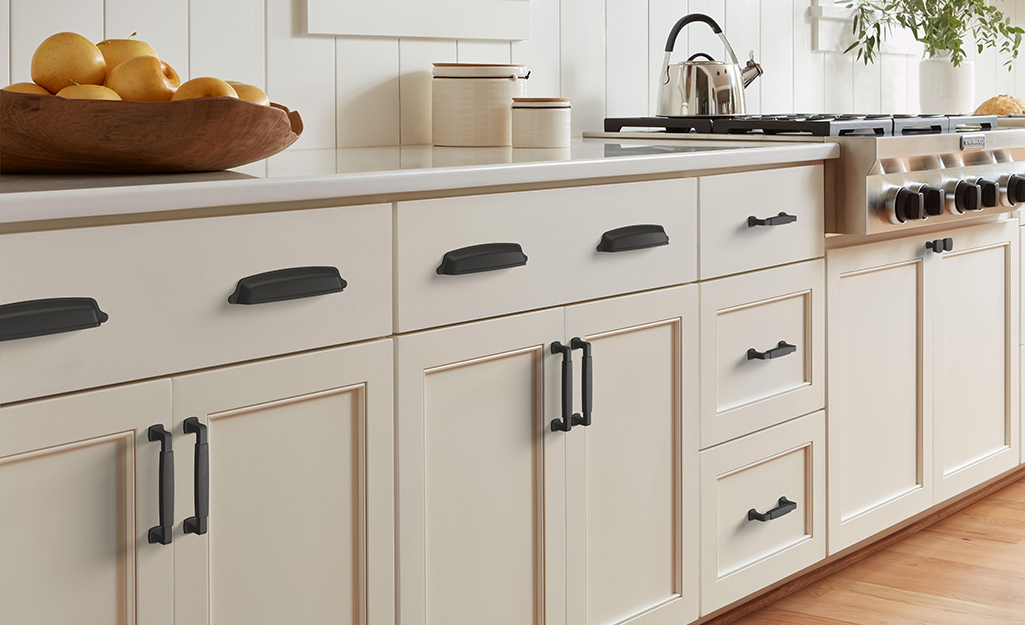
Do you want to give your kitchen or bathroom a fresh, new look? One simple way to do that is by changing your cabinet pulls! Cabinet pulls are the handles you use to open drawers and doors. Installing new ones is an easy DIY project anyone can do — even if you’ve never used a drill before.
In this guide, we’ll show you how to install cabinet pulls step by step. Don’t worry, we’ll keep it simple and easy to follow. You’ll only need a few tools and a little time. Let’s get started!
Tools and Materials You’ll Need
Before you begin, gather all the tools and items you will need:
- Cabinet pulls (handles)
- Screws (usually come with the pulls)
- Measuring tape or ruler
- Pencil
- Drill
- Drill bit (usually 3/16 inch)
- Screwdriver
- Masking tape (optional)
- Hardware template (optional but helpful)
- Level (optional)
Having everything ready will make your work smooth and fast.
Step 1: Decide Where You Want to Place the Pulls
The first step is to decide where each pull will go. The location depends on the type of cabinet:
- For drawers, pulls usually go in the center — both left to right and top to bottom.
- For doors, pulls are usually placed about 2–3 inches from the edge, on the side opposite the hinges.
If you are replacing old pulls, you can use the same holes. But if you are installing new ones for the first time or using different sizes, you’ll need to make new holes.
Step 2: Measure and Mark the Spot
Now it’s time to measure and mark the spot where you will drill the holes.
Here’s how:
- Use the measuring tape or ruler to find the center of the drawer front or the spot on the door.
- Use a pencil to make small marks where the screws will go.
- If your pull has two screw holes, measure the space between them and mark both screw spots carefully.
Tip: Use masking tape on the cabinet surface and mark on the tape instead of directly on the wood. This helps protect the cabinet from pencil marks or scratches.
You can also use a hardware installation template. This is a plastic tool that helps you mark exactly where to drill. It’s great for beginners!
Step 3: Drill the Holes
Now it’s time to drill. This step is important, so go slow and be careful.
Here’s what to do:
- Pick a drill bit that matches the size of the screw (usually 3/16 inch).
- Place the drill bit on the pencil mark and hold the drill straight.
- Drill carefully through the cabinet front. Don’t push too hard.
- Drill all the holes you’ve marked.
Safety Tip: You can put a small piece of masking tape on the drill bit to mark the depth. This helps you avoid drilling too deep.
Step 4: Install the Pulls
Great! Now that the holes are ready, it’s time to attach the cabinet pulls.
- Hold the pull in place on the front side of the cabinet.
- Insert the screws through the holes from the inside of the cabinet or drawer.
- Use a screwdriver to tighten the screws into the pull.
Do this for every cabinet and drawer. Make sure the pulls are straight and tight, but don’t overtighten — you might crack the cabinet.
Step 5: Check Everything
After installing all your pulls, take a moment to check everything.
- Are the pulls straight?
- Are they in the right position?
- Do they feel strong and secure?
If something feels off or looks crooked, you can fix it. It’s okay to remove and reattach a pull. If you made a mistake while drilling, you can use wood filler to fix the hole and try again.
Tips for Special Cabinet Styles

Different cabinets may need a slightly different approach. Here are some tips:
- Shaker-style cabinets: These have a flat center panel. Install the pull about 2–3 inches from the bottom for upper cabinets, or from the top for lower cabinets.
- Glass-front cabinets: Be extra careful when drilling. You might want to use a shorter screw or a special pull that doesn’t go through the glass.
- Inset drawers: These are flat with the frame. Center the pull both side-to-side and top-to-bottom.
Always double-check measurements before drilling.
Common Mistakes to Avoid
It’s easy to make small mistakes when doing this for the first time. Here are a few things to watch out for:
- Not measuring correctly: Always double-check your marks before you drill. A small error can make your pulls look uneven or off-center.
- Drilling too deep: Use tape on your drill bit to avoid drilling all the way through or damaging the inside.
- Crooked pulls: Use a level, ruler, or hardware template to keep everything straight and aligned across all cabinets and drawers.
- Wrong screw size: If your screws are too long, they might poke through the back. If they’re too short, the pull won’t stay tight and may become loose over time.
- Rushing the process: Going too fast can lead to mistakes that are hard to fix. Take your time with each step to make sure it’s done right.
- Skipping test fits: Before final drilling, use a test piece or template to preview the final placement.
Taking your time and being careful helps avoid these problems and ensures a clean, professional finish.
Why Should You Install Cabinet Pulls Yourself?
Doing this project on your own has many benefits:
- Save money: No need to hire a handyman.
- Quick upgrade: In just a few hours, your kitchen or bathroom will look more modern and stylish.
- Easy project: It’s a great beginner project if you’re new to tools or DIY.
- Feel proud: It’s satisfying to see something you did with your own hands.
Conclusion: Give Your Cabinets a Fresh New Look
Installing cabinet pulls is one of the easiest ways to refresh your cabinets. With just a few tools and some patience, you can do it yourself and get a professional result.
Start by choosing the right handles for your space. Then, take your time to measure, drill, and install carefully. You’ll be amazed at how much difference such a small change can make!

