
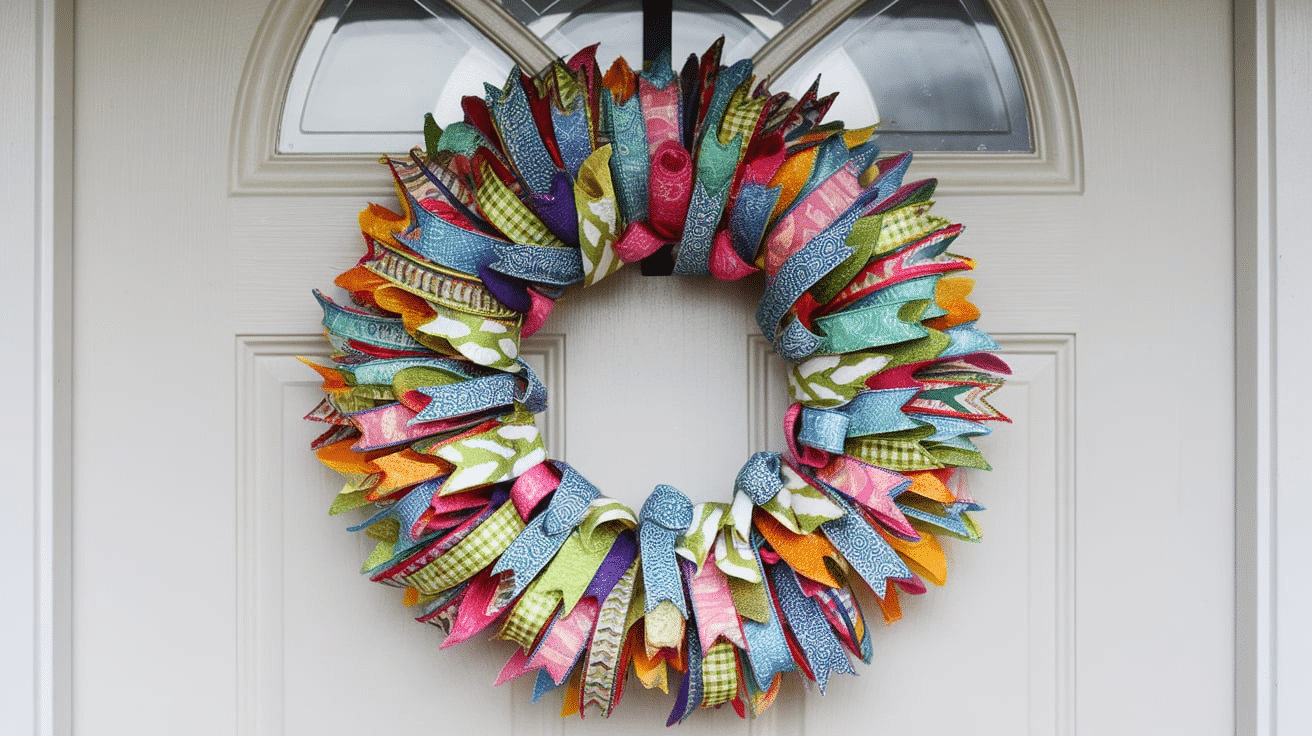
I love making simple crafts that add charm to my home. One of my favorites is a tied ribbon wreath on a wire frame. It’s easy, fun, and doesn’t cost much. You don’t need any glue or sewing, just ribbon, a wire frame, and a little time.
I like that I can change the colors for different seasons or holidays. It’s a great way to use leftover ribbon, too. I made one for my front door, and it always gets compliments. In this blog, I’ll show you how to make your tied ribbon wreath step by step.
You don’t need any special skills. Just follow along and take your time. By the end, you’ll have a beautiful wreath to hang or give as a gift. Let’s get started and make something pretty with just ribbon and a frame!
What Is a Tied Ribbon Wreath?
A tied ribbon wreath is made by tying short strips of ribbon onto a wire wreath frame. That’s it! Each ribbon is tied in a simple knot. As you add more ribbons, the wreath becomes full and fluffy. You can mix colors, textures, and patterns.
It’s a great way to decorate doors, walls, and windows. You can even hang one in a nursery or over a fireplace.
Why I Love Tied Ribbon Wreaths
Tied ribbon wreaths are one of my favorite DIY projects. They are easy to make and look great. I can match the colors to each season—red and green for Christmas, orange and brown for fall, or pastels for spring. You don’t need to know how to sew or use glue. Just tie the ribbon, one piece at a time, onto a wire frame.
I like that this project is peaceful and fun. I can make one in a few hours while watching a show or listening to music. It’s also a good way to use up ribbon scraps from other crafts.
Supplies You’ll Need
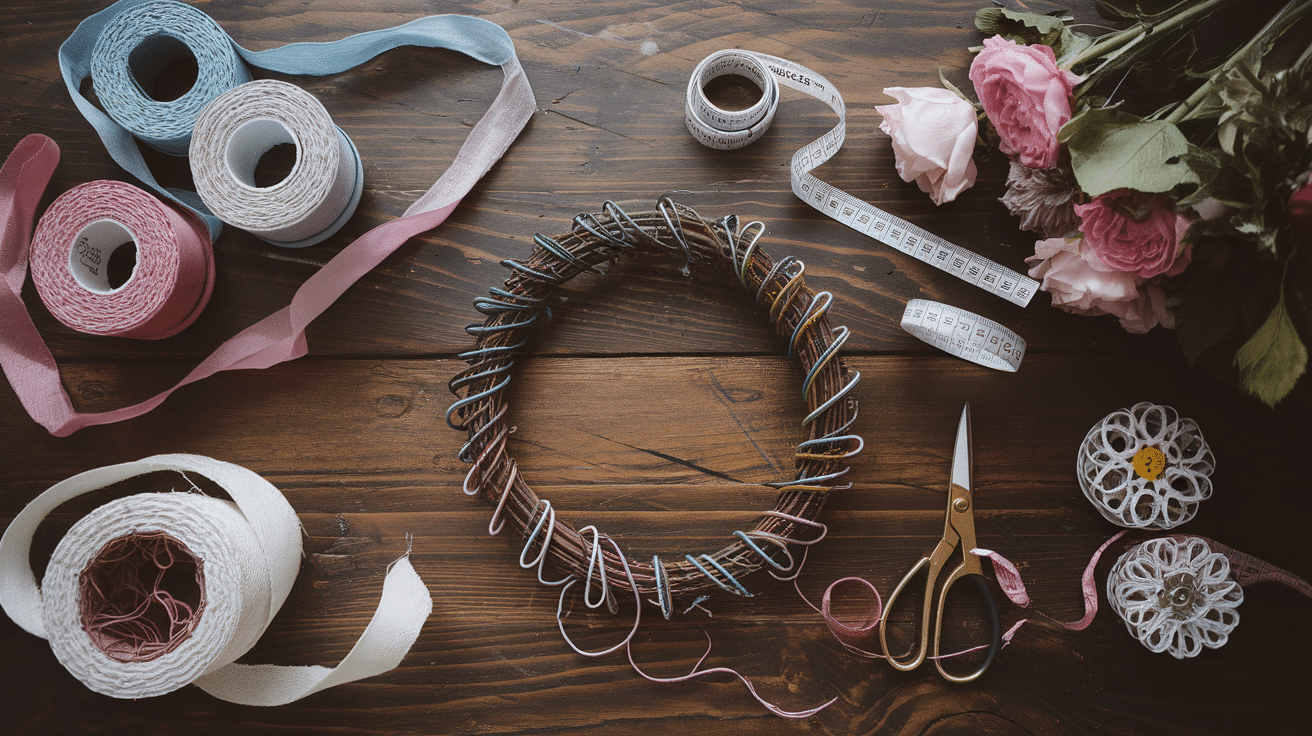
Before we start crafting, let’s get the supplies ready.
Basic Materials
-
Wire wreath frame: 12 to 14 inches is good for starters
-
Ribbon: Lots of strips in your favorite colors
-
Scissors: Sharp ones help make clean cuts
-
Measuring tape or ruler: For cutting even ribbon pieces
-
Cardboard (optional): For faster ribbon cutting
Extras You Might Use
-
Lighter or candle: To seal ribbon ends
-
Fabric glue: Helps stop fraying
-
Pinking shears: Zigzag scissors to prevent fraying
-
Decor items: Fake flowers, mini signs, bows, etc.
Choosing the Right Wire Wreath Frame
You can find wire wreath frames at craft stores, dollar stores, or online.
What to Look For:
-
4 metal rings: This gives you more rows to work with
-
12–14 inch size: Not too big or small
-
Section dividers: Some have 6 or 8 sections marked
Why a Wire Frame?
Wireframes are light and easy to work with. You can tie ribbons directly to the wire and see where each one goes. They also hold their shape well.
Picking the Perfect Ribbon
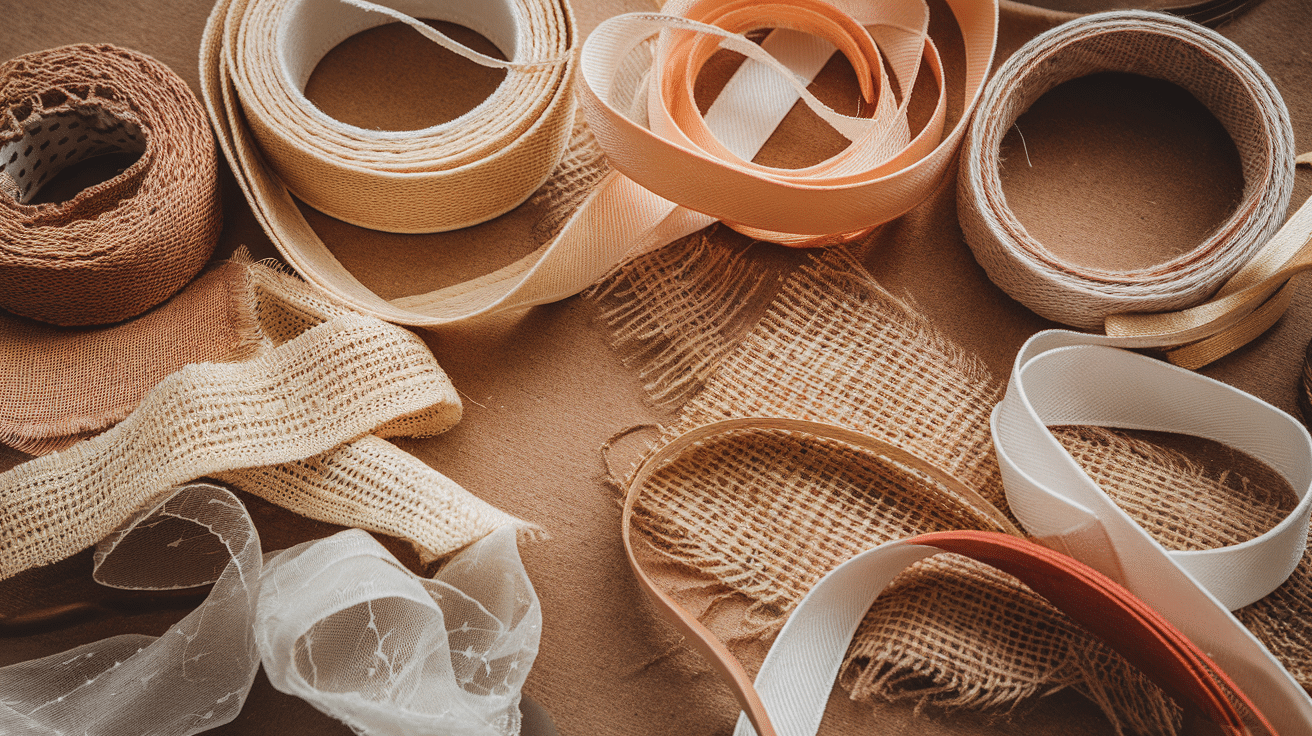
The ribbon is the star of the wreath, so it’s good to know what kind to use.
Best Ribbon Types
-
Grosgrain ribbon: Sturdy with a matte finish
-
Satin ribbon: Smooth and shiny
-
Burlap ribbon: Great for rustic or farmhouse styles
-
Organza or mesh: Adds light, airy texture
Ribbon Width: 1 to 2.5 inches is ideal. Too thin, and it won’t show. Too wide and it may not tie easily.
How Much Ribbon Do I Need?
A 12-inch wreath frame usually needs:
-
100 to 150 ribbon strips
-
Each strip should be 6 to 8 inches long
-
About 25 to 30 yards of ribbon total
Buy extra just in case, especially if you’re mixing colors.
How to Prepare and Cut Ribbon Strips
Step 1: Pick Your Length: Cut each ribbon strip about 6 to 8 inches long. If you want a bigger, fluffier look, go closer to 8 inches. For a tighter, fuller look, cut them shorter.
Step 2: Use a Template: Cut a piece of cardboard to match the length of your ribbon strip. Wrap the ribbon around it several times, then cut one side. This will give you many stripes quickly.
Step 3: Group by Color: Keep your ribbon pieces sorted by color or pattern. This helps you spread them out evenly while tying.
Should I Seal the Ribbon Ends?
Not all ribbons fray, but some do. Easy ways to seal them are:
3 Ways to Stop Fraying
-
Use a lighter: Gently melt the ends of polyester or satin ribbon.
-
Apply fabric glue: A dab on each end keeps the threads in place.
-
Use pinking shears: These scissors cut ribbon in zigzags to help stop fraying.
How to Tie the Ribbon to the Frame
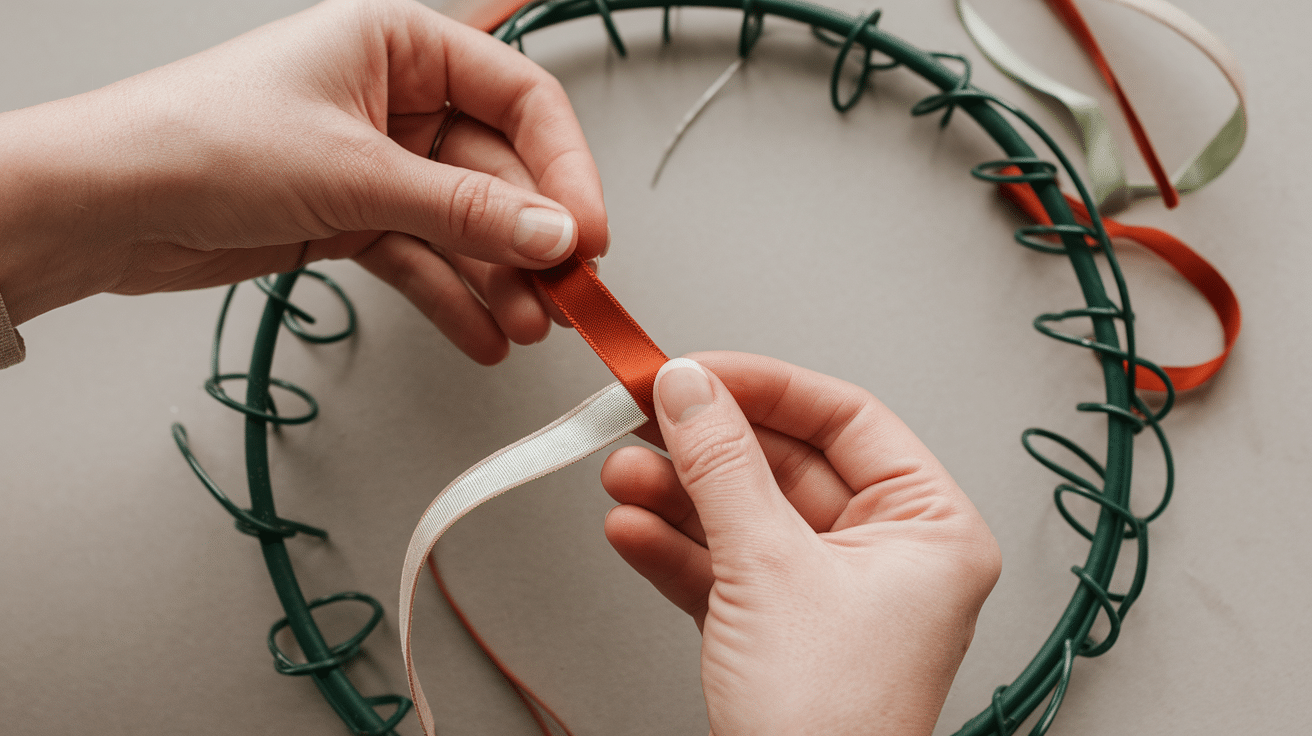
This is the fun part—tying the ribbon! This step is super easy, but I’ll break it down so you feel confident from the start. You’ll be repeating the same motion over and over, so once you get the hang of it, it goes pretty fast.
1. Pick One Ribbon Strip: Grab a piece of ribbon that you’ve already cut. Make sure it’s not twisted. It should lie flat in your hand.
2. Fold the Ribbon in Half: Take both ends of the ribbon and bring them together. This helps you find the center of the strip. Pinch the middle with your fingers. You now have a small loop in the center and two loose ends hanging down.
3. Place the Folded Ribbon Under a Wire Ring: Slide the folded part of the ribbon under one of the metal rings on your wreath frame. Hold it so the loop is behind the ring and the ends are sticking up in front of it.
4. Bring the Ends Through the Loop: Take both loose ends and pull them through the loop you just made. It’s like tying the first step of a shoelace—just one simple pull-through.
5. Pull Tight: Gently pull both ends down to tighten the knot. The ribbon will now be locked around the wire ring in a “lark’s head” knot. It should feel snug but not so tight that it’s squishing the ribbon.
6. Adjust and Fluff the Ribbon: Spread the ends out so the ribbon looks full and fluffy. If the ends are twisted or tucked under, smooth them out with your fingers. Some ribbons may need more adjusting than others.
Which Wire Ring Should I Use?
Most wire frames have 3 or 4 rings. You can tie ribbons to:
-
Just one ring (like the outside ring for a simple look)
-
Two or three rings (for a medium-full look)
-
All four rings (for a thick, super-fluffy wreath)
I like to mix it up. Tie some to the inner ring, some to the middle, and some to the outer ring. This gives the wreath a layered, full look.
How to Space the Ribbons
You want your ribbons close enough to cover the wire frame but not so tight that they bunch up or overlap too much.
A few tips:
-
Start with about 8 to 10 ribbon strips per section if your frame has 6 or 8 sections.
-
As you tie more, gently push them together so the frame disappears under the ribbons.
-
Check every so often to make sure the wreath looks even all the way around.
How to Keep the Ribbons Facing the Right Way
Sometimes ribbon ends twist or face the back. Here’s how to fix it:
-
After tying each ribbon, adjust the ends so they face forward.
-
Fluff them with your fingers and bend them slightly so they stay put.
-
Some ribbons (like satin) are slippery—just keep smoothing them as you go.
Adding Fun Decorations
Once your ribbon is tied and the wreath is full, you can add extra decorations.
Ideas to Try:
-
Small wooden signs (like “Welcome” or “Home”)
-
Seasonal items (eggs, pumpkins, ornaments)
-
Silk flowers or greenery
-
Small bows for a polished look
-
LED fairy lights (battery-powered)
Use twist ties, floral wire, or hot glue to attach decorations.
Color Theme Ideas for All Seasons
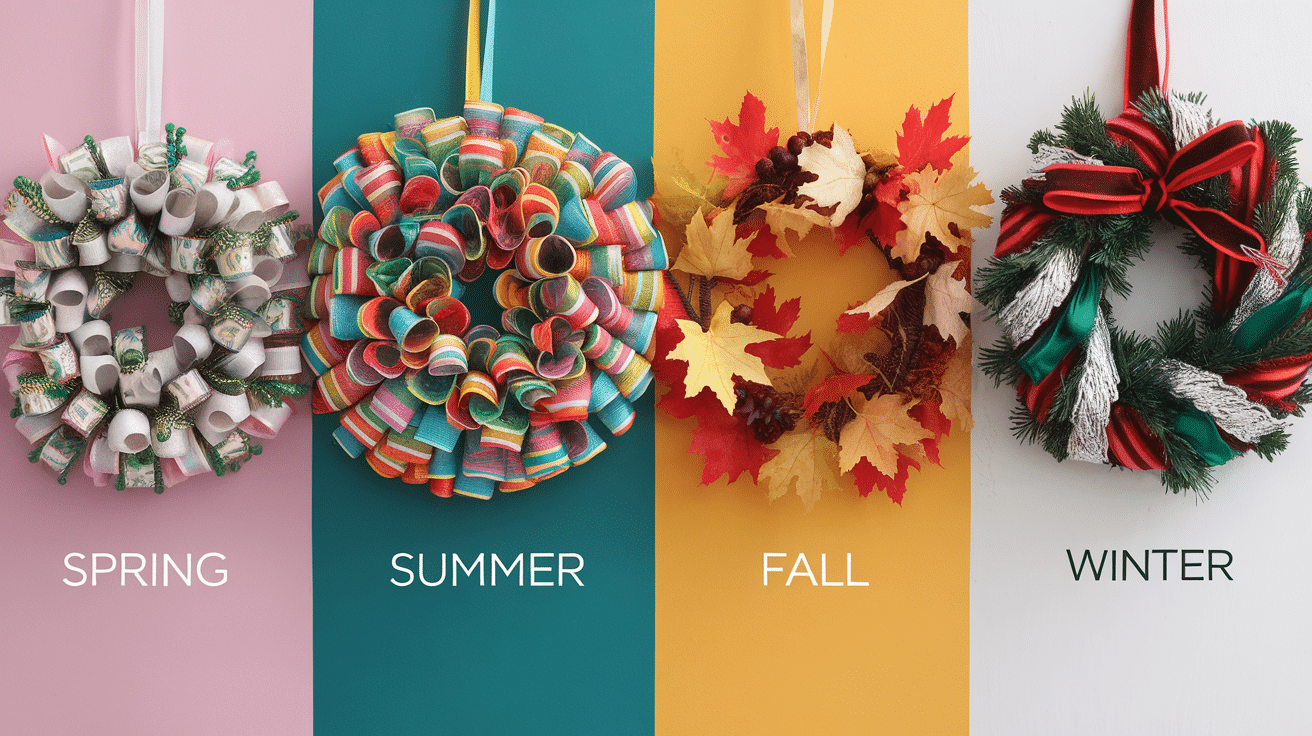
Choosing the right colors is a big part of making a ribbon wreath look great. You can match your wreath to the season, a holiday, or even the colors in your home. Some detailed ideas for each time of year are:
Spring Wreath Ideas
Spring is fresh, soft, and full of life. Think about flowers, sunshine, and new beginnings.
Color ideas:
-
Light pink
-
Mint green
-
Lavender
-
Baby blue
-
Soft yellow
Decoration ideas:
-
Silk flowers
-
Small birds or butterflies
-
Tiny flower pots
-
“Hello Spring” signs
Summer Wreath Ideas
Summer is bold, sunny, and bright. These wreaths can be fun and colorful.
Color ideas:
-
Bright yellow
-
Coral
-
Aqua blue
-
Hot pink
-
Lime green
Decoration ideas:
-
Small flip-flops
-
Fruit slices like lemon or watermelon
-
Mini beach balls
-
“Welcome Summer” signs
Fall Wreath Ideas
Fall wreaths are warm and cozy. Use rich, earthy colors that look like falling leaves.
Color ideas:
-
Burnt orange
-
Deep red
-
Brown
-
Mustard yellow
-
Olive green
Decoration ideas:
-
Fake leaves
-
Mini pumpkins
-
Acorns
-
“Give Thanks” signs
Winter Wreath Ideas
Winter can be calm and snowy, or fun and festive.
Color ideas:
-
Red and green (for Christmas)
-
Blue, silver, and white (for a snowy look)
-
Burgundy and gold (for a cozy winter style)
Decoration ideas:
-
Pinecones
-
Bells
-
Snowflakes
-
Tiny ornaments
-
“Joy” or “Merry Christmas” signs
Everyday Wreath Ideas
These are great for year-round use. Go for classic or neutral colors that match your space.
Color ideas:
-
Cream
-
Black and white
-
Navy and gray
-
Beige or tan
Decoration ideas:
-
Wooden letters or signs
-
Small chalkboards
-
Greenery or eucalyptus sprigs
-
Simple bows
How to Hang Your Ribbon Wreath
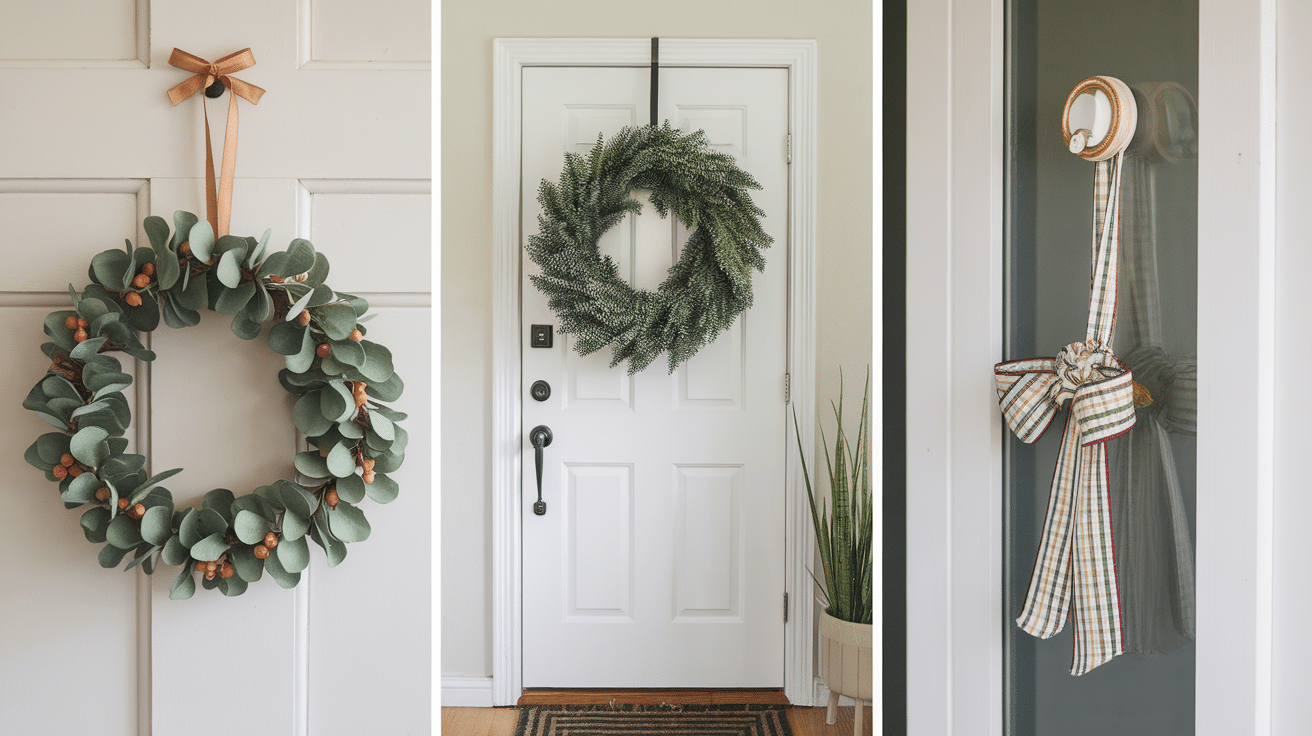
Now that your wreath is finished, it’s time to hang it up. There are several ways to do it, depending on where you want to hang it and what materials you have on hand.
Use a Ribbon or Loop
This method is simple and looks nice.
Steps:
-
Cut a long ribbon (around 18 to 24 inches).
-
Tie both ends to the top of your wreath frame.
-
Make a loop and hang it on a hook or nail.
This method works well on walls or doors, and you can match the ribbon to your wreath.
Use a Wreath Hanger
A wreath hanger is a metal or plastic hook that fits over a door. No nails or glue are needed.
Best places to use it:
-
Front doors
-
Bedroom doors
-
Inside closets
Tip: Some wreath hangers are adjustable to fit thicker doors.
Use a Command Hook
Command hooks stick to many surfaces and remove cleanly without damage.
Steps:
-
Clean the spot where you want to hang the wreath.
-
Stick the hook to the door or wall and press it firmly.
-
Wait about an hour for it to stick well.
-
Hang the wreath from the frame or a ribbon loop.
Good for:
-
Glass doors
-
Painted walls
-
Smooth surfaces
Use a Nail or Screw
If you don’t mind making a small hole, this method is very secure.
Steps:
-
Use a hammer or screwdriver to place a small nail or screw.
-
Hang the wreath from the frame or a tied ribbon.
This is great for outdoor walls or long-term spots.
How to Store Your Wreath
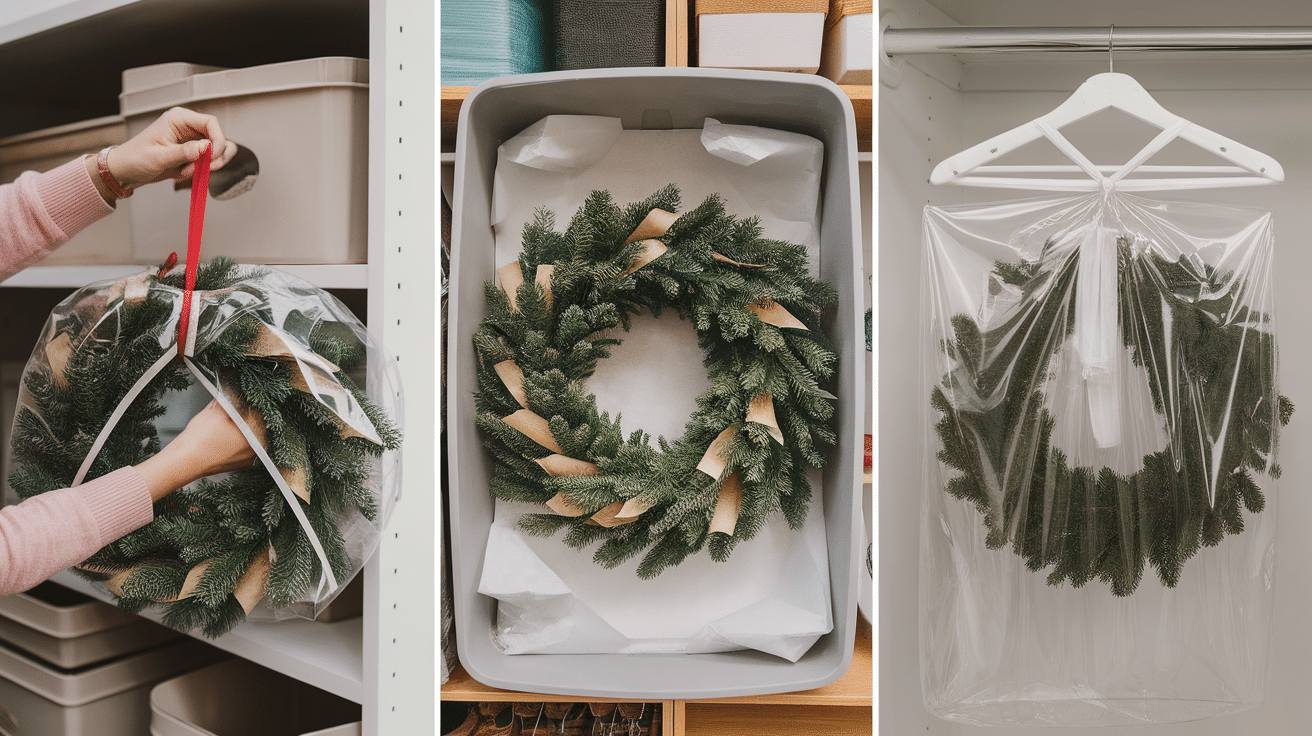
If you want to save your wreath for next season, storing it the right way will help keep it in good shape. Ways to protect it from dust, damage, and bending.
Use a Wreath Storage Bag
Wreath storage bags are round, zip shut, and often have handles.
Why it works:
-
Keeps dust and dirt out
-
Helps keep the wreath’s shape
-
Easy to stack or carry
Tip: Label the bag by season or holiday.
Use a Plastic Bin
You may already have bins at home. A large bin can work well if the wreath fits inside.
Steps:
-
Lay tissue paper or bubble wrap on the bottom.
-
Gently place the wreath inside, face-up.
-
Add soft padding on top.
-
Put the lid on and store in a cool, dry place.
Hang It in a Closet
This keeps the wreath from getting squished.
Steps:
-
Hook the wreath onto a clothes hanger.
-
Cover it with a large plastic bag or dry-cleaning bag.
-
Hang it on a rod or hook in a closet.
Good for:
-
Keeping the shape perfect
-
Avoiding dust and bending
What to Avoid
-
Don’t store near heat or sunlight
-
Don’t stack heavy boxes on top
-
Don’t put it in a damp basement or garage
Conclusion
Making a tied ribbon wreath on a wire frame is a fun and easy craft anyone can do. You don’t need a lot of tools or special skills. Just ribbon, a wire frame, scissors, and a little time. This kind of wreath is great for every season.
You can change the colors and add decorations to suit spring, summer, fall, or winter. Alternatively, you can make one that works all year by using simple, neutral colors.
What I like most about this project is how relaxing it is. Tying each ribbon is simple, and by the end, you have something beautiful to hang on your door or wall. You can also give it as a gift. It’s handmade, personal, and full of charm.
If you’ve never made a wreath before, this is a great place to start. It’s easy to follow, budget-friendly, and a lot of fun. Give it a try—you might love it.