
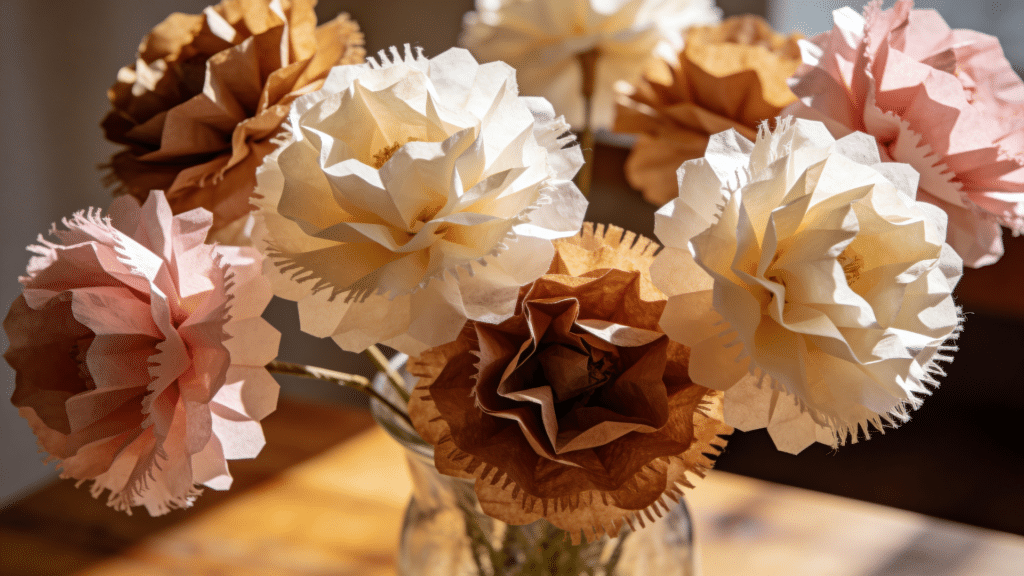
Making beautiful flowers at home doesn’t have to be expensive or complicated. If you have a pack of coffee filters in your kitchen, you already have everything you need to get started.
Filter flowers are a fun and easy DIY craft that anyone can try, even beginners or kids.
With just a few simple steps, you can turn plain white filters into colorful, soft, and realistic-looking blooms.
In this guide, you’ll learn how to make coffee filter flowers step by step, using basic materials and simple techniques.
Whether you want to decorate your home, create handmade gifts, or enjoy a relaxing craft activity, this tutorial will help you get started quickly and easily.
What Are Coffee Filter Flowers?
Coffee filter flowers are simple, handmade flowers made from everyday coffee filters rather than real petals. These filters are soft, lightweight, and easy to shape, which makes them perfect for crafting.
By adding color with markers, paints, or dyes, you can turn plain white filters into bright, realistic-looking blooms.
People often use them to make roses, peonies, or other decorative flowers without needing expensive supplies. One of the best things about coffee filter flowers is how easy and budget-friendly they are.
You can make them at home with basic items and a little creativity. They are often used for home decor, party decorations, school crafts, and handmade gifts.
Since they don’t wilt like real flowers, they can last a long time and stay beautiful.
Materials You Need to Make Your Own Coffee Filter Flowers
Before you start, gather a few simple supplies. Most of these items are easy to find at home or in a basic craft kit.
- Coffee filters
- Watercolors, food coloring, or markers
- Pipe cleaners
- Scissors
- Spray bottle or dropper
- Bowl or tray
- Paper towels
How to Make Coffee Filter Flowers?
Before you start, gather your coffee filters and set up a clean workspace. This small prep step makes the process easier and helps you create neat, beautiful flowers at home.
Step 1: Stack and Fold the Filters

Start by stacking several coffee filters together on a flat surface to form a thick pile. Fold the stack in half, then keep folding until it forms a wedge shape.
This makes it easier to cut through multiple layers at once.
The number of filters can vary based on how full you want your flower to look.
Before moving ahead, check that all edges are lined up neatly. This step helps set the base shape and ensures your flower looks even and full.
Step 2: Cut Petal Edges
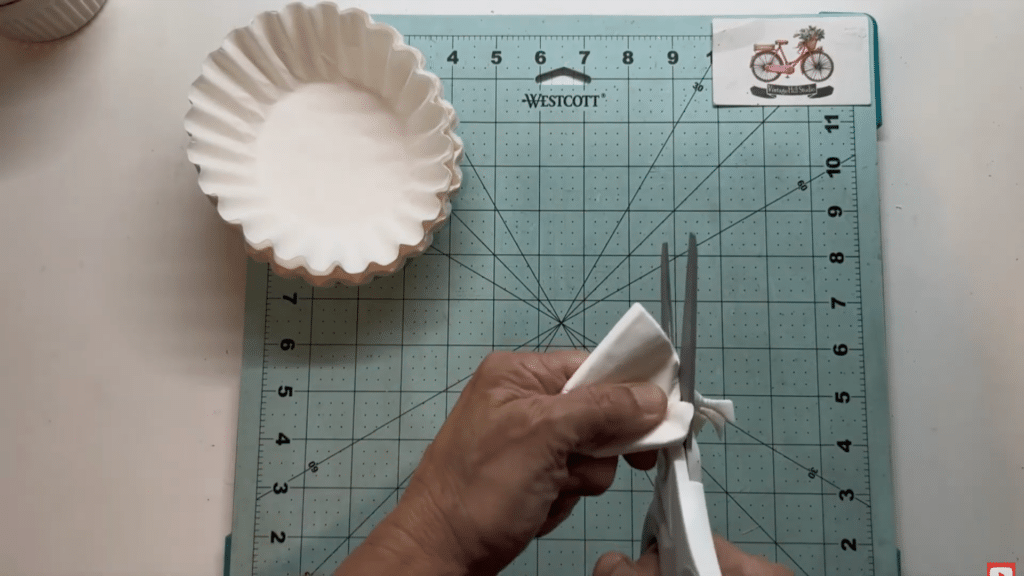
Use scissors to cut soft, rounded scallops along the top edge of the folded filters.
Aim for simple curves rather than perfect shapes, since real flowers are naturally uneven.
Cutting through multiple layers may feel slightly tough, so take your time. If you notice rough or jagged edges, lightly trim them for a smoother finish.
These cuts will form the petals, so this step plays a key role in how natural your flower will look once opened and shaped.
Step 3: Mix Your Colors
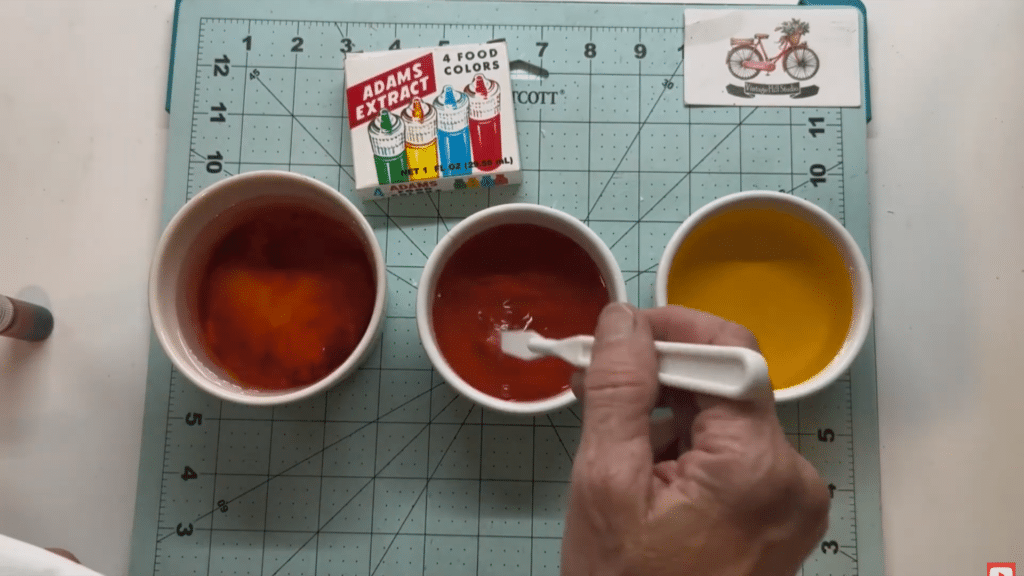
Prepare a few bowls of water and add food coloring to each one. You can use warm shades like yellow, red, and orange, but you can choose any colors you like.
Stir the mixtures gently and test different shades by adjusting the amount of water and dye.
Keep in mind that the filters will dry lighter than they appear when wet. If you want deeper, richer tones, use less water and more coloring for stronger results.
Step 4: Dip and Color the Filters
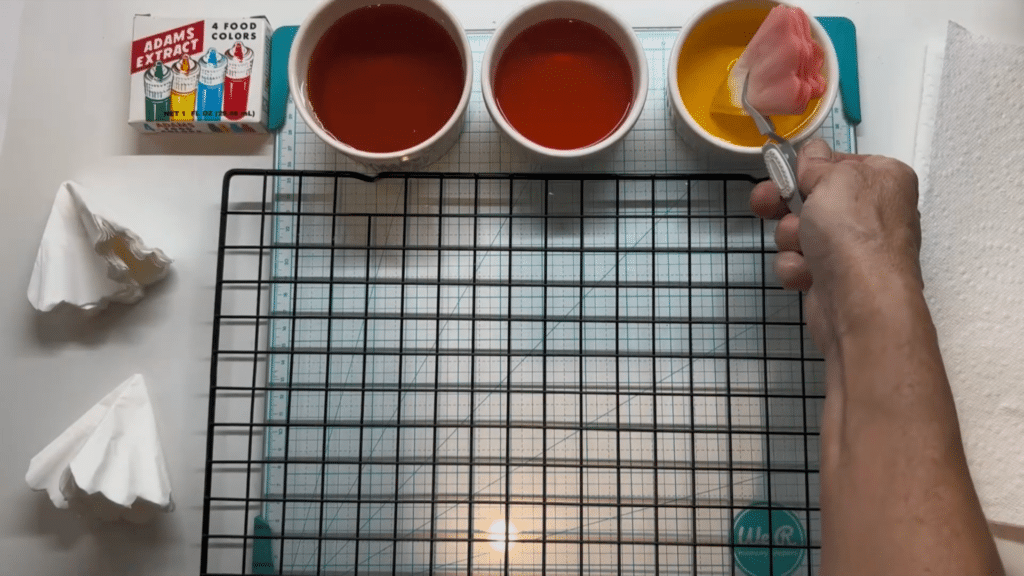
Dip the folded filters into the colored water and let them absorb the dye.
You can dip different parts into different colors to create a soft, blended effect.
The filters soak up color quickly, so you don’t need to leave them in for long. Try adding darker shades to the edges for a more realistic look.
You can also flip the filters to ensure even coloring. This step is fun and gives each flower a unique pattern.
Step 5: Dry and Layer the Filters
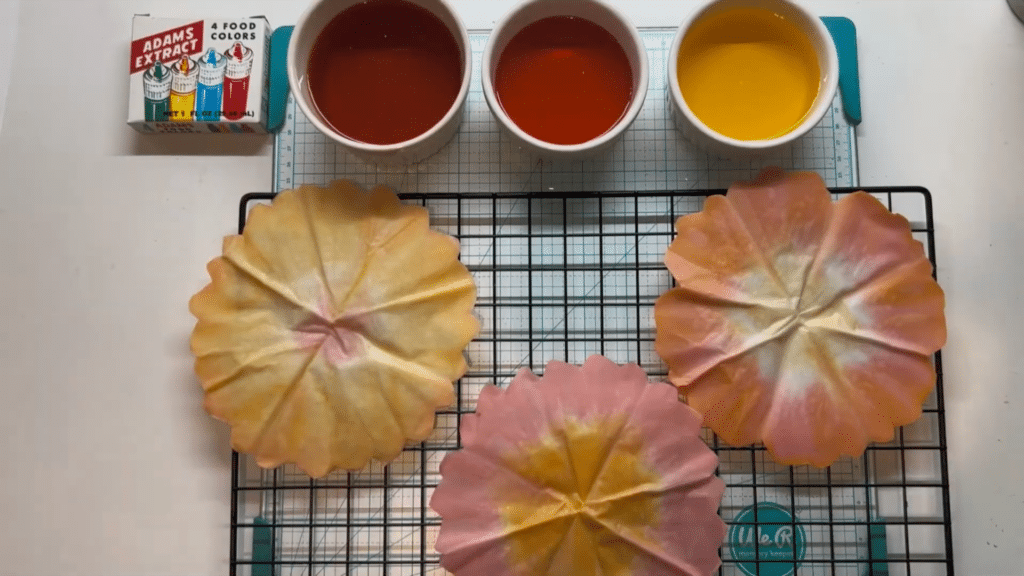
Place the colored filters on a rack or flat surface and let them dry completely. Once dry, stack a few filters together, mixing colors if you like.
Then secure the center with a stapler or pinch it tightly. Dry filters are stronger and easier to shape, so do not rush this step.
Layering different shades adds depth and makes your flower look more natural and full when it is assembled nicely.
You can gently fluff each layer to give the flower a soft, rounded shape.
Step 6: Shape and Fluff the Flower
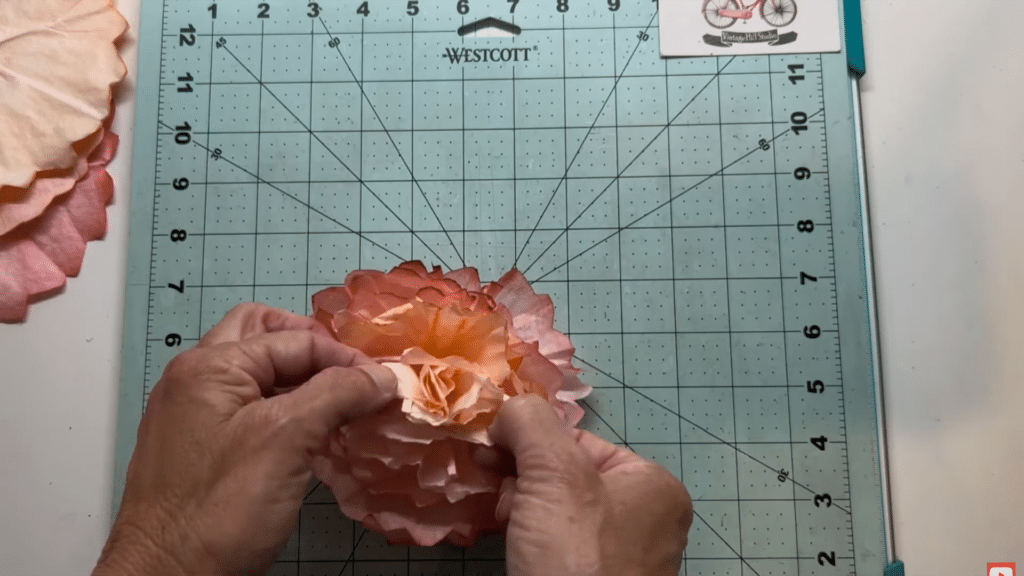
Hold the center and gently pull each layer upward, scrunching it toward the middle to form petals.
Separate each layer carefully and shape them individually.
Some petals can be curled inward, while others can be slightly opened outward for a more natural look. Avoid flattening them too much; soft shaping gives a better result.
As you fluff the layers, you’ll notice beautiful color variations that make the flower look realistic and full of texture.
Watch the full video tutorial below from Vintage Hill Studioto see each step clearly in action. It makes the process easier to follow and helps you get better results
Why Coffee Filter Flowers Are So Popular?
These simple DIY flowers have become a favorite craft for all ages. They are easy to make, affordable, and look surprisingly realistic.
- Budget-Friendly: Coffee filters are inexpensive and easy to find in any store
- Beginner-Friendly: No special skills needed, perfect for first-time crafters
- Quick to Make: Most flowers can be completed in under 30 minutes
- Highly Customizable: You can create different colors, sizes, and flower styles
- Kid-Friendly Activity: Safe and fun craft for kids and families
- Long-Lasting: Unlike real flowers, they don’t wilt or dry out
- Versatile Use: Great for decor, gifts, events, and school projects
Easy Coffee Filter Flower Variations You Can Try
Once you learn the basics, you can create many different flower styles using the same method. Just change colors, shapes, or layering to get unique results.
| Flower Type | How to Make It Look Different | Best Use Idea |
|---|---|---|
| Roses | Roll and tighten layers, use red or pink shades | Bouquets, gifts |
| Peonies | Use many layers and soft pastel colors | Home decor, centerpieces |
| Hydrangeas | Make small clusters with light blue or purple tones | Wall decor, vases |
| Carnations | Cut jagged edges and use bright colors | Party decorations |
| Sunflowers | Use yellow filters with a dark center | Rustic decor |
| Mini Flowers | Use fewer filters for smaller blooms | Greeting cards, crafts |
Common Mistakes to Avoid While Making Coffee Filter Flowers
Small mistakes can affect how your flowers look and hold their shape. These tips will help you get better results with less effort.
- Using Too Much Water: Over-soaking can tear the filters and make them hard to shape
- Not Letting Filters Dry Fully: Wet filters are weak and won’t hold their form properly
- Cutting Perfect Shapes: Flowers look more natural with slightly uneven edges
- Over-Coloring: Too much dye can make colors look muddy instead of soft and blended
- Using Too Few Layers: Fewer filters can make the flower look flat and less full
- Flattening the Petals Too Much: Over-shaping removes the natural, fluffy look
Conclusion
Coffee filter flowers are a simple and enjoyable craft anyone can try, regardless of skill level. With just a few basic materials, you can create beautiful, colorful flowers that look soft and realistic.
This DIY project is perfect for relaxing at home, spending time with kids, or adding a personal touch to your decor.
The best part is how flexible it is; you can change colors, shapes, and sizes to match any style or occasion. Once you get the hang of it, you’ll find yourself making more and trying new ideas.
You can use coffee filter flowers for decor, gifts, or fun, turning simple materials into something special.
Give it a try and see how your first flower turns out. Share your experience, ideas, or tips in the comments below so others can learn from you, too.