
Instead of replacing old furniture, I’ve learned that a fresh coat of paint can completely change its look. A simple DIY project can transform a plain dresser, chair, or table into something that feels new and fits perfectly in your space.
I was surprised at how easy it was to paint furniture. With just a few basic tools and techniques, anyone can do it. Proper prep, the right paint, and careful application make a huge difference in the results.
I’ll share everything I’ve learned, from surface prep to selecting the perfect paint and applying it smoothly.
Whether you’re painting a dresser, nightstand, chair, or cabinet, these tips will help you breathe new life into your old furniture.
It’s a simple, cost-effective way to update your home and create something functional and stylish that fits your space perfectly.
What You Need to Know Before Painting Your Furniture
Before you start painting, it’s essential to understand the preparation involved. The type of furniture, material, and finish you choose all influence your results.
Proper planning ensures your project goes smoothly and the paint adheres well.
- Check for Damage: Inspect your furniture for chips, dents, or scratches that need repairing. This step ensures a smoother paint job and better results.
- Choose the Right Paint: Different surfaces, like wood or metal, require specific paints. Make sure to use the right type for the best finish and durability.
- Plan for the Finish: Decide on the style you want. Whether it’s a sleek or rustic look, this will guide your choice of paint and technique.
- Patience Is Key: Don’t rush the process. Allow proper drying time between coats and take your time with sanding for a smooth, long-lasting finish.
Take your time with these steps, and you’ll be well on your way to creating beautiful, refreshed furniture that adds personality to any space.
Step-by-Step Guide to Painting Furniture
Painting furniture is a simple way to refresh old pieces and give them a new look without replacing them.
Tools and Materials Needed
Before starting a furniture painting project, it helps to have the right tools ready. Preparing these supplies in advance makes the process easier and more organized.
- Sandpaper or Sanding Block: Used to smooth the furniture surface and remove old paint.
- Clean Cloth: Helps wipe away dust after sanding so the paint sticks better to the surface.
- Painter’s Tape: Protects handles, edges, or areas that should not be painted.
- Paintbrush or Small Roller: Allows paint to spread evenly across the furniture surface.
- Furniture Paint: Special paint designed to cover wood furniture and last longer.
- Protective Topcoat: Adds a clear layer that protects the paint from scratches, stains, and daily wear.
Here’s the step by step process:
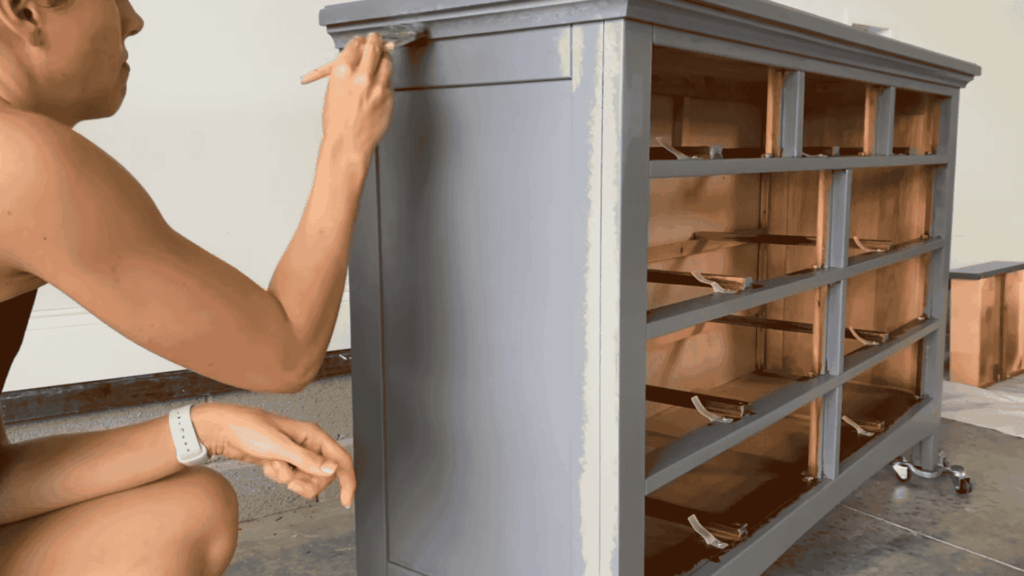
Step 1: Pick a Simple Furniture Piece to Start
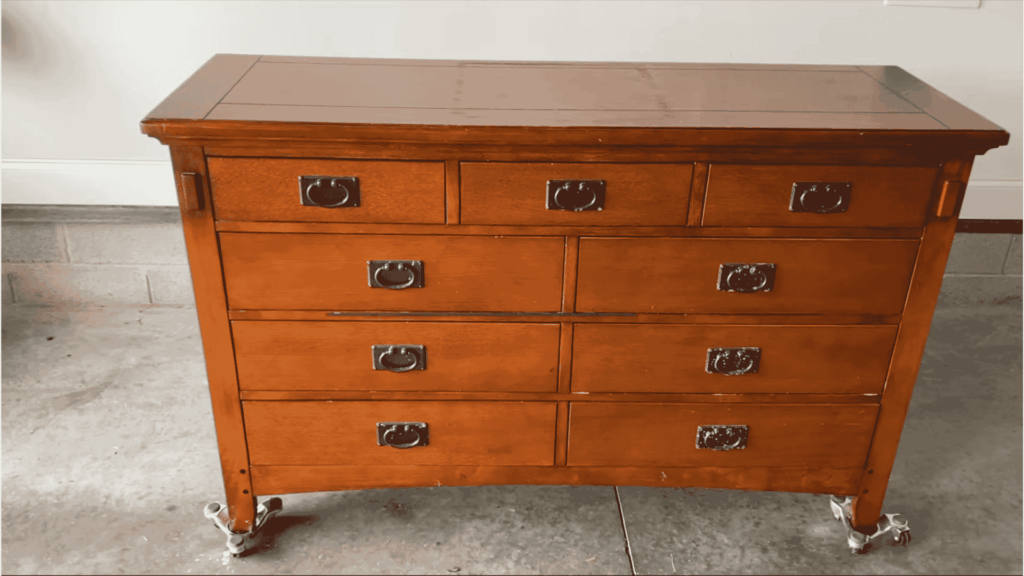
Begin by choosing a piece of furniture that is easy to paint. The creator picks a dresser with flat surfaces because it allows the paint to roll on smoothly.
Before starting the makeover, she also decides which parts should stay and which need to be removed.
Small decorative trim pieces are removed to give the furniture a cleaner, more modern look. Planning these changes early helps make the painting process smoother and prevents extra work later in the project.
Step 2: Clean the Furniture Surface Properly
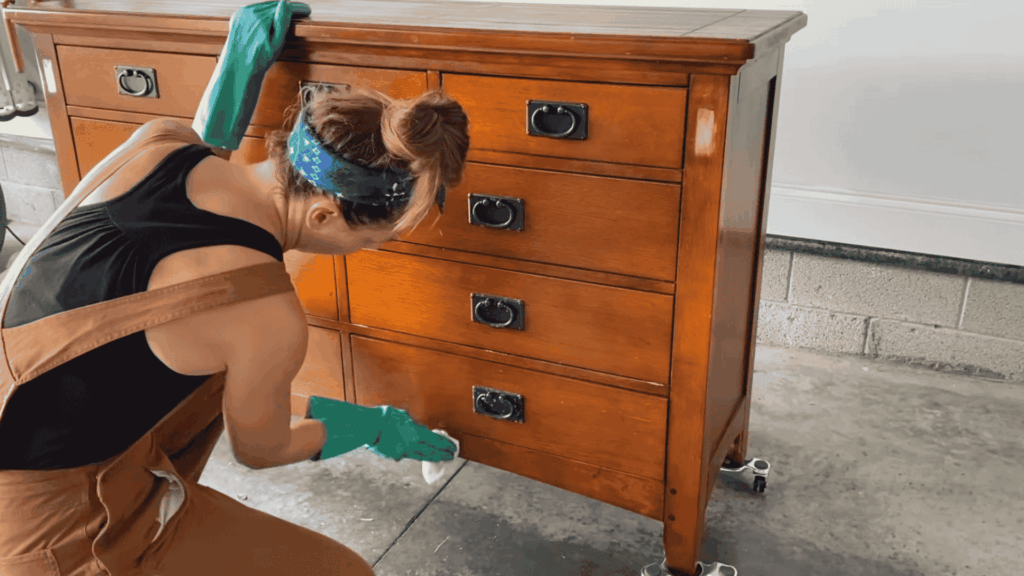
Cleaning is one of the most important steps before painting furniture. Dust, grease, and dirt can stop paint from sticking well.
The degreaser is sprayed onto the furniture and allowed to sit briefly so it can break down the buildup. The surface is then scrubbed and wiped clean.
After that, the furniture is rinsed with a cloth and clean water. Removing all cleaning residue helps create a better surface for the paint to bond properly.
Step 3: Remove Hardware and Prepare the Surface
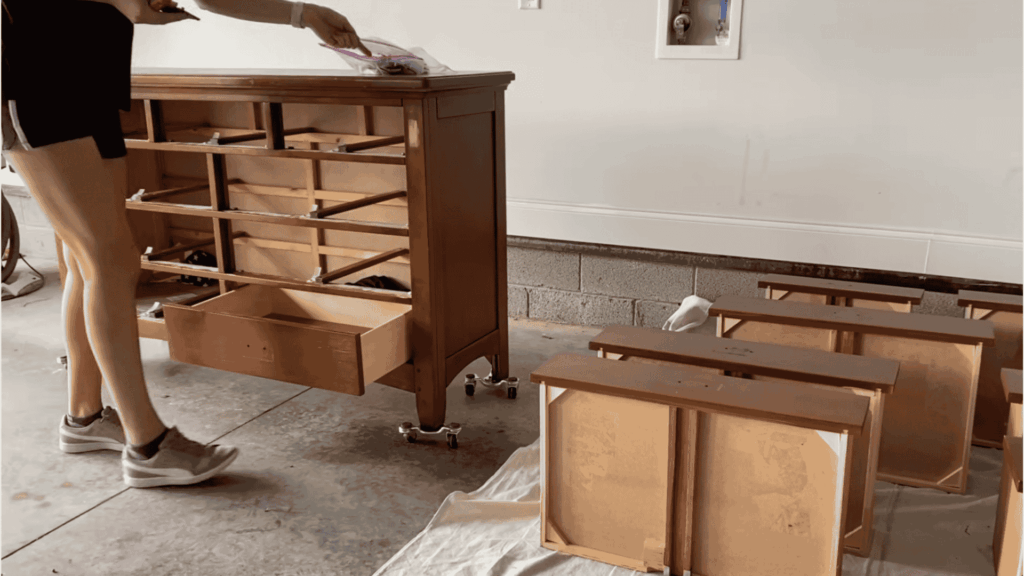
Next, remove all handles, knobs, and drawers from the furniture. This makes it easier to paint each section without missing areas.
Any holes, dents, or scratches should be filled using wood filler or epoxy. After the filler dries, the surface is lightly sanded to make it smooth and even.
The dust created during sanding is removed using a tack cloth. This preparation step helps the paint sit evenly and improves the overall finish of the furniture.
Step 4: Apply the First Coat of Furniture Paint
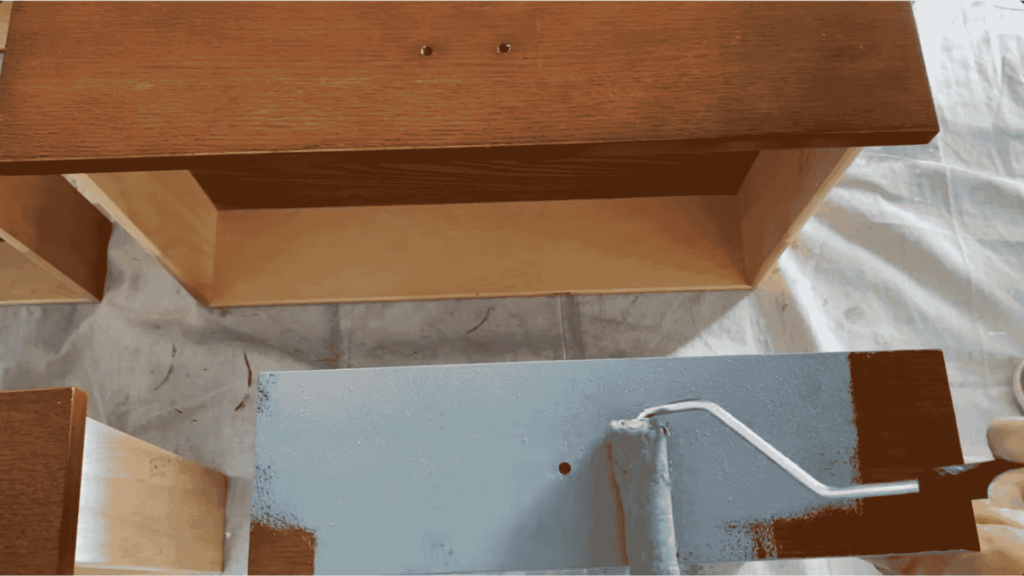
Once the furniture is prepared, the first coat of paint can be applied. A roller is used to cover large flat areas quickly, while a brush is used to reach corners and detailed sections.
Instead of brushing normally, the creator uses a stippling motion to push paint into grooves and small spaces. The paint may look slightly textured when first applied, but it levels out as it dries.
This first coat creates the base layer for the final finish.
Step 5: Let the Paint Dry and Add Another Coat
After the first coat is applied, it needs time to dry. It is suggested to wait about two to four hours before applying another layer.
Once the surface is dry, the second coat is added using the same method. The roller spreads paint across the flat sections, while the brush helps cover smaller details.
The second coat improves coverage and gives the furniture a more even color. Thin coats usually create a better finish than one thick layer.
Step 6: Repeat the Same Process for Other Furniture Pieces
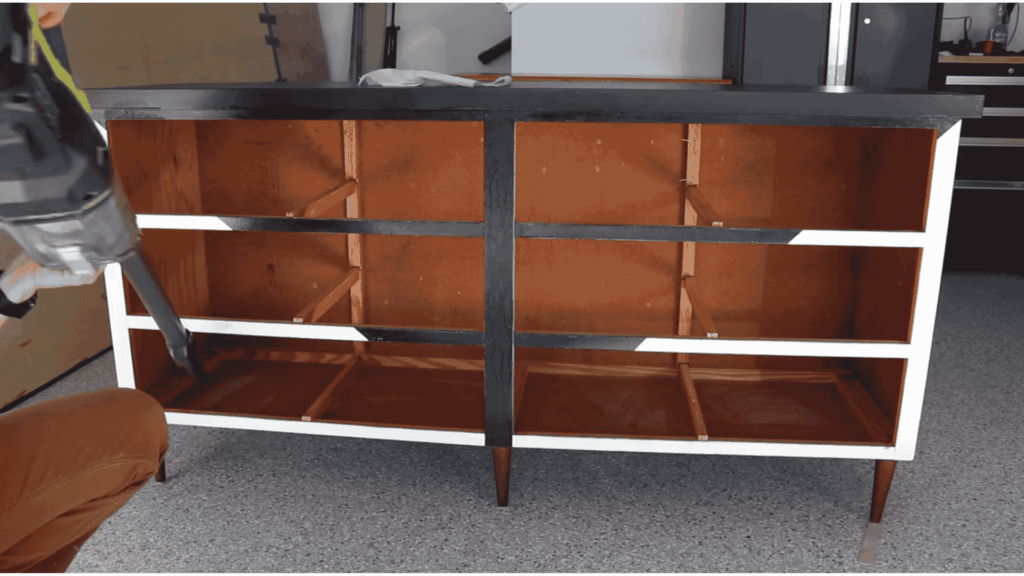
Several furniture projects use the same painting method. Each makeover begins with cleaning the furniture, removing hardware, and repairing any damage.
After that, paint is applied in thin layers using either a roller or a sprayer. Some pieces require two coats, while others may need a third coat for better coverage.
The process remains consistent across different furniture styles, showing that beginners can follow the same steps for many types of furniture projects.
Step 7: Add New Hardware and Small Finishing Touches
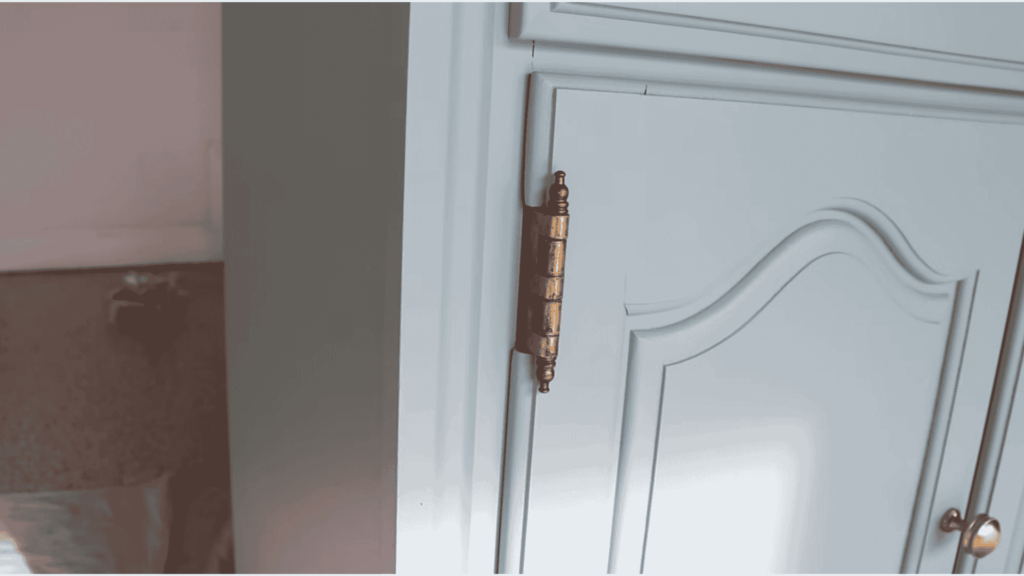
Once the paint has dried, the furniture is ready for finishing details. New knobs, pulls, or handles can be installed to update the look of the piece.
Hardware is replaced to give the furniture a more modern style. Small adjustments, such as adding felt pads or touching up the legs, can also improve the final result.
These finishing touches help protect the paint and make the furniture look more polished and complete.
Step 8: Place and Style the Finished Furniture
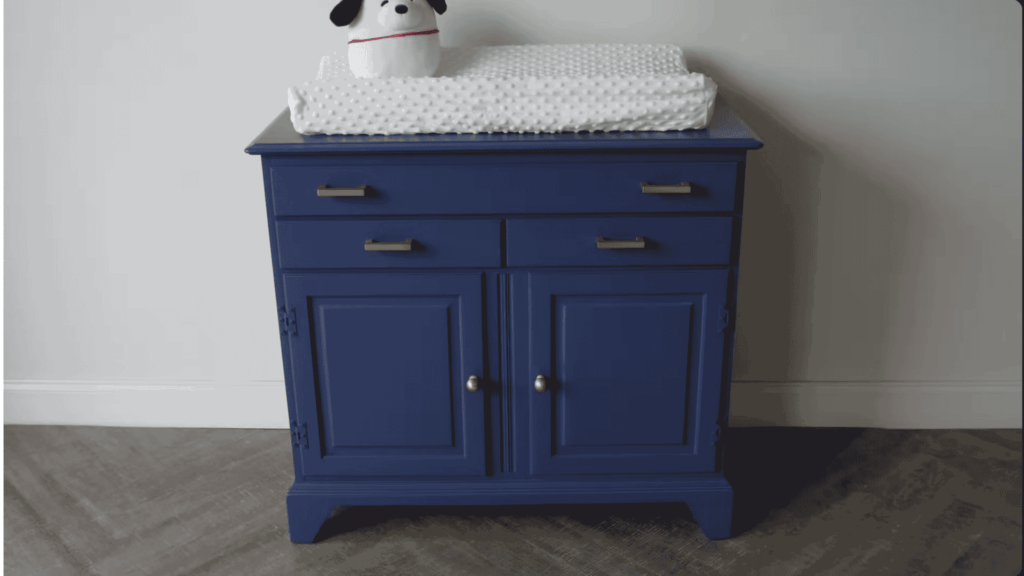
The final step is to place the painted furniture back in the home and style it. The video shows how the finished piece can be used in different ways, such as a storage cabinet, an entryway table, or decorative furniture.
Simple décor items like vases or baskets can help highlight the updated look. This step shows how painting furniture can quickly refresh older pieces and give them a new purpose in a room.
You can check out this video for a more detailed tutorial:
Best Types of Paint for Furniture
Choosing the right paint helps furniture look better and last longer. Beginners often get good results with these common paint options.
- Chalk Paint: Chalk paint sticks well to many surfaces and usually needs little preparation. It gives a soft matte finish and works well for simple furniture makeovers.
- Latex Paint: Easy to find and available in many colors. With proper sanding and primer, it yields a smooth, durable finish.
- Acrylic Furniture Paint: Provides strong coverage and dries to a smooth surface. It works well for furniture that gets regular use.
- Milk Paint: Milk paint creates a natural, slightly aged look on furniture. It is often used for vintage or rustic style pieces.
- Spray Paint: Works well for small furniture pieces and detailed areas. It helps create a smooth and even finish when applied in light coats.
- Oil-Based Paint: Oil-based paint provides a strong, durable finish. It takes longer to dry but works well for furniture that needs extra protection.
How to Get a Smooth Paint Finish?
Getting a smooth paint finish on furniture takes patience and the right approach. Rushing the process often leads to brush marks, uneven coats, or visible streaks.
Taking a little extra time during each step helps the final result look clean and professional.
Start with proper surface preparation. Cleaning and light sanding remove dust, dirt, and old finish so the paint can stick properly. After sanding, wipe the surface with a clean cloth to remove any leftover dust.
When painting, apply thin coats of paint instead of one thick layer. Thin layers dry more evenly and reduce the chances of drips. It also helps to use quality brushes or small rollers, which spread paint more smoothly.
Finally, allow enough drying time between coats. Light sanding between layers can further improve smoothness and help the final coat look even and well finished.
Simple Furniture Painting Techniques for Beginners
Beginners can get good results with a few simple painting techniques. These methods do not require advanced tools and work well for many furniture projects.
- Solid Color Finish: This is the easiest technique for beginners. The entire piece of furniture is painted in one color to create a clean, simple look.
- Two-Tone Painting: Two different colors are used on the same piece of furniture. For example, the frame can be one color while drawers or legs are painted another shade.
- Distressed Finish: This technique creates a slightly worn appearance. Light sanding on edges after the paint dries gives the furniture an aged look.
- Stencil Painting: Stencils allow simple patterns or shapes to be added to furniture surfaces. They work well on drawer fronts, cabinet doors, and tabletops.
- Color Wash Technique: A thin layer of diluted paint is brushed over the surface. This allows some of the natural wood texture to remain visible.
At the End
If you’ve ever painted furniture before, I’d love to hear about your experience! Maybe you faced some challenges along the way or discovered a few tricks that made the process smoother.
Whether it was your first attempt or you’ve done it multiple times, your insights could be incredibly helpful to someone just starting.
For instance, did you find certain types of paint worked better than others? Or maybe you have tips on getting the perfect finish?
If your project was a success or there were some bumps along the way, your story could encourage others to take on their first furniture makeover.
Sharing your favorite furniture makeover could spark inspiration for someone ready to update their own space. Feel free to drop your thoughts, tips, or questions in the comments below!