
Refinishing a table can seem like a big job, but it doesn’t have to be. Many tables wear down or get scratched over time.
Instead of buying a new one, giving it a new look might be the better choice. With a few tools and some time, an old table can look fresh again.
This project works well for anyone who wants to improve their space without spending too much. The process can be easy if done step by step.
It’s a simple way to bring new life to furniture. This guide breaks it down in a clear, easy-to-follow way.
Why Refinish a Table?
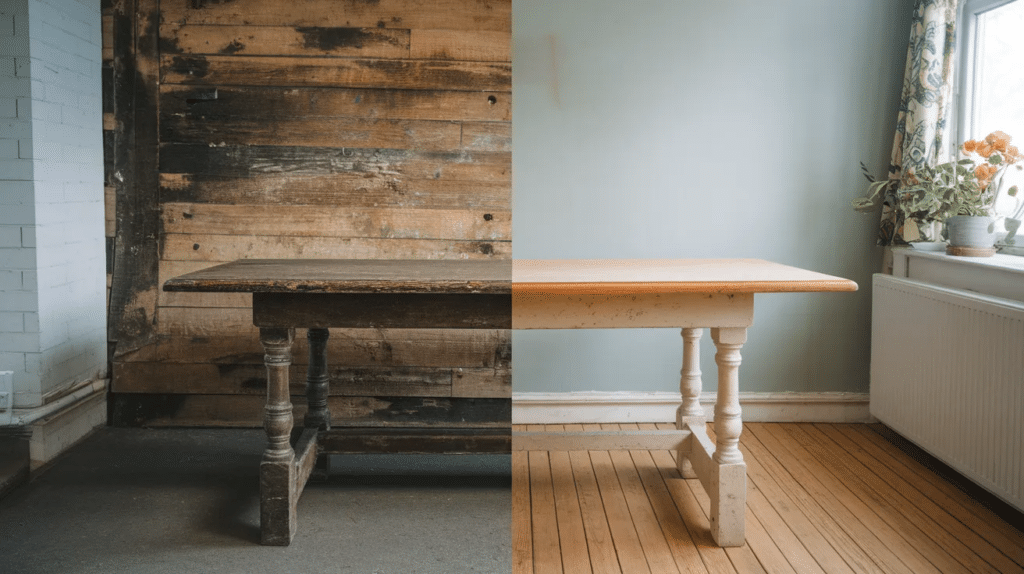
Refinishing a table is a simple way to give old furniture new life. Over time, tables can get scratched, stained, or lose their color.
Instead of buying a new one, refinishing saves money and keeps something you already own. It’s also a great option if the table has special meaning or fits well in your space.
You can change the color or style to match your home without much cost. It’s better for the environment, too, since you’re not throwing it away.
With basic tools and a little time, refinishing a table can be a smart, easy, and satisfying project anyone can try.
What Kind of Table Can Be Refinished?
Most tables can be refinished, but the results depend on the material and condition. The table below shows which types are good candidates for refinishing and what to watch out for:
| Table Type | Can It Be Refinished? | Notes |
|---|---|---|
| Solid wood table | Yes | Best option. Can be sanded, stained, or painted many times. |
| Painted wood table | Yes | Easy to repaint or update with a new color. |
| Veneer table | Yes, with care | Light sanding only. Deep sanding can damage the thin layer. |
| Laminate table | Sometimes | Needs a special primer or paint to help the finish stick. |
| Antique table | Yes, but think first | Refinishing may lower its value if it’s a true antique. |
| Table with loose legs | Maybe | Worth refinishing only if the structure can be fixed first. |
This helps decide if a table is a good choice before starting the refinishing process.
Tools and Supplies You’ll Need
Below is a list of basic items to help you refinish a table:
- Drop cloth or old sheet (for floor protection)
- Screwdriver (to remove legs if needed)
- Sandpaper (medium and fine grit) or sanding block
- Orbital sander (optional, but faster)
- Wood filler (for deep scratches or holes)
- Putty knife
- Tack cloth or a damp rag
- Primer (if painting)
- Stain or paint
- Polyurethane or clear coat
- Paintbrush or foam brush
- Gloves and a face mask (for safety)
Step-by-Step Process: How to Refinish a Table
This guide covers everything you need, from cleaning to sealing, without skipping any important part of the process:
Step 1: Clean and Prep the Table
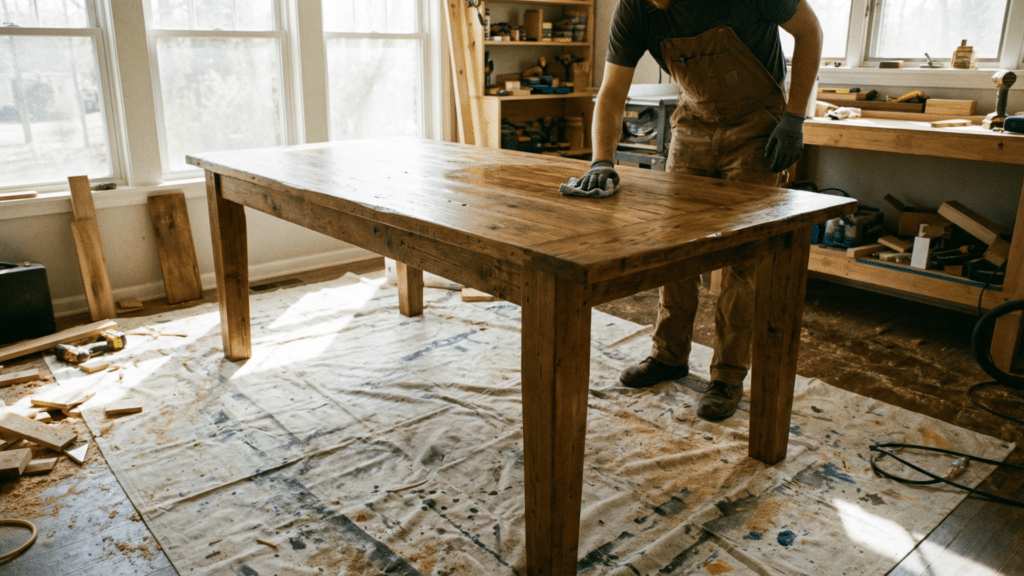
Start by clearing the area around your table. Lay down a drop cloth, newspaper, or old sheet to protect the floor. If your table has drawers, knobs, or removable legs, take them off and set them aside.
Wipe the whole table with a damp cloth and mild soap. Remove any grease, dust, or sticky spots. This step helps remove anything that could stop paint or stain from sticking. Once clean, let the table dry completely before moving on.
If there are stickers or glue marks, gently scrape them off with a plastic scraper or the edge of a credit card.
Step 2: Sand the Surface
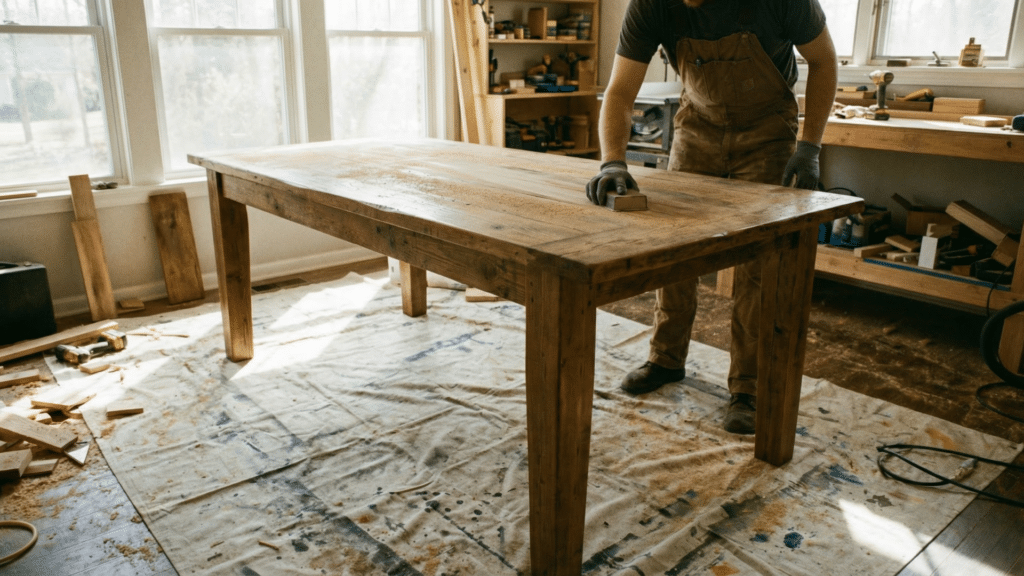
Sanding is important. It removes the old finish and helps the new one stick. Start with medium-grit sandpaper (like 120 grit) to remove the glossy layer or old paint. Then switch to fine-grit sandpaper (around 220 grit) to smooth the surface.
Always sand in the direction of the wood grain. Don’t press too hard; let the sandpaper do the work. If you have a power sander, this step will go faster. But a sanding block or even loose sandpaper works fine for small tables.
After sanding, check the surface with your hand. It should feel smooth and even.
Step 3: Fix Cracks, Holes, or Dents
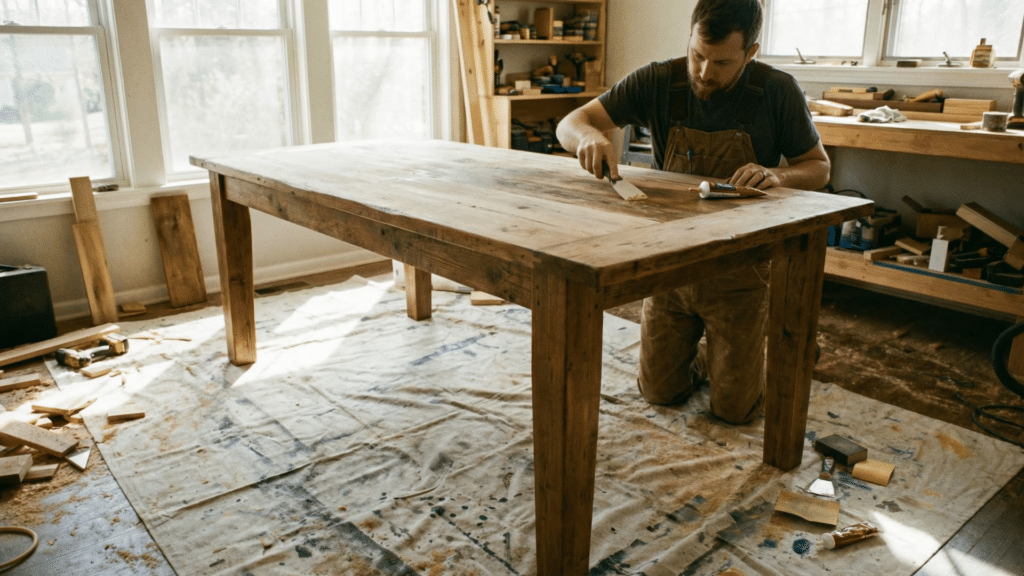
Now that the surface is smooth, check for damage. Look for small cracks, holes, or dents. If you find any, fill them with wood filler. Use a putty knife to press the filler into the spot. Smooth the surface and let it dry fully. Drying time depends on the product, but it usually takes about 30 minutes to an hour.
Once dry, lightly sand the patched areas with fine sandpaper so they blend in with the rest of the surface. Wipe the table again to remove any dust.
This step helps make the final finish look clean and professional.
Step 4: Apply Stain or Paint
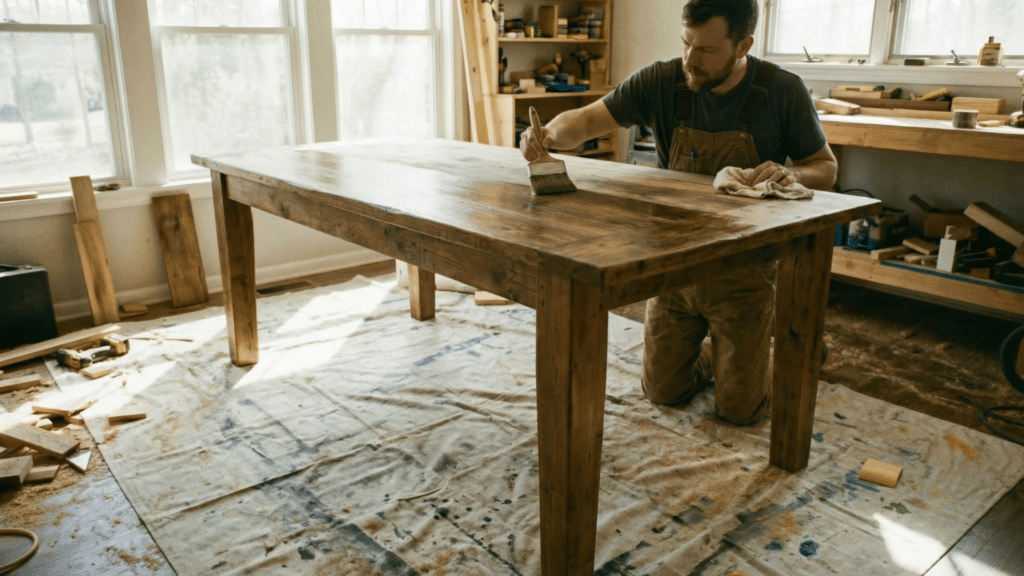
Now, the fun part: changing how the table looks.
If you’re staining the table:
- Stir the stain before use.
- Use a brush or rag to apply it in the direction of the grain.
- Wipe off the extra stain with a clean cloth after a few minutes.
- Let it dry. Add another coat for a deeper color.
If you’re painting the table:
- Use primer first, especially if the table is dark or has an old finish.
- Let the primer dry fully.
- Then use a foam or soft-bristle brush to paint.
- Two thin coats work better than one thick one. Let each coat dry completely.
Choose what works best for your space. Paint hides damage better. Stain shows off the wood grain and gives a natural look.
Step 5: Add a Protective Topcoat
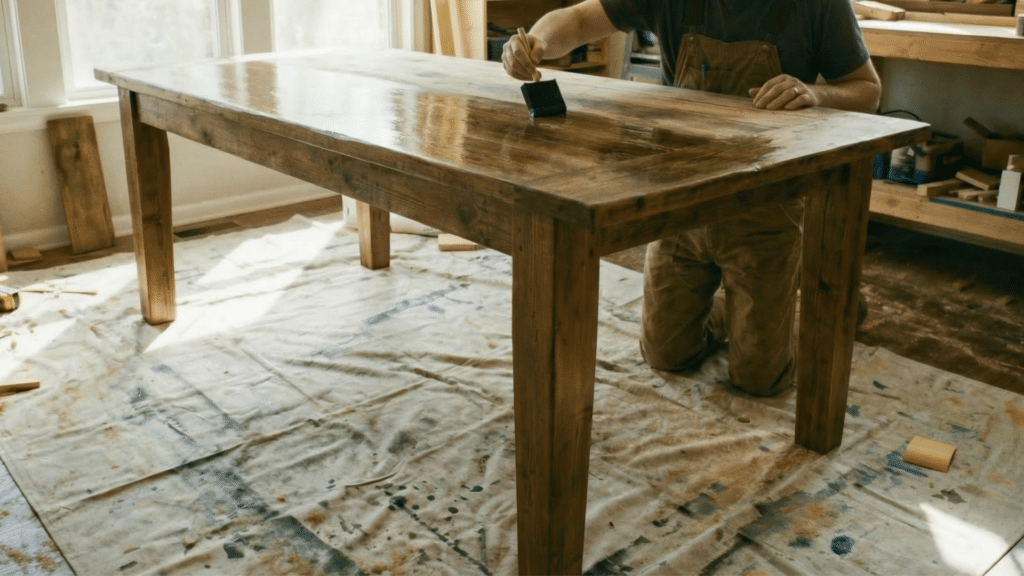
A topcoat helps seal the finish and protect your table from scratches, water, and wear. You don’t want all your hard work to wear off quickly.
Choose a clear finish, such as polyurethane (water-based or oil-based). Water-based dries faster and has less odor. Oil-based gives a warmer tone and is more durable.
Use a clean brush to apply the topcoat in long, even strokes. Let the first coat dry fully. Then lightly sand with fine-grit sandpaper (320 grit or higher). Wipe off the dust and apply a second coat.
Two or three coats make the surface stronger and last longer.
Step 6: Let it Cure and Reassemble
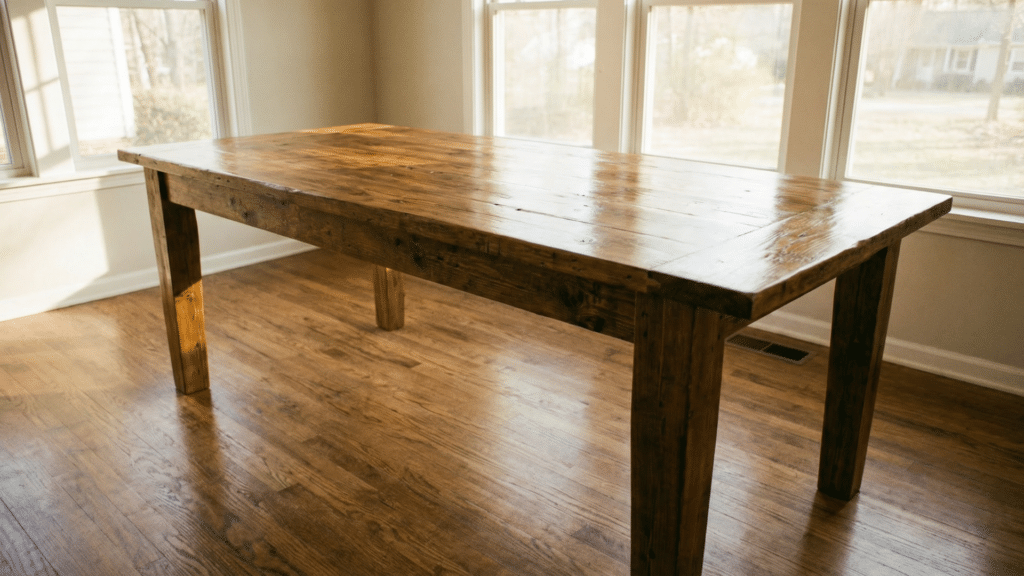
After the final coat, let the table sit and dry fully. Drying time depends on the product, but 24 to 48 hours is a safe range. Some topcoats need up to 7 days to fully cure before heavy use.
Once the table is dry, reattach any parts you removed earlier, like the legs or hardware.
Place the table back in your space and enjoy the results. It now looks fresh, clean, and ready for use again.
Easy Refinish Options that Skip Sanding
Some users ask if it’s possible to refinish a table without sanding. The answer is yes, but the result may vary. Below are some easy methods:
- Use Liquid Sander: This product removes shine and helps paint stick. Wipe it on, wait, then paint. It works best on clean, flat surfaces.
- Try Chalk Paint: It sticks well to most surfaces and requires little prep. Just clean the table and paint. It gives a soft, matte finish.
- Use Gel Stain: Gel stain can be applied over old finishes. You don’t need to strip the table first. Just rough it up a little with fine sandpaper.
How Long Does it Take to Refinish a Table?
It depends on size, method, and dry time:
| Task | Time Needed |
|---|---|
| Cleaning | 10–15 minutes |
| Sanding | 30–60 minutes |
| Filling and Patching | 20 minutes + dry |
| Staining or Painting | 1–2 hours |
| Clear Coat | 1–2 coats, 30+ min |
| Dry and Cure Time | 1–3 days total |
Stain or Paint: What Should You Choose?
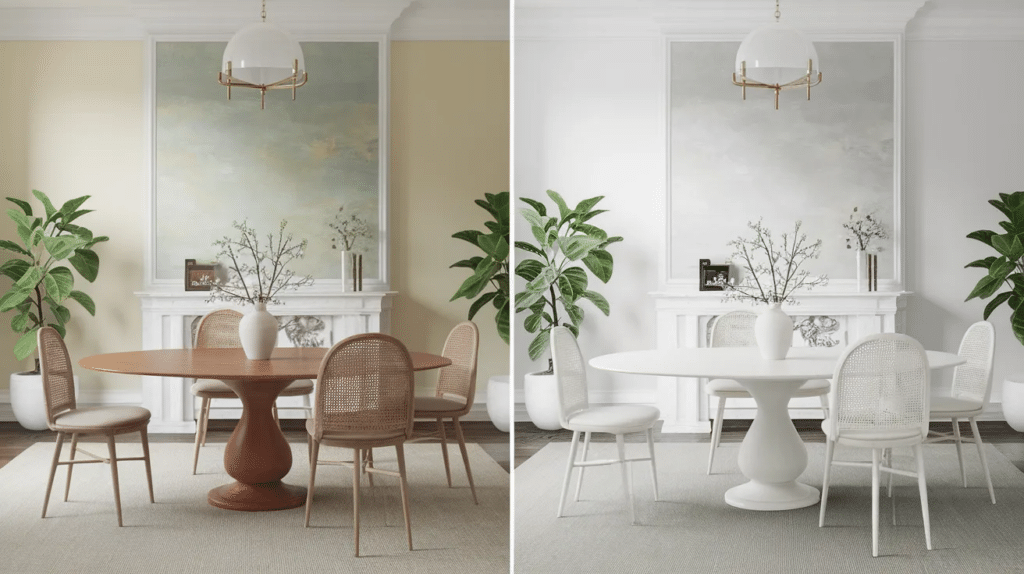
Choosing between stain and paint depends on the look you want and how much prep work you’re willing to do. Both options can give great results, but they work in different ways.
Stain
- Shows wood grain
- More natural look
- Needs even sanding
- Great for wood lovers
Paint
- Covers flaws
- Bold or clean colors
- Needs primer
- Can match room style
Paint is more forgiving for beginners. Stain takes more prep, but can look richer.
What Others Say About Refinishing a Table
Many people who refinish tables at home share helpful advice and honest feedback. Their experiences show both the challenges and the rewards. Below are some common thoughts from real users in online communities and DIY forums:
“It felt good to fix something instead of throwing it out.”
“Took longer than I thought, but it looks great now.”
“I used chalk paint and loved how easy it was.”
“I’ll never skip the clear coat again, big mistake the first time!”
“I refinished a hand-me-down table and now it fits my space.”
These short reflections highlight key points:
- Refinishing takes time and effort, but it’s satisfying.
- Chalk paint is popular for being beginner-friendly.
- Many first-timers make small mistakes but learn from them.
- The end result often feels personal and rewarding.
- Using a clear topcoat is a step many wish they hadn’t skipped.
Overall, most users say that if your table is in decent shape, it’s worth it. The cost is low compared to buying new, and the sense of accomplishment makes the effort feel valuable.
Wrapping Up
Refinishing a table is more than just a home project. It’s a way to slow down and work with your hands. Each step gives you more control over how your space looks and feels.
Mistakes might happen, but that’s part of learning. The finished table won’t be perfect, but it will be yours.
Even a small change in color or texture can make a room feel new. If you’ve been thinking about replacing a table, try saving it first.
You might be surprised by how good it turns out to be. Take the first step, gather your supplies, and give your table a second chance.