
Giving your old furniture a makeover doesn’t take expert skills—just a little time, the right tools, and a good step-by-step plan.
In this blog, I’ll walk you through how to paint a dresser, from prepping the surface to sanding between coats and getting those tricky drawer edges looking clean.
I’ve painted a few pieces myself, and I’ve learned that the key is being patient and not skipping the small steps.
If you’re new to painting furniture or have done a few projects before, this guide will help you get that smooth, even finish that makes old furniture look new again.
We’ll go over what tools you need, how to prep properly, and the best way to apply paint without streaks or drips. With a little care and the right process, your dresser can look better than ever. Let’s get started!
Why Should You Sand Between Coats of Paint?
Sanding between coats might seem unnecessary, but it’s one of the most important steps if you want a truly polished result.
First, it helps remove imperfections. No matter how careful you are, dust particles, tiny bubbles, and lint can get stuck in the wet paint. Once the first coat dries, you might notice little rough spots; sanding them out keeps your surface smooth.
Second, sanding eliminates visible brush or roller strokes. Even with a high-quality brush or foam roller, some texture is bound to show up. A quick sanding knocks down those ridges and helps your second coat look cleaner and more even.
Third, it improves adhesion. A freshly dried coat of paint can be a bit too smooth or slick for another layer to grip well. Sanding creates a slightly rough surface that allows the next coat to stick better, preventing peeling or flaking later on.
Lastly, it just makes everything look more professional. That soft, buttery-smooth feel you see on high-end furniture? It doesn’t come from the paint alone; it comes from sanding between each coat. And it only takes a few minutes.
Use a fine-grit sanding sponge (approximately 220 grit) and apply gentle pressure. The goal is to smooth the surface, not remove the paint.
Step-by-Step Guide: How To Sand Between Coats of Paint
Sanding between coats is the key to achieving a smooth, durable, and professional-looking finish. Here’s exactly how to do it the right way.
Materials You’ll Need
- Fine-grit sanding sponge (220–320 grit) – For smoothing the surface between coats without damaging the paint
- Tack cloth – A sticky cloth that grabs fine dust and debris after sanding
- Microfiber cloth (optional) – Slightly damp for cleaning if you don’t have a tack cloth
- Painter’s tape – To protect areas you don’t want to paint or accidentally sand
- Drop cloth or old towel – To place under drawers and catch dust or drips
- Clean hands or gloves – Avoid leaving smudges or oil on sanded surfaces
- Vacuum with a brush attachment (optional) – For cleaning up dust before wiping
- Drawer labels or masking tape – Helpful for keeping drawer order and alignment during painting
Step 1: Sand After the First Coat
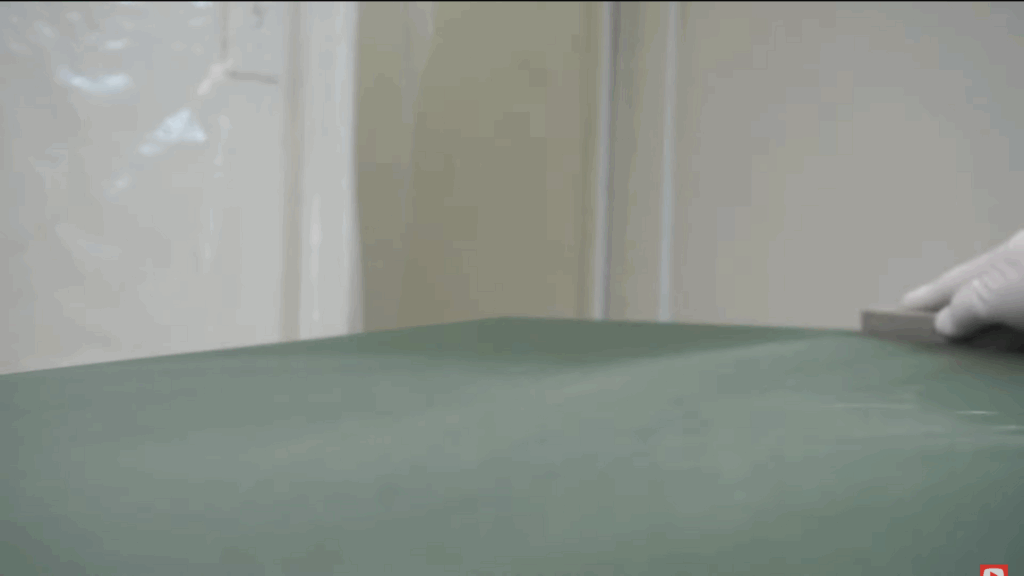
Once your first coat of paint is completely dry (and I mean completely- don’t rush it!), It’s time to sand it lightly. This helps remove any brush strokes, small bubbles, or dust that might’ve landed on the wet paint.
At this point, gently sand the surface of the dresser using a fine-grit sanding sponge. You don’t need to press too hard; light sanding is enough to smooth the surface.
The goal is to give your next coat something to grip onto, not strip the paint off. Use smooth, even strokes along the grain of the wood until the finish feels soft and level.
Step 2: Clean the Dust Before the Second Coat
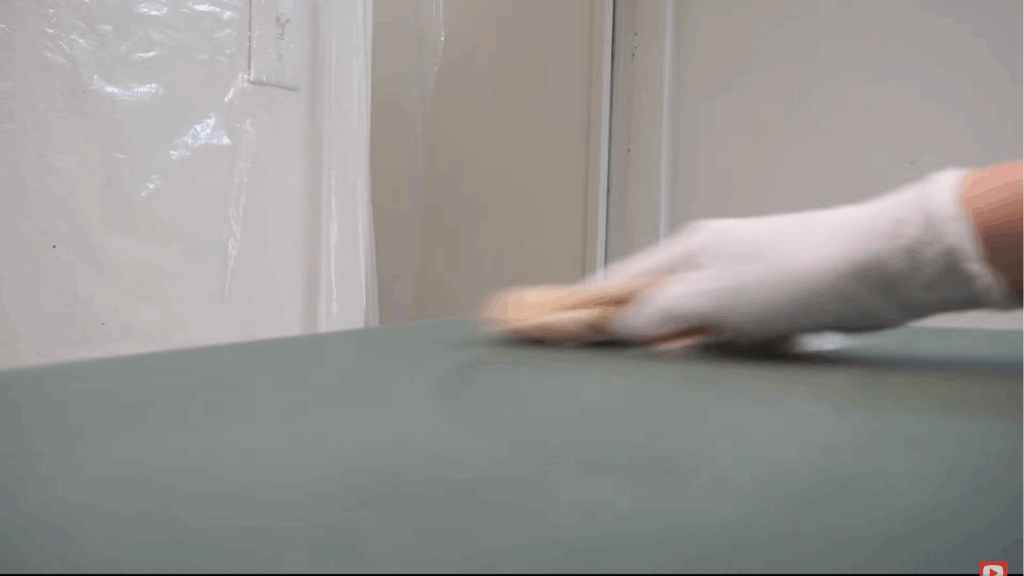
Once sanding is done, it’s important to clean off every bit of dust. Use a tack cloth to wipe down the entire dresser.
Tack cloths are sticky, so they grab fine particles left behind from sanding without just pushing them around.
This step is easy to overlook, but it’s crucial. Dust left on the surface will get trapped in your next coat and create texture.
If you don’t have a tack cloth, use a microfiber cloth slightly dampened with water, but make sure the surface dries fully before moving on.
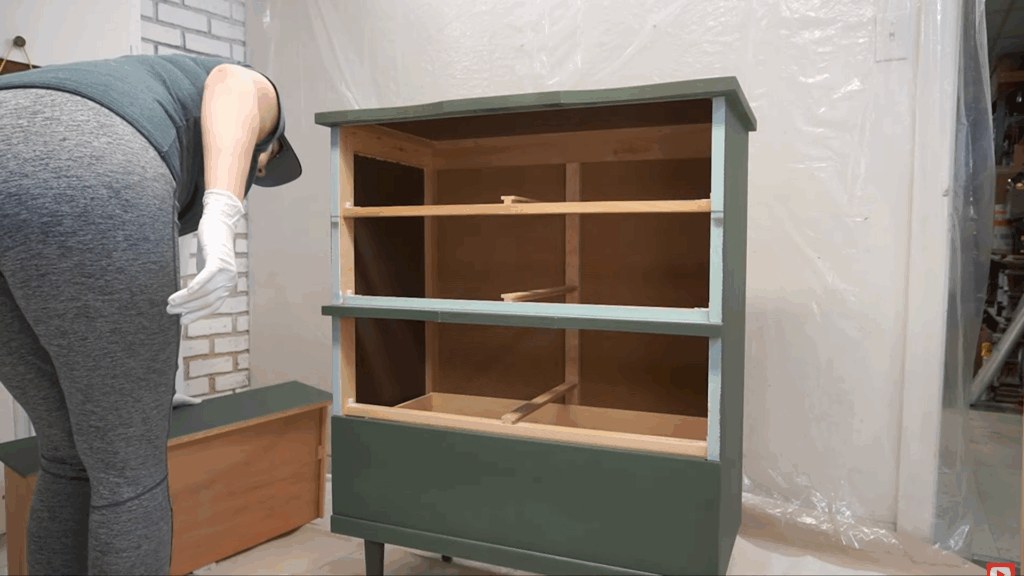
Step 3: Remove the Drawers

Before moving on, remove all the drawers from the dresser. This might seem like a small thing, but it makes a huge difference in terms of access and cleanliness.
With the drawers out, you could paint the side panels of the dresser and the lips of the drawers without bumping into anything.
It also helped avoid getting paint on drawer faces by accident. Lay each drawer on a cloth nearby, ready for detailing.
Step 4: Let Everything Dry and Inspect
After finishing the drawer lips and dresser sides, allow everything to dry thoroughly.
Drying time depends on the type of paint, but it’s best to wait several hours or even overnight when possible. Painting over tacky surfaces can result in a messy, sticky finish that’s hard to fix later.
Once the surfaces are fully dry, gently run a hand over them to check for any bumps or bits of dust that may have settled into the paint.
If any texture is felt, lightly sand the area again and use a tack cloth to wipe away the dust.
This simple final step helps ensure the finish is as smooth and clean as possible, giving the dresser a professional look and feel.
Watch the full video tutorial on YouTube: “How to Sand Between Coats of Paint” by @SalvageInspirations.
Bonus Tips for a Smooth Finish
I’ve found that a few small changes can make a big difference when painting furniture. If you want to take your dresser makeover to the next level, these simple tricks can help you get cleaner, smoother results with less stress.
- Use quality tools – An angled sash brush and foam roller give better control and smoother coverage. Cheap tools can leave streaks or shed bristles.
- Don’t overload your brush – Dip just the tip in paint and tap off the extra. Too much paint causes drips, especially on corners and edges.
- Work in good lighting – Natural light or bright task lighting helps you catch streaks, bubbles, or missed spots before the paint dries.
- Lift your dresser off the floor – Use risers, blocks, or even empty paint cans to raise it up. It’s easier on your back and lets you reach every side.
With just a little more care and the right setup, your paint job can go from “good enough” to looking truly professional. Small steps now can save you from having to redo work later.
Conclusion
Painting a dresser doesn’t require fancy tools or professional experience, just care and a little time.
Each step, from sanding between coats to cleaning off dust and painting drawer edges, contributes to a finished piece that looks polished, feels smooth, and lasts longer.
This project reminded me that taking a little extra time up front leads to results I’m proud to show off.
Whether you’re refreshing a thrift store find or updating something you’ve had for years, the effort you put in really does show.
And the best part? You’re not just creating something beautiful, you’re building skills and confidence along the way.
Every project like this teaches you a bit more about what works, what to avoid, and how satisfying it is to do something with your own hands.
The next time you pick up a brush, you’ll feel even more capable and ready to tackle whatever’s next.
So take your time, enjoy the process, and trust that the results will be worth it.