
Want to turn your plain wall into something useful and beautiful without spending a fortune? A built-in Billy bookcase project might be exactly what you need. IKEA’s Billy bookcases are a budget-friendly choice that can be turned into custom-looking built-ins with a little time and effort.
In this guide, I’ll walk you through how to take these simple shelves and give them a polished, high-end feel that looks like it was made just for your home. You’ll save a lot of money compared to hiring a carpenter, and the result will still look amazing.
Even if you’ve never used a power tool before, don’t worry—I’ve helped plenty of people do this with basic skills and some patience. If you own your home or rent, there are ways to make this project work for your space.
By the end, you’ll be ready to turn a blank wall into something that adds storage, style, and serious beauty to your room.
Tools and Materials You’ll Need for A Billy Bookcase Built-In
Before you start your built-in Billy bookcase project, you’ll need to gather the right tools and materials. Having everything ready ahead of time makes the whole process smoother and less stressful.
Start with the tools. You’ll need a tape measure, level, drill or driver, and either a circular saw or miter saw for cutting trim. Remember a caulk gun, sander, screwdriver, and pry bar if you need to remove baseboards. A stud finder also helps when anchoring bookcases to the wall.
As for materials, grab your IKEA Billy bookcases based on your wall width. You’ll also need trim boards (like 1x3s or 1x4s), wider boards for the top, and plywood or MDF if you’re building a base platform.
Wood screws, glue, filler, paintable caulk, primer, and paint are all part of the finishing touches. Get sandpaper in 120 and 220 grit for a smooth final surface. Having all of this ready will set you up for success.
How to Create a Billy Bookcase Built-In?
This project improves standard IKEA shelving into custom-looking built-ins. With patience and attention to detail, you’ll create a feature that looks professionally installed. Let’s break it down into manageable steps.
1. Measure Your Wall Space
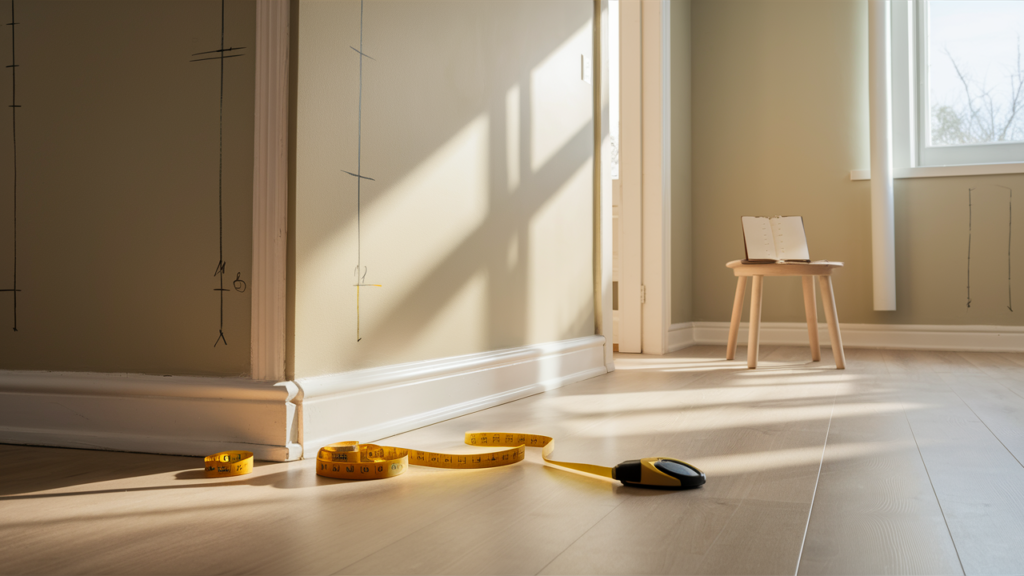
Start by measuring your wall from end to end and floor to ceiling. Note any outlets, vents, or switches that could get in the way. Billy bookcases come in different widths, so figure out how many will fit side by side. Leave a little space for trim, such as baseboards or crown molding.
Use a tape measure and mark everything clearly. Drawing a simple sketch of your wall with the measurements will help keep your plan on track. This step helps avoid surprises later and keeps your whole project running smoothly from the beginning.
2. Plan Your Layout
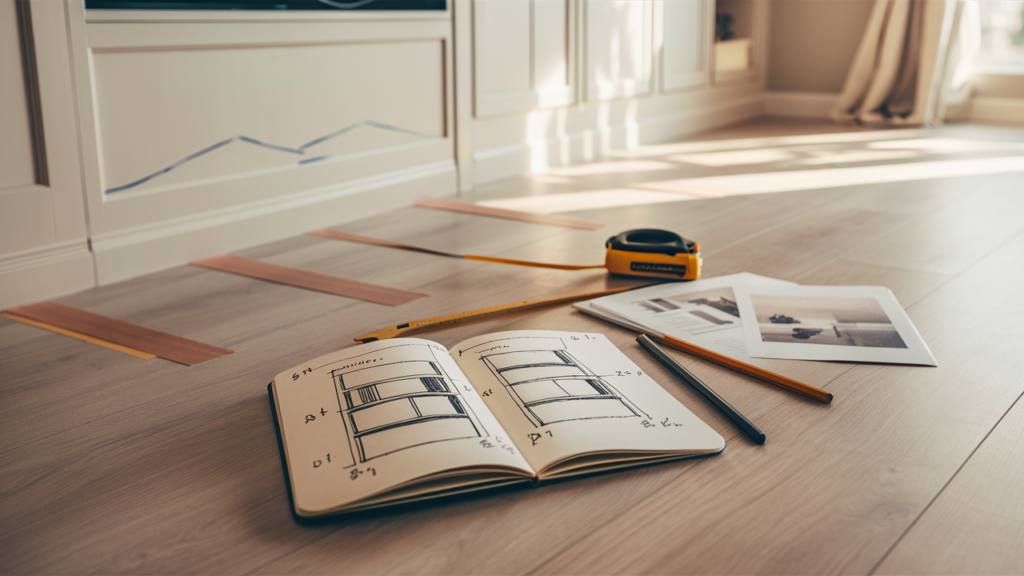
Use your measurements to determine how many bookcases you’ll need. Then, consider what you’ll be storing—books, baskets, or even a TV—and plan the spacing around that. If your ceiling is tall, consider adding extension units on top.
Decide if you want all the bookcases to be the same size or mix wide and narrow ones. Draw your design on paper with clear labels for every section. If needed, add space for trim between the bookcases. Planning it all out ahead of time helps you avoid changing your mind once you start building.
3. Remove Baseboards
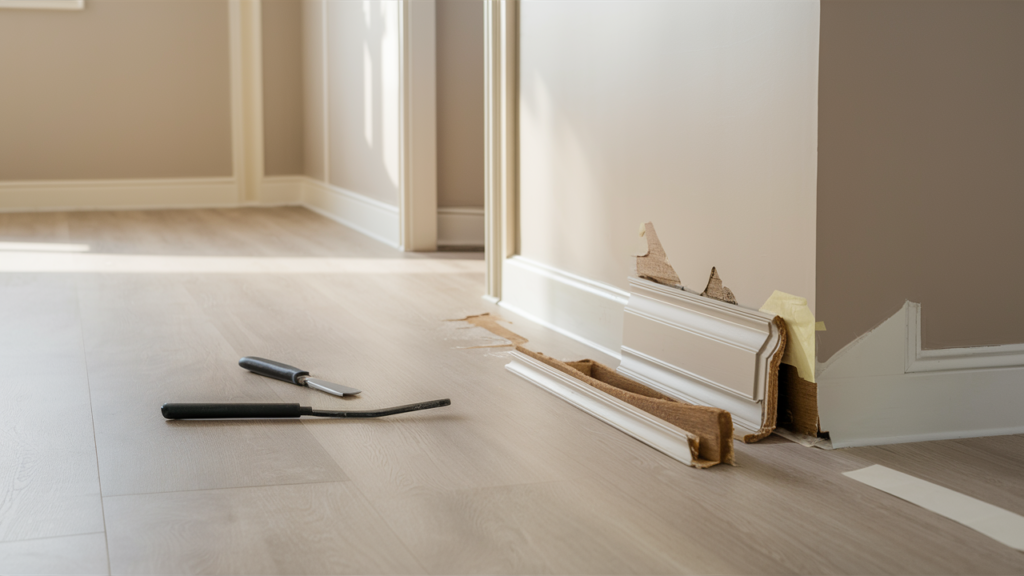
If your baseboards are where the bookcases need to go, you’ll need to remove them. Use a utility knife to score the top edge where it meets the wall. Then gently use a pry bar to lift the baseboard off. Work slowly along the length to prevent the wall and trim from cracking.
Try to keep the baseboards in one piece—you might use them again or match the trim style later. Removing baseboards helps the bookcases sit flat against the wall and gives your finished unit that clean, built-in look.
4. Assemble the Billy Bookcases
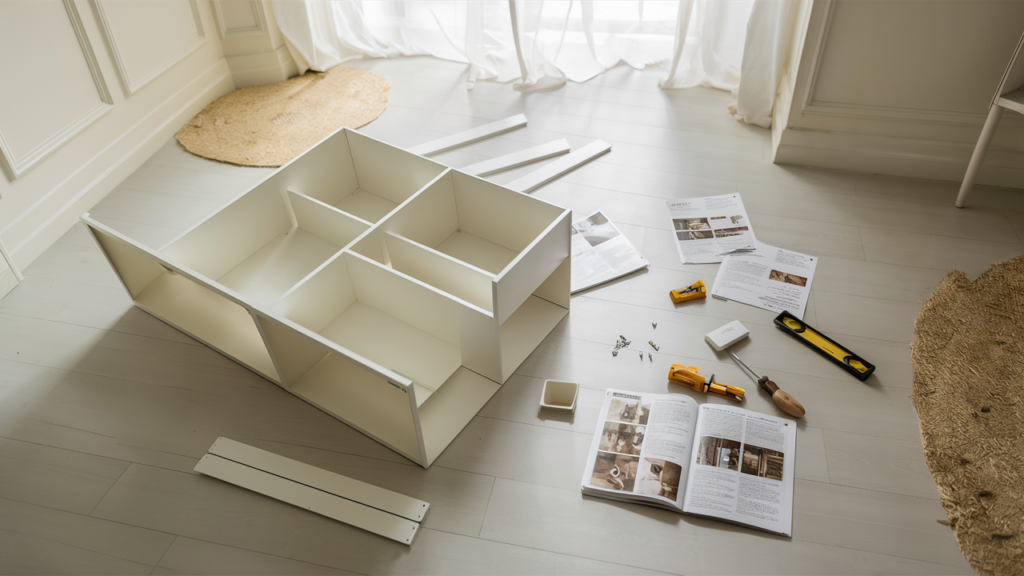
Follow the IKEA instructions carefully and build each bookcase one by one. Don’t attach the back panels yet if you plan to upgrade them later. Use a level as you go to make sure everything stands straight. Tighten screws well so the units are strong and sturdy.
Keep the shelves aside for now to make moving and attaching easier later. A crooked bookcase can mess up the whole built-in look, so take your time with each piece and double-check that everything lines up correctly.
5. Place Bookcases in Position
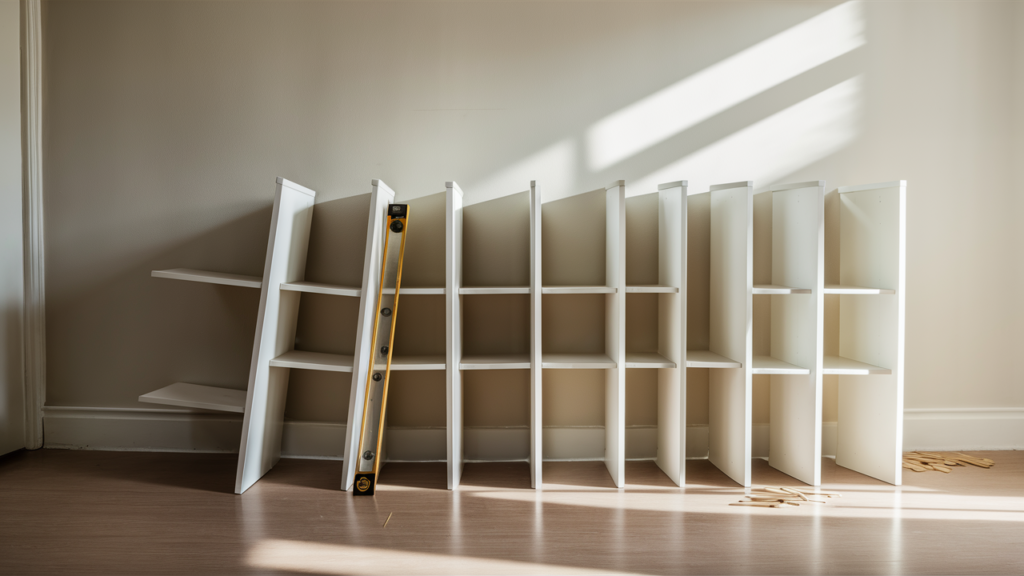
After assembling your bookcases, place them where they’ll go on your wall. Start at one end and line them up carefully. Use a level to ensure each one stands straight and tall. If your floor isn’t even, use shims under the bookcases to level them out.
If your plan includes trim, remember to leave space between units. It’s easier to fix small spacing issues now than later, after things are nailed down. Positioning everything correctly at this stage helps your project feel organized and professional from the start.
6. Secure Bookcases to The Wall
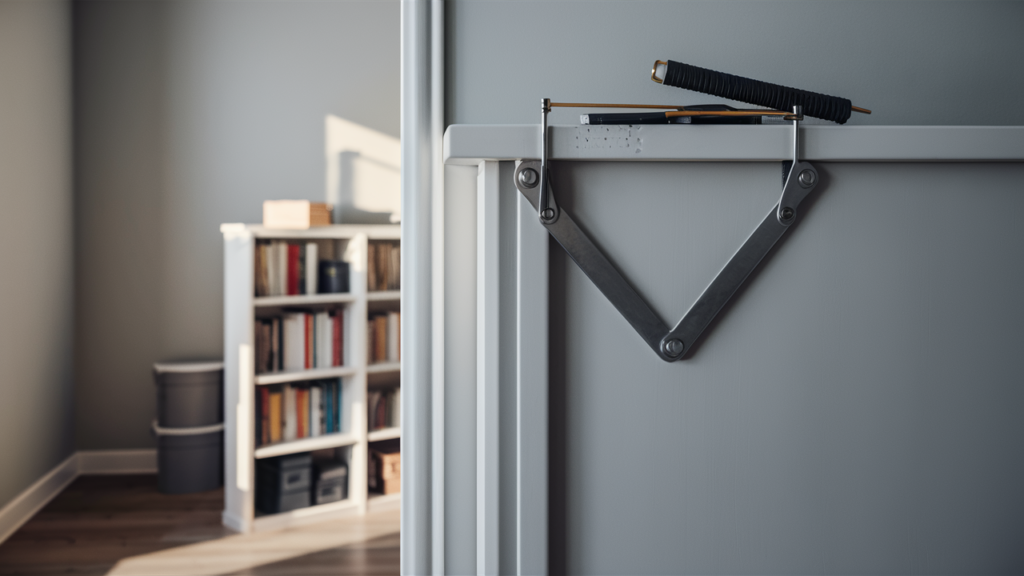
Once the bookcases are in place, it’s time to anchor them. Use a stud finder to locate the studs in your wall. Attach brackets through the back of each bookcase and into the studs with long screws. This helps the bookcases stay upright and safe, especially important if you have kids or heavy items on the shelves.
Don’t just screw into the drywall—it won’t hold over time. This step may not be fun, but it’s one of the most important for safety and long-term success.
7. Attach Bookcases
Connecting the bookcases makes your setup look like one solid piece. Clap two bookcases tightly side by side. Then drill small pilot holes and screw them together using 1¼-inch screws. This keeps everything lined up and steady.
Be careful with the drill—these panels aren’t thick, and you don’t want to crack them. Take your time and double-check that the fronts are even before moving on. When all the pieces are joined, your built-in starts to really take shape.
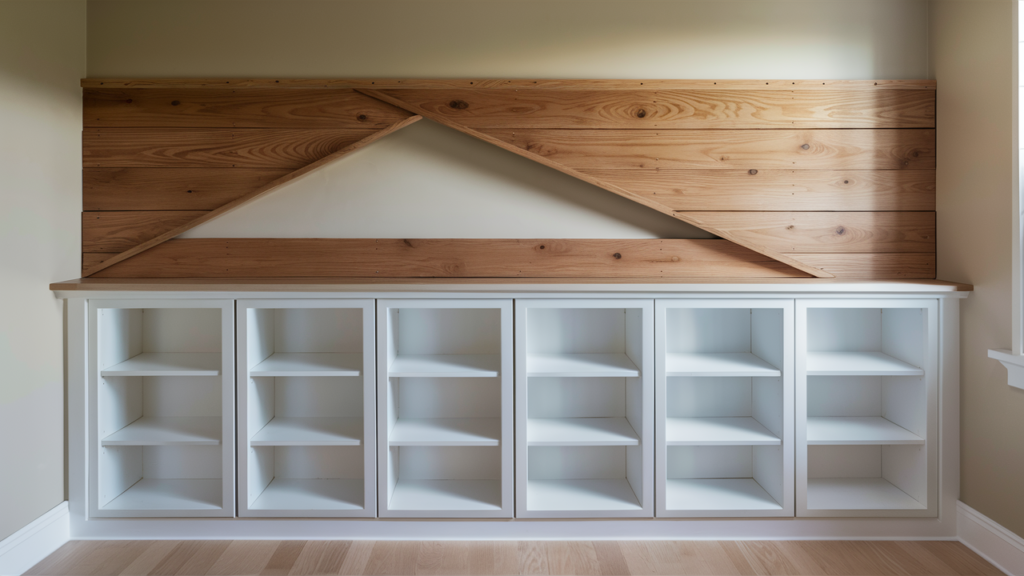
8. Add a Backing Panel
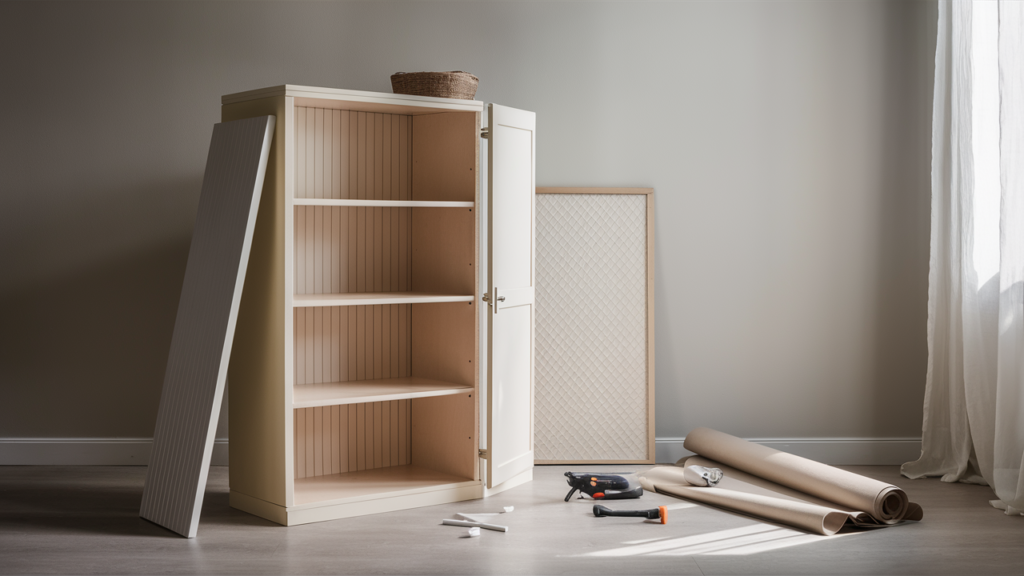
The thin backing that comes with Billy bookcases works, but it doesn’t look custom. Instead, cut sheets of plywood or beadboard to size and attach them to the back of each bookcase. You can even use wallpaper or fabric if you want a pattern or color. Staple or tack the new backing into place.
This simple upgrade adds strength and a polished look. Painting or decorating the backing before attaching it makes things easier. A well-chosen backing pulls the whole piece together and adds a designer feel.
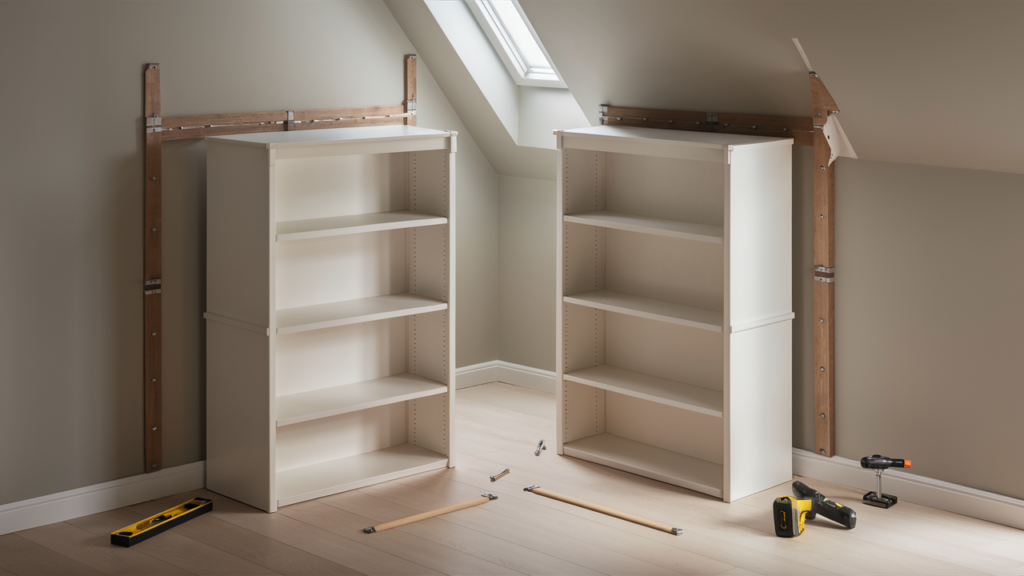
9. Build out The Base
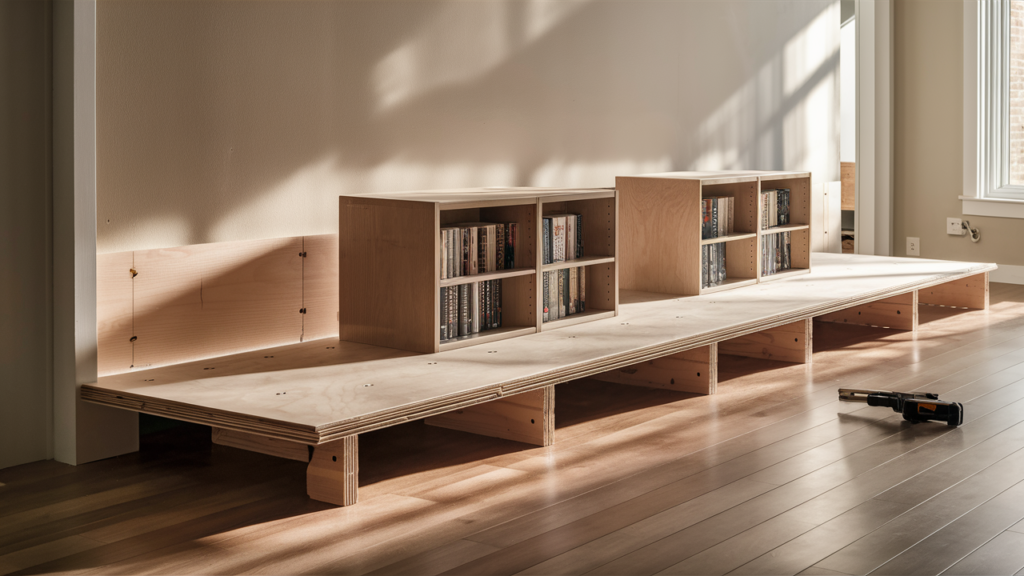
To give your bookcases that true built-in feel, build a small platform for them to sit on. Use plywood or MDF to create a base that’s about 3–4 inches tall. It should run the full width of your bookcase layout and be slightly deeper than the bookcases.
This raises them off the floor and makes space for trim. Secure it to the floor using screws or brackets. Once your base is done, place the bookcases on top. This extra step adds to the illusion that your bookcases were always part of your home.
10. Add Filler Pieces on The Sides

If there’s a gap between your outer bookcases and the wall, you’ll need filler strips. Measure the gaps at the top, middle, and bottom, since walls can be uneven. Cut plywood or MDF to fit those measurements. Attach the strips to the bookcases, not the wall, using screws or wood glue.
Once painted, these fillers blend in with the rest of the unit. This step hides uneven spacing and helps create a seamless transition between the bookcases and the walls, resulting in a fully built-in appearance.
11. Add Top Trim (Optional)
Now it’s time to give your built-in bookcases a finished top. Cut boards (like 1×8 or 1×10) to run along the tops of the bookcases. Let them hang over the front edge slightly for a more custom look. Attach them using wood glue and finish nails.
If your setup wraps around a corner, make angled cuts (miters) so the corners fit together nicely. This top board helps hide any uneven bookcase edges and makes everything feel like one unit. Once this trim is in place, you’ll really start to see your project come together.
12. Add Vertical Trim Between Units
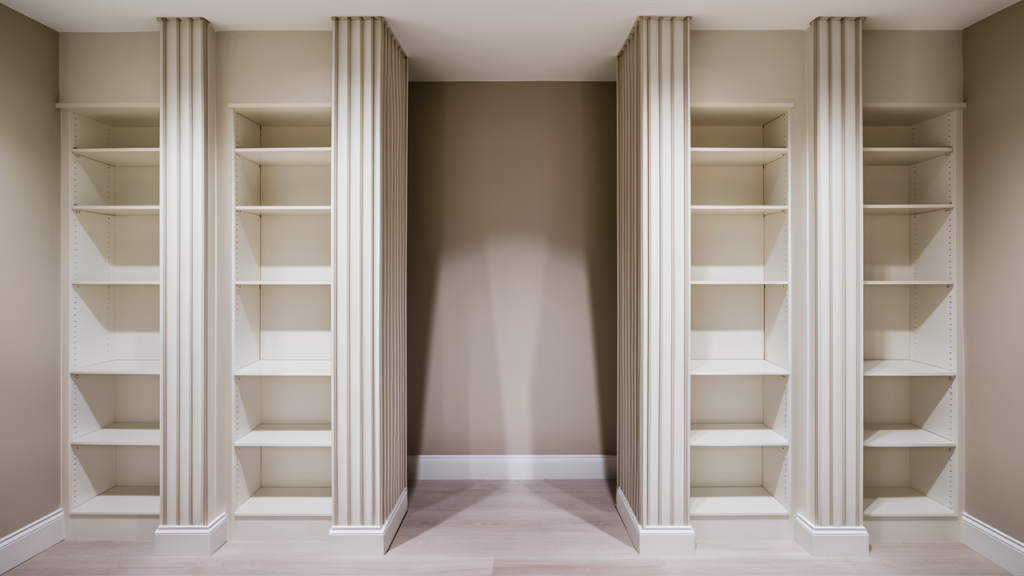
Attach vertical trim pieces to hide the seams where your bookcases meet. Use boards like 1×2 or 1×3 and cut them to the same height as your bookcases. These go over the joints between each unit and make everything look smooth and connected.
Nail them in place with a finish nailer or hammer and brad nails. If you want a more detailed look, you can also add extra trim or decorative molding. These pieces add style and hide imperfections, which helps make your DIY project look professional and polished.
13. Caulk and Fill Gaps
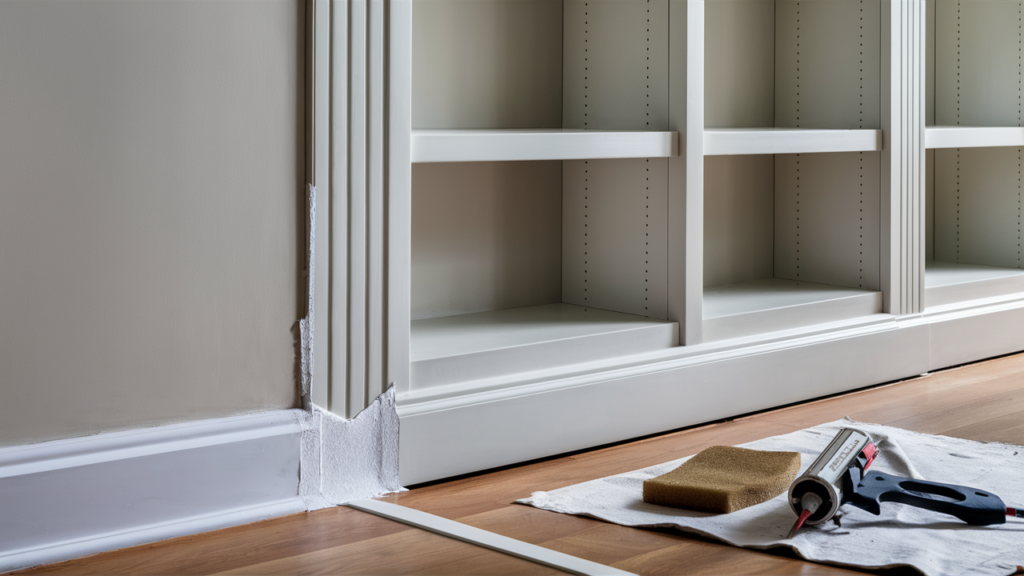
Before you paint, seal any cracks or small openings using paintable caulk. Fill tiny gaps between trim pieces and between the bookcases and the wall. Use a caulk gun and smooth it out with your finger or a damp sponge. Also, use wood filler to cover nail holes and any dents.
Let everything dry completely. Then check for spots that might need more filler or sanding. Taking time to do this now makes your paint job look smooth and clean later. It’s a small step, but it makes a big difference in the final result.
14. Sand and Prep for Paint
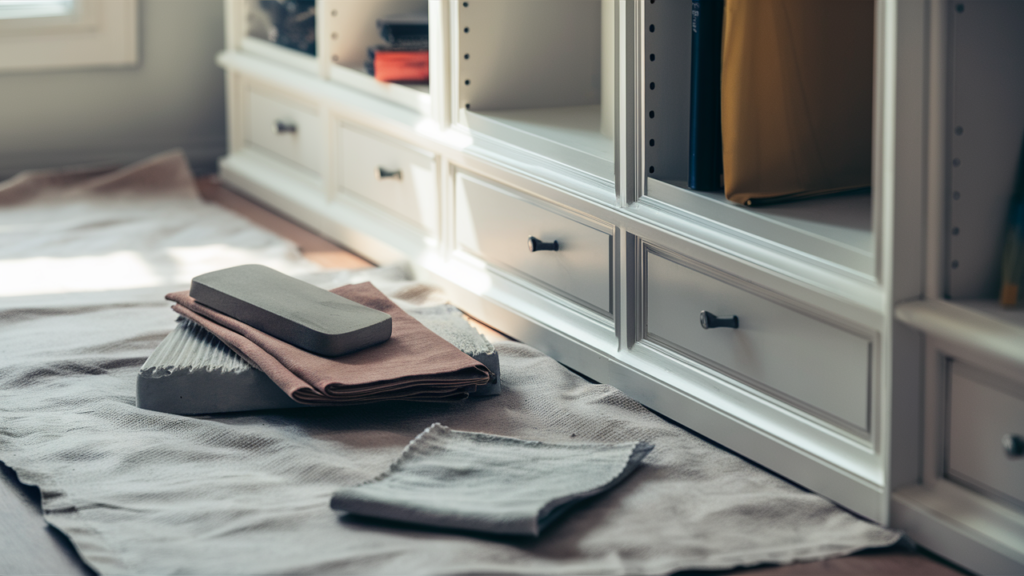
Once the caulk and wood filler are dry, you’ll need to sand all the areas that will be painted. Start with 120-grit sandpaper to smooth out rough patches. Then use 220-grit to make everything feel soft to the touch. Wipe off all the dust with a tack cloth or a damp rag.
Before painting, apply a good-quality primer to all surfaces, especially if you’re painting laminate or MDF. Primer helps the paint stick better and last longer. A little extra prep now saves you from peeling paint or uneven finishes later.
15. Finish the Entire Unit
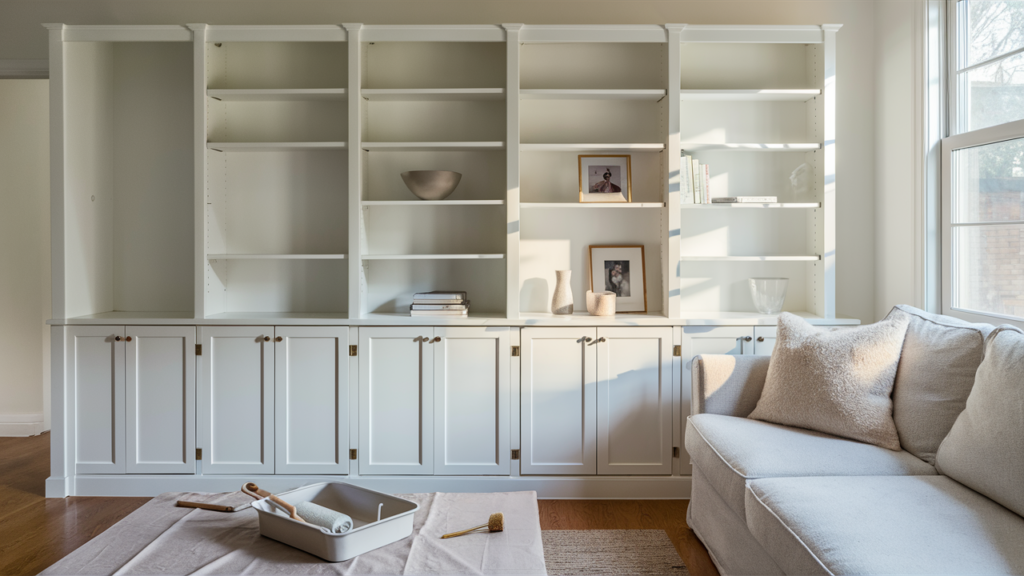
Finally, paint your built-in unit using a semi-gloss or satin finish for durability and easy cleaning. Use a roller on large flat areas and a brush for corners and trim. Two coats usually look best, and be sure to let each coat dry fully.
Lightly sand between coats with very fine sandpaper if you want a super smooth finish. Don’t rush to put things on your shelves—let the paint cure for several days so it won’t get scratched or sticky. Once dry, you’ll have a beautiful, custom-looking built-in bookcase you can be proud of.
Conclusion
You’ve made it to the finish line! After following these steps, you’ve turned basic IKEA Billy bookcases into a beautiful built-in that looks like it came straight from a designer showroom.
Not only does it add extra storage and style, but it also makes your space feel more polished and pulled together. One of the best parts about this project is how flexible it is. You can add glass doors for a more formal look, stick on wallpaper at the back for a fun pop of color, or even install LED lights to show off your favorite pieces.
As your style changes over time, you can update your built-in to match. This isn’t just about bookshelves—it’s about making your space work better for you. And you did it with your own two hands! I’d love to see how your Billy bookcase project turned out.
Share a photo or ask your questions in the comments below. You might inspire someone else to build their dream setup, too!