
Ever looked at your patio and felt something was missing? An outdoor rug can totally change the game, turning a bland space into a cozy retreat.
But let’s be real – store-bought rugs can cost a small fortune and often look exactly the same as everyone else’s. What if you could create a unique outdoor rug that:
- Reflects your personal style
- Saves you money
- Gives you serious bragging rights
You don’t need to be a craft expert. My guide will walk you through making a beautiful outdoor rug that’ll make your space feel cozier.
Whether you have a tiny balcony or a sprawling deck, we’ll show you how to create something special with simple tools and a bit of creativity.
Ready to upgrade your outdoor space? Let’s get started!
Tools and Materials Needed
- 6×9 gray indoor/outdoor rug (Home Depot – $19.98)
- Extra cardboard for the stencil
- FrogTape (painter’s tape)
- Exterior paint (Clark + Kensington Satin Enamel)
- Foam paint roller and paint tray
- Scissors or a box cutter
Step-By-Step Instructions for Making an Outdoor Rug
Turn your outdoor space into a custom rug that reflects your style and creativity. Follow these detailed steps to bring your vision to life.
Step 1: Choose Your Rug
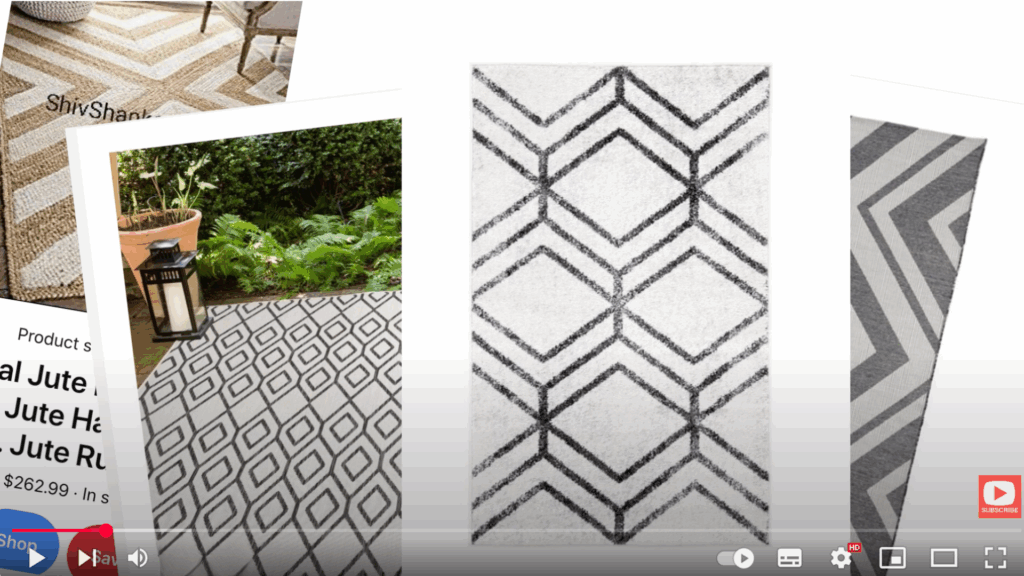
Start by selecting a simple and affordable rug as your base. In this case, a 6×9 gray rug from Home Depot was used, costing only $19.98.
It’s the perfect neutral backdrop for bold geometric patterns and holds up well outdoors.
Step 2: Create Your Custom Stencil
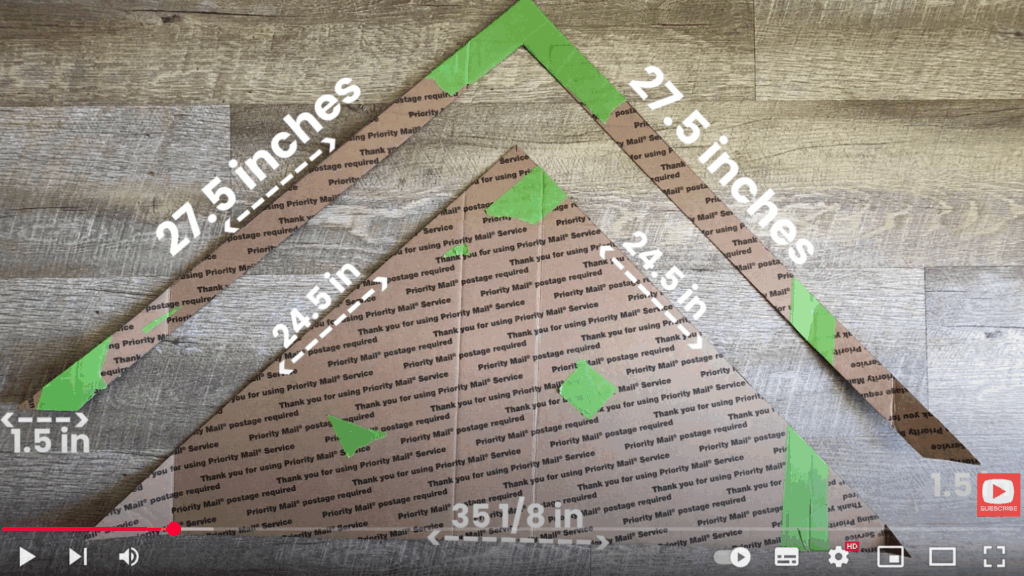
Next, use leftover cardboard to cut out a custom stencil. A triangular shape works great, along with a thinner strip for added detail.
These shapes will help you build a repeating geometric pattern. Don’t worry about making them too precise; clean edges are more important than perfection.
Step 3: Tape Your Design
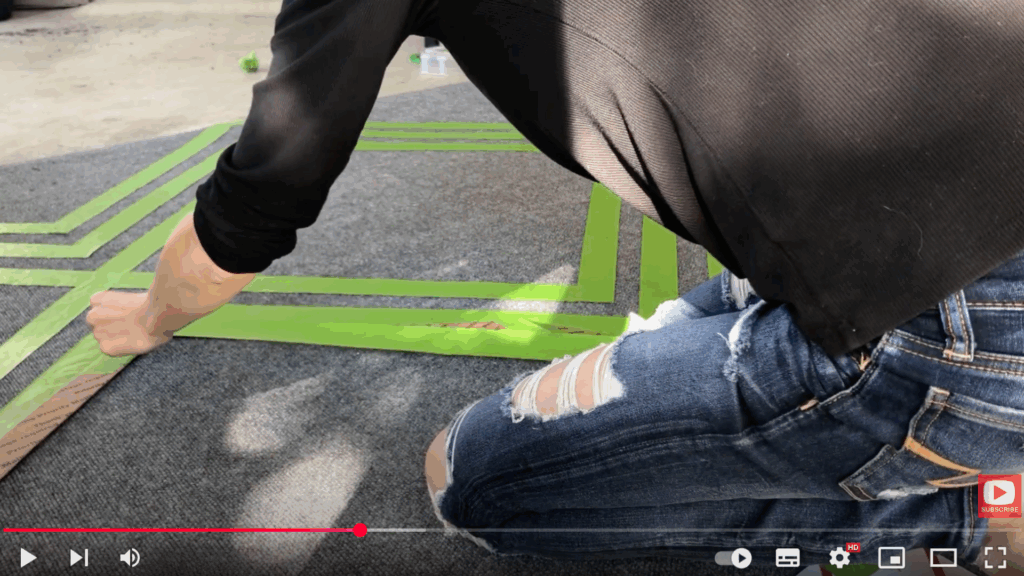
Place your triangle stencil at one end of the rug and tape around it using FrogTape. Then flip the stencil to the opposite angle to start forming a diamond-like pattern.
You can mirror this process as you move up the rug, layering the thinner stencil piece above the triangle. The tape doesn’t have to be exact; it’s meant to serve as a guide for painting.
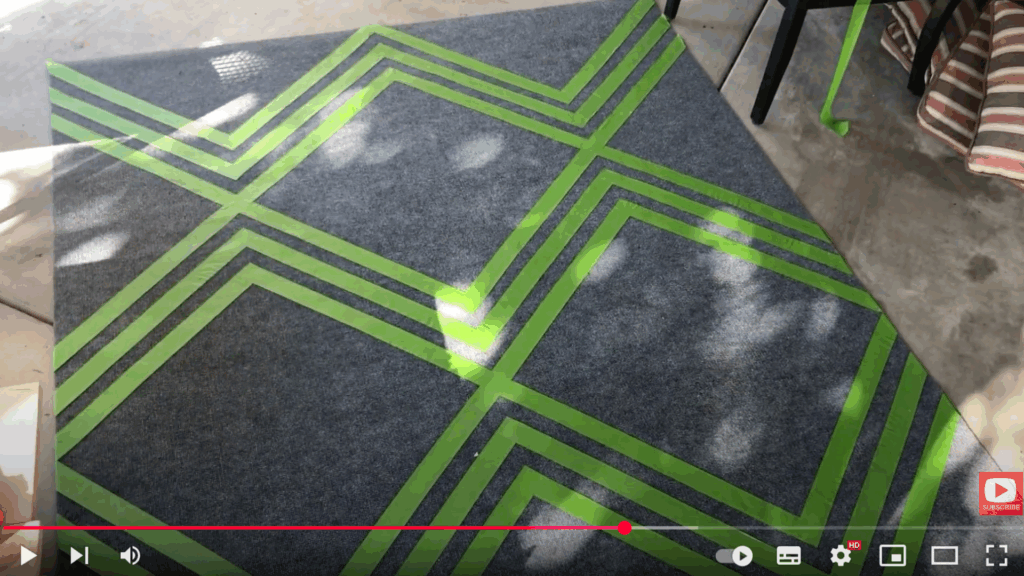
Step 4: Continue Building the Pattern

Keep repeating the taping process, flipping the triangle, and adjusting as you go. This helps the design flow from end to center and mirror out.
Make sure your cuts are clean and edges sharp; this will keep the geometric pattern crisp and eye-catching. By the halfway point, the pattern should really start coming together.
Step 5: Finish the Edges
At the end of the rug, you might notice that the shapes don’t align perfectly. That’s totally fine! Adjust by reducing the number of lines or tapering the final shapes.
For this rug, only two lines were added instead of three at the very end to keep it visually balanced.
Step 6: Start Painting
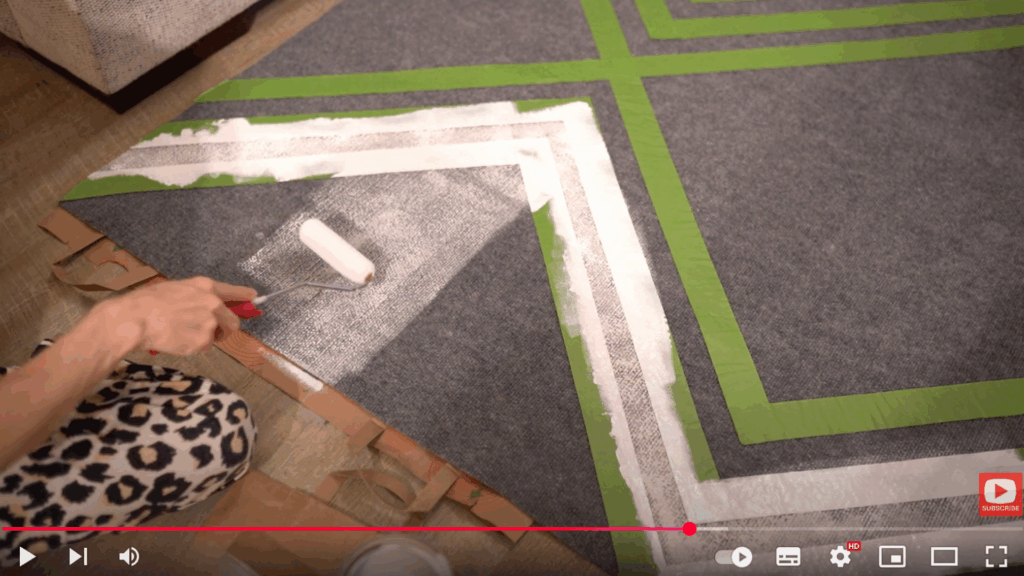
Once the design is fully taped off, it’s time to paint. Use an exterior-grade paint like Clark + Kensington Satin Enamel.
Apply the paint using a foam roller, being sure to press down firmly so the paint reaches into the rug’s ribbed texture. Expect a grainy, layered look; it gives the rug texture and beauty.
Step 7: Let It Dry and Peel the Tape
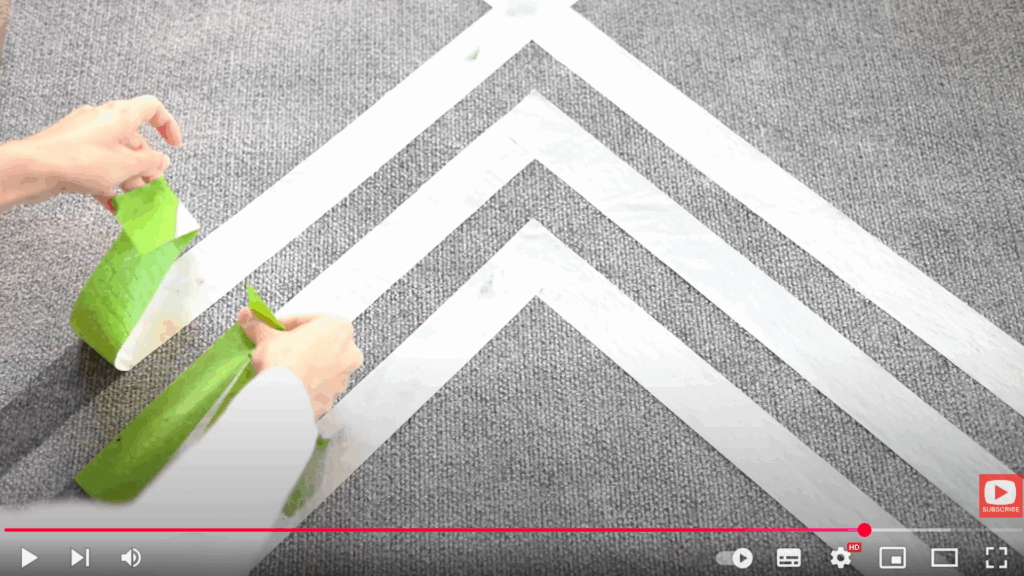
After painting, let the rug dry thoroughly. This particular paint dried quickly overnight. Then carefully peel off the tape to reveal clean, sharp lines.
The result is a modern, high-contrast geometric design that looks far more expensive than it actually is.
This step-by-step tutorial is based on an excellent video from Valerie Aguiar. A big thanks to her for sharing such a clear and detailed guide. You can watch the original video on her YouTube channel here or view it below.
Affordable Ways to Make Outdoor Rugs on a Budget
Create a beautiful outdoor rug without breaking the bank. Learn clever ways to turn everyday materials into a personalized floor covering that reflects your style and saves you money.
- Drop cloths are inexpensive, versatile, and durable—perfect for DIY rugs.
- Look for old area rugs, vinyl remnants, or heavy-duty fabric as alternatives.
- Thrift stores are great for finding DIY supplies, like $2 vinyl scraps.
- Dollar stores offer budget-friendly materials, and garage sales are hidden gems.
- Use items you already have: cardboard for stencils, leftover paint, and old brushes.
- Repurpose old items like bedsheets or leftover paint for a stylish, sustainable DIY project
Tips for Weatherproofing and Maintenance
Protect your DIY outdoor rug from sun, rain, and wear with smart maintenance strategies. Learn how to keep your creation looking fresh and lasting longer, no matter the weather.
Sealing Your DIY Masterpiece
When I first created an outdoor rug, I quickly learned that protection is key. Waterproofing isn’t optional – it’s essential. A clear, outdoor-grade polyurethane spray becomes your rug’s best defense.
The application matters more than you’d think. I found that two light coats provide better protection than one thick layer.
Think of it like painting – patience pays off. Spray in smooth, consistent motions, allowing each coat to dry completely. This technique prevents drips, bubbles, and uneven coverage.
Sun and Rain Defense
UV rays are your rug’s silent enemy. Fabric sealants with UV blockers become your protective shield. Preventing color fading is easier than fixing it later.
Always spray both sides of the rug. Why? Because protection isn’t one-sided. Choose a dry, calm day with minimal wind. Early morning or late afternoon works best. This ensures even application and faster drying.
Cleaning Without Stress
Dirt happens. But spot cleaning doesn’t have to be complicated. My go-to method? Simple solutions work best. Mix mild soap with warm water.
The key is gentle treatment. Dab – never scrub. Harsh rubbing destroys your careful work. For stubborn stains, white vinegar is surprisingly effective. Always blot gently, never rub aggressively.
Seasonal Storage Secrets
Seasonal changes demand smart storage. Winter can be tough on outdoor rugs. Roll your rug, never fold. Folding creates permanent, ugly creases.
If indoor space is limited, invest in a waterproof storage bag. My favorite space-saving trick? Hang the rolled rug on a wall hook.
Quick Maintenance Checklists
Keep your rug looking fresh with these simple steps:
- Shake out debris weekly
- Vacuum monthly
- Reapply sealant annually
- Store during extreme weather
Remember: Consistent, small efforts prevent big problems. Your DIY rug can look great for years with smart care.
Conclusion
You’ve just created something special. That rug isn’t just fabric and paint – it’s a reflection of your creativity. Every detail tells your story.
The best part? You saved money and made something unique. Your outdoor space now has a personal touch that no store-bought rug could match.
If you’re feeling inspired, consider trying similar projects like:
- Painted outdoor cushions
- Simple garden decor
- Personalized plant holders
I want to see your work! Share a photo in the comments. Need help with any step? Just ask. Your DIY community is here to support you.
Creativity comes from trying. This rug is your first step into a world of making something beautiful with your own hands.