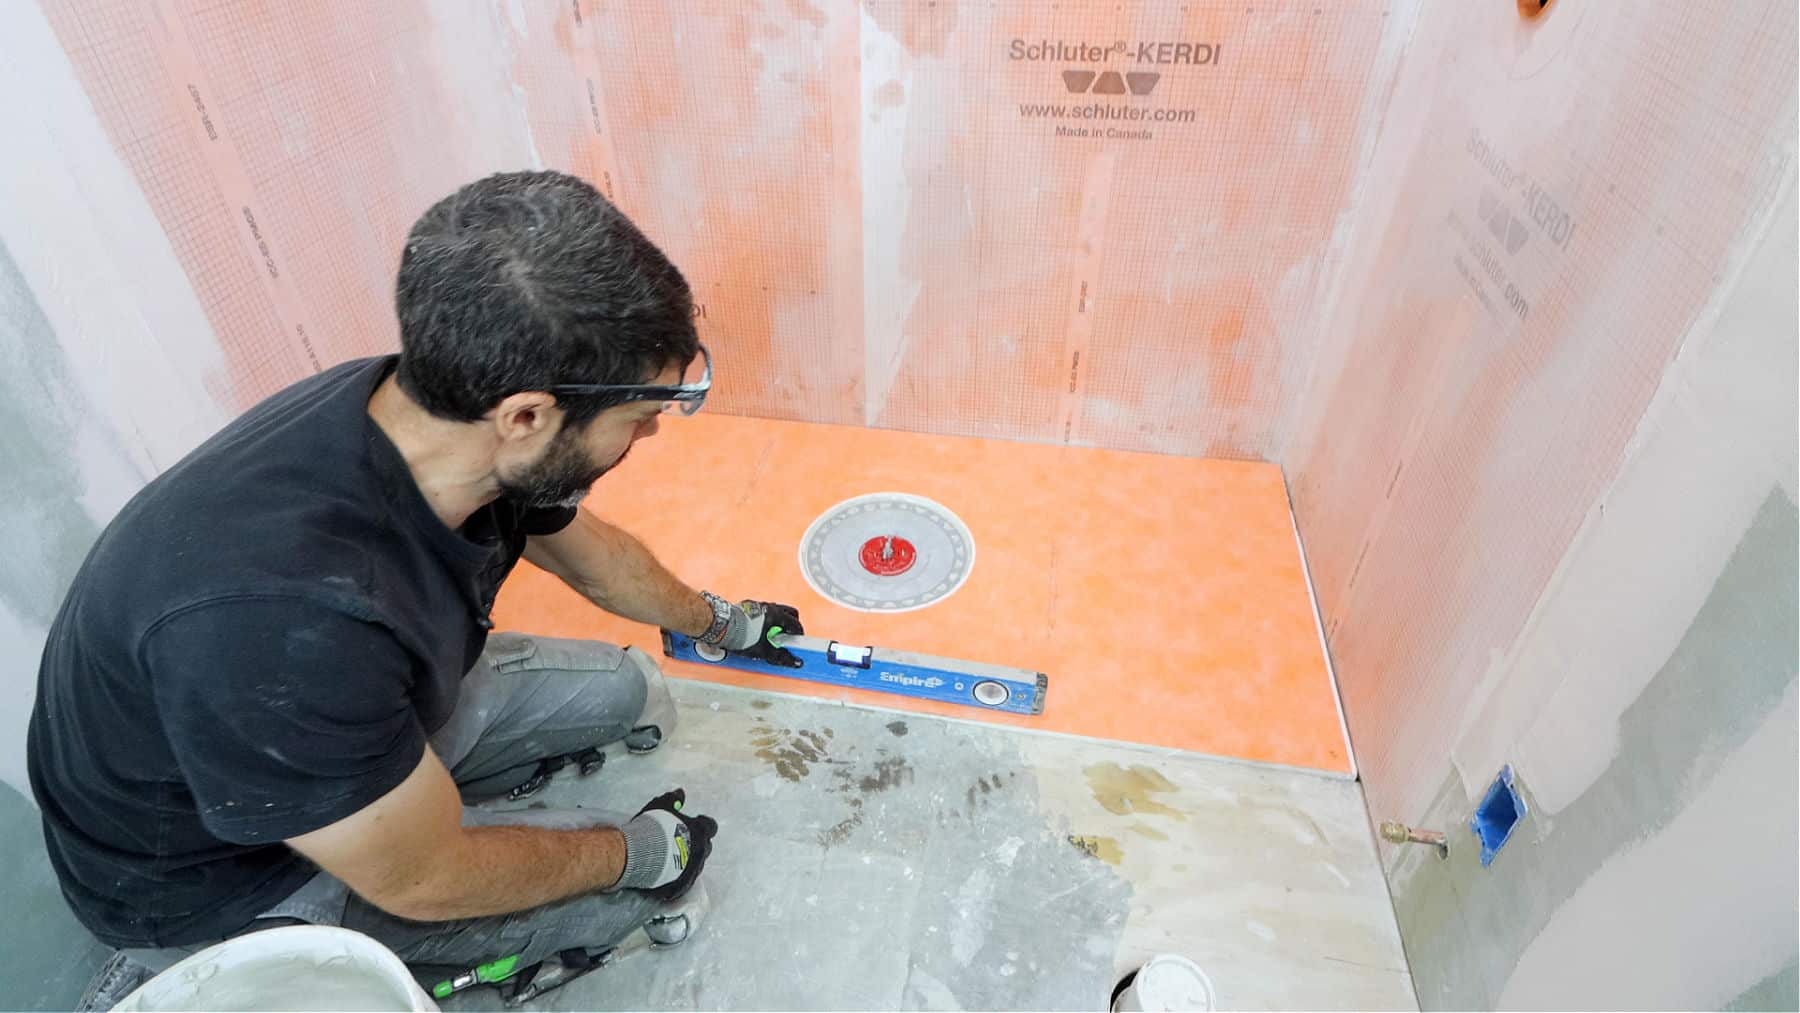
Thinking of renovating and waterproofing your shower for a new look? Go through this easy DIY to prepare your shower for tile with Schluter Kerdi. Whether it is the exterior or interior of the house, many places are prone to dampness which in turn results in water leakage and damage to walls.
A foolproof waterproofing solution is necessary for areas like the bathroom, kitchen, roof, attic, basement, deck, and outer walls, as they are constantly in touch with water.
One of the home projects that can be DIY by anyone is installing a Kerdi shower pan in the bathroom. The shower area is vulnerable to damage from moisture, salt deposits, and mold growth. Hence it becomes necessary to waterproof the area effectively. The Schluter Kerdi shower system consists of an entire package that has all the water-resisting components for a damp-proof shower area.
Replacing shower tiles by a professional can get out of budget, but with the help of the Schluter Kerdi shower kit, preparing a shower for tile has been made a simple task.
Here is a simple DIY technique for tiling a Kerdi shower pan that can be done by anyone and give your shower a whole new look and protect it from getting saturated even after regular use.
What are the Materials Required for a Kerdi Shower Pan?
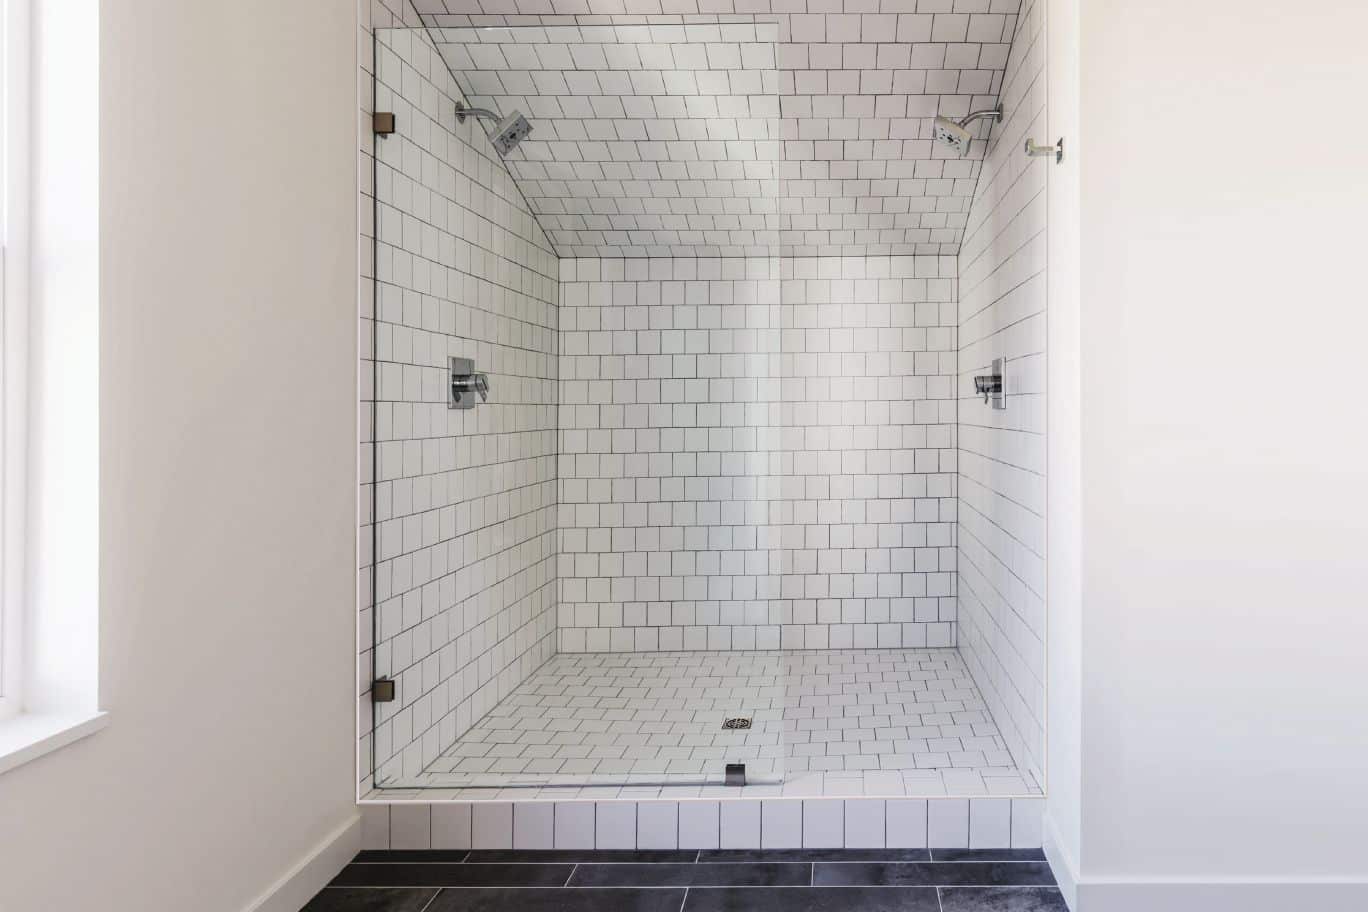
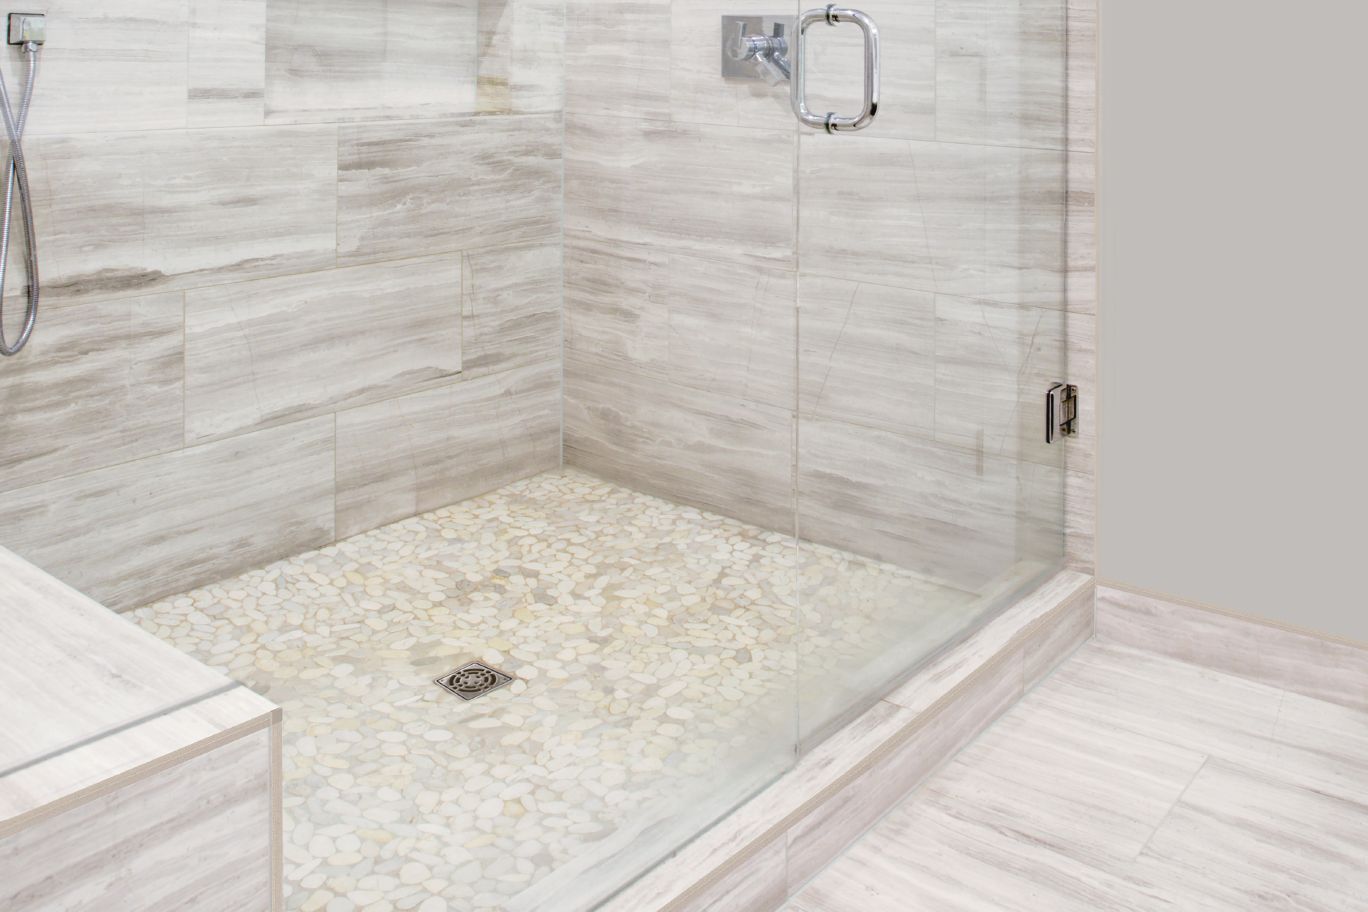
Kerdi shower pans are an effective way of waterproofing the shower. You get an entire Kerdi shower kit that is not only lightweight but easy to install. Before installing the tiles on the Kerdi shower pan, dry fit them on the floor, so you can properly cut them without gaps and wasted material, and you can get a nice, clean fit.
Begin waterproofing your shower pan by purchasing a Schluter Kerdi shower kit. These shower pans are pre-sloped towards the shower drain and are easy to DIY. The dry fitting of tiles is an important process while installing a Kerdi shower pan. For an elegant view, you can consider placing mosaic mesh tiles on the floor. With the help of a tile cutter, place them in lines and snap them according to the size required.
Cutting the shower drain area can be tedious, especially when you are dealing with mosaic tiles. There are chances of breakage of the tiles. Hence you can install individual tiles and rerun a dry fit. For the area above the shower drain, you’ll need to cut the tiles by marking the location and cutting it with a Dremel tool. If you want a precise cut, you can use a diamond blade.
How to Install the Schluter Kerdi Components?
The Schluter all-set thin-set is a specialized mortar for Schluter membranes and boards. This mortar can be easily applied to install the tile in both a horizontal and vertical manner. Mix the thin set in the right ratios as per the instructions to make sure that you get a good bond when you apply the tiles. Later on, apply the paste on the shower floor with the help of a V-notch trowel.
Move ahead with placing the pre-cut tiles in their position. Before pressing them down to the thin set, cross-check their position so that there are no gaps or overlapping. Make sure that the grout spacing and orientation of all the tiles are to the point to have a cleaner look. Instead of placing the tiles directly on the thin set, consider dragging them to their place. This way, you avoid tiles bulging on each other, getting stuck, and getting a sleek look.
Install the Kerdi drain that comes along with the kit. Apply thin-set mortar and press the drain flange into the mortar. Make sure it is installed on a level.
Cover the area over the flange and the drain surroundings with mortar. Comb the additional mortar using the notched side of the trowel and install the Kerdi Collar over the drain. Press it firmly so that it establishes a good bond. Later on, when all the tiles are attached to the thin-set, wipe the excess mortar before it dries on the tiles and grout lines for a better look.
How to Prepare a Kerdi Membrane in the Shower?
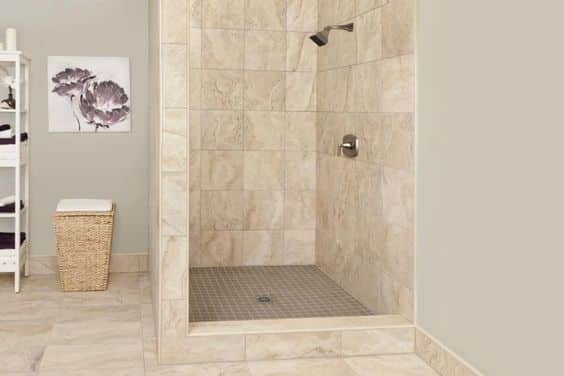
The Schluter Kerdi shower kit offers all the tools needed to create a waterproof, vapor-tight shower assembly. This kit consists of all the components necessary to prepare your shower for tile in one package.
- To protect the walls from moisture and the damage caused by it, the kit consists of a roll of Kerdi waterproofing membrane.
- The first step to preparing a shower for waterproofing is attaching backer boards or gypsum boards for solid backing to shower walls. These boards are lightweight and easy to install; along with this, they have a moisture barrier and are mold-resistant.
- Clean the backer boards with a damp cloth to remove all types of dirt and grease. After this, apply the thin-set mortar that is mixed to a somewhat fluid consistency to attach the Kerdi membrane.
- Apply a thin layer of mortar to the wall with the flat side of the trowel so that solid contact is established with the board and membrane. After this, comb the additional mortar with the notched side of the trowel.
- Cover the shower walls with the Kerdi membrane up to the showerhead, as the entire area is constantly in contact with water. With the help of a drywall finishing knife, press the membrane to the board so that you remove air pockets.
- Install the Kerdi membrane on adjacent walls in a similar manner. It is advised to overall two membranes up to 2 inches to maintain a waterproof factor. For covering the seams, first, apply the thin-set mortar with the flat side of the trowel and then apply Kerdi bands on the joint.
- The Schulter Kerdi shower kit also consists of Kerdi seals that are installed on the pipe protrusion and valves. Apply the thin-set mortar in a circular manner around the valves and attach the seal around them. Fix the seals deeply into the mortar so that good contact is established.
- Kerdi fixes or any other suitable sealant can be used around taps, valves, and showerheads. This entire process makes the wall waterproof and vapor-tight.
- Go through these stepwise guides for an easy installation of the Kerdi membrane and prepare the shower for tile with Schluter Kerdi.
How to Install a Kerdi Shower Tray?
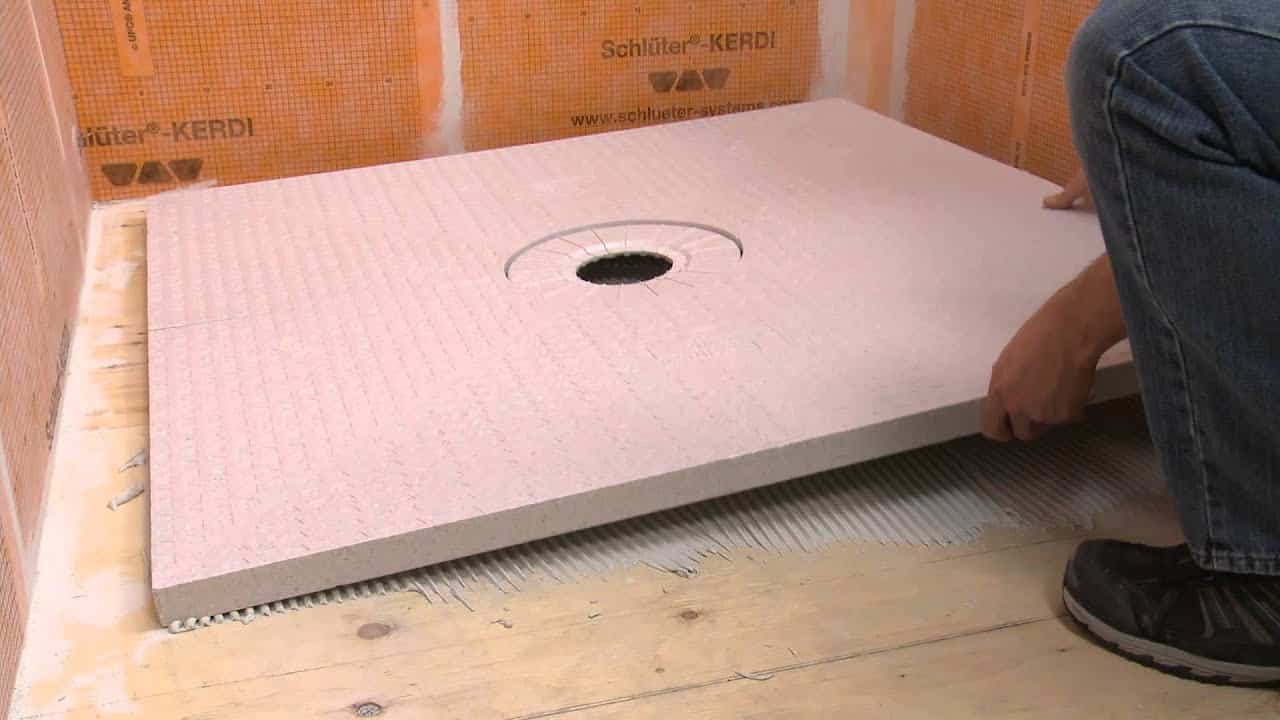
Shower trays are an important element as they direct the water straight into the drainage hole and prevent water logging. The rectangular or square shower tray not only looks good but also has practical applications.
These shower trays come with a slight tilt, which makes the water flow directly into the drain holes. The Schluter Kerdi shower tray saves you time and money from remodeling the entire bathroom, as the trays are easy to install.
If your shower floor is not at a level, begin by leveling the floor. Clean the entire floor with a vacuum to remove all dust and debris. Mix the concrete leveler as per the instructions and then apply it on the floor with the help of a trowel.
This helps level all the corners. Now that your floor is leveled, you can install the Kerdi shower tray. Apply the thin-set mortar on the leveled surface before installing the shower tray.
Kerdi shower trays are ideal for all types of shower floors as they can be cut to the required size with the help of a utility knife if they are oversized than the shower pan. If the size is smaller than your shower pan, you can add a dry-pack mortar in the remaining area. To cover the corners of the lower wall Kerdi Kereck is installed.
This helps in preventing leakage and resisting mold growth in the shower area.
With the help of mortar and a dry knife, embed the Kerecks into the mortar so that they gel properly with the mortar and prove to be effective. Now apply the Kerdi bands on top of the Kerecks.
Make sure that there is an overlap of 2 inches at the junction. Fold the Kerdi band before installation, which will help maintain the tight corners and make the tile setting an easy process.
How to Install a Kerdi Shower Curb?
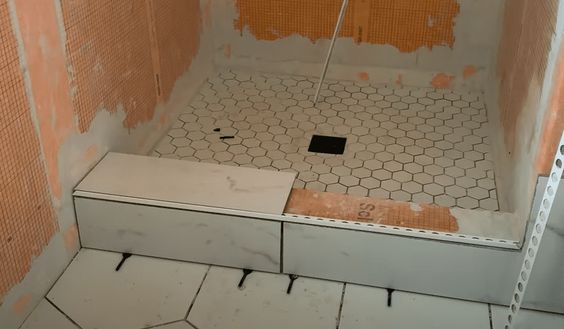
Shower curbs play an essential role in keeping the water inside the shower or pan, saving the outside bathroom tiles from getting wet and damaged. The shower curb is like a step between the bathroom and the shower pan. Kerdi shower curbs not only keep the water at bay from entering the rest of the bathroom but also protect the curb from mold growth.
The Schluter Kerdi shower tray comes with a Kerdi curb that can be cut to the required size. Apply thin-set mortar to the sub-floor, edge of the shower base, and walls, and then press the curb against the walls. Cross-check that the curb is on the level with the help of a leveler. Install Kerdi bands and Kerdi Kereck by applying thins-set mortar on the remaining sides of the shower to ensure that the entire shower area is waterproofed.
How to Perform a Water Test in a Kerdi Shower Pan?
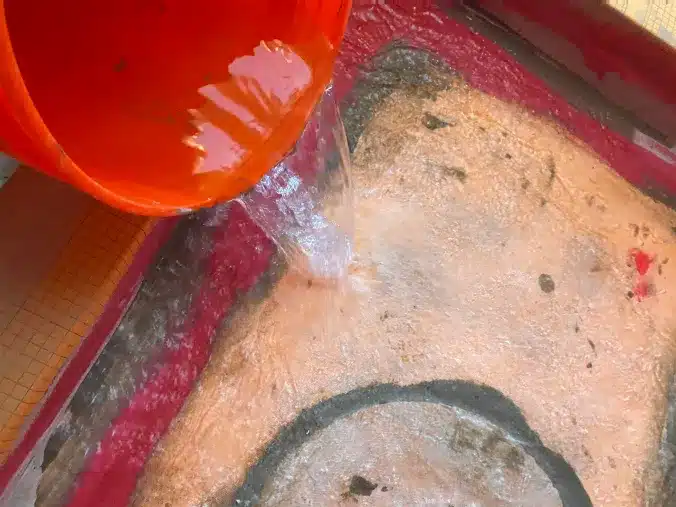
To ensure that the Schluter Kerdi shower system has been installed properly and is waterproof, make sure you go through the water test. A water test is recommended before setting the tile in the pan so that you can cross-check if there are any water leaks and ensure the assembly of the membrane, Kerecks, and bands have made a waterproof shower pan.
Begin by sealing the drain with a test plug and filling the shower pan with water after 24 hours of Kerdi membrane installation. This will allow the mortar to settle and establish a good bond with the membrane, which in turn ensures waterproof performance. Keep the shower pan filled with water for at least 24 hours.
The water level should be high enough from floor to wall that can be measured. Mark the water level on any one wall with a marker.
Check the water level to make sure that there are no leaks. Later, remove the test plug and allow the water to drain. Before setting the tiles, wipe the shower pan and allow it dry. If there are no leaks and no re-work, you can move ahead to tile the shower pan. The entire Schluter Kerdi shower system is a highly efficient and practical way to renovate the shower pan and reduce the instances of mold growth, leaks, and salt deposit in the corners of the shower pan.
How to Install Kerdi Niche?
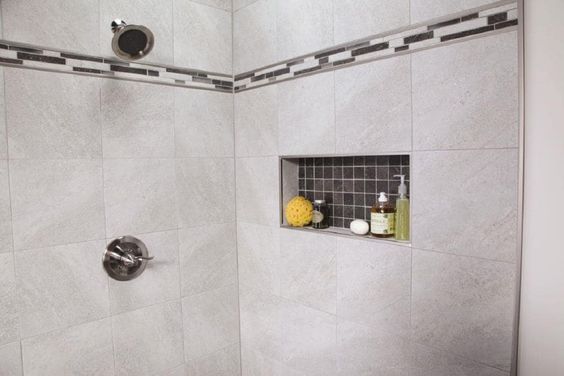
Shower niches are a handy way to keep the soap, shampoo, and other bathing material in your shower pan convenient and neatly organized. Shower niches come in a variety of size and shape to grab attention and look aesthetic. The Schluter Kerdi shower system also has a fabricated shower niche made up of Kerdi board, that is not only waterproof but also easy to install and functional.
- The Schluter Kerdi boards come in a variety of sizes and can even be cut to your shower requirement. With the help of shower niches, you can create your tile shower to perfection and add subtle elements of design.
- Begin by installing the wall tile. Tile layout is an important factor as it will determine the position of the shower niche. You don’t want to place the niche too high or too low as the shower will be used by different age group people.
- Placing a shower niche too low can cause water logging, and too high can be inaccessible to many. Hence place the shower niche in the middle or 5 feet height.
- While installing wall tiles, try to minimize the tile cuts and have even grout lines. This saves a lot of time and looks even and beautiful.
- As you are working on the vertical space of the shower pan, consider points like shower base thickness, mortar layer, and grout width while installing a shower niche.
- Install the niche by cutting the backer board and making sure that the vertical space, including the niche, is treated with the Kerdi membrane.
- Move ahead with tile and profile installation. You can consider placing the profile anchoring legs on the inside surface of the niche or the outside surface of the niche.
- Start applying thin-set mortar from the bottom to the top fashion. The second tile’s top will align with the bottom of the niche. Embed the tiles towards the mortar so that they establish a bond.
- Cover the shower niche with a thin-set mortar and place a tile on the back of the niche. This will help hide any cut tile edges. Press the tile firmly toward the cannon. Similarly, cut the side tiles after measuring the niche sides.
- Clean any excess mortar from the tiles and niche so that the mortar doesn’t settle.
- Allow the tiles to set, and then grout the assembly with thin-set mortar to finish the installation. Immediately clean the grout with a damp cloth.
Conclusion
The Schluter Kerdi shower kit has all the required materials for renovating a shower pan and making it waterproof and vapor-resistant. Materials like glass, steel, and other decor items are used in a bathroom to make them look aesthetic. These materials do elevate the space but are hard to maintain and clean regularly.
Glass, steel, and other materials harbor salt deposits, mold, and hard water stains, which in turn reduces the elegance of the bathroom. Moreover, waterproofing the shower pan is very necessary for a durable shower.
The Schluter Kerdi shower kit not only overcomes all shower-related issues but also gives the bathroom a visually interesting look, just like other materials. Since the tiles are not waterproof, there is a risk of damage and mold growth. Hence the Kerdi membrane is necessary as it effectively manages moisture.
With the help of the above step-wise guide, anyone can DIY and prepare the shower for tile with Schluter Kerdi.

