
Velvet is a fabric I’ve always loved for its soft feel and rich, luxurious look. It adds elegance to clothing and home decor, but I know from experience that dyeing velvet can be tricky.
Its thick pile and texture can easily cause watermarks or uneven color. If you’ve ever tried to dye velvet and ended up frustrated, you’re not alone. I’ve been there too.
In this article, I’ll walk you through clear, easy steps to help you dye velvet successfully.
I’ll cover common issues like color running, how to fix them, how to prep your fabric, and which dyes actually work best.
You can trust this guide because it’s made for real people who want real answers, not confusing jargon or overcomplicated steps.
Understanding Velvet Fabric
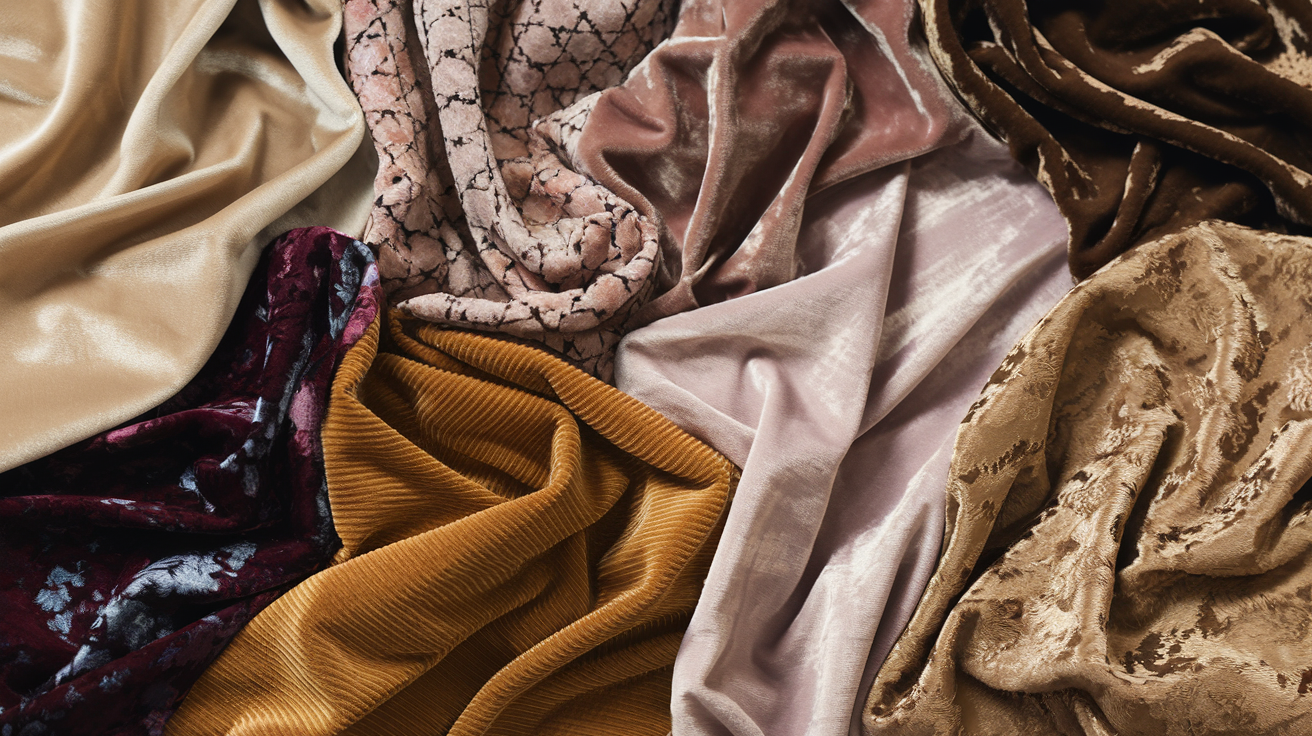
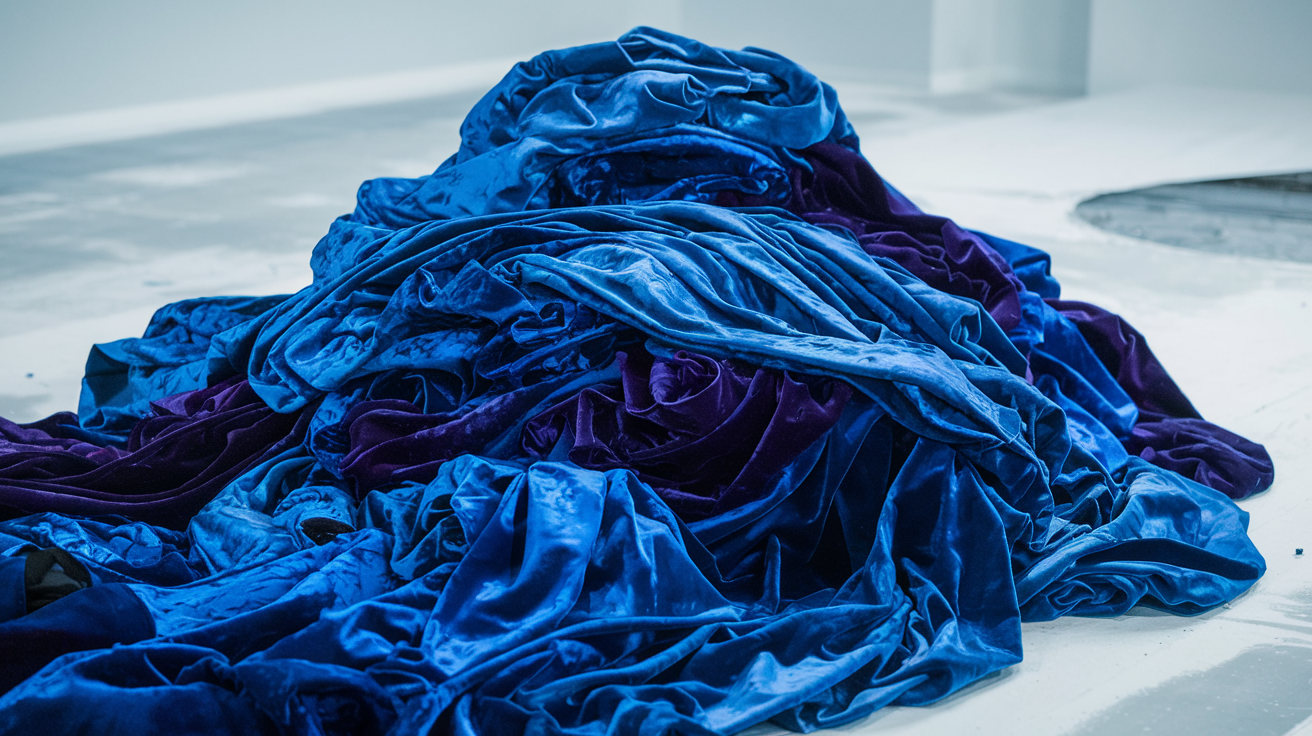
I want to start by explaining velvet. Itis a soft fabric with a fuzzy surface. It feels smooth and plush, almost like little hairs standing up. That texture is what makes velvet special. It catches light, so it looks rich and shiny.
Now, velvet isn’t all the same. It can be made from different fibers. Some velvet is natural, like silk or cotton. Others are synthetic, like polyester or nylon.
This matters when you dye it. Natural fibers soak up dye better, while synthetic ones can be trickier because they requirespecial dyes or techniques.
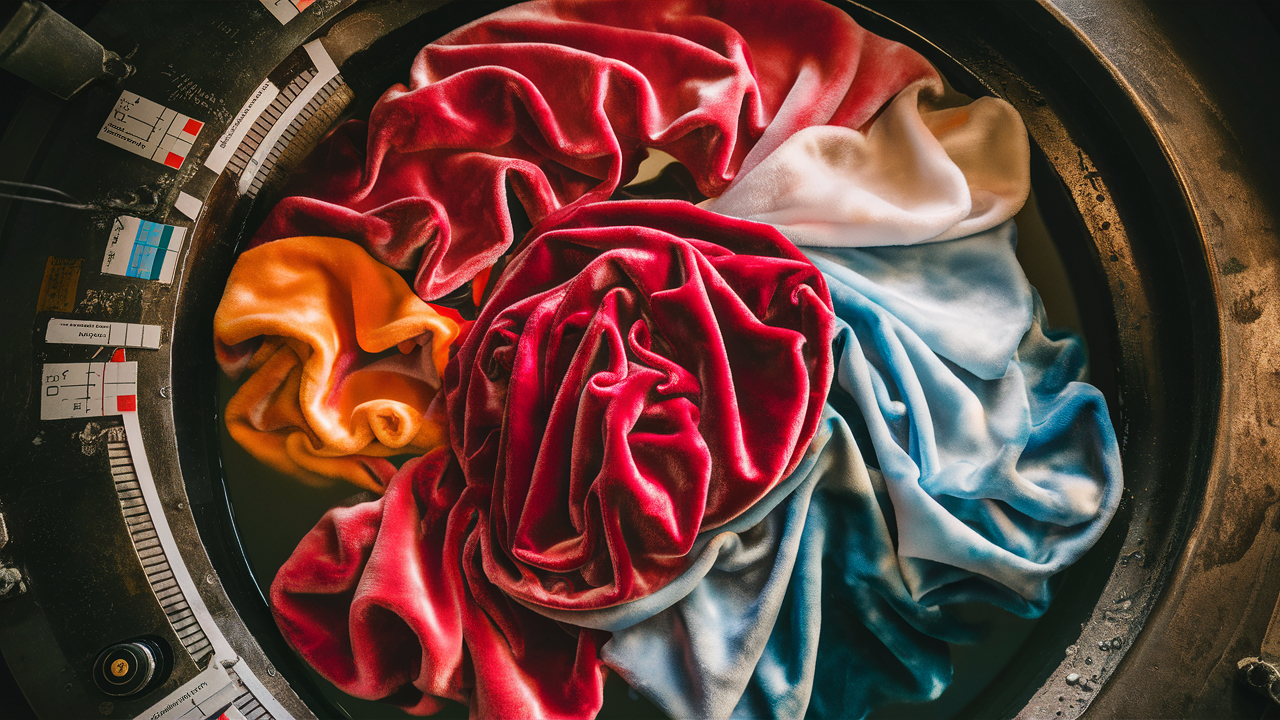
There are also different types of velvet. You have plain velvet, which is smooth and even.
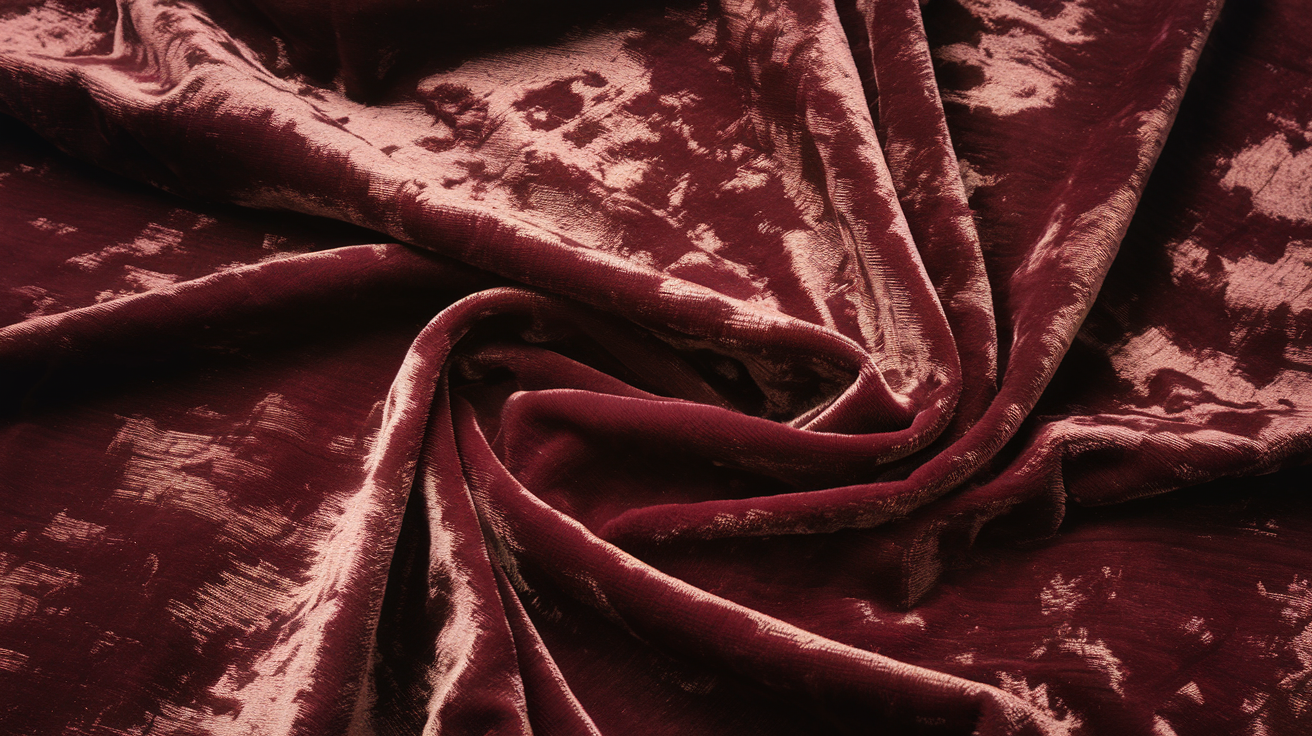
Then there’s crushed velvet, where the fabric looks wrinkled or crumpled on purpose. It gives a shiny, uneven look. And finally, embossed velvet, which has patterns pressed into it.
Each type takes dye differently. Plain velvet usually absorbs color evenly. Crushed velvet, because of its texture, can be a bit uneven. Embossed velvet might have some spots that hold dye more or less, depending on the pattern.
Knowing what kind of velvet you have is key. It helps you pick the right dye and method. Otherwise, you might end up with surprises, and no one wants that!
Common Issues When Dyeing Velvet
Velvet can be tricky to dye due to its dense pile and fabric blend. Uneven coloring, matting, and fiber damage are frequent problems to watch out for.
1. Color Running (Bleeding)
Color running happens when the dye leaks or spreads after you’ve dyed the velvet. This can make the color look faded or blotchy.
It usually happens because too much dye was used, the velvet wasn’t rinsed properly, or the dye type didn’t suit the fabric.
Many people struggle with this problem, but it can be controlled with the right techniques.
2. Uneven Color Saturation
Velvet’s thick pile can absorb dye unevenly, leaving some areas darker or lighter than others. This patchy look happens if the dye isn’t spread evenly or if the dye concentration is off.
Applying the dye carefully and using the right amount helps get a smooth, consistent color.
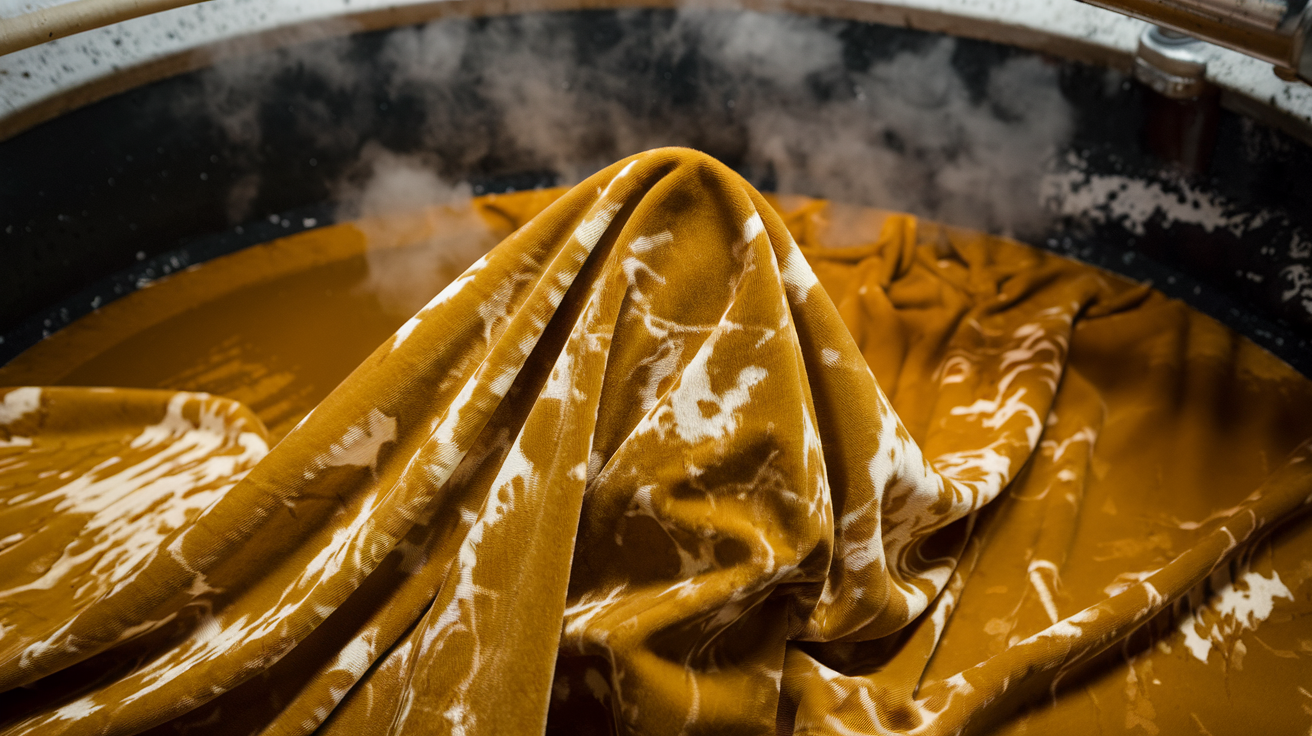
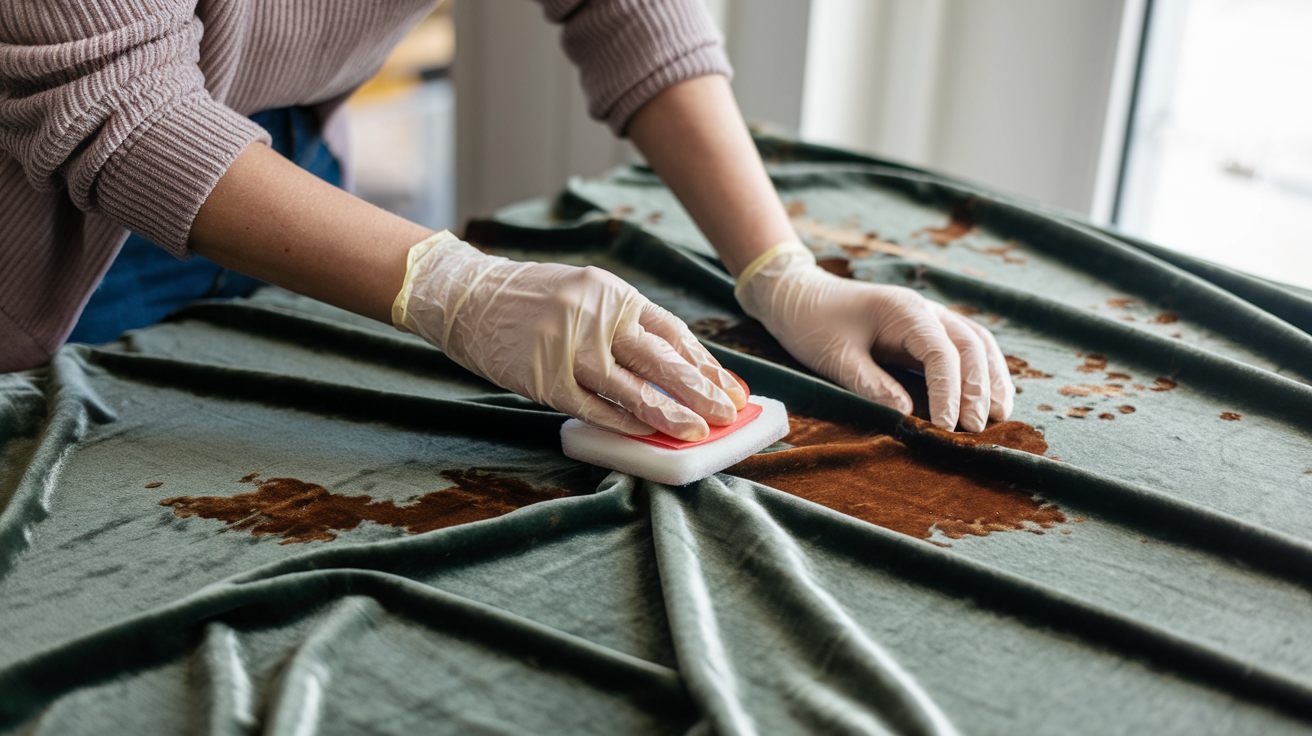
3. Watermarks and Streaks
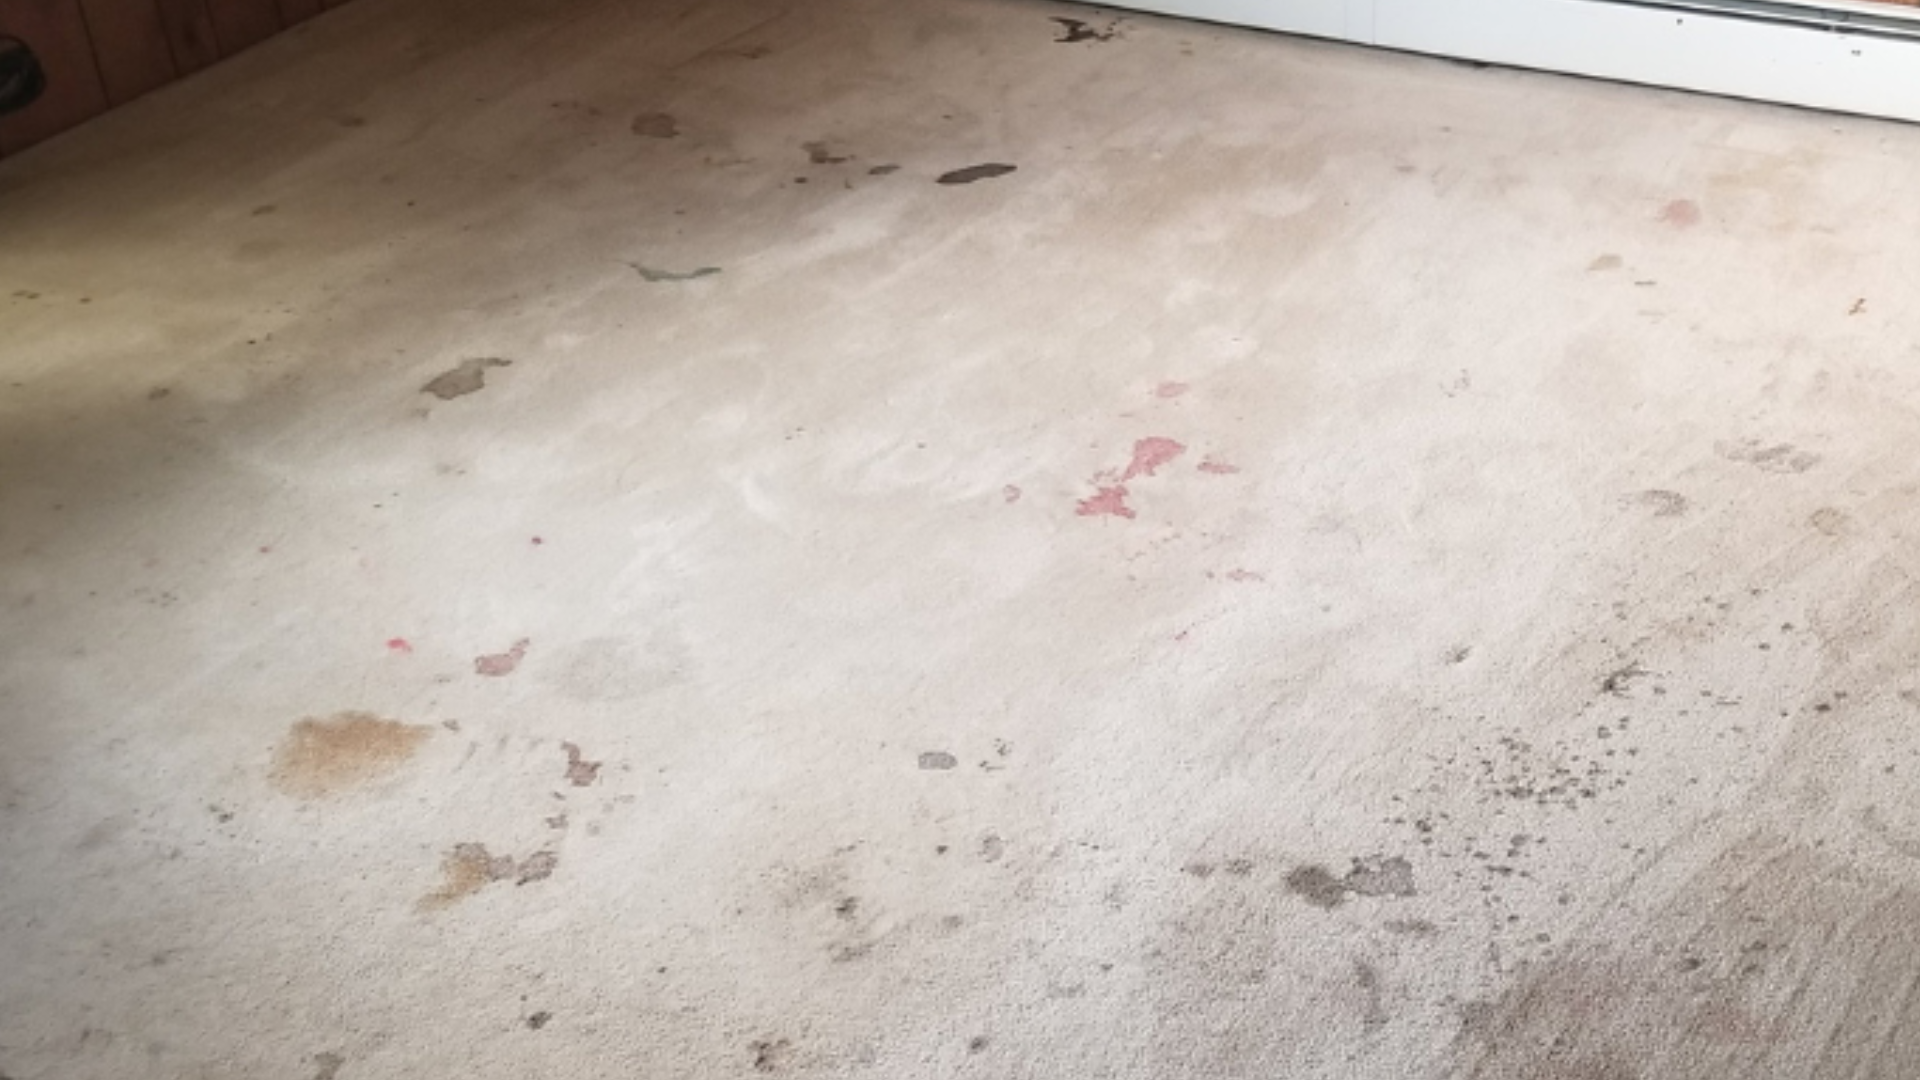
Watermarks appear when the fabric dries unevenly or is unevenly wet during dyeing. This causes light or dark streaks on the velvet surface.
To prevent this, it’s important to pre-wash the fabric thoroughly and dry it in a controlled way to keep the pile smooth and even.
4. Flattened Pile After Dyeing
Dyeing can sometimes crush or flatten the soft pile of velvet, making it look less fluffy. This change in texture can be disappointing.
However, you can bring the softness back by steaming the fabric gently and brushing the pile to lift it again.
Choosing the Right Dye for Velvet
Selecting the proper dye depends on the fiber content; silk, rayon, and cotton velvets each require specific dye types for best results. Using the wrong dye can lead to poor absorption or fabric damage.
1. Natural Velvet (Silk, Cotton)
When dyeing natural velvet like silk or cotton, I suggest using fiber-reactive dyes. These dyes bond well with the fibers and produce bright, long-lasting colors.
It’s important to keep the pH level balanced and the temperature controlled during dyeing. This helps the dye absorb evenly and prevents damage to the fabric.
2. Synthetic Velvet
Synthetic velvet, such as polyester, requires a different kind of dye called disperse dye.
These dyes are specially made to work with synthetic fibers and usually need higher temperatures to penetrate the fabric properly.
If you don’t use the right heat or method, the color may not stick well or look faded.
3. Pre-Made Velvet Dye Kits
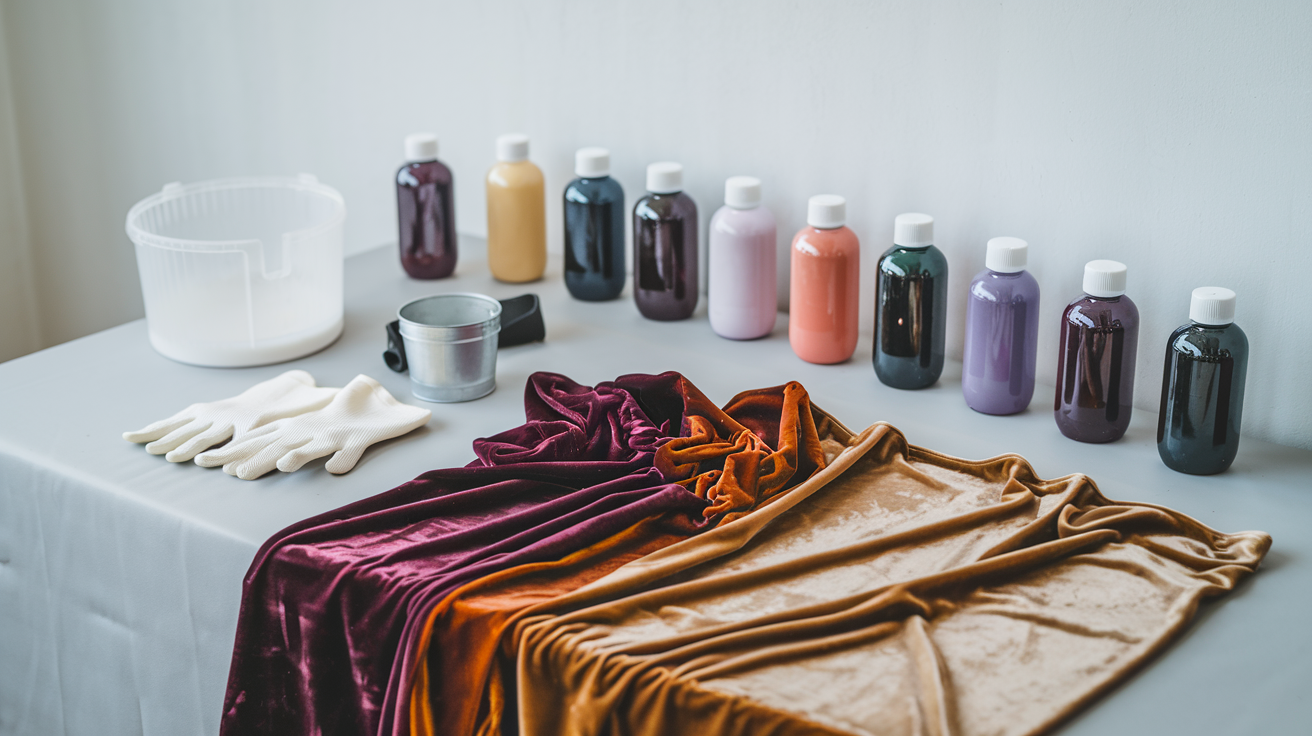
If you’re new to dyeing velvet, pre-made dye kits can be a good choice. These kits come with everything you need to get started.
They make the dyeing process easier and more reliable, especially for home use. Using a kit can help avoid mistakes and give you consistent results every time.
Step-by-Step Guide to Dyeing Cotton Velveteen Fabric
Cotton velveteen is more dye-friendly than other velvets, but still requires care. Follow this detailed guide to ensure even color, fabric integrity, and a professional finish.
Step 1. Prepare Your Fabric
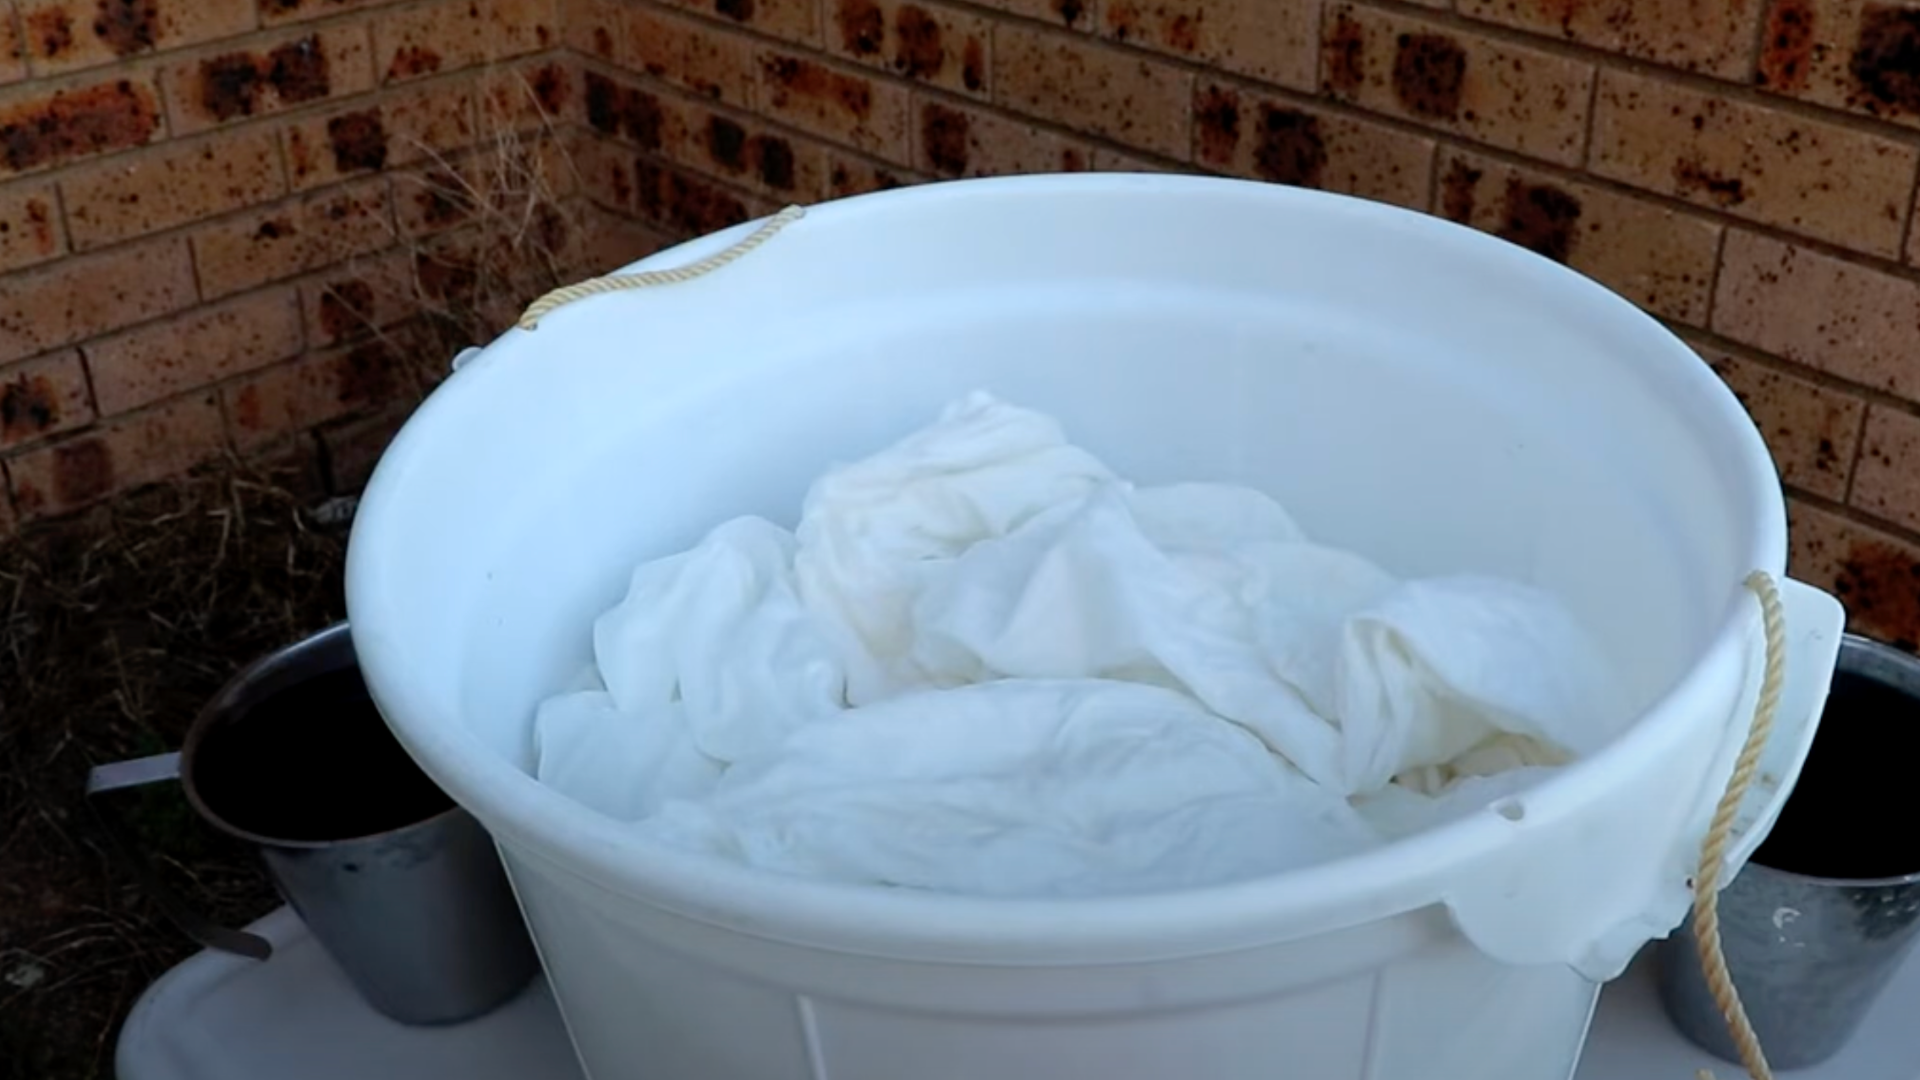
Start with about 4.5 meters of undyed cotton velveteen. This fabric has a soft, textured surface that beautifully absorbs dye.
To get it ready, pre-soak the fabric in a soda ash (sodium carbonate) solution.
Soda ash helps the dye bond well with the cotton fibers. After soaking, let the fabric sit until it’s damp but not dripping. This allows the dye to spread evenly without pooling or running.
Step 2. Get Your Dyes Ready
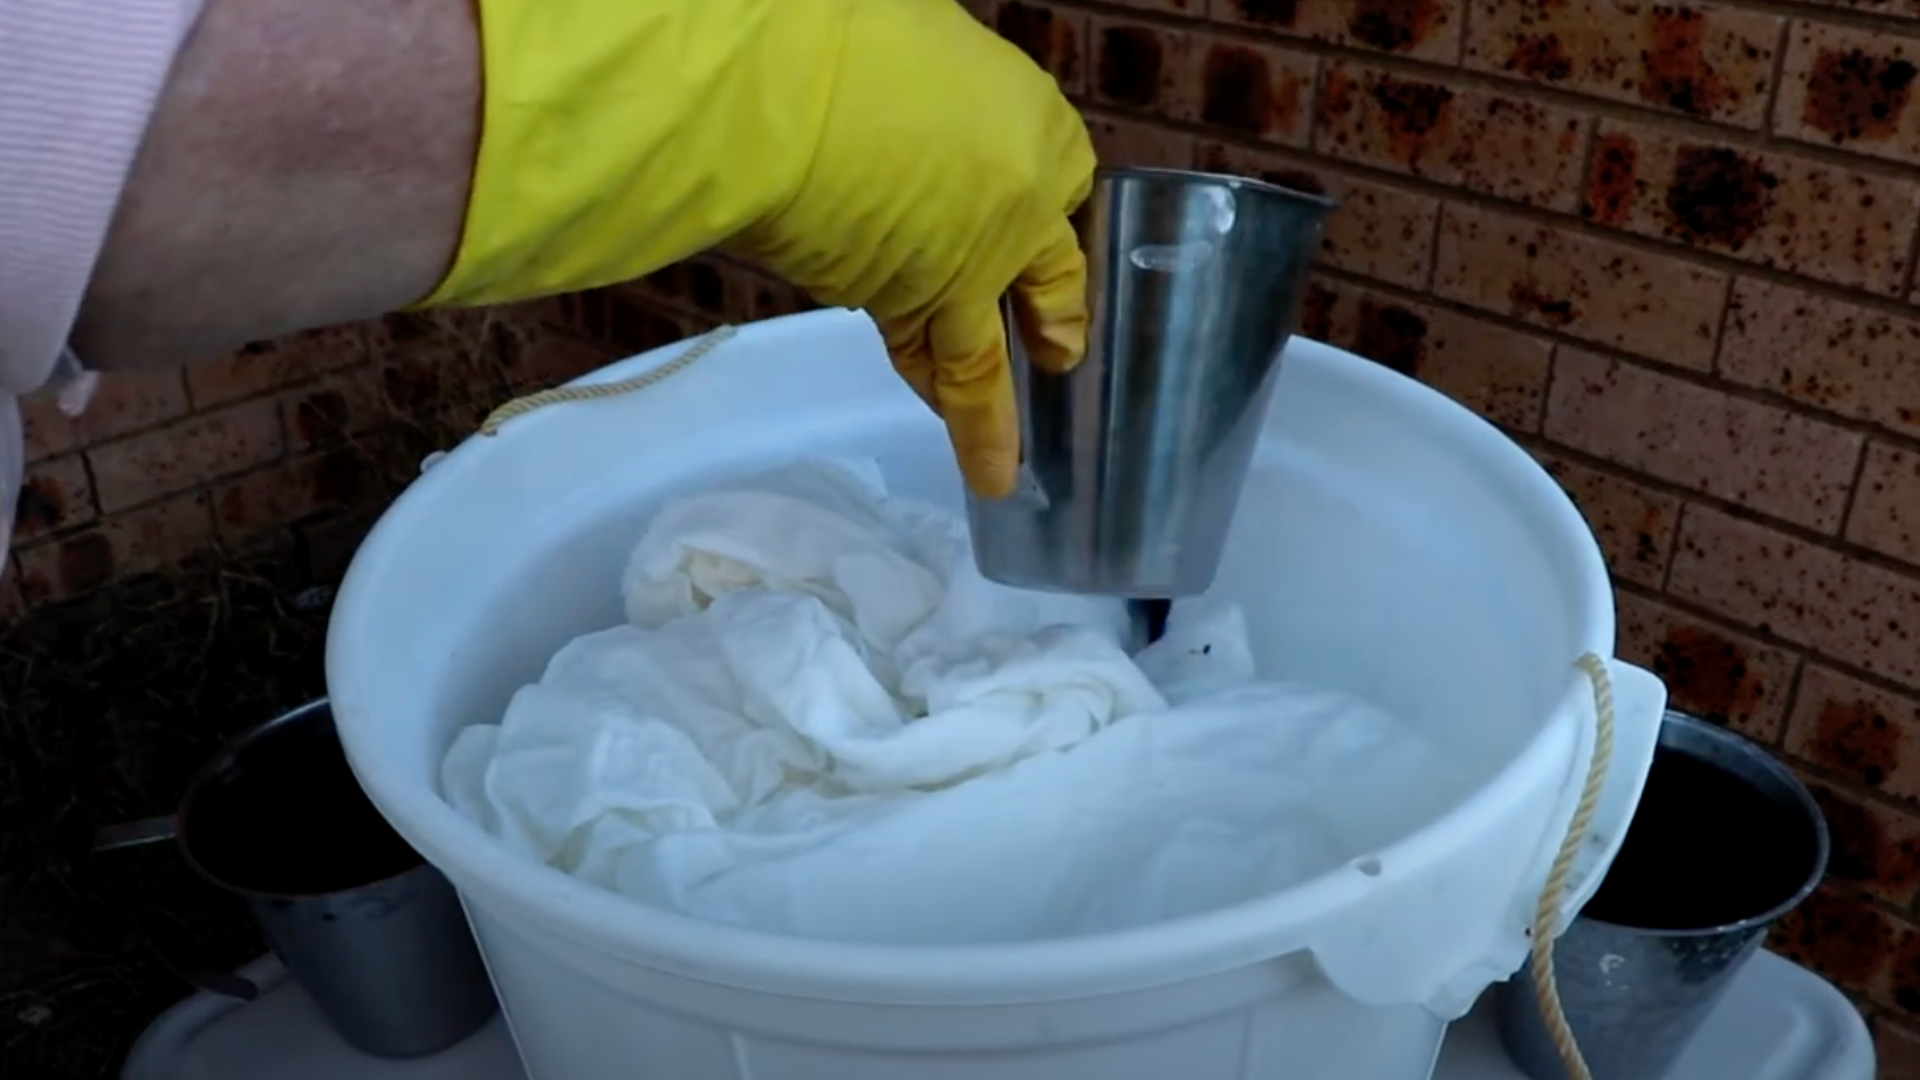
I recommend using fiber-reactive Procion dyes because they work best on cotton and other plant-based fibers like linen and silk.
These dyes create vibrant, long-lasting colors. Dissolve about a heaping teaspoon of dye powder into each liter of tap water.
Preparing enough dye solution is important since you have a large piece of fabric. Having your dyes ready this way means you can apply them quickly and smoothly.
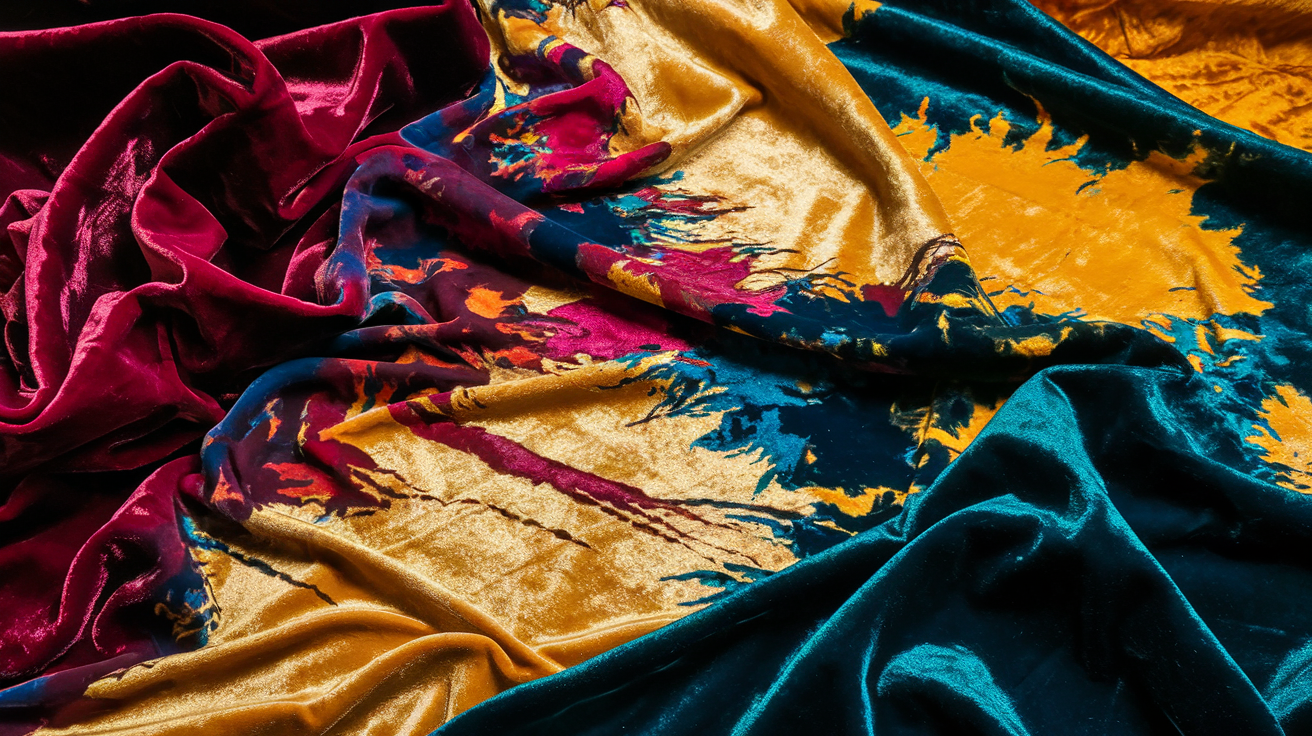
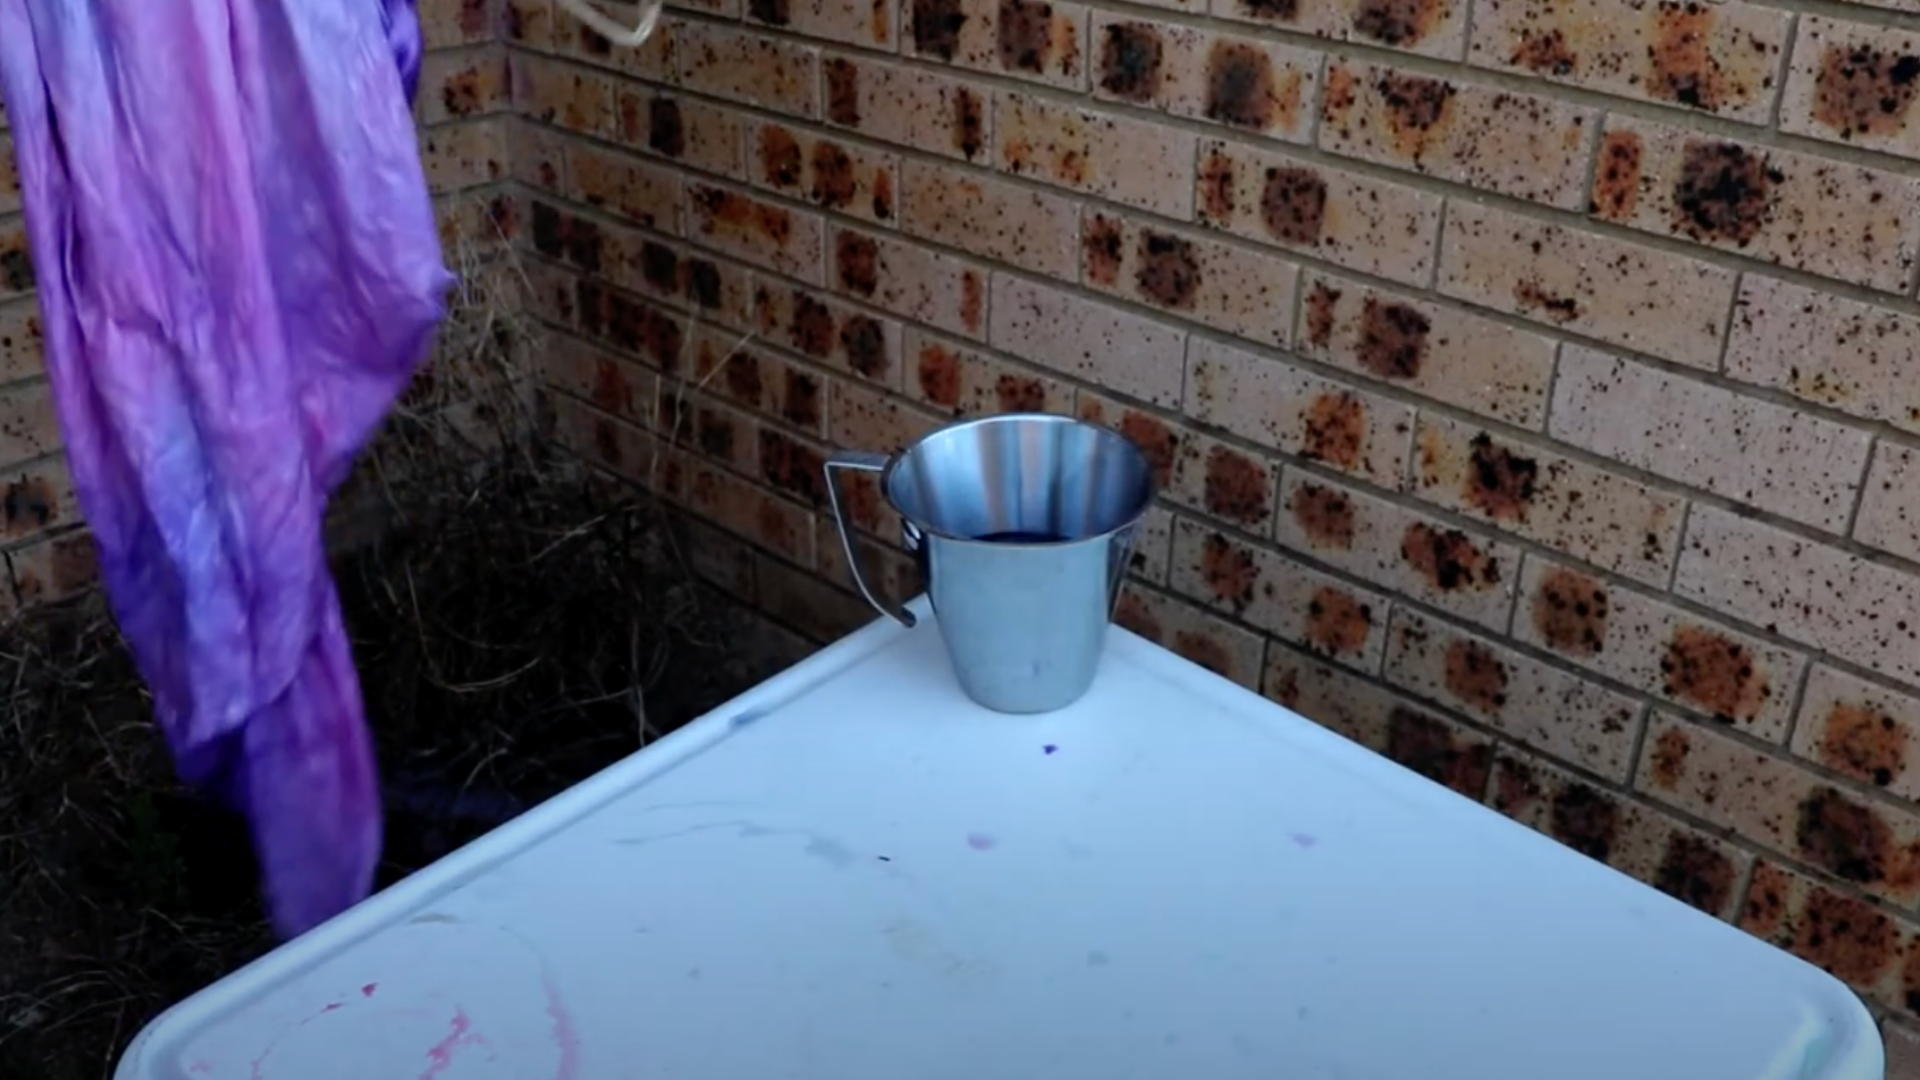
Step 3. Apply the Dyes
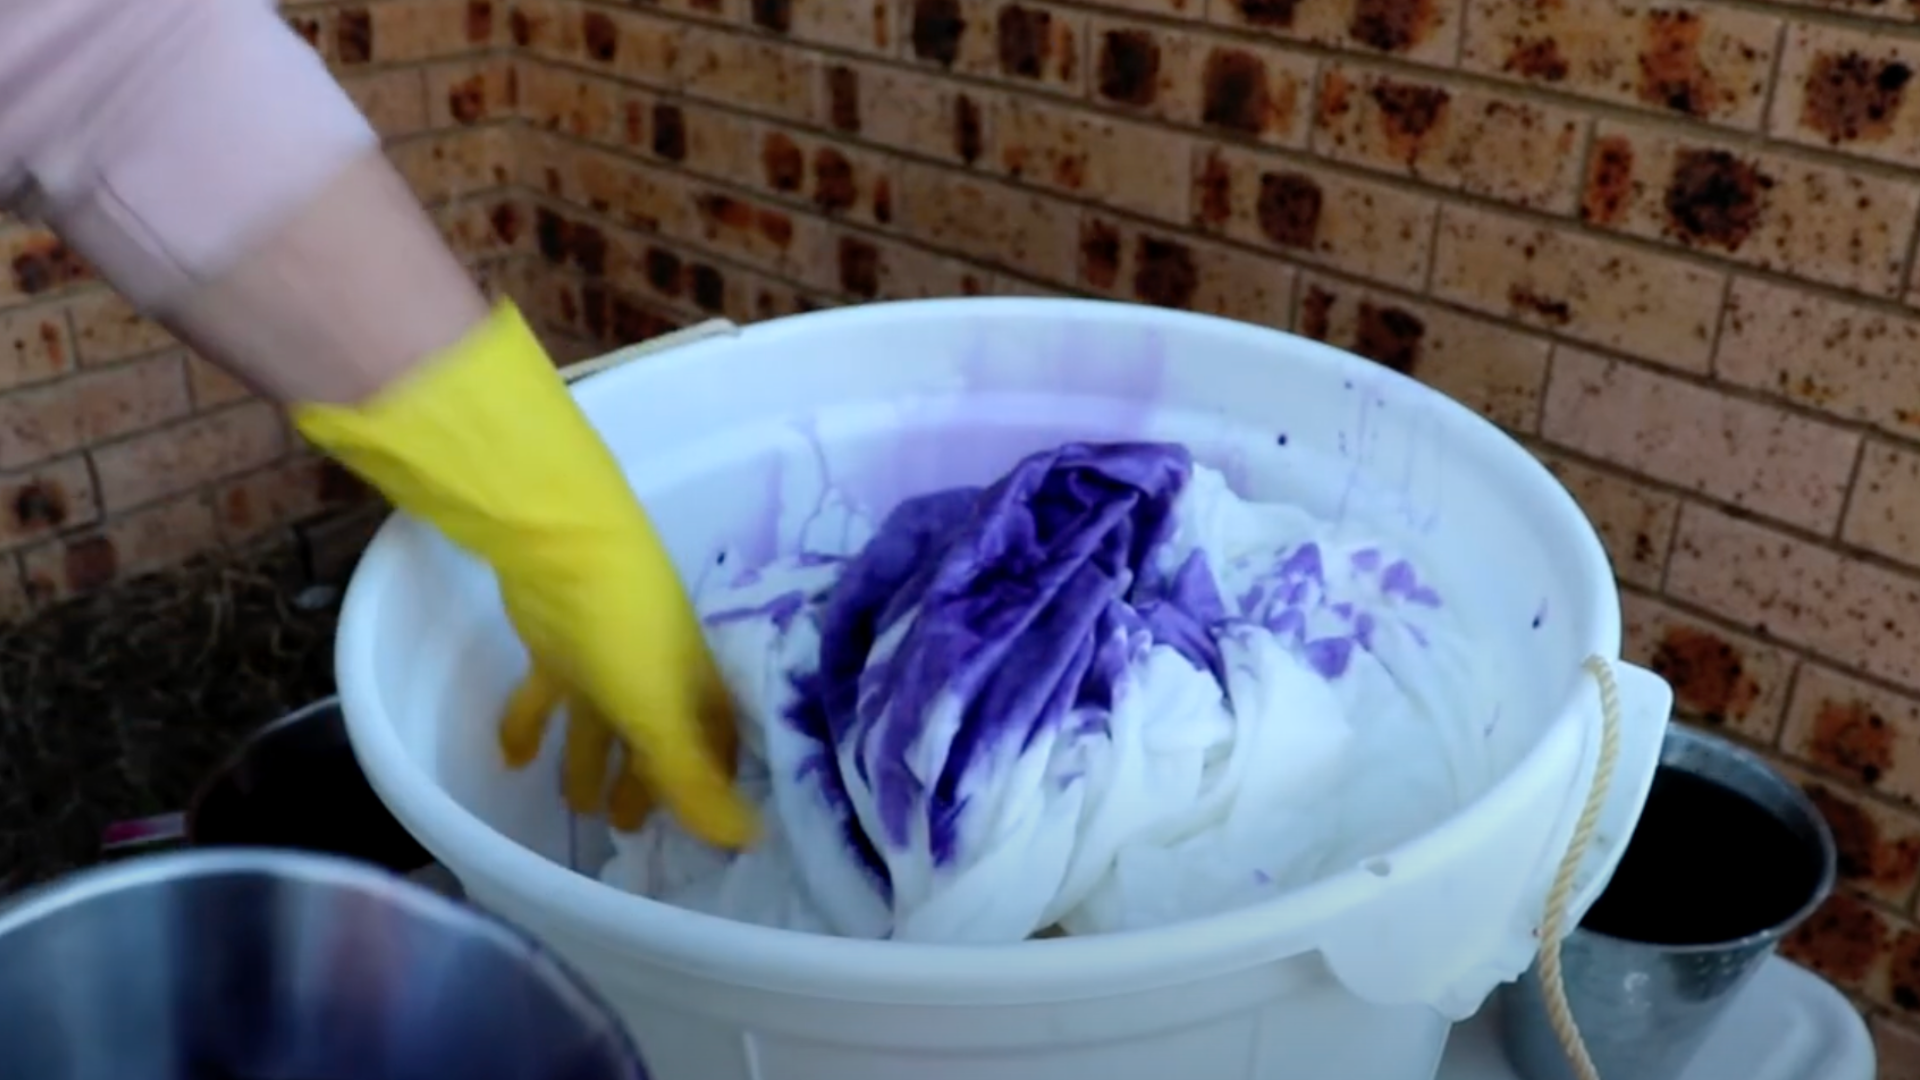
Start with your first dye color, like lilac violet, and pour it randomly across the scrunched fabric.
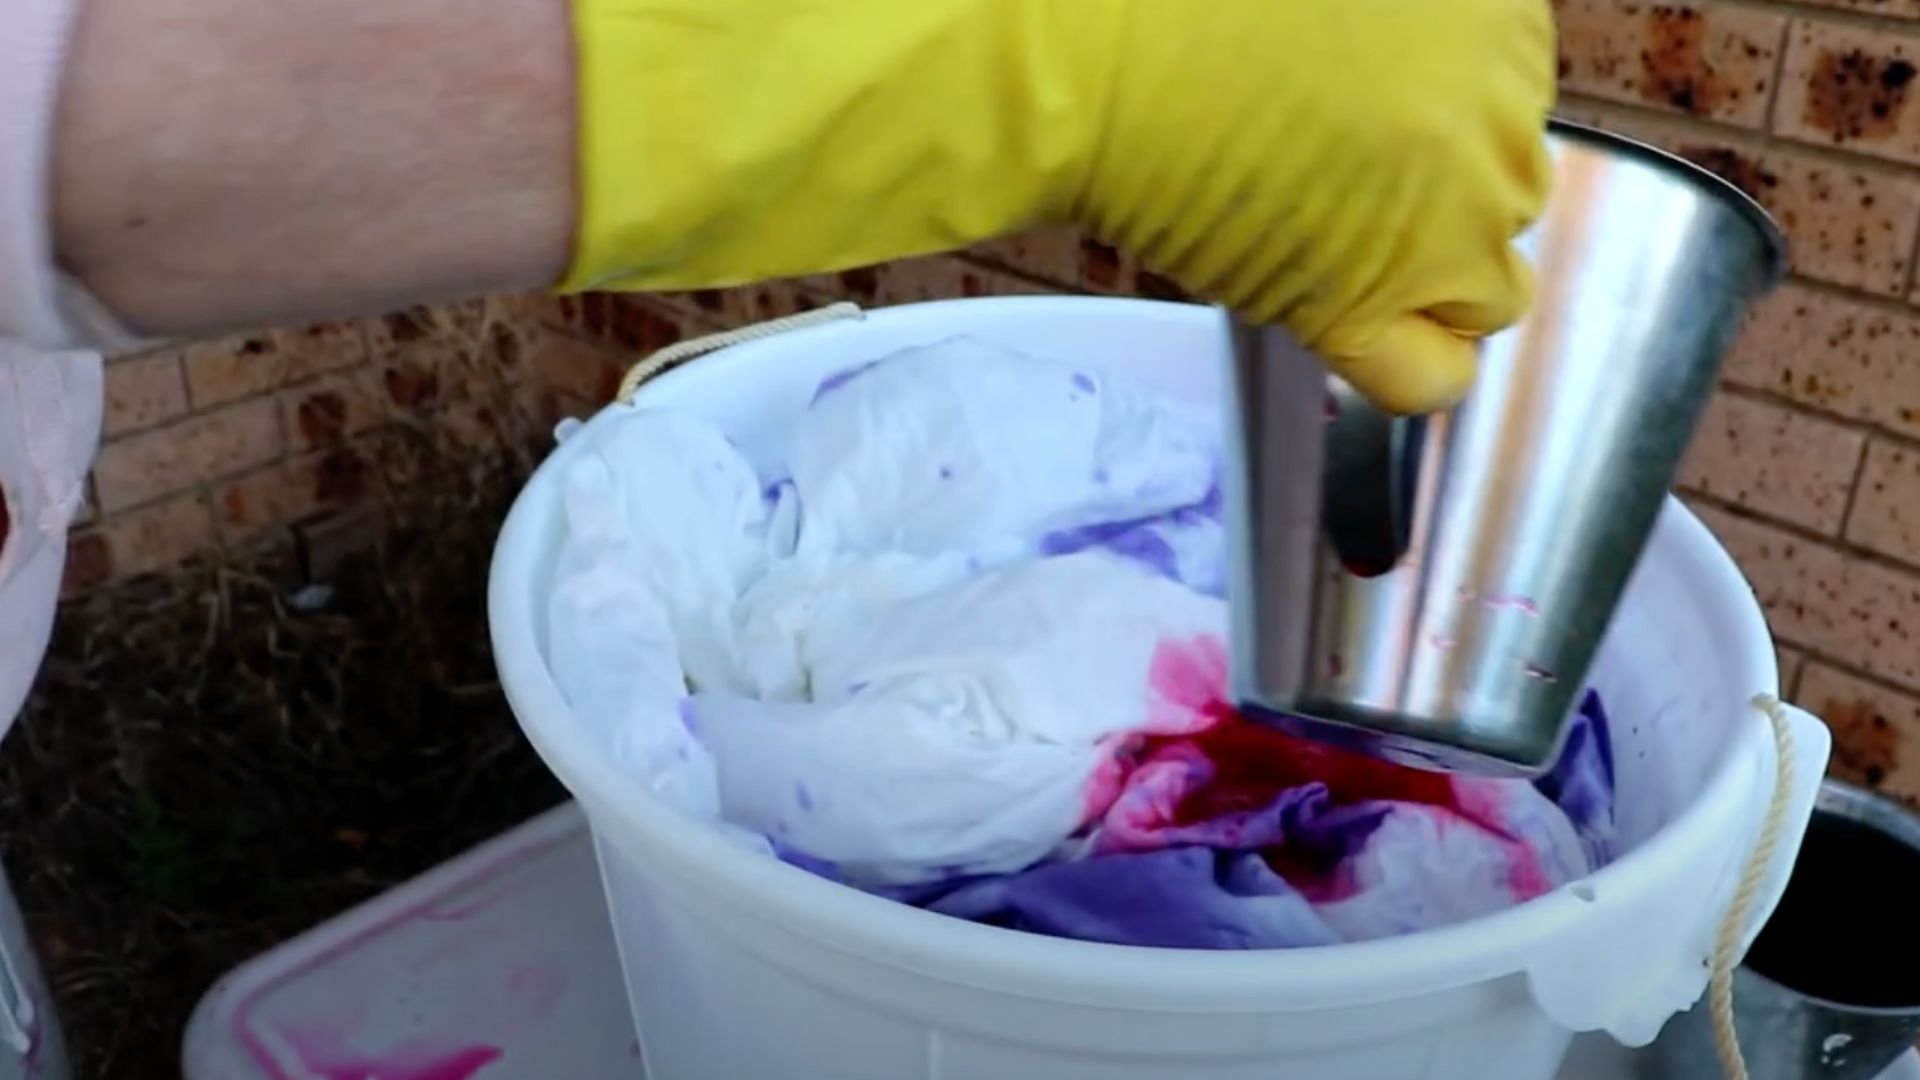
Next, add a second color, such as hot pink, in different spots to build layers. Be sure to pour off any excess dye from the bottom of the container.
This stops the fabric from soaking up too much dye, which can cause muddy colors. Then, add lighter colors like pale aqua in spots that need subtle highlights.
Finish by applying bubble gum pink over any bare areas. These layers blend softly for a dreamy effect.
Step 4. Adjust Colors If Needed
If some areas of your fabric look plain or uneven, feel free to add a little more dye. For example, a splash of violet can add extra interest without overpowering other colors.
Gently scrunch the fabric again to mix the colors slightly but avoid over-blending. This step keeps your fabric’s color soft and balanced with natural movement.
Step 5. Let the Dye Set
Now it’s time to let the dye do its magic. Leave the fabric to sit for 6 to 8 hours, or overnight if you want richer colors.
Make sure the fabric isn’t sitting in pooled dye, which can cause blotchy spots or muddy colors. Giving the dye time to bond with the fibers is essential for bright, lasting results.
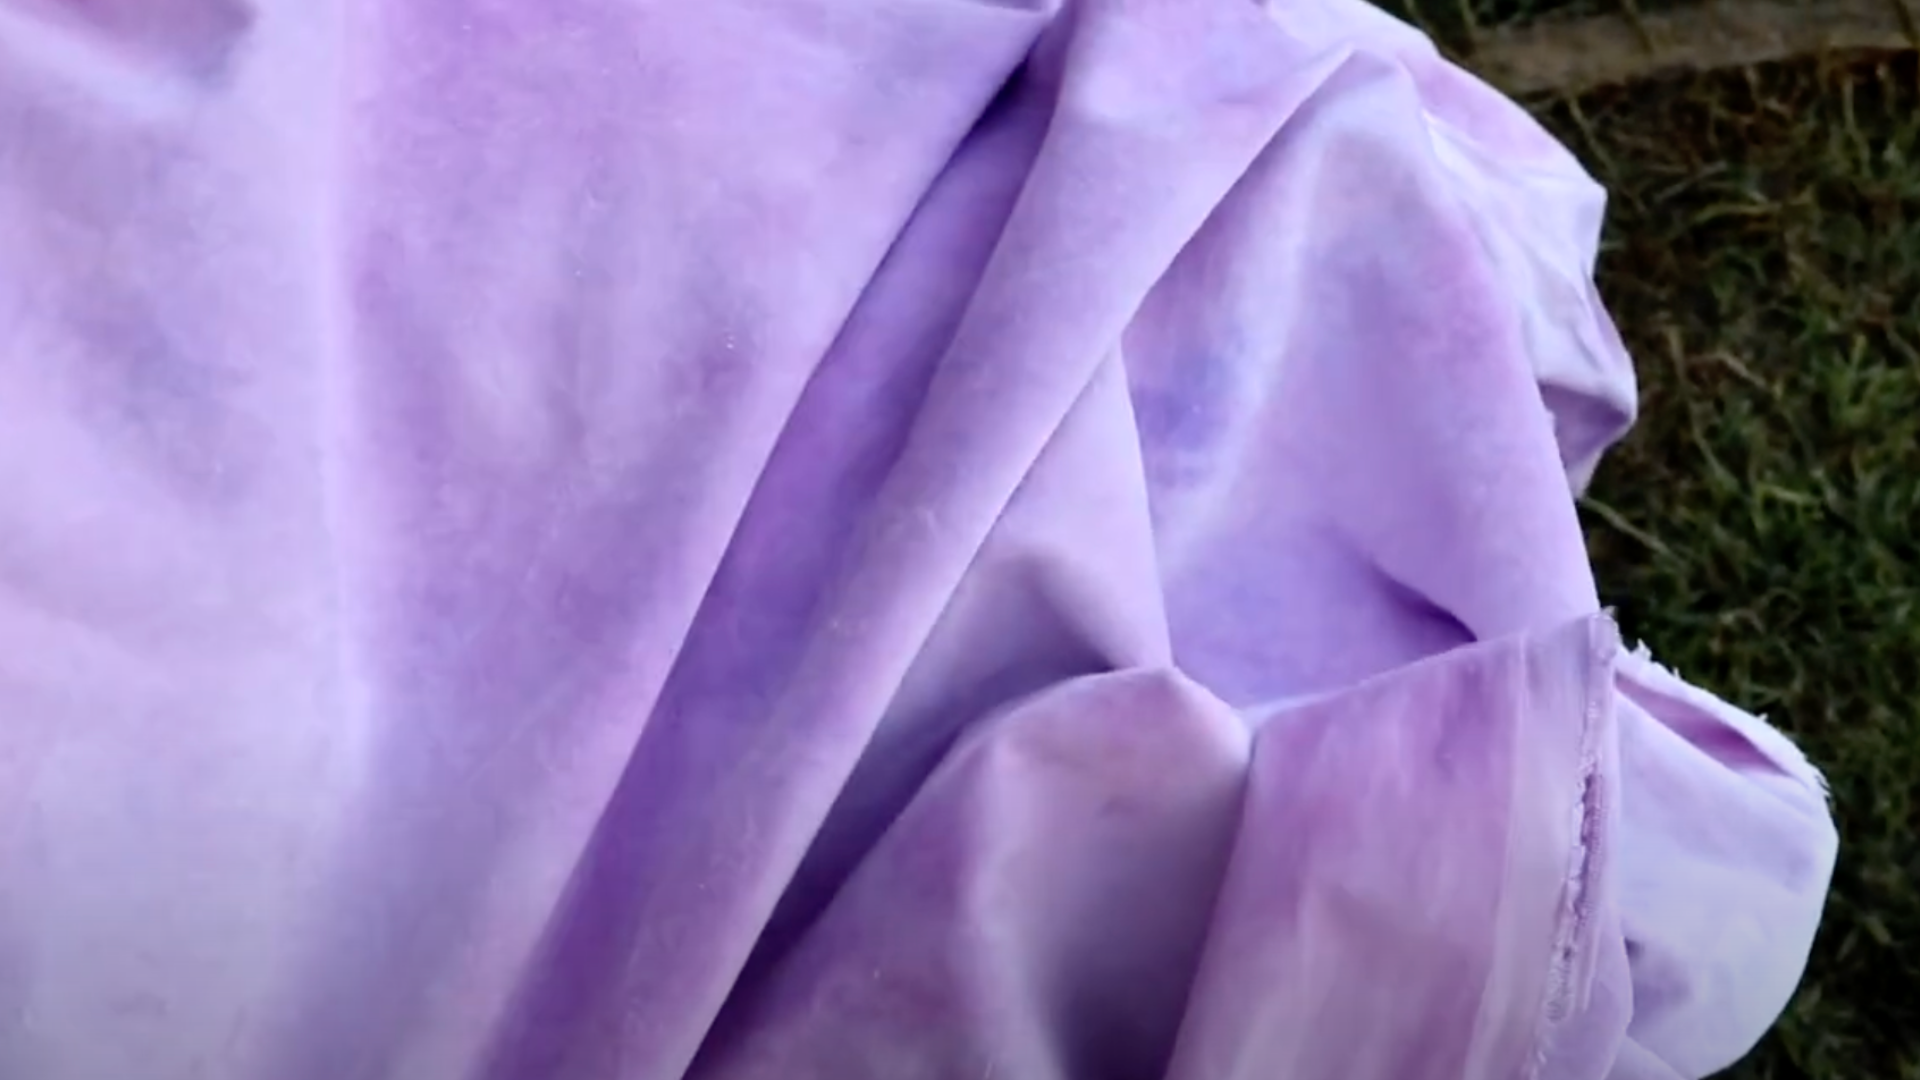
Step 6. Rinse and Dry
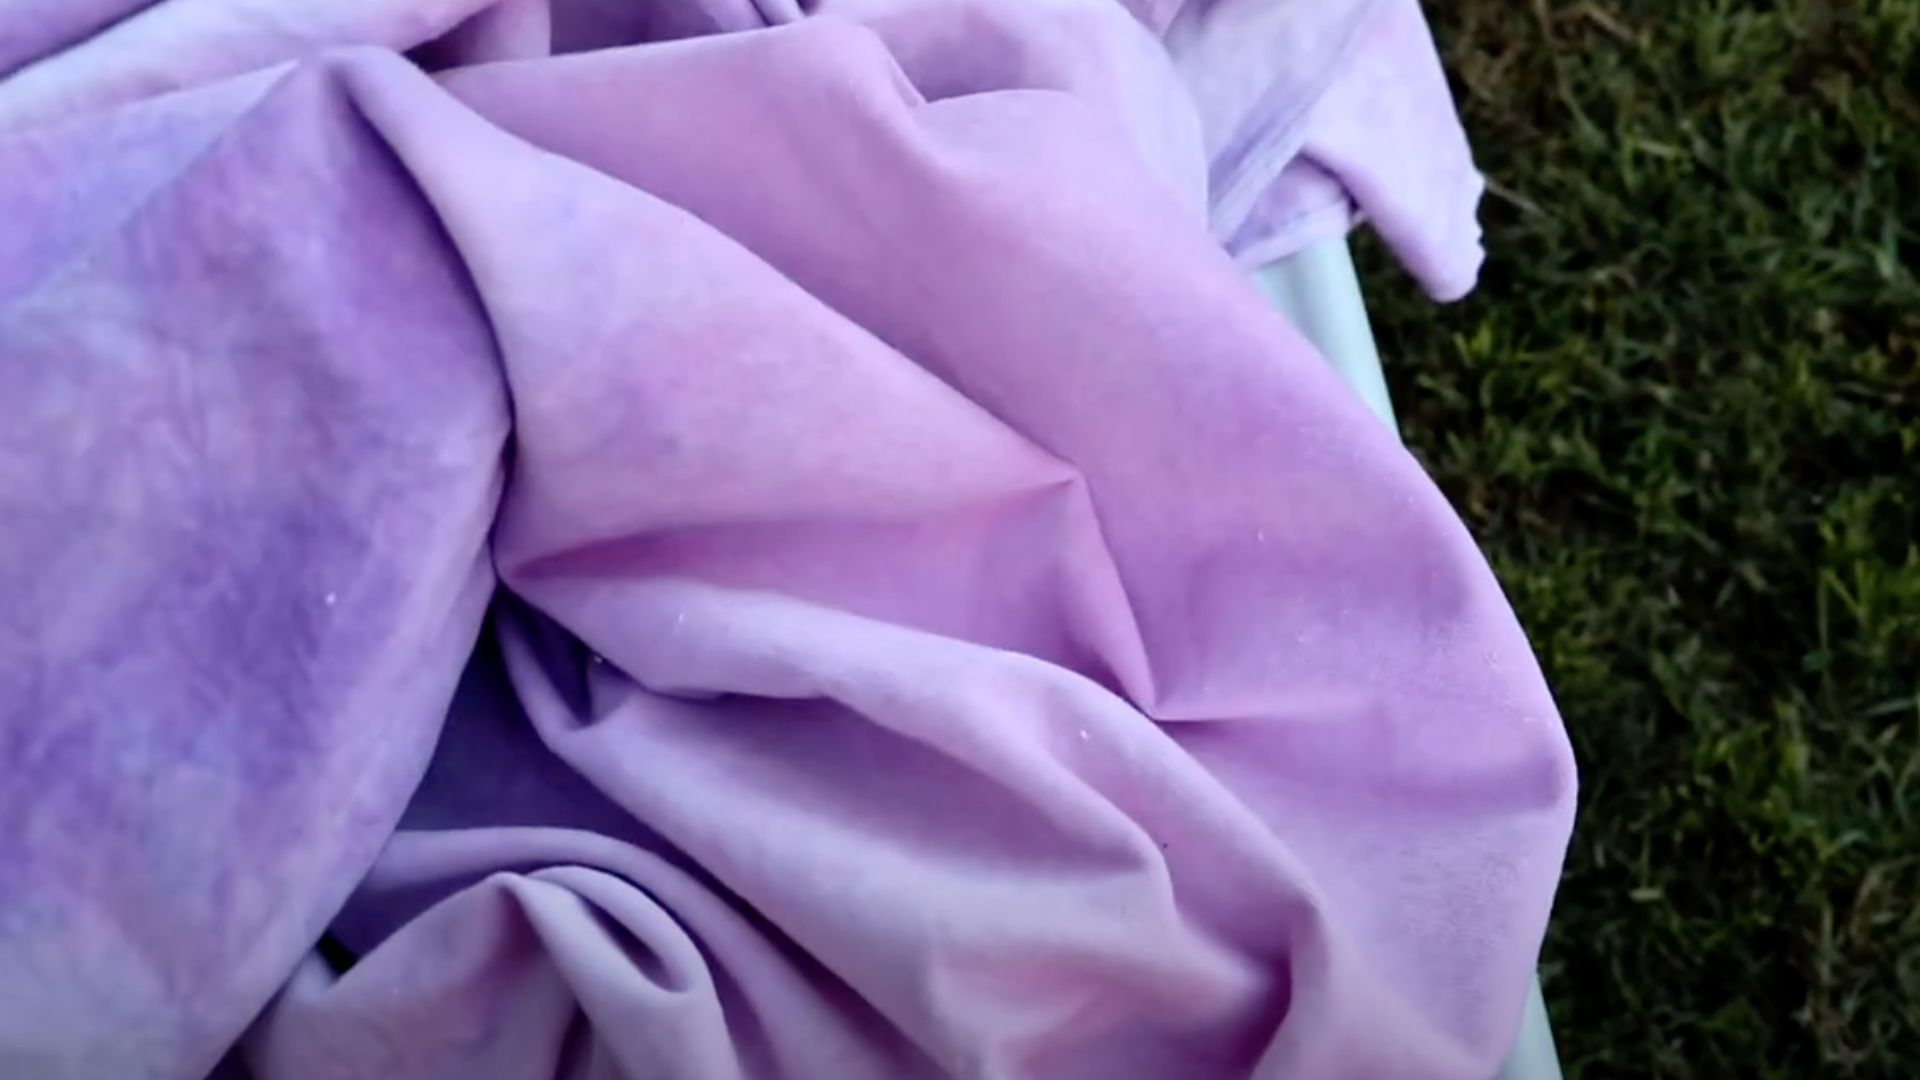
Once the dye has set, rinse the fabric gently under cool water to wash away excess dye. Avoid scrubbing to protect the fabric’s texture.
Then hang your fabric to dry in a shaded area to prevent fading. Your cotton velveteen will develop a soft, luxurious nap as it dries, showing off the lovely blended colors.
Step 7. Use Your Dyed Fabric
Your beautifully dyed cotton velveteen is now ready to become something special.
This fabric is perfect for making kids’ toys, cushions, clothing, bags, or any project that benefits from soft texture and subtle, blended colors.
Each piece will be unique, with movement and depth in the colors that you won’t find in store-bought fabrics.
To see these steps in action and get a closer look at the process, check out this helpful video from @Textile Transitions. You’ll get a real feel for how the fabric comes to life with color!
Correcting Velvet Dyeing Mistakes
Mistakes like blotchiness or color mismatch can often be fixed with the right techniques.
1. Over-Dyeing

Over-dyeing means adding a new color over an existing one to change or deepen the shade. When I do this, I make sure to pick colors that blend well together and enhance the base tone rather than fight it.
Darker dyes cover lighter colors more easily, making them a safer choice for strong results. Choosing compatible dyes helps avoid muddy or odd results and keeps the final look clean and intentional.
2. Stripping Dye
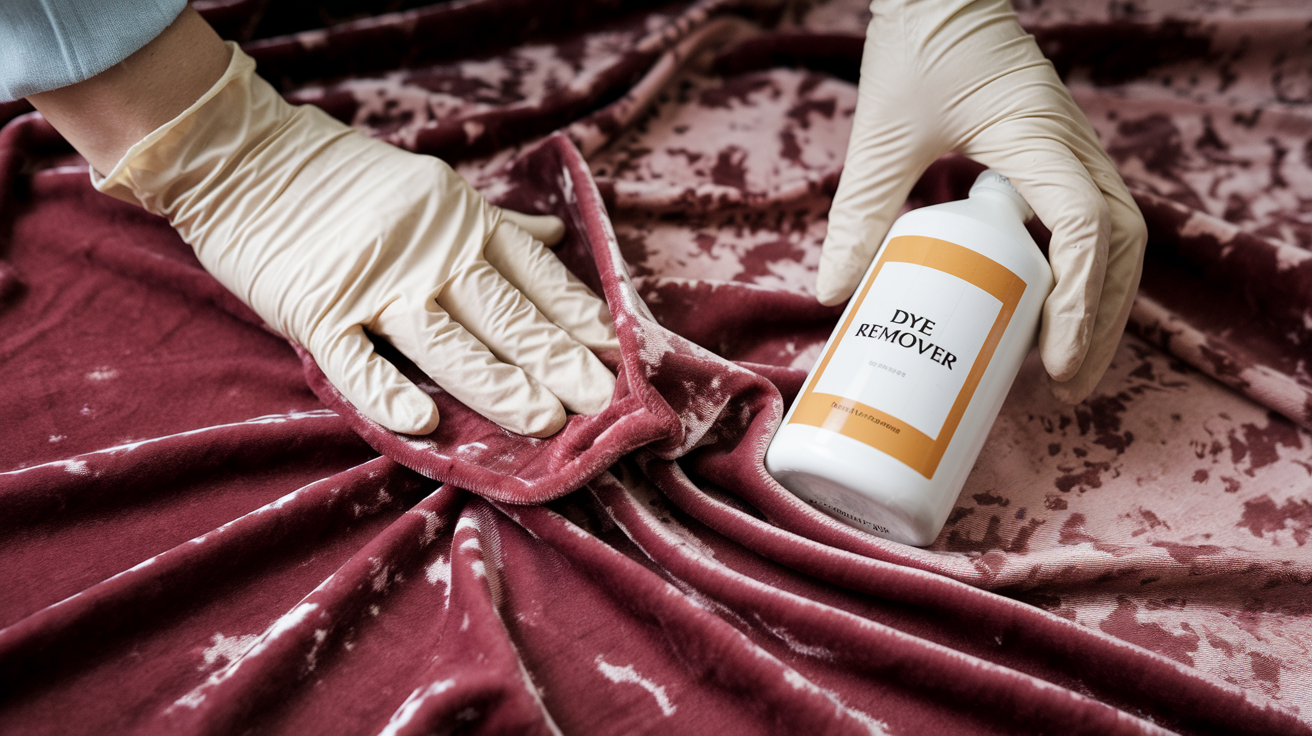
Sometimes, you need to remove dye from velvet. This is called stripping dye. You can use fabric-safe color removers for this job.
But be careful, these chemicals can harm velvet if used too much. It’s a good idea to test on a small area first.
3. Fixing Color Bleeding
Color bleeding happens when dye leaks out after the fabric is dyed. To fix this, I often re-dye the velvet using a fixative to set the color.
If the bleeding is severe, it’s best to seek help from a professional who understands delicate fabrics.
Maintenance Tips for Dyed Velvet
Taking care of dyed velvet is key to keeping it looking good. I learned this the hard way.
- Wash dyed velvet separately: Use cold water to prevent the color from fading, as hotwater can cause the dye to bleed.
- Harsh detergents and fabric softeners:They can wear down the fabric and dull the color. I use gentle soap made for delicate fabrics.
- Cool and Dry Place: When storing velvet, keep it in a cool, dry place. Avoid direct sunlight, as it can fade the color and weaken the fibers.
- Brush the fabric regularly: This helps keep the soft pile looking fresh and fluffy. It’s a small step that makes a big difference.
With these simple tips, your dyed velvet will stay beautiful longer.
Creative Ideas for Dyeing Velvet

Dyeing velvet opens up so many creative possibilities. Here are some fun ways to use dyed velvet in your projects.
- Home decor: Velvetcan give new life to old pieces. You can dye cushions, curtains, or even reupholster a chair. Custom-dyed velvet adds a personal touch to your home, making it feel fresh and stylish.
- Fashion: If youtry dyeing old garments. You can transform a plain velvet dress or jacket into something completely new. Add a bold color or even try a unique pattern. It’s a great way to update your wardrobe without spending a lot.
- Art projects: Velvet is perfect for mixed-media art or textile crafts. Use it in quilting, wall hangings, or even as a fabric base for creating 3D pieces. The texture adds depth and richness to any artwork.
There are endless ways to get creative with dyed velvet. Let your imagination guide you!
Conclusion
Dyeing velvet can seem tricky at first, but with the right steps, it’s definitely doable. We covered how to prepare your fabric, choose the right dyes, and apply colors to get beautiful, soft results.
You also learned how to fix common issues and care for your dyed velvet to keep it looking great.
I encourage you to try dyeing velvet yourself. Don’t be afraid to experiment, but remember to follow the guidelines to avoid problems like color bleeding or uneven dyeing. Each piece you create will be unique and special.
If you have questions or want to share your own dyeing stories, please leave a comment below. I’d love to hear from you and help where I can. Happy dyeing!