
Finishing a puzzle feels great, but I always wonder what to do with it afterward. Instead of taking it apart and putting it back in the box, I like to turn it into a piece of art.
Framing a completed puzzle is one of my favorite DIY projects. It shows off the time and effort I put in and makes a unique piece of home decor.
In this guide, I’ll walk you through simple, step-by-step ways to frame a puzzle by yourself.
Whether you want to use glue, adhesive sheets, or even build your own wooden frame, I’ve got you covered.
You don’t need to be a pro or spend a lot of money. With just a few supplies and a little patience, you can turn your puzzle into something beautiful.
Let’s go over the different methods and find the one that works best for you.
Understanding DIY Puzzle Frames
A DIY puzzle frame is a frame you make yourself to hold a completed jigsaw puzzle.
Instead of buying a ready-made frame from a store, you use simple tools and materials to build one at home.
You can use wood, cardboard, or even an old frame. It’s called “DIY” because you do it yourself without needing a professional.
Why Choose a DIY Option?
DIY puzzle framing is a smart choice for a few reasons. First, it can save you money. Store-bought frames, especially for large puzzles, can cost a lot. Second, it lets you add your style.
You can pick your colors, looks, or decorations. Third, you can make a frame that fits your puzzle just right, no more struggling to find the right size!
Store-Bought vs. DIY
Store-bought frames are quick and easy to use. You buy one that matches your puzzle’s size and pop it in. But they can be costly and may not always fit well.
On the other hand, a DIY frame takes a little more time and effort, but it can be cheaper, more fun, and made just the way you like it. Plus, it feels good to make something with your own hands.
Materials and Tools Needed
Before you start framing your puzzle, it’s a good idea to gather everything you need. Don’t worry, you probably have most of these things at home already, or you can easily find them at a craft or dollar store.
- Completed jigsaw puzzle: Make sure it’s finished and all the pieces are pressed together tightly.
- Puzzle glue or sticky sheets: These help hold the puzzle pieces together so they don’t fall apart.
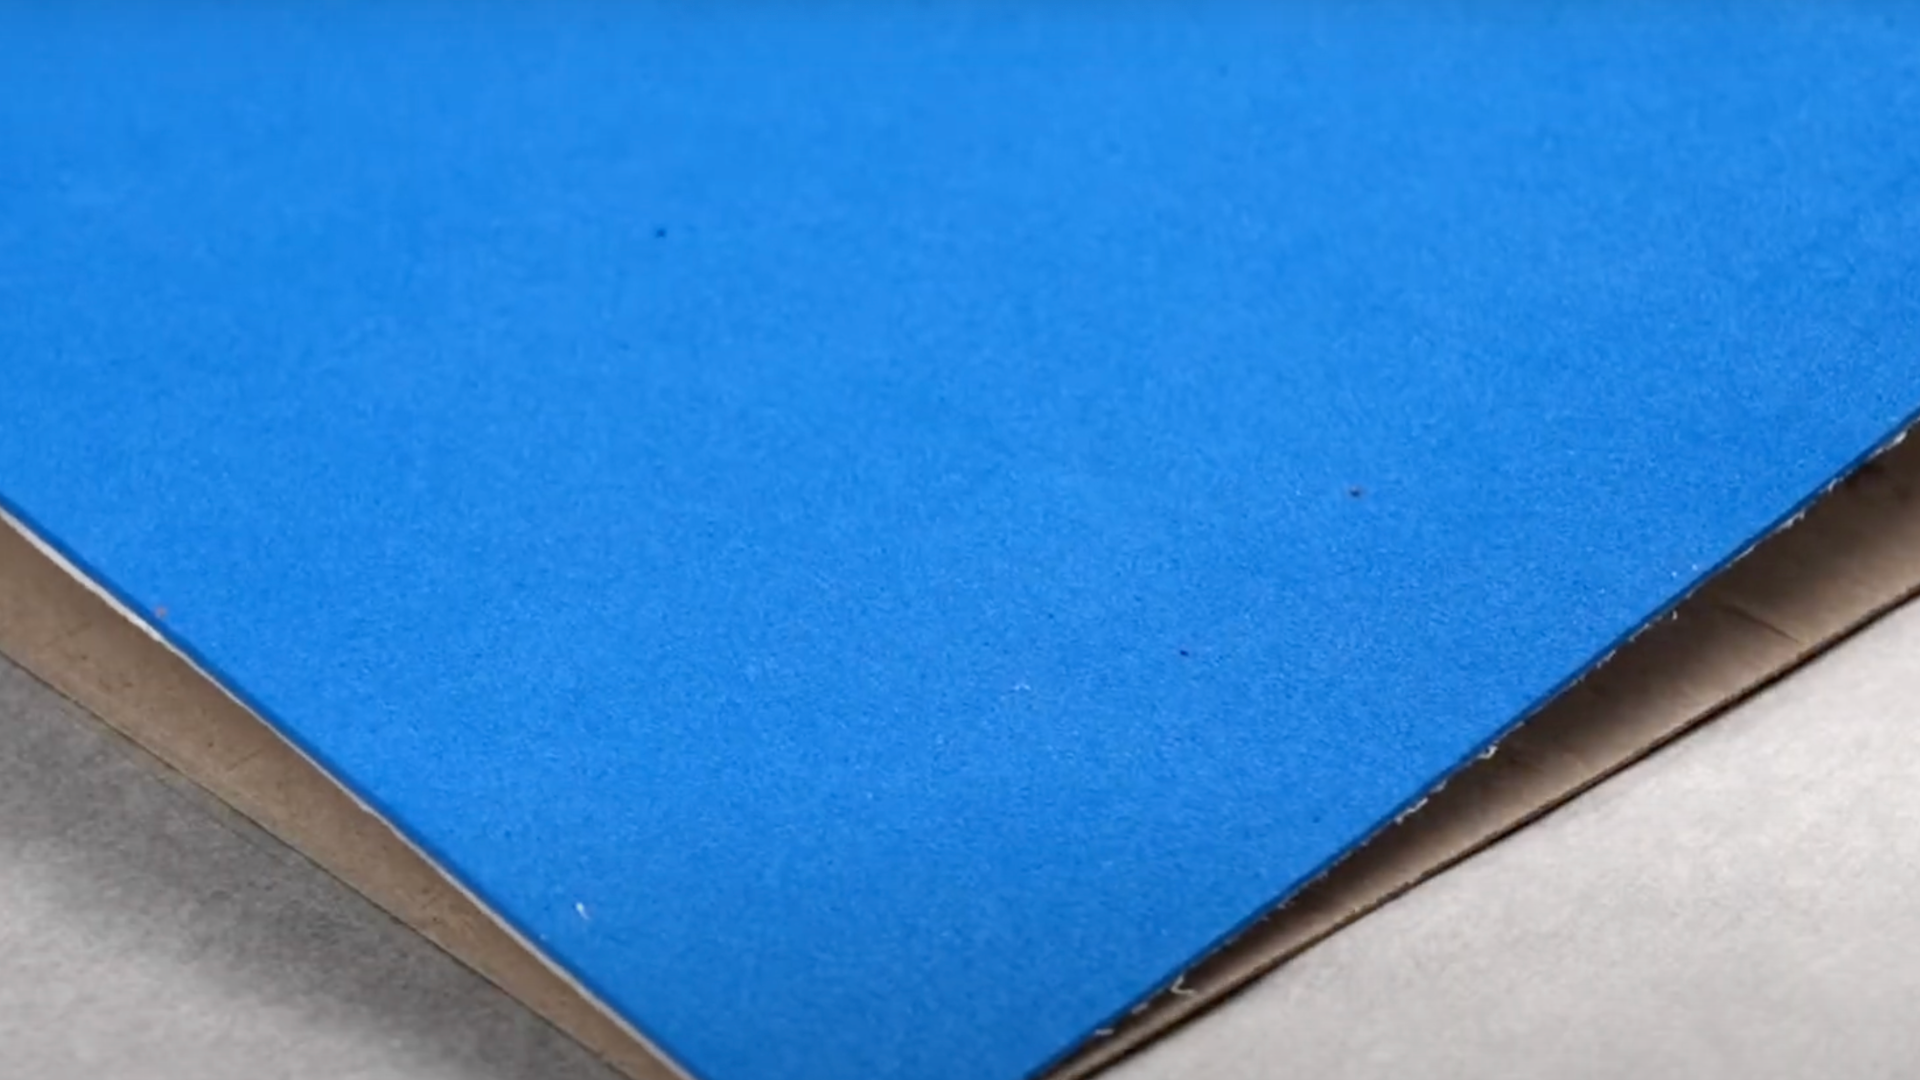
- Backing board: Use foam board or thick cardboard to support your puzzle inside the frame.
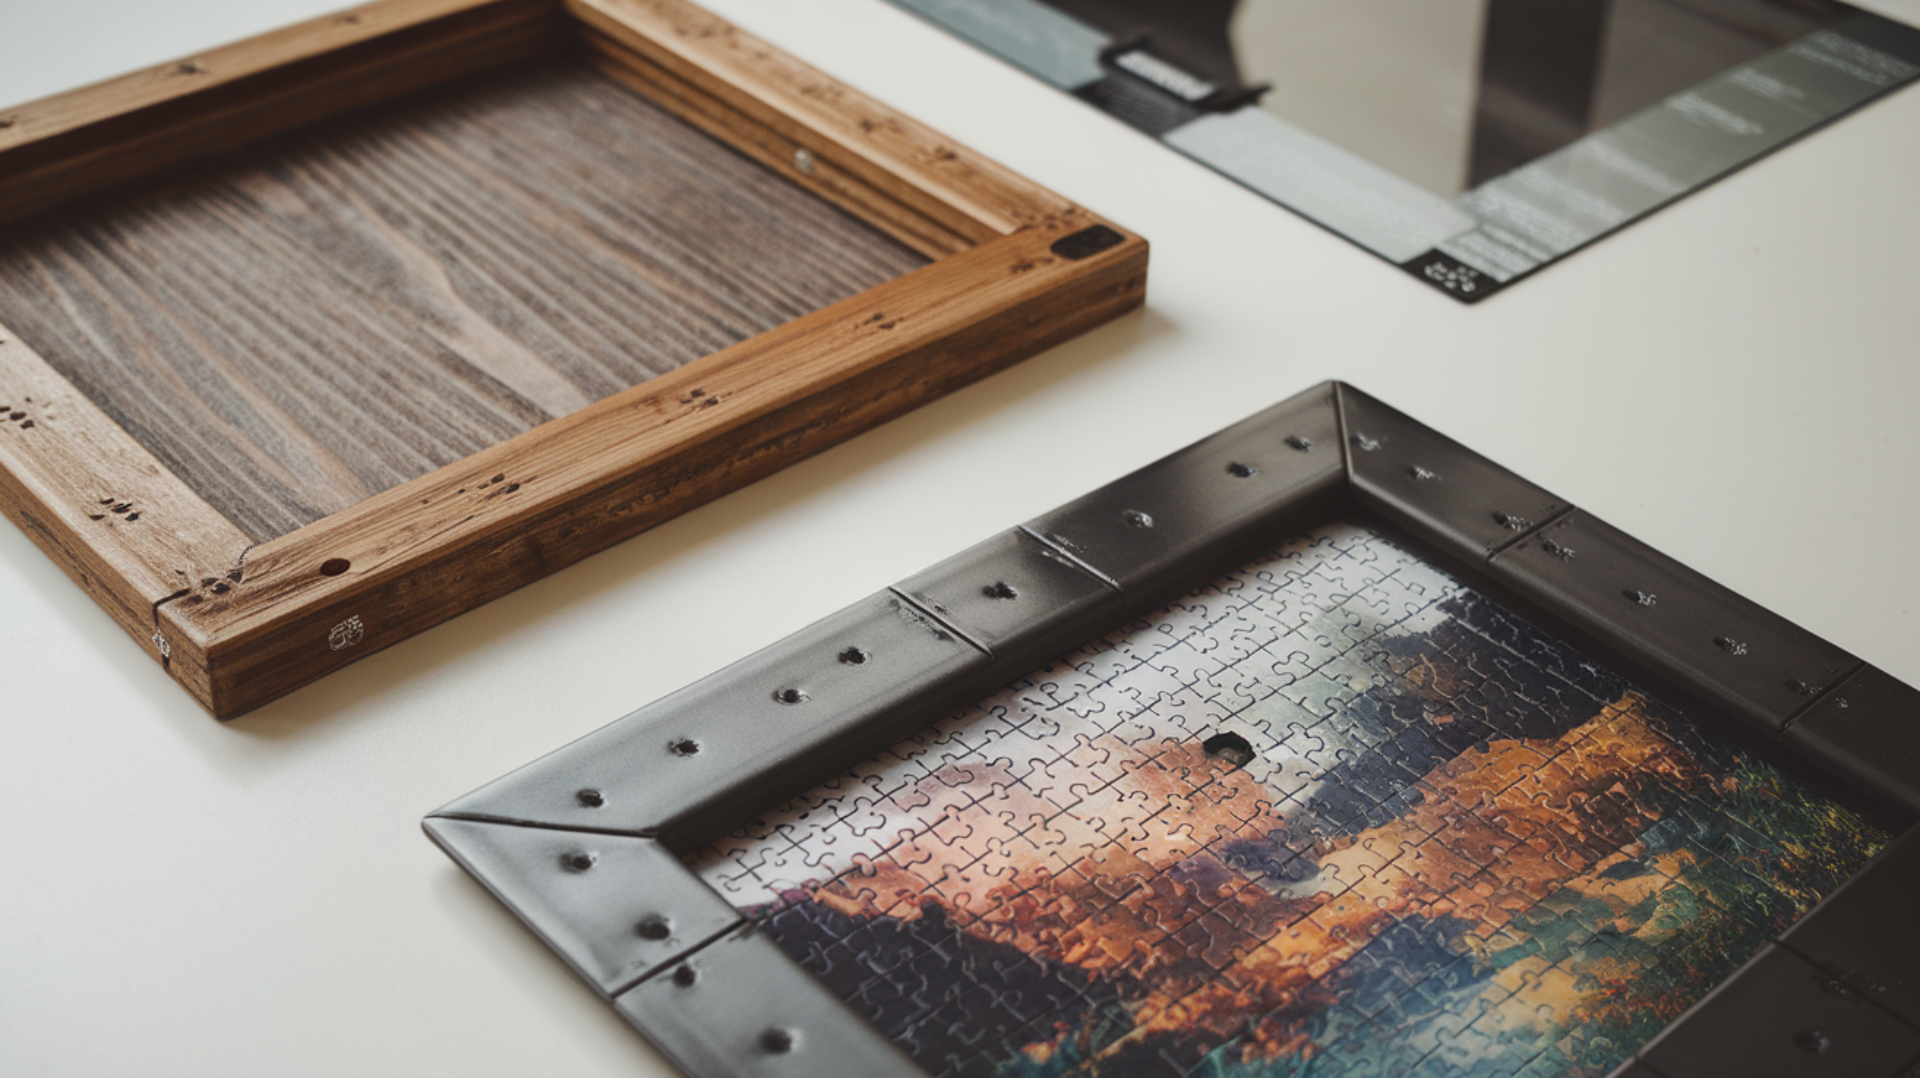
- Frame: You can use a store-bought frame or make one yourself.
- Roller or rolling pin: This helps flatten the dough and press it evenly.
- Utility knife or scissors: For trimming the backing board, if needed.
- Clean workspace: Make sure your table or surface is clear and dry before you begin.
Having everything ready makes the process smoother and more fun!
Frame Your Puzzle Like a Pro: A DIY Guide
Turn your finished puzzle into wall-worthy art with this simple, step-by-step DIY framing guide.
1. Prep Your Puzzle
Level any bumps with a rolling pin. Gently clean the puzzle surface with a damp cloth to remove dust.
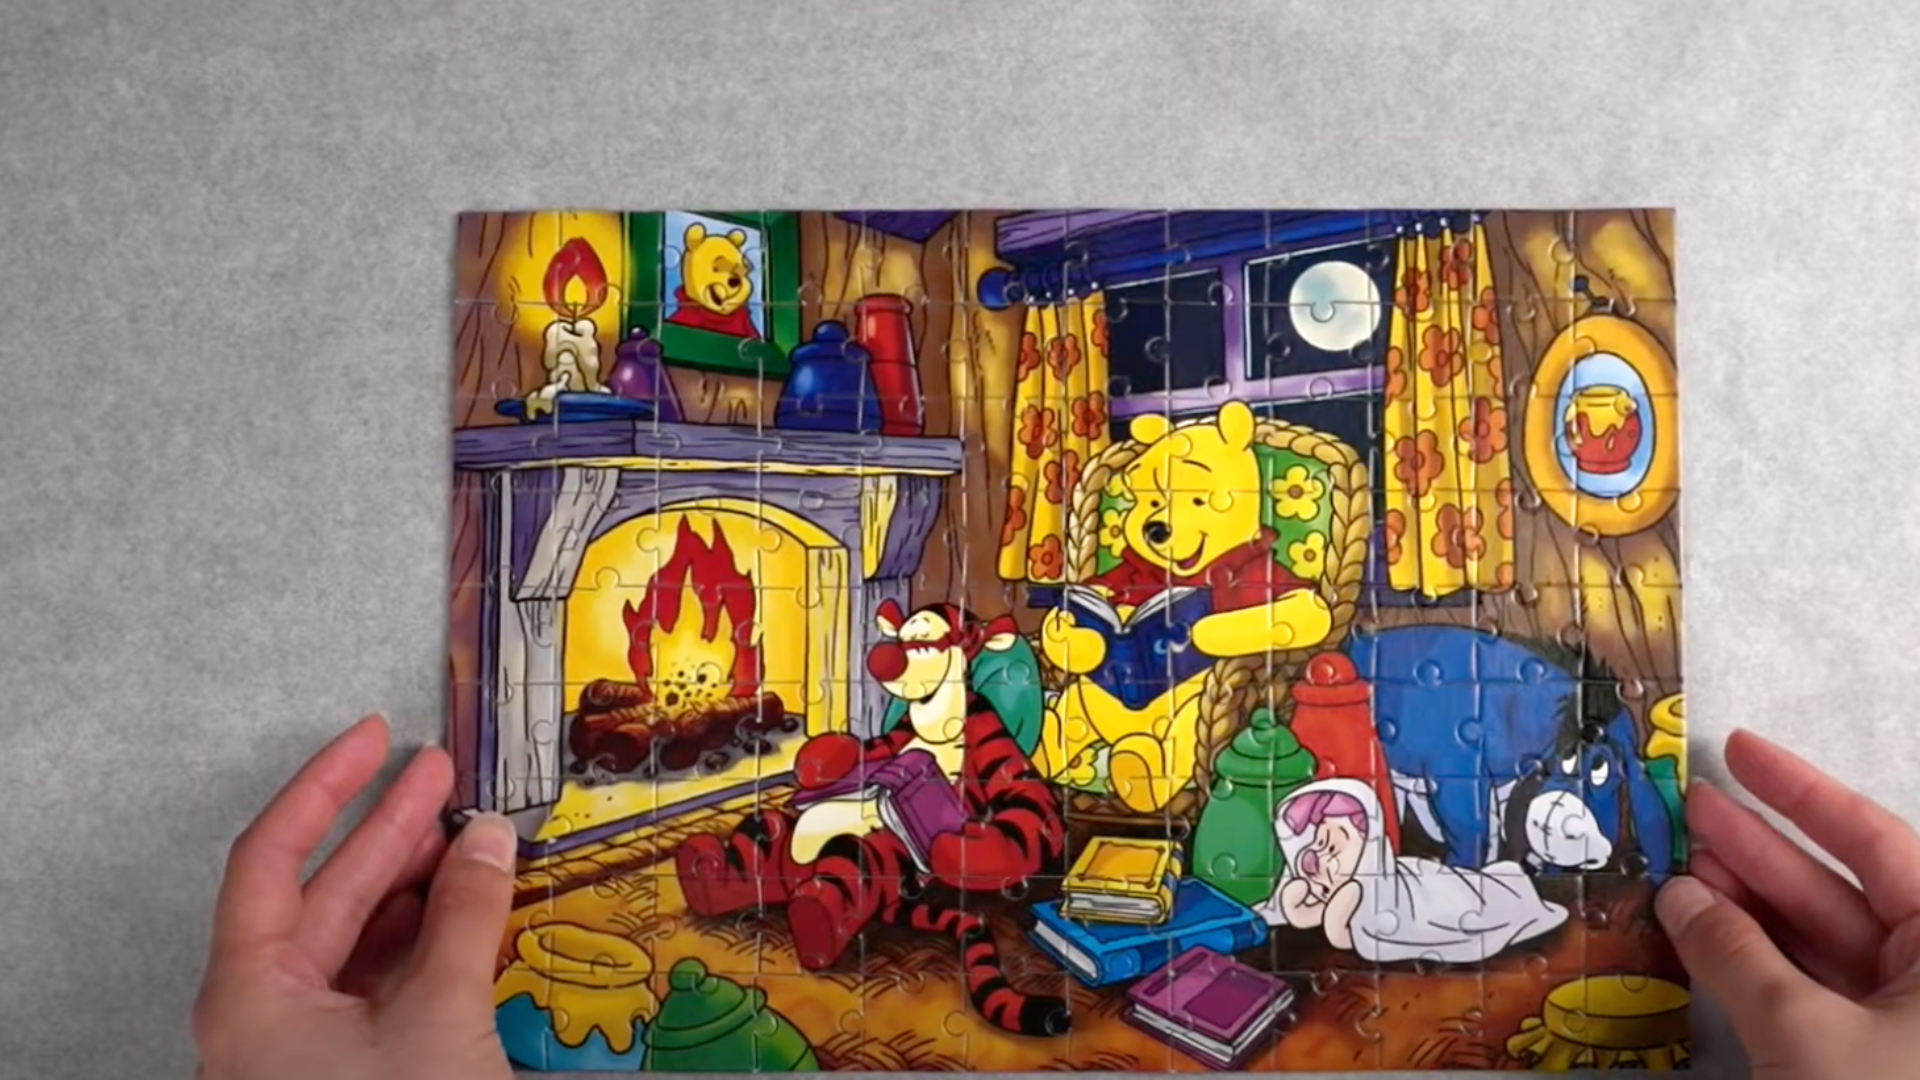
Carefully move the finished puzzle onto a sheet of wax paper to prevent sticking during gluing.
This ensures a smooth process for the next crucial step of securing the pieces.
2. Secure the Pieces
Apply an even coat of puzzle glue to the entire front surface and allow it to dry. For added stability and to prevent curling, apply a thin layer of glue to the back as well.
Alternatively, consider using adhesive sheets for lamination or attaching the puzzle to foam board for extra support before framing.
3. Choose & Clean Your Frame
Select a puzzle frame that precisely matches the dimensions of your completed artwork.
Before inserting your puzzle, thoroughly clean the inside of the frame, paying special attention to the glass or acrylic, using a reliable glass cleaner and a lint-free cloth for a crystal-clear display.
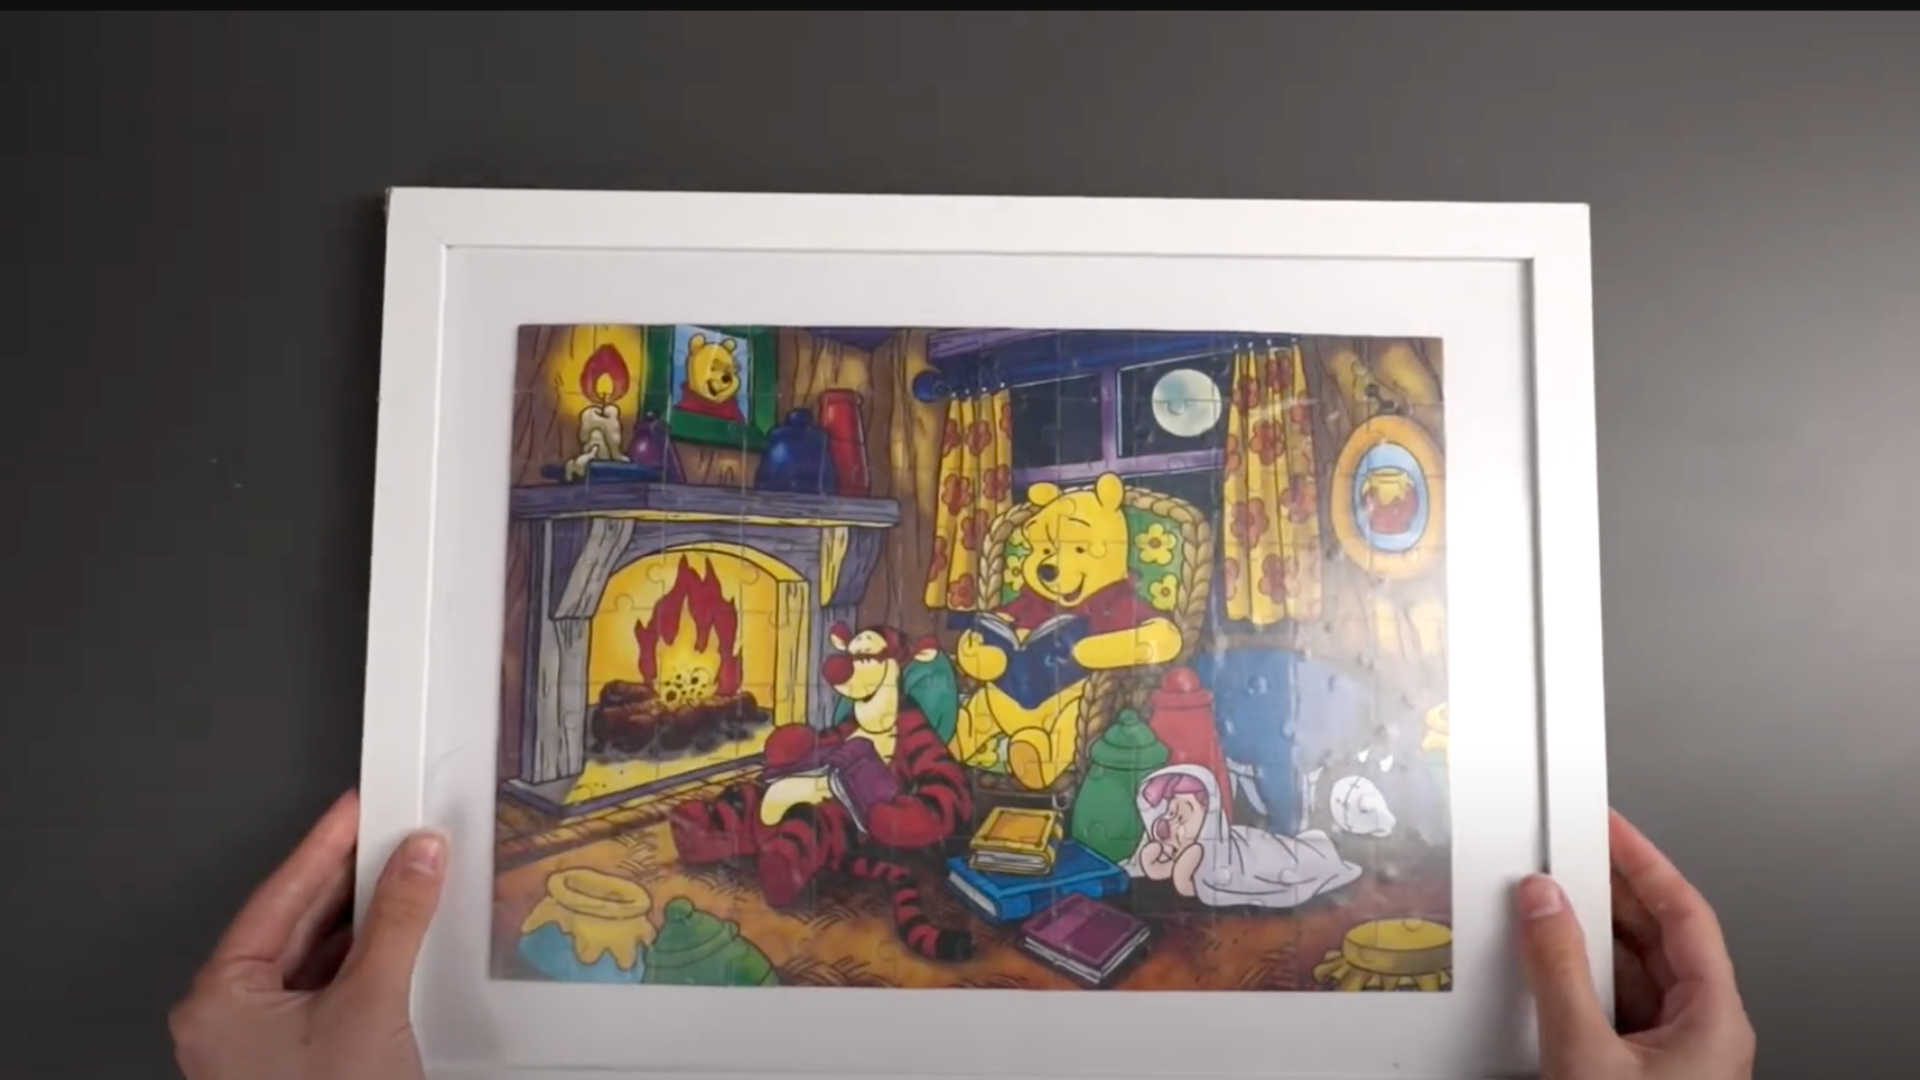
4. Assemble & Display
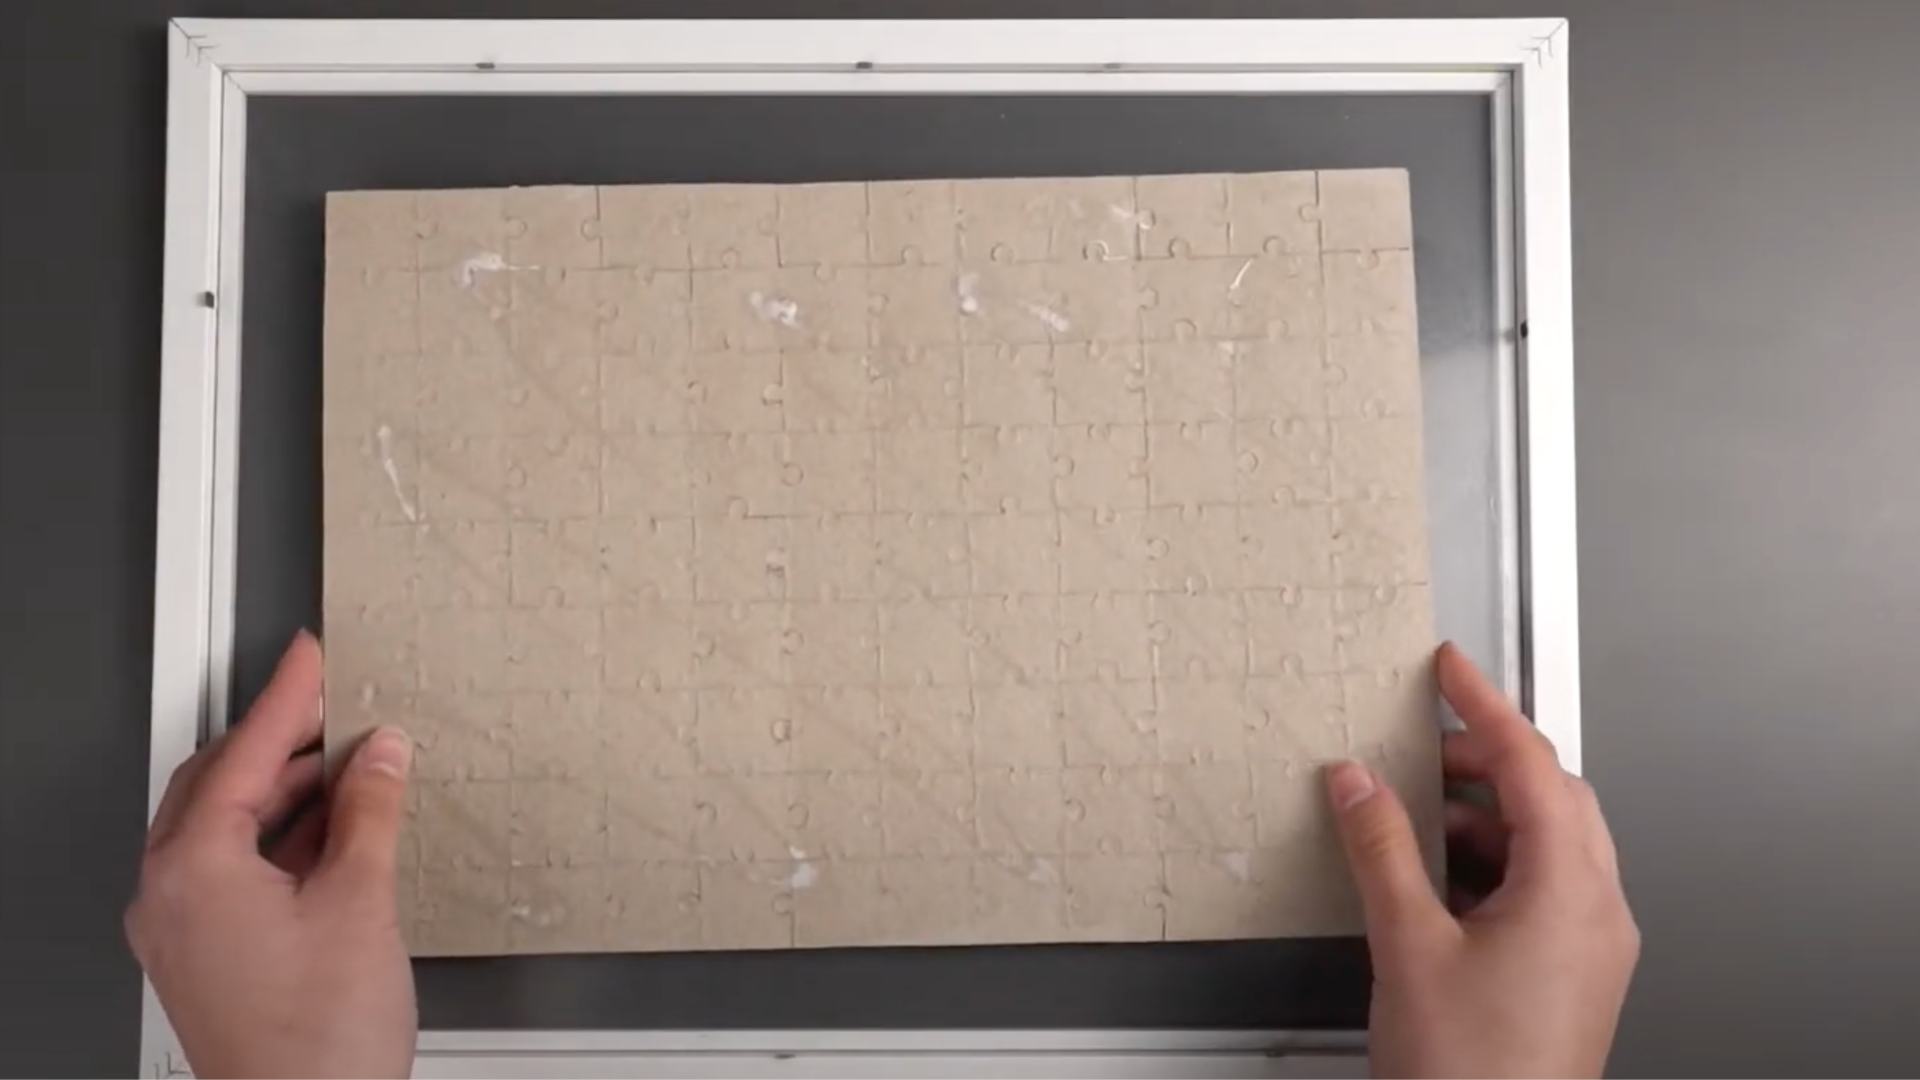
Gently place your prepared puzzle into the clean frame, ensuring it sits flat and is properly aligned. According to the design, secure the frame’s backing using clips or tabs.
Once the frame is secure, your unique piece of puzzle art is ready to be proudly hung on your wall or displayed on a shelf for all to admire.
Turn your finished jigsaw puzzle into stunning wall art with this simple DIY framing guide by @wikiHow!
Tips for Choosing the Right Puzzle to Frame
Framing a puzzle is a fun way to turn it into wall art, but not every puzzle needs to go in a frame. Here are some easy tips to help you pick the right one.
What Makes a Puzzle Worth Framing?
Think about what the puzzle means to you. Did you spend a lot of time on it? Does it have bright colors or a cool design?
Maybe it shows your favorite place, a cute animal, or a fun memory.
If it makes you smile or feels special, it’s probably a great one to frame. Puzzles with bold colors, clean lines, or nice artwork also look really good on the wall.
Ideal Sizes and Piece Counts for Beginners
If it’s your first time framing a puzzle, start small. Puzzles with 300 to 500 pieces are easier to work with and fit into regular frames.
Larger puzzles take more time and may need special framing. Pick a size that feels fun, not frustrating!
Hanging Tips
Hanging your framed puzzle the right way helps it stay safe and look good. Here are some easy tips to help you pick the best spot and hang it properly.
1. Use the Right Wall Anchors or Hooks
Puzzles in frames can be heavier than you think, especially if they’re large or have glass.
If you hang one with just a small nail, it might fall and break. Use strong wall anchors, picture hangers, or hooks made to hold heavier items.
If you’re not sure, ask someone at the hardware store to help you find the right kind.
2. Keep it Level
A tilted frame can make even the best puzzle look off. Use a small level to help you line it up straight.
If you don’t have one, you can step back and check with your eyes. I always try to match it with nearby things like windows or shelves to make sure it looks even.
3. Choose the Right Spot
Pick a place where the puzzle won’t get bumped into or knocked off. A quiet wall away from doors, high-traffic spots, or areas where kids or pets play is a good choice.
Make sure there’s enough space around it so the puzzle stands out.
Maintenance Tips
Framing your puzzle is a fun and easy way to keep it together and turn it into wall art.
- Dust it regularly: Wipe it with a soft, dry cloth now and then to keep it clean. Don’t use water or glass cleaner directly on the puzzle; spray the fabric first if needed, and always be gentle.
- Keep it away from direct sunlight: Bright sunlight can slowly fade the colors on your puzzle. Try to hang it in a spot where the sun doesn’t hit it directly during the day.
- Check the hanging gear once in a while: Every few months, look behind the puzzle to make sure the hooks or wires are still tight and safe. If anything looks loose or worn out, fix it before it falls.
Mistakes to Avoid When Framing a Puzzle
Framing a puzzle can be a fun project, but if you’re not careful, you can run into small problems.
1. Skipping the Glue Drying Time
If you decide to glue your puzzle, don’t rush the drying process. It might seem like the glue has dried after a few minutes, but the inside can still be wet.
Moving the puzzle too soon can cause it to break apart or stick to things you don’t want it to. Let the glue dry fully, usually for at least 2 to 4 hours or even overnight, depending on the brand.
2. Using the Wrong Frame Size
It’s important to use a frame that fits your puzzle just right. If the frame is too small, the puzzle won’t go in without bending or damaging it.
If the frame is too big, the puzzle might shift around or leave gaps that don’t look good. To avoid this, measure your puzzle carefully, both the width and the height, before buying or making a frame.
3. Not Supporting the Puzzle with a Backing Board
A backing board, like a base, gives your puzzle extra support. Without one, the puzzle could bend, twist, or even fall apart inside the frame over time.
Foam board, cardboard, or thick poster board are all great options. Glue or stick the puzzle onto the board before placing it in the frame.
Conclusion
Framing a puzzle is a great way to save something you worked hard on and turn it into art for your home.
Whether you use glue, sticky sheets, or make your frame, the process is simple once you know the steps.
You don’t need special tools or a big budget, just a little time and the right materials. Plus, it’s a fun DIY project that gives you something personal to hang on your wall.
I strongly recommend taking your time, letting everything dry fully, and making sure your puzzle has the right support before you frame it.
So, next time you finish a puzzle, don’t just put it back in the box, frame it, and show it. It’s an easy way to enjoy your puzzle even after it’s done.