
Are you looking to add charm and function to your yard? A square gazebo might be just what you need. In this article, I’ll walk you through everything you need to know to build one from start to finish.
You’ll learn about the best materials to use, step-by-step instructions, and tips for a smooth build. If your goal is a peaceful retreat or a place to entertain guests, I’ve got you covered.
Building a gazebo can seem like a big task, but don’t worry – I’mhere to help. Rest assured, if you follow our guide, you’ll have a beautiful addition to your yard in no time.
This guide is perfect if you’re looking for clear, practical instructions on how to create something special in your space. Let’s look at how you can build your dream square gazebo!
Planning Your Square Gazebo Project
Choosing the Right Location
The first thing you need to do is pick the right spot. Think about the following:
- Sunlight:Do you want a sunny spot or some shade? If you’re planning to use the gazebo during the day, it’s best to place it somewhere that gets a good amount of light. If you’re in a hot area, you might prefer some shade.
- Wind:Is your backyard windy? If so, try to find a spot that’s sheltered from strong gusts. The gazebo will be sturdier and more comfortable in a calm location.
- Proximity to Other Structures: Consider how close your gazebo will be to fences, trees, or buildings. A good rule of thumb is to have it far enough from other structures to feel open, but not too far that it looks out of place.
Determining the Size
Now, let’s talk size. The most common sizes are 10×10 ftand 12×12 ft. But you need to ask yourself:
- Will you have enough space for furniture? If you plan to add chairs, a table, or even a hammock, consider how much room you’ll need. A 10×10 ftgazebo is perfect for a small table and chairs, while a 12×12 ft gazebo gives more room for larger furniture or extra guests.
- Can people move around easily? If your gazebo is too small, it can feel cramped. If it’s too big, it might not feel cozy. Try to find a balance where everyone can enjoy the space without feeling crowded.
Design Considerations
This is where you can get creative. Do you want open sidesor screened sides? Open sides can provide an airy, open feel, while screened sides offer protection from bugs—perfect for summer evenings.
- Flat Roof:Simple and modern. It’s great if you want a sleek, minimal look.
- Gable Roof:This style has two sloping sides that meet at a peak, adding a more traditional feel.
- Hip Roof:A more complex roof style where all four sides slope toward the center, creating a stable and attractive design.
All these little details will help you decide what’s best for your space. Think about how you’ll use the gazebo. Will it be a quiet retreat or a place for gatherings? The choice is yours!
Gazebo Plan Ideas: Creative Designs for Every Backyard
When I started thinking about a gazebo, I didn’t want something fancy. I just wanted something that felt right in my backyard.
If you’re in the same place, let’s look at a few realideas that might fit what you’re dreaming of, too.
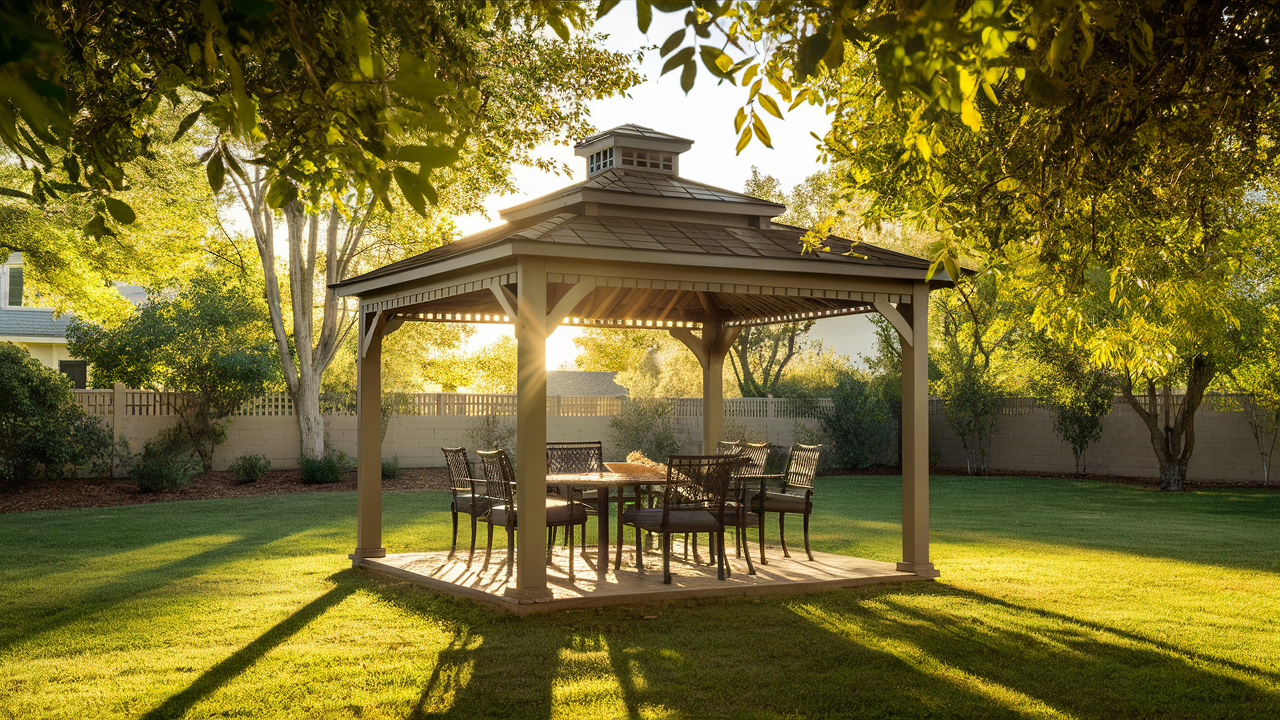
Classic 10×10 Square Gazebo Design
This one’s all about balance. The hipped roof gives it that classic, neat look, and the open sides make it feel welcoming.
I found it worked great right by the garden. You could also place it near the pool or even right in the middle of your yard. It’s not over-the-top, it just looks good and feels right.
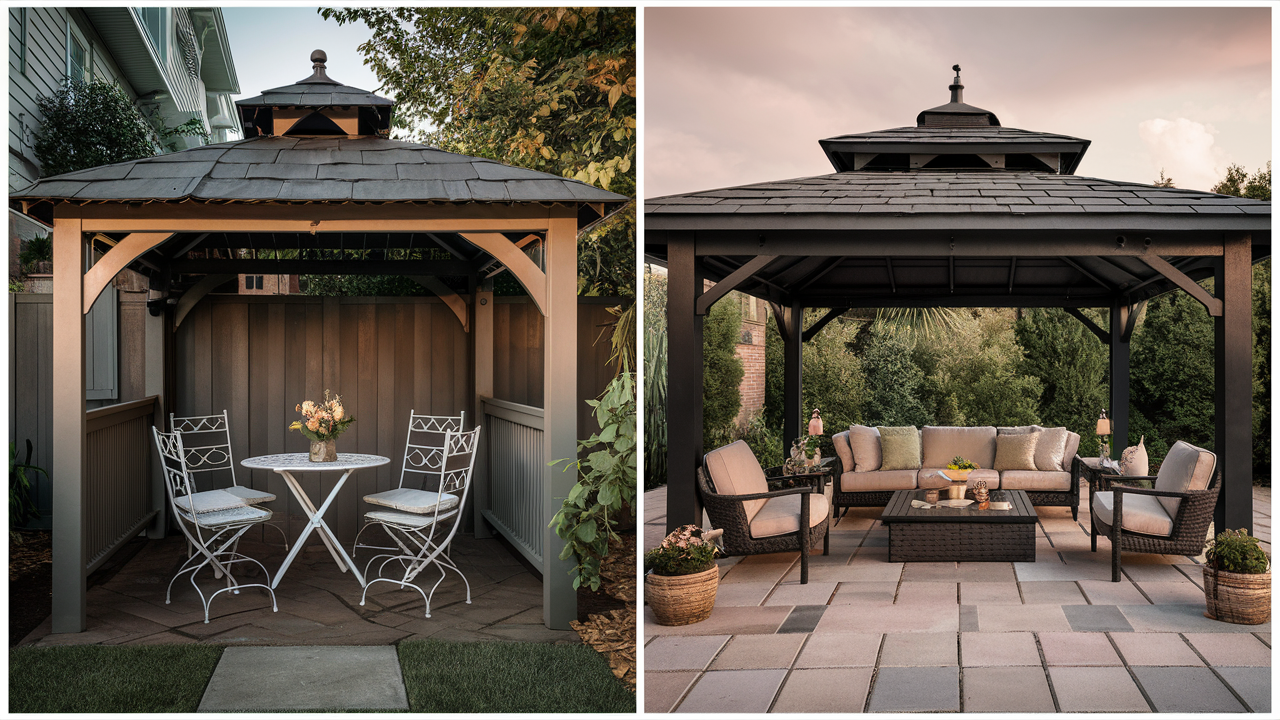
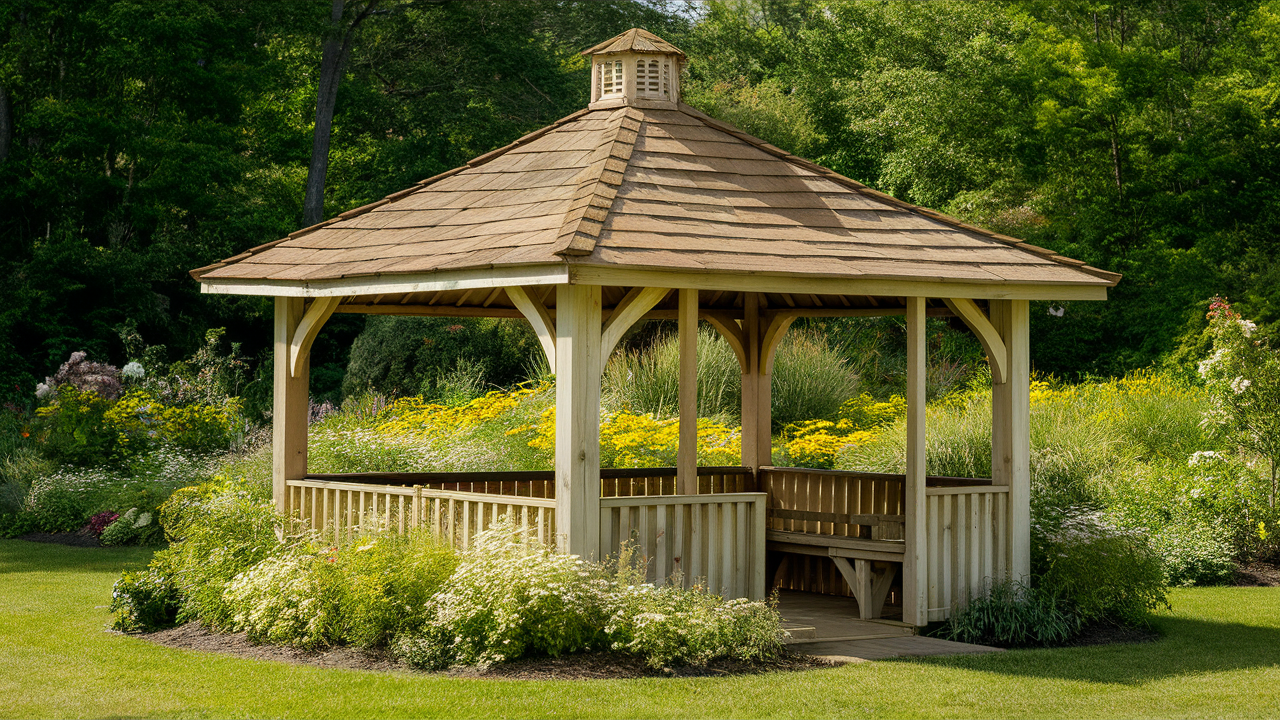
Rustic Cedar Gazebo with Exposed Beams
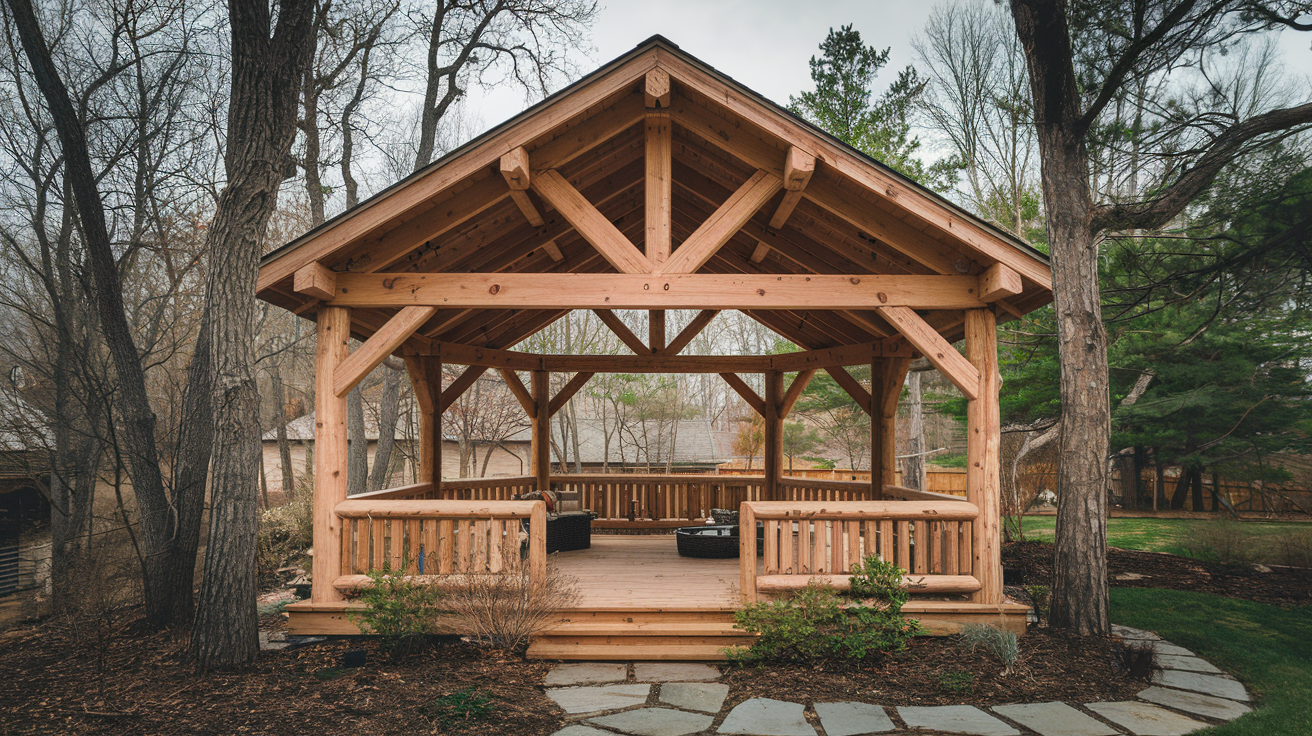
I chose rough cedar for this one. The wood’s knots and texturemade it feel natural, like it belonged in the trees.
It’s not polished, and that’s exactly what makes it beautiful. If you like a rustic or cabin style, this fits right in.
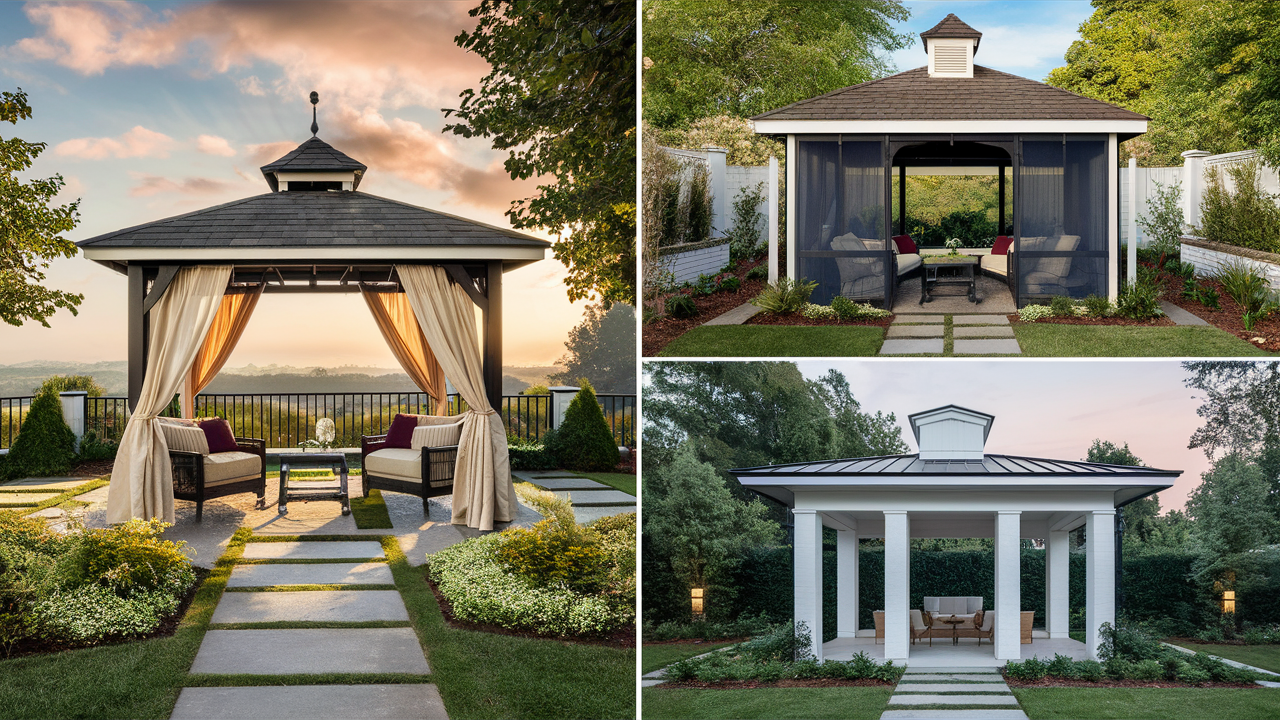
Modern Square Gazebo with Flat Roof
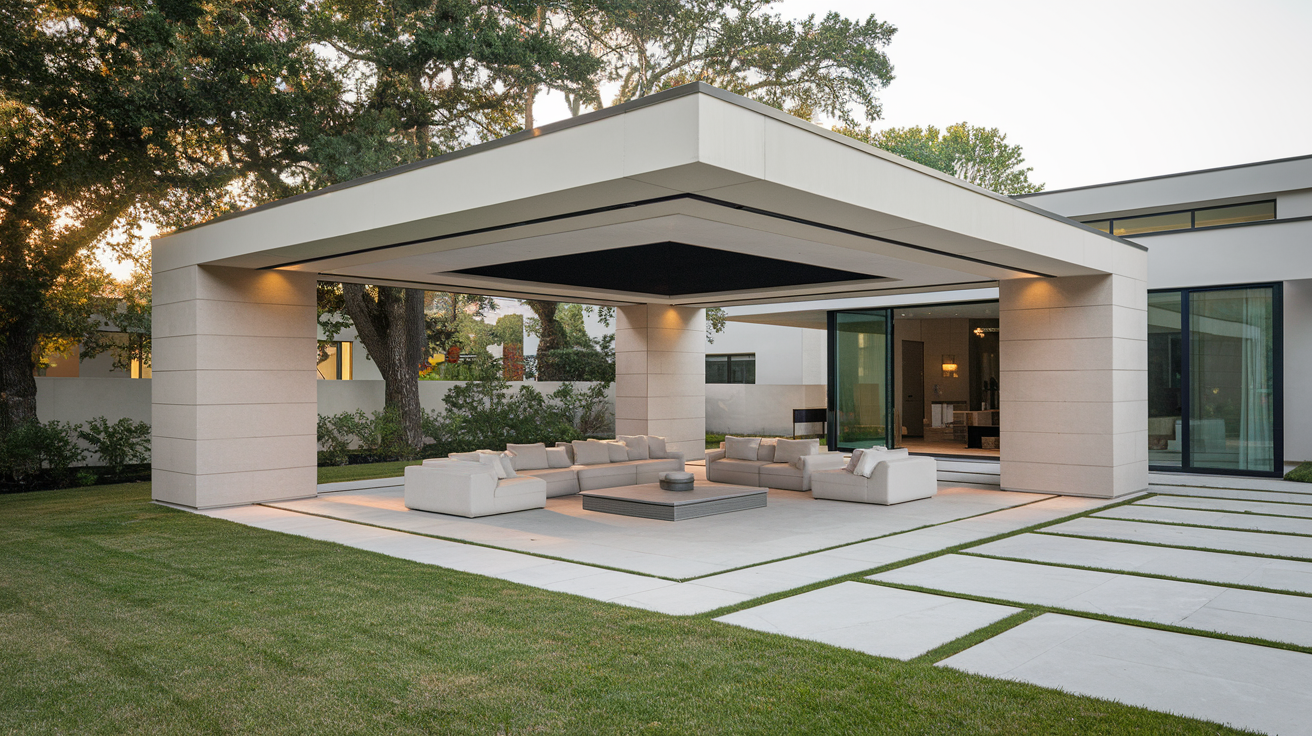
This one’s clean and simple. I kept the lines sharp and the structure basic and left off anything extra. There are no curves orfrills.
This will perfectly match your house’s modern look. It also works well if you want a quiet spot that blends into a sleek backyard.
Enclosed Screened Gazebo for Bug-Free Comfort
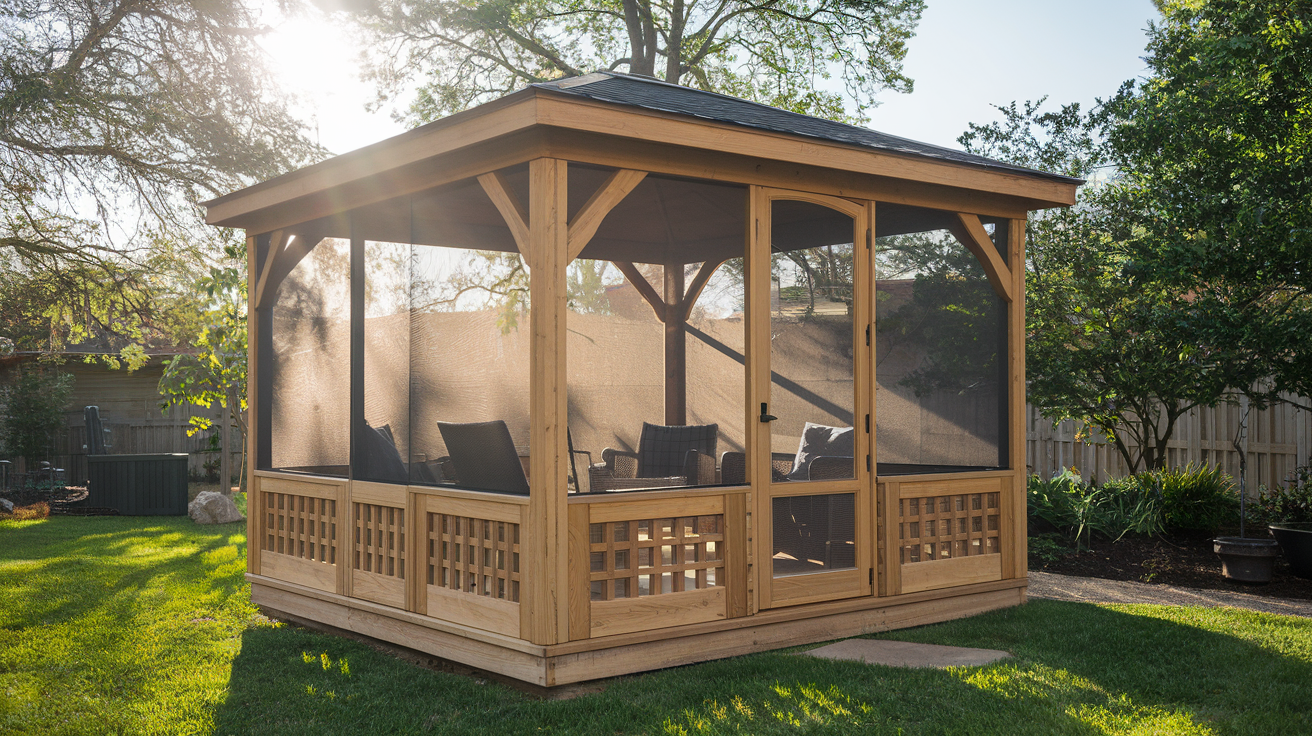
If bugs are a problem where you live, this plan will save your evenings. I added screen panels on all sides, and the difference was instant.
No more slapping mosquitoes while trying to relax. You still get the air and the view, just not the bites. It’s a simple change that makes a big impact.
Pergola-Style Gazebo with Slatted Roof

This one isn’t fully covered, and that’s the point. The slatted roof creates light and shadow, but it doesn’t completely block the sky.
I like it over a seating area or even a small garden bed. It provides structure without feeling heavy. A nice choice if you want shade but not too much of it.
Small-Space 8×8 DIY Gazebo

This was the first gazebo I built. It’s small, simple, and has just enough space to sit outside with a cup of coffee.
If you’re working with limited spaceor want to keep things budget-friendly, this plan is a good place to start. You don’t need a lot of yard or a lot of money to enjoy it.
Square Gazebo with Built-In Outdoor Kitchen
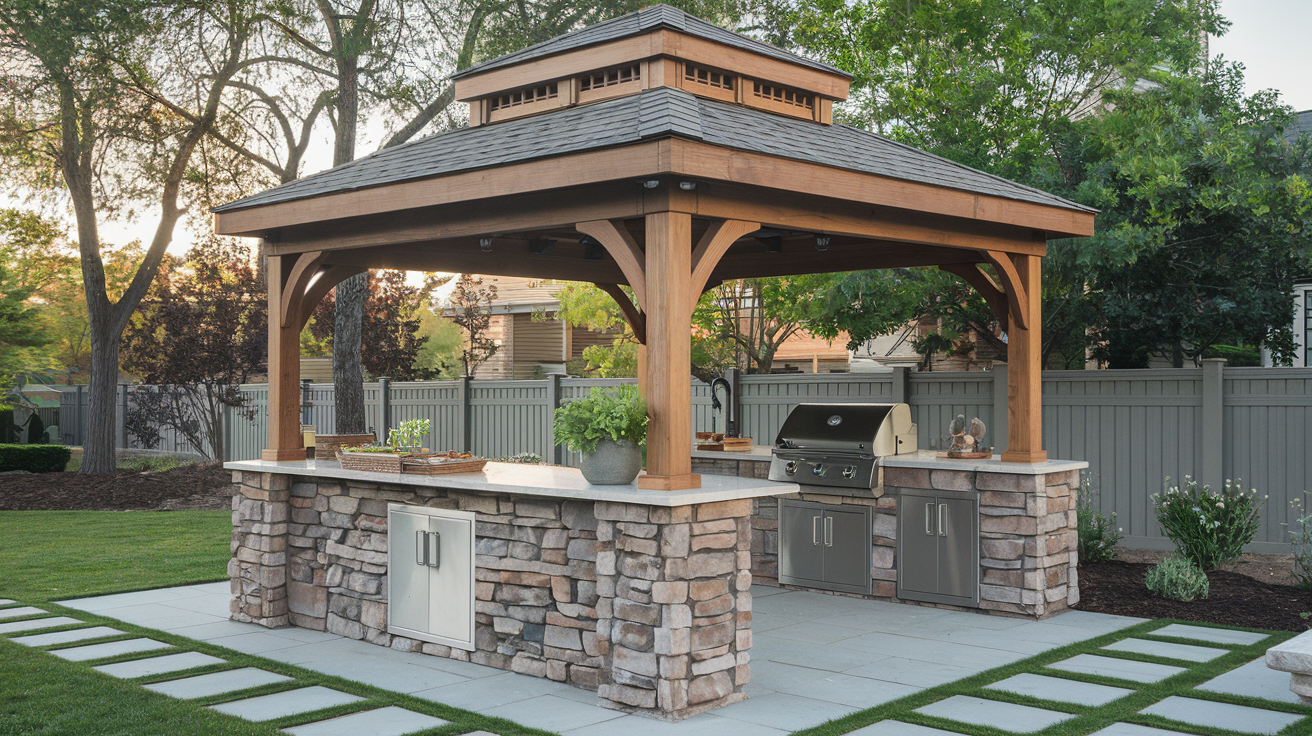
This one turned out to bemore than I expected. I added a countertop, left space for a grill, and even worked in some storage.
Now, it’s not just a gazebo; it’s an outdoor kitchen. If you like hosting or cookingoutside, this setup makes it easier and way more fun.
Step-by-Step Guide to Building a Gazebo
Step 1: Unbox and Organize Everything
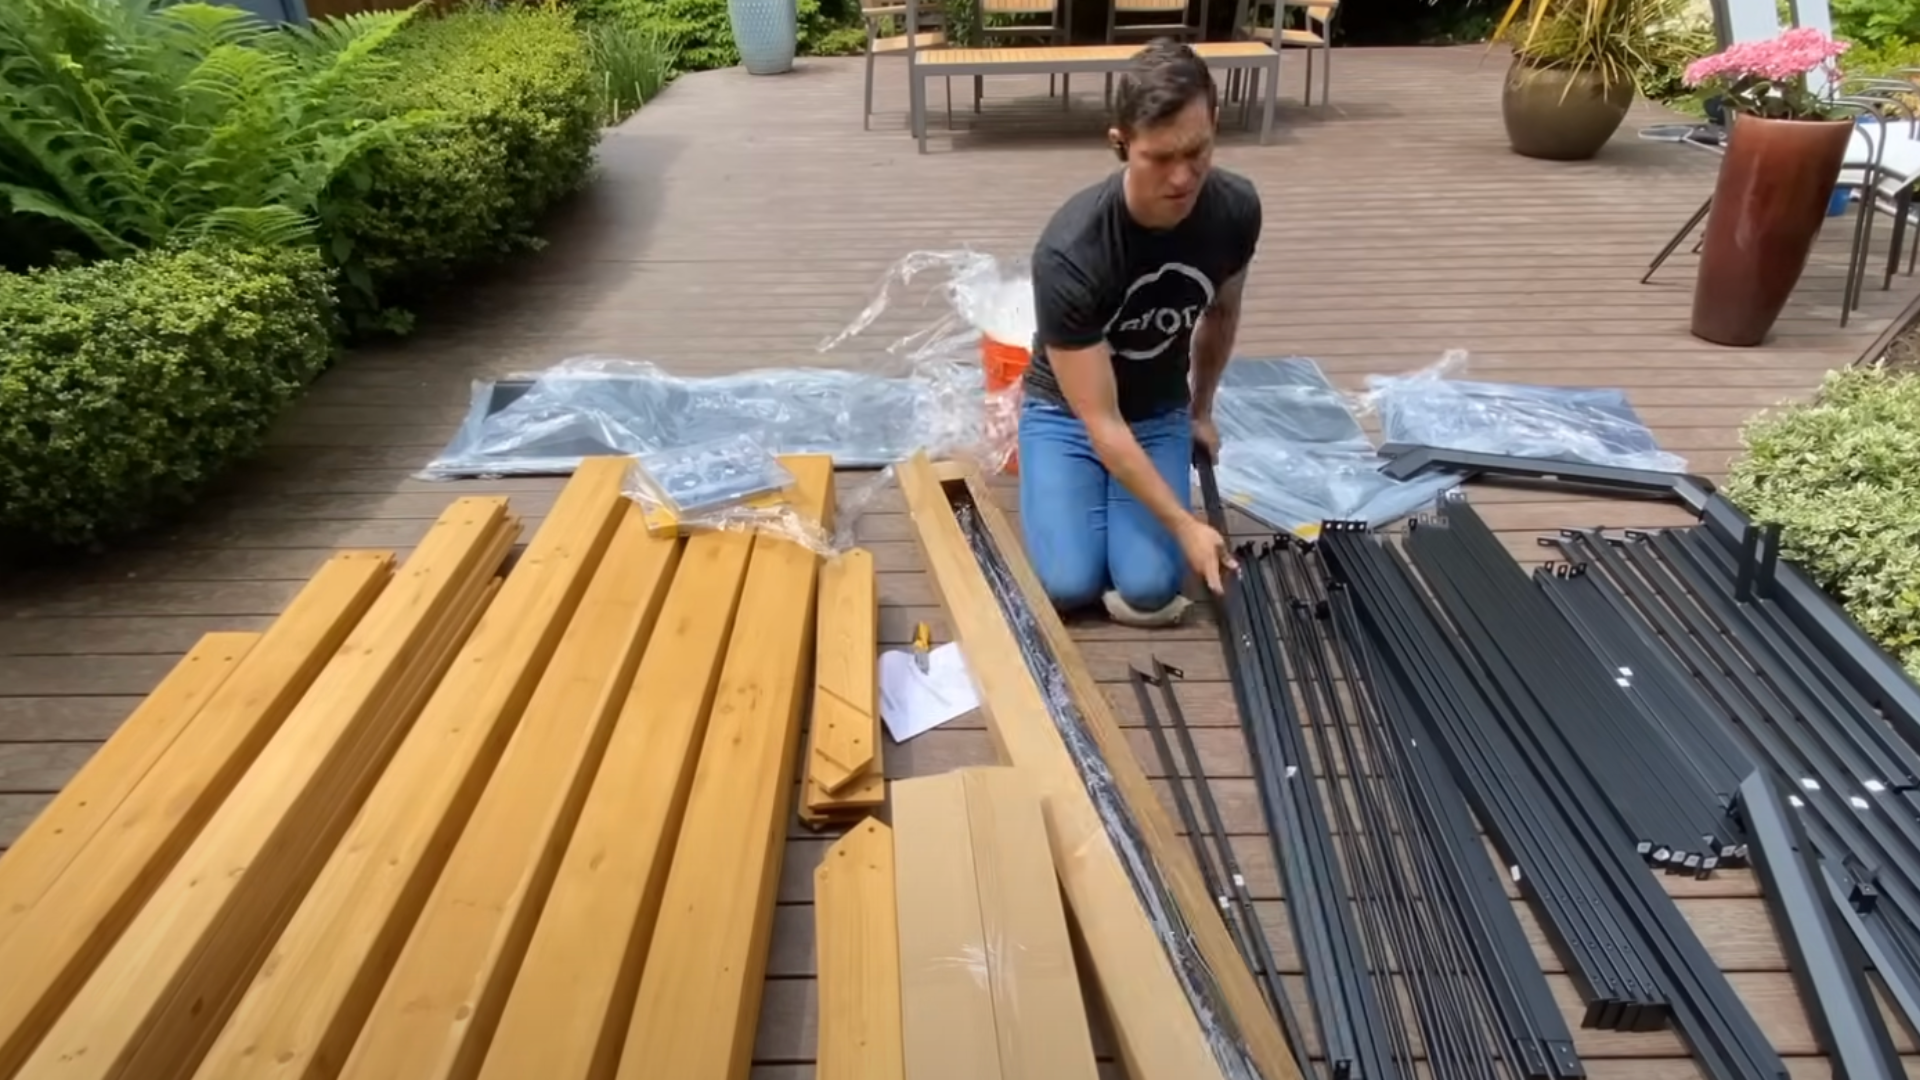
Start by opening the entire kit and laying out every piece. Make sure all parts are included, and unwrap everything so you won’t have to fumblewith packaging later.
This saves time and prevents misplacing items. The powder-coated steel parts feel solid and are made to last, so handle them with care andconfidence.
Step 2: Assemble Posts and Beams
Begin at the base. Using the labeled hardware, attach the brackets to each post. Before moving on, remember to slide on your post caps.
Then, assemble your side beams by connecting two boards together at a time using T-nuts and bolts. Check that everything is level before tightening. You’ll do this eight times, twice for each side.
Step 3: Attach Posts and Raise the Frame
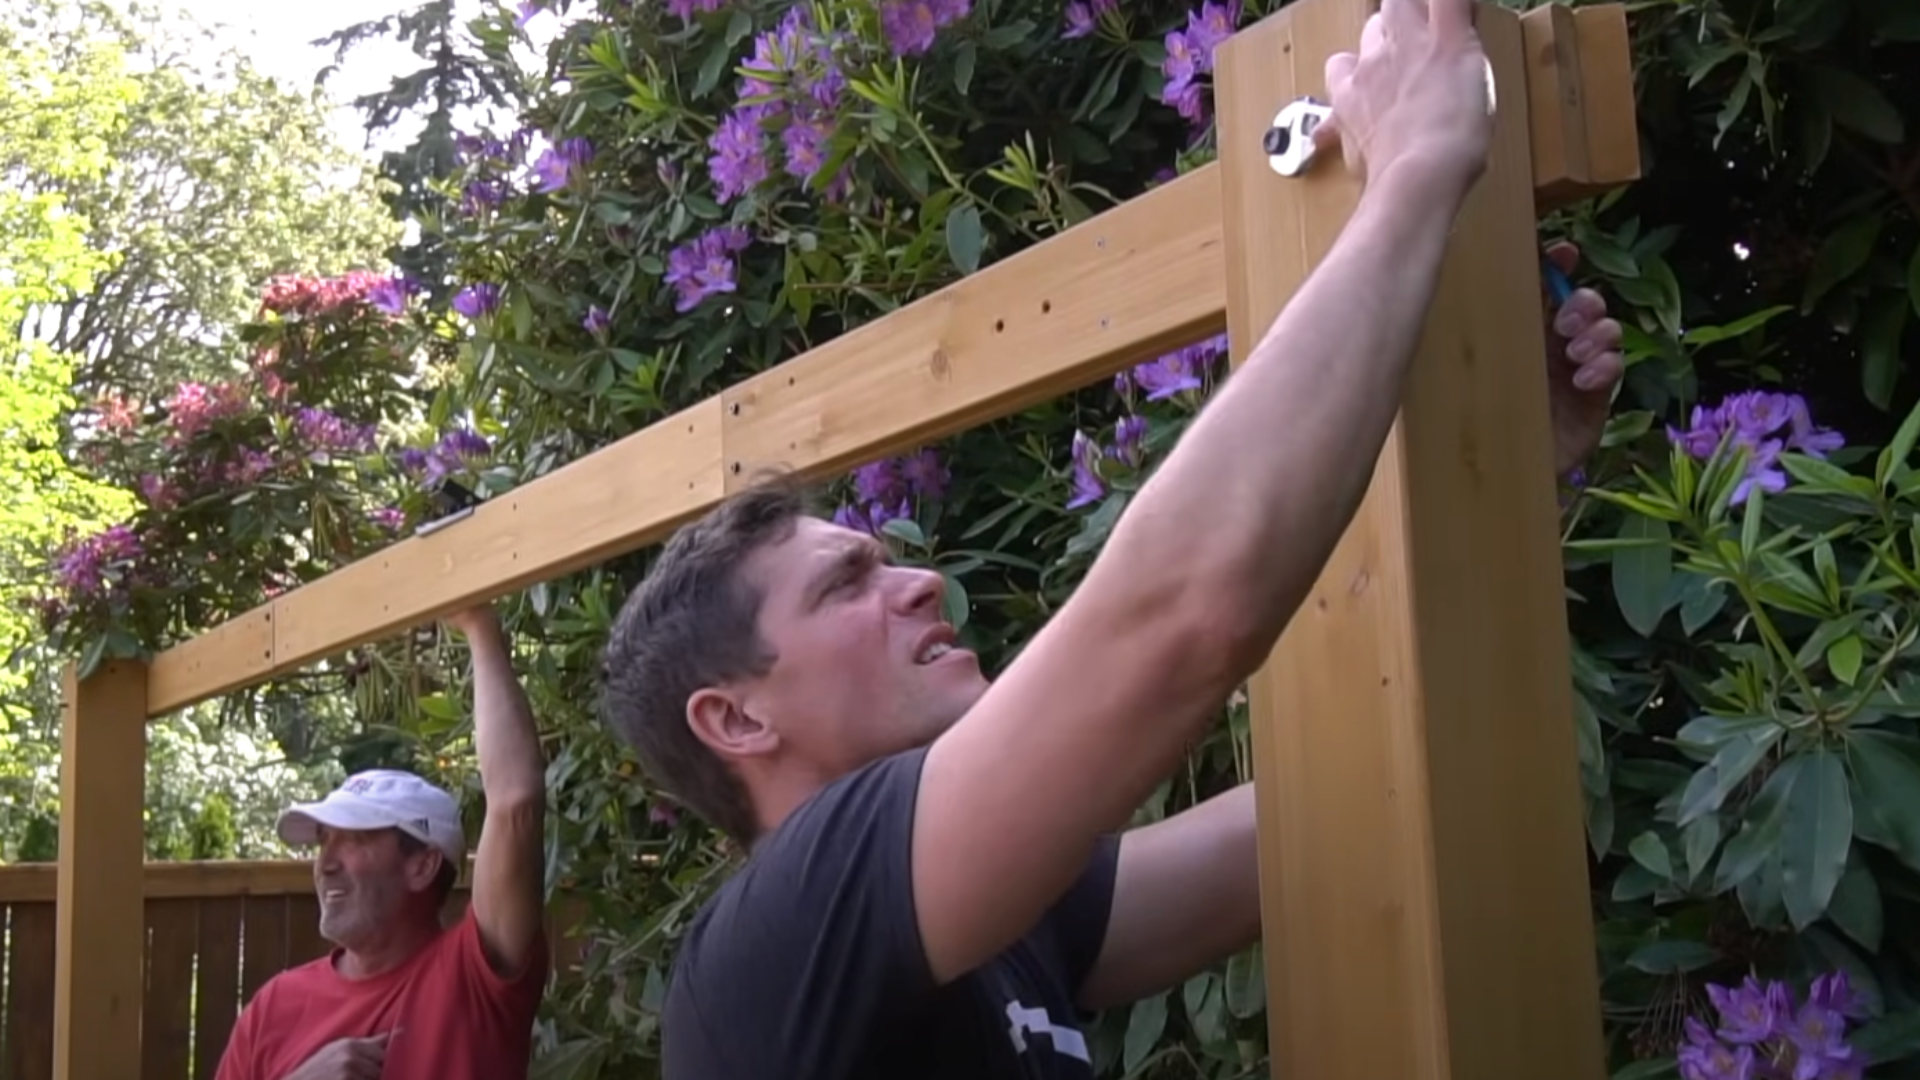
Secure your beams to the posts using bolts and screws, but don’t tighten everything just yet. You’ll need a bit of wiggle room to set things up.
With 2–3 people, lift the frame upright and snug the bolts enough so the structure can hold itself. Now’s a good time to make sure nothing is crooked before tightening more.
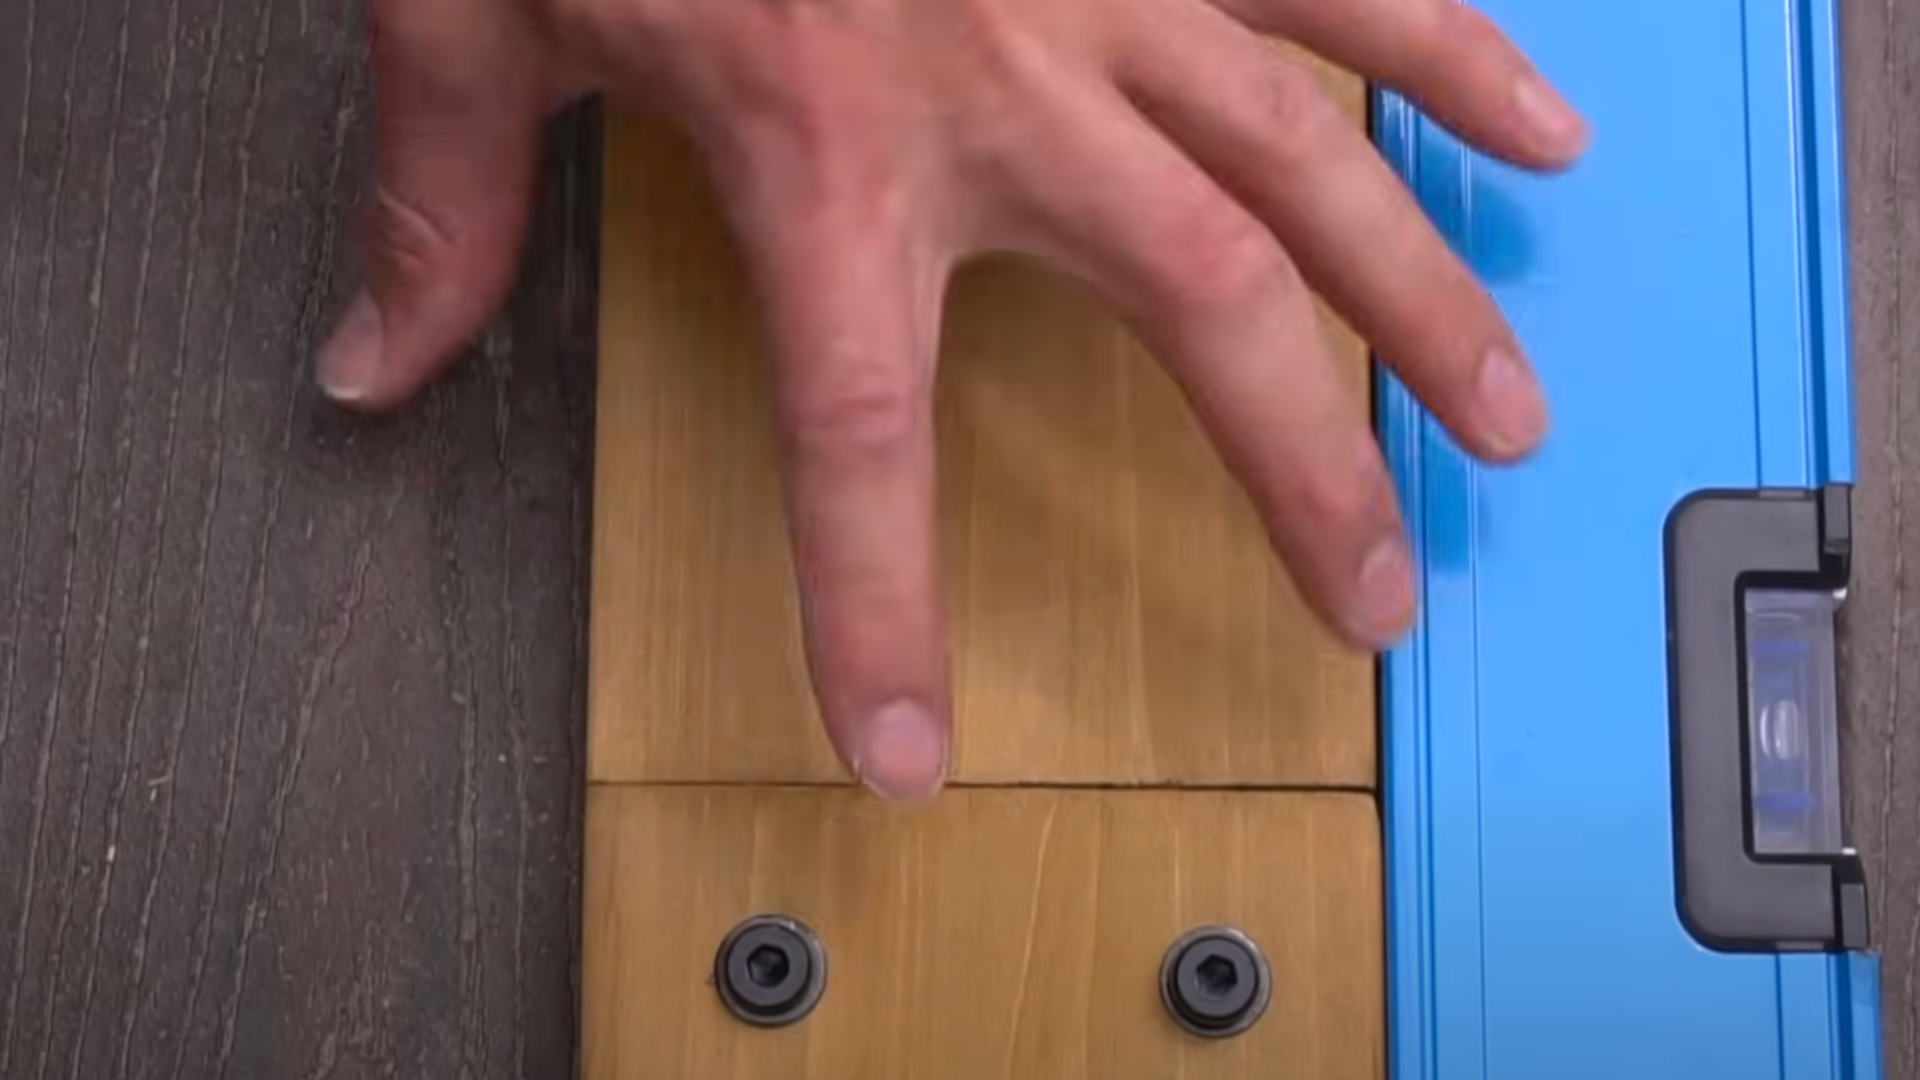
Step 4: Square the Structure and Add Arch Supports
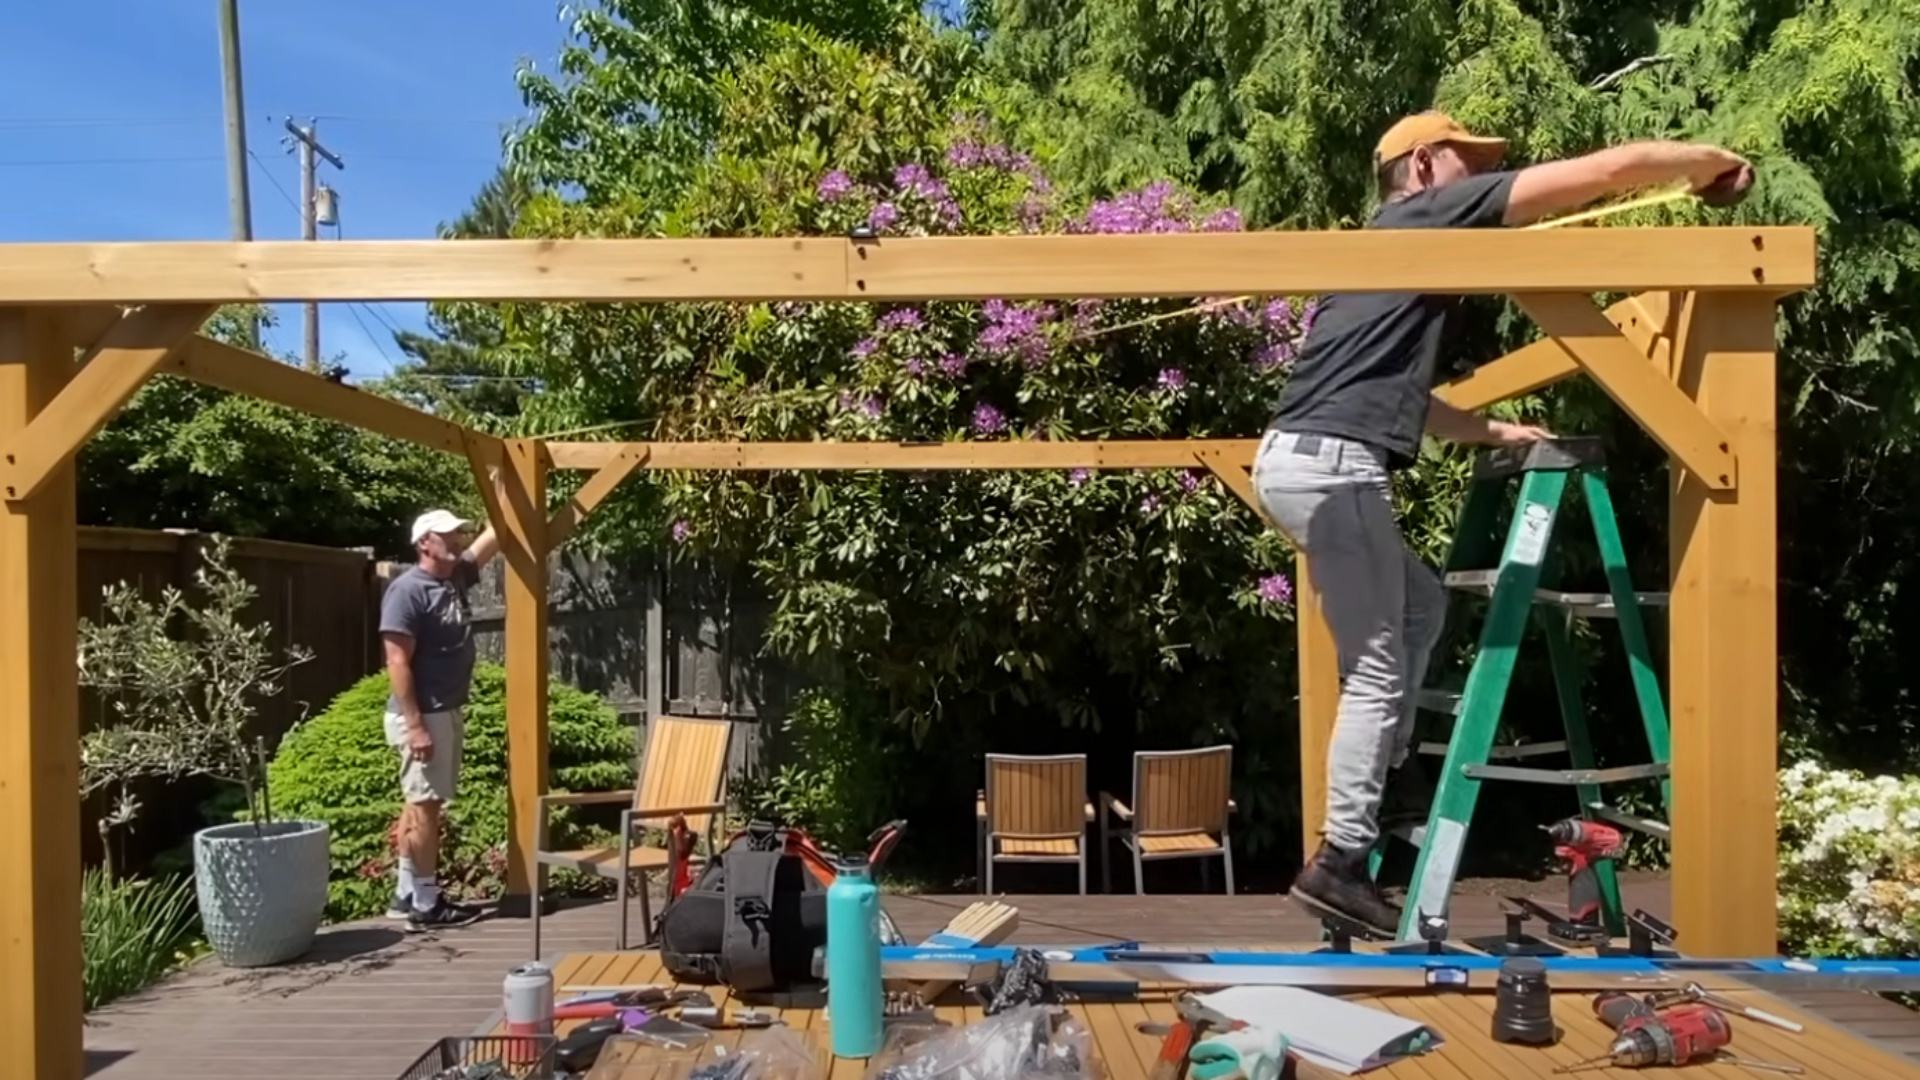
Use a tape measure to check the diagonal corners; if they match, your frame is square. Next, install the arch supports to lock the structure in place.
Just line up the pre-drilled holes and bolt them in. Make sure the holes face outward so you don’t end up with visible errors. Once all supports are in, tighten everything down.
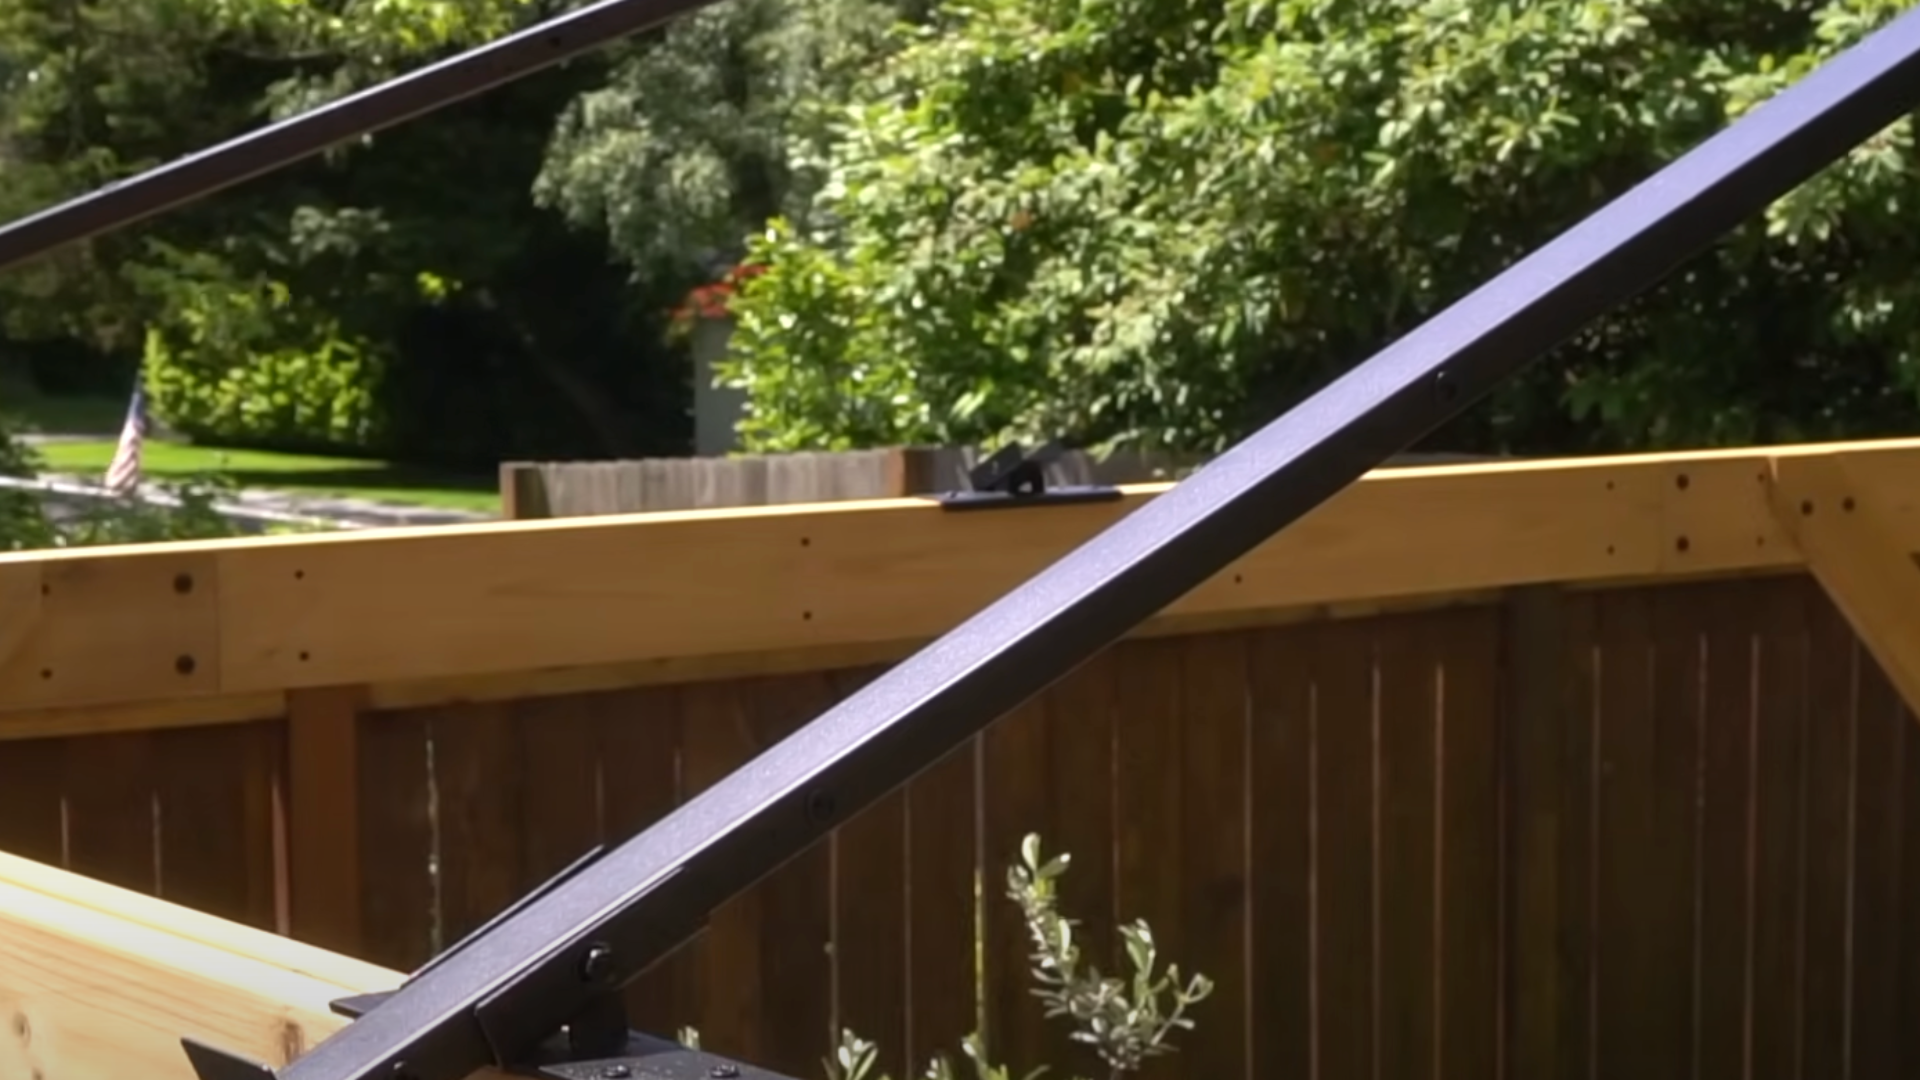
Step 5: Install Slanted Brackets and Roof Center Frame
Attach the slanted roof brackets on top of each post, with the slope facing outward. These will hold the roof.
Then, build the roof’s center frame on the ground using the labeled steel connectors. The pieces are made to fit, so all you need to do is match them up and bolt them together.
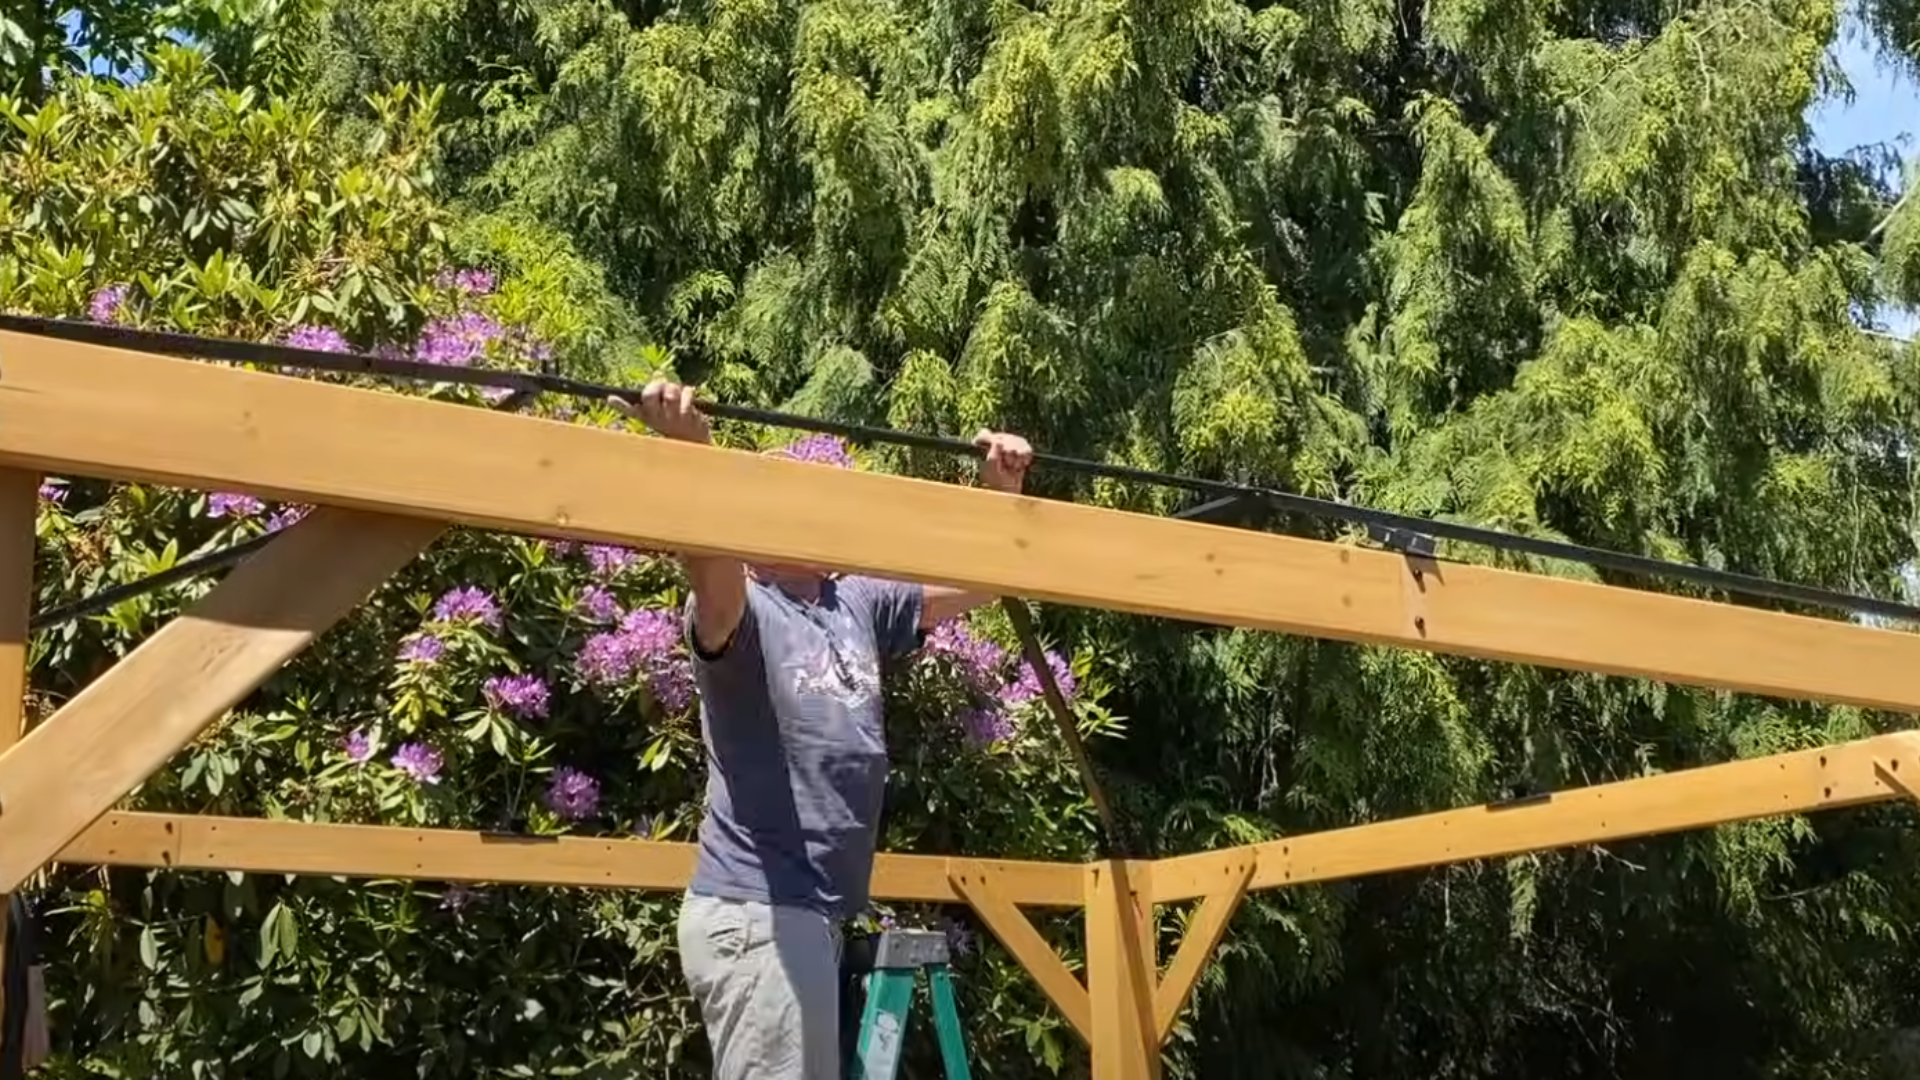
Step 6: Lift and Secure the Roof Frame
Carefully lift the roof frame and set it onto the slanted post brackets. You’ll need help here, don’t try this solo. Line it up and fasten each corner securely.
After that, install the big middle beam connectors on all sides. These give the top of the structure more strength and better alignment.
Step 7: Add Hanging Rail and Build Two-Tier Roof
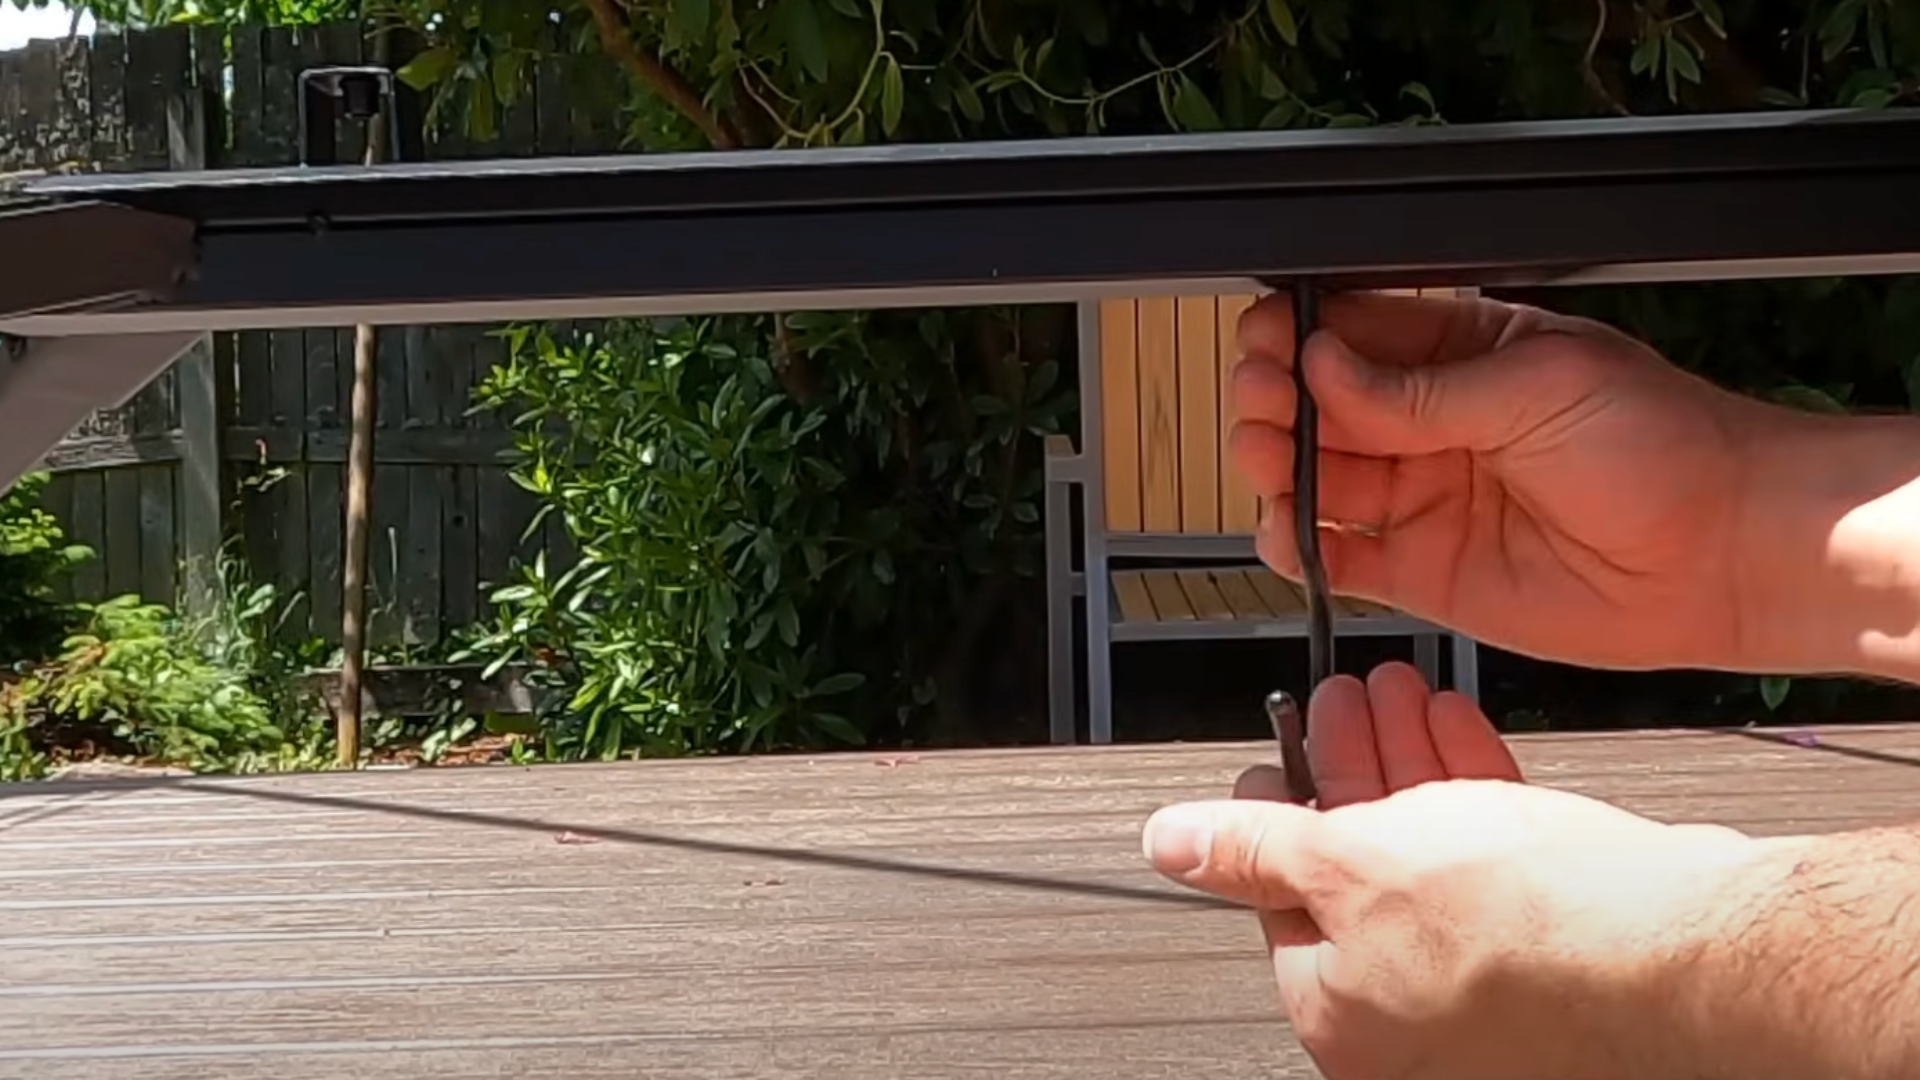
Install the dual rail system under the roof frame. This lets you add things like string lights or curtains later. Then, build the upper roof section and attach it to the lower one.
There’s even a hook at the top for a light or heater. Once this is in place, your gazebo has airflow and that finished, polished look.
Step 8: Finish with Roof Panels and Side Rails
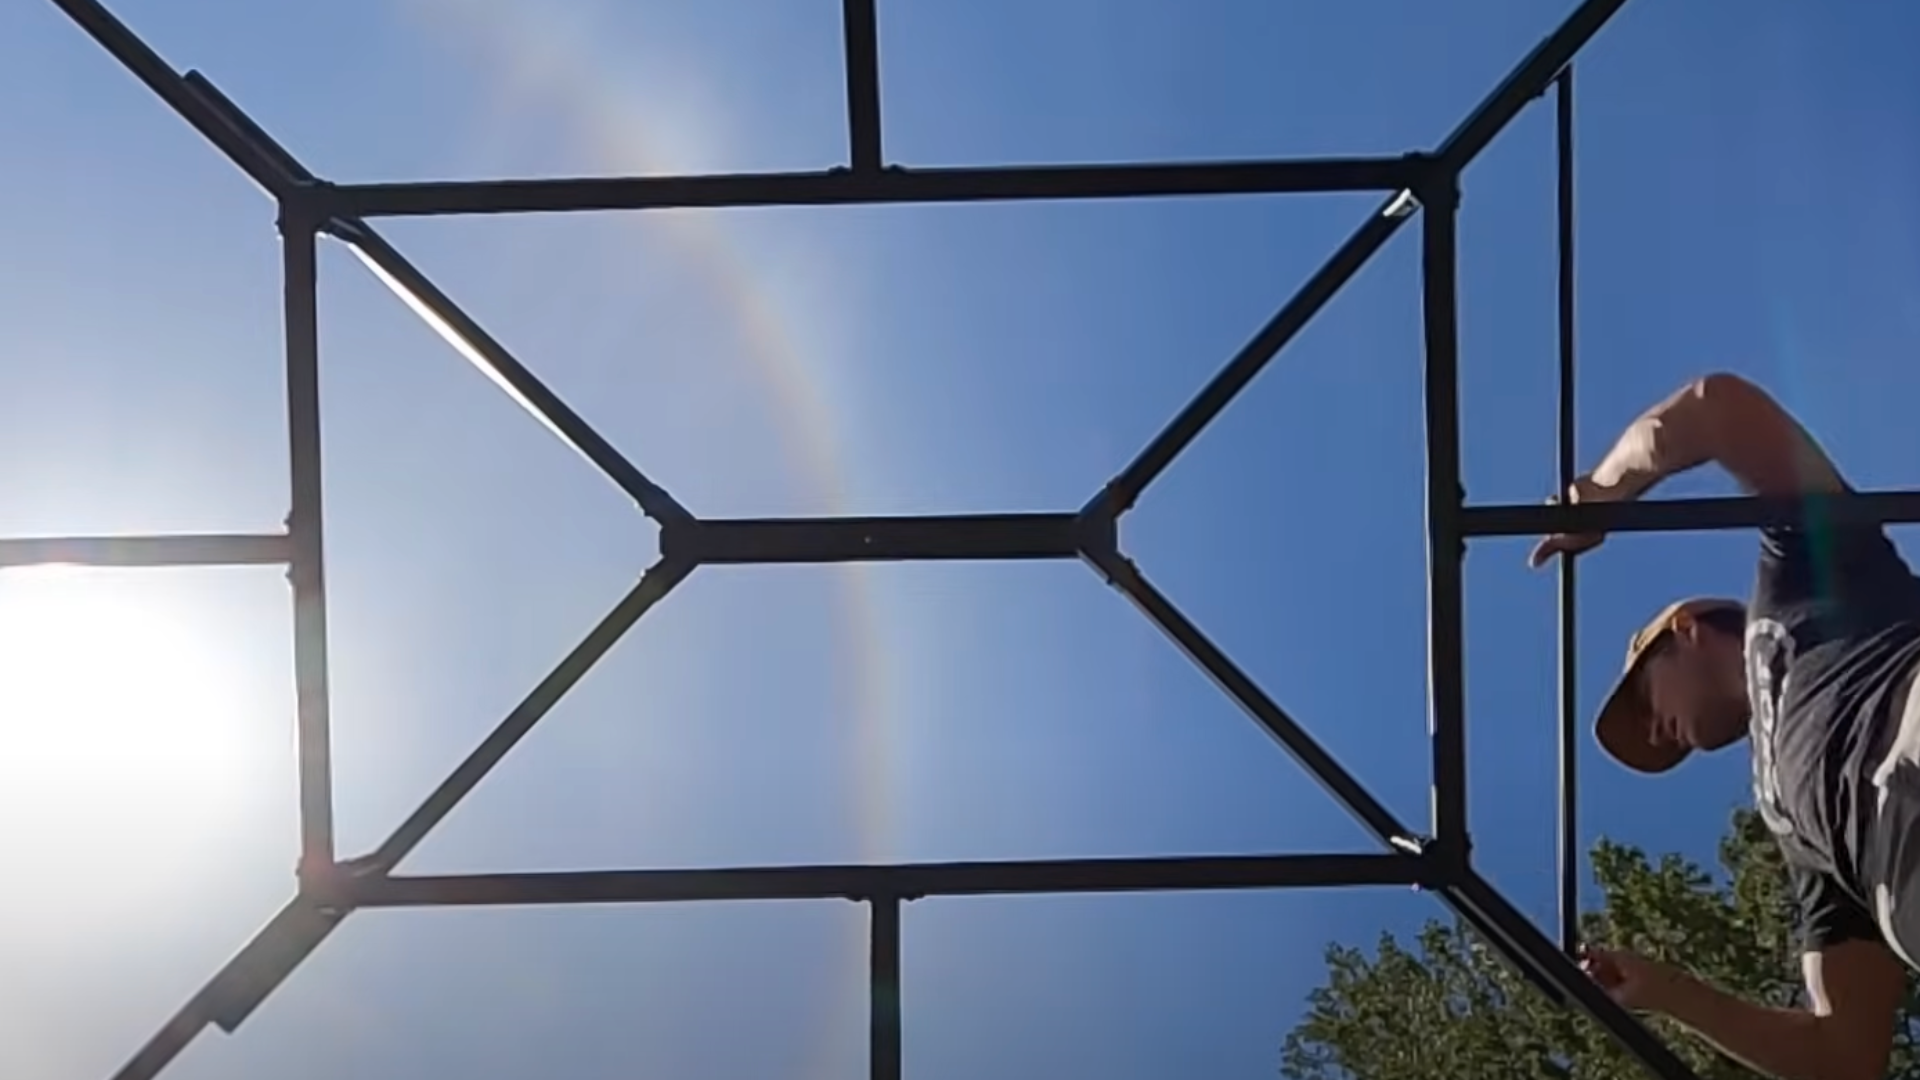
Start with the top panels and work your way down. Everything lines up with the pre-drilled holes, so it goes pretty smoothly.
The side rails require a little more patience, as they have tight angles and small spaces. However,the included wrench helps get them in place. Once that’s done, the roof is solid, and your gazebo is complete.
By following these steps, you’ll have a beautiful gazebo in your yard, ready for years of enjoyment.
To really see how it all comes together, check out the full build on @BYOTools . Watching the steps in action makes everything easier to follow (and honestly, it’s pretty satisfying to see it done in just one day).
Tips for aSuccessful Build
Building a gazebo can be a lot of work, but with a few simple tips, you can make the process go smoothly. Here’s what I’ve learned along the way:
Leveling Is Key
The most important thing I learned is that levelingis everything.
- Make sure all surfaces are perfectly level.
- An uneven foundation will make the entire structure unstable.
- Use a level tool to check often.
Safety First
Don’t skip this part!
- Wear protective gearlike gloves, goggles, and sturdy shoes.
- Follow all safety guidelines. It’s easy to get caught up in the excitement, but safety should always come first.
Seek Assistance
Building a gazebo alone is tough.
- Having a helpermakes the process smoother and faster.
- One person can hold a beam while the other secures it.
- Plus, it’s more fun with someone else around!
By following these tips, you’ll avoid common mistakes and finish your gazebo with confidence.
Maintenance and Longevity
Once your gazebo is built, it’s important to keep it well-maintained to ensure it lasts for many years. I check mine regularly for any signs of wear or damage.
It’s easy to miss small issues, but taking a quick look can help you catch problems before they get worse. I check for cracks, loose boards, or rusted nails, which are common signs that need fixing.
Another important part of maintenance is protecting the wood. I apply a sealantor paintevery couple of years to preserve the gazebo from the weather.
The sealant helps prevent the wood from rotting, while the paint keeps it looking fresh. These simple steps will keep your gazebo in good conditionso it can be enjoyed for many seasons to come.
Conclusion
Building your square gazebo is a rewarding project that brings more than just a structure to your yard. It creates a cozy retreatwhere you can relax or entertain family and friends.
Whether you use it for quiet afternoons with a good book or weekend gatherings, it offers a perfect spot to unwind and enjoy the outdoors.
I’ve found that a well-built gazebo not only serves a practical purpose but also adds charm. It becomes a focal point of your outdoor space,making it a more inviting place.
Over time, it can even increase the market value of your home, should you ever decide to sell.
With proper care and maintenance, your gazebo will stand strong and beautiful for years to come. Your new gazebo is ready for you to make lasting memories!
Frequently Asked Questions
What Is the Best Wood for Building aSquare Gazebo?
Cedar, redwood, and pressure-treated lumber are excellent choices due to their durability and resistance to weathering.
How Long Does It Take to Build a Gazebo?
It typically takes about 2-3 weekends, depending on the size and complexity of your gazebo and the number of helpers.
Do I Need aPermit to Build aGazebo?
It depends on your location. Some areas require permits for structures like gazebos. Check with your local authorities before starting.