
Did you just buy a new oil painting? Or maybe you already have one and want to keep it looking great?
I know how special oil paintings can be. Their rich colors and textures bring so much character to a space, and they deserve to be treated with care. Keeping them clean and protected isn’t hard, but it does take a little extra attention.
When I first learned how to care for an oil painting, I didn’t want to risk damaging it. That’s why knowing the right way to clean and handle it makes all the difference.
Whether it’s a new piece or an old favorite, this guide will walk you through the safe steps to keep your painting looking just as beautiful as the day you hung it up.
Let’s take care of it the right way – gently, patiently, and with confidence.
Why Do You Need to Clean an Oil Painting?
An oil painting is a delicate piece of art. It needs constant maintenance to preserve its beauty and ensure longevity.
Every day wear and tear, material degradation, environmental damages, and accidental damages like spilling and other disasters bring the need to clean and maintain the painting.
Dust and dirt also harm the painting when not cleaned over a long period of time.
The physical consequences of degradation can include structural damage or aesthetic deterioration.
Ultimately, to maintain the beauty of your oil painting, you will need to give it the care it needs; gentle, constant cleaning of the painting also leads to its long life.
Using Solvents to Clean Oil Paintings
When I started cleaning my oil painting, I learned pretty quickly that not all cleaners are safe. Solvents can help remove stains or old varnish, but you have to be careful.
| Solvent | Use | Caution |
|---|---|---|
| Turpentine | Removes varnish and some stains | Use sparingly; strong smell and can be harsh on paint |
| Ethanol | Lifts certain marks and residue | Can dry out paint if overused |
| Acetone | Cuts through layers like extra paint or strong varnish | Very strong—may strip paint if not diluted |
| Mineral Spirits | Gentle cleaner for surface grime or thin varnish | Safer option, but still test a small area first |
| Water | ✘ Not recommended | Can cause swelling or fading of paint |
| Baby Oil | ✘ Not recommended | Leaves residue, attracts dust, and damages the paint surface |
| Harsh Soaps | ✘ Not recommended | Can degrade paint and texture |
| Food Products | ✘ Not recommended | Unpredictable results, may stain or attract insects |
No matter which solvent you use, always test a small area first and go slow. I’ve found that gentle, careful cleaning works best, and sometimes just a light dusting is enough.
When in doubt, it’s always smart to talk to a professional art restorer before using anything strong on your painting. It’s better to be safe than sorry when it comes to something so special.
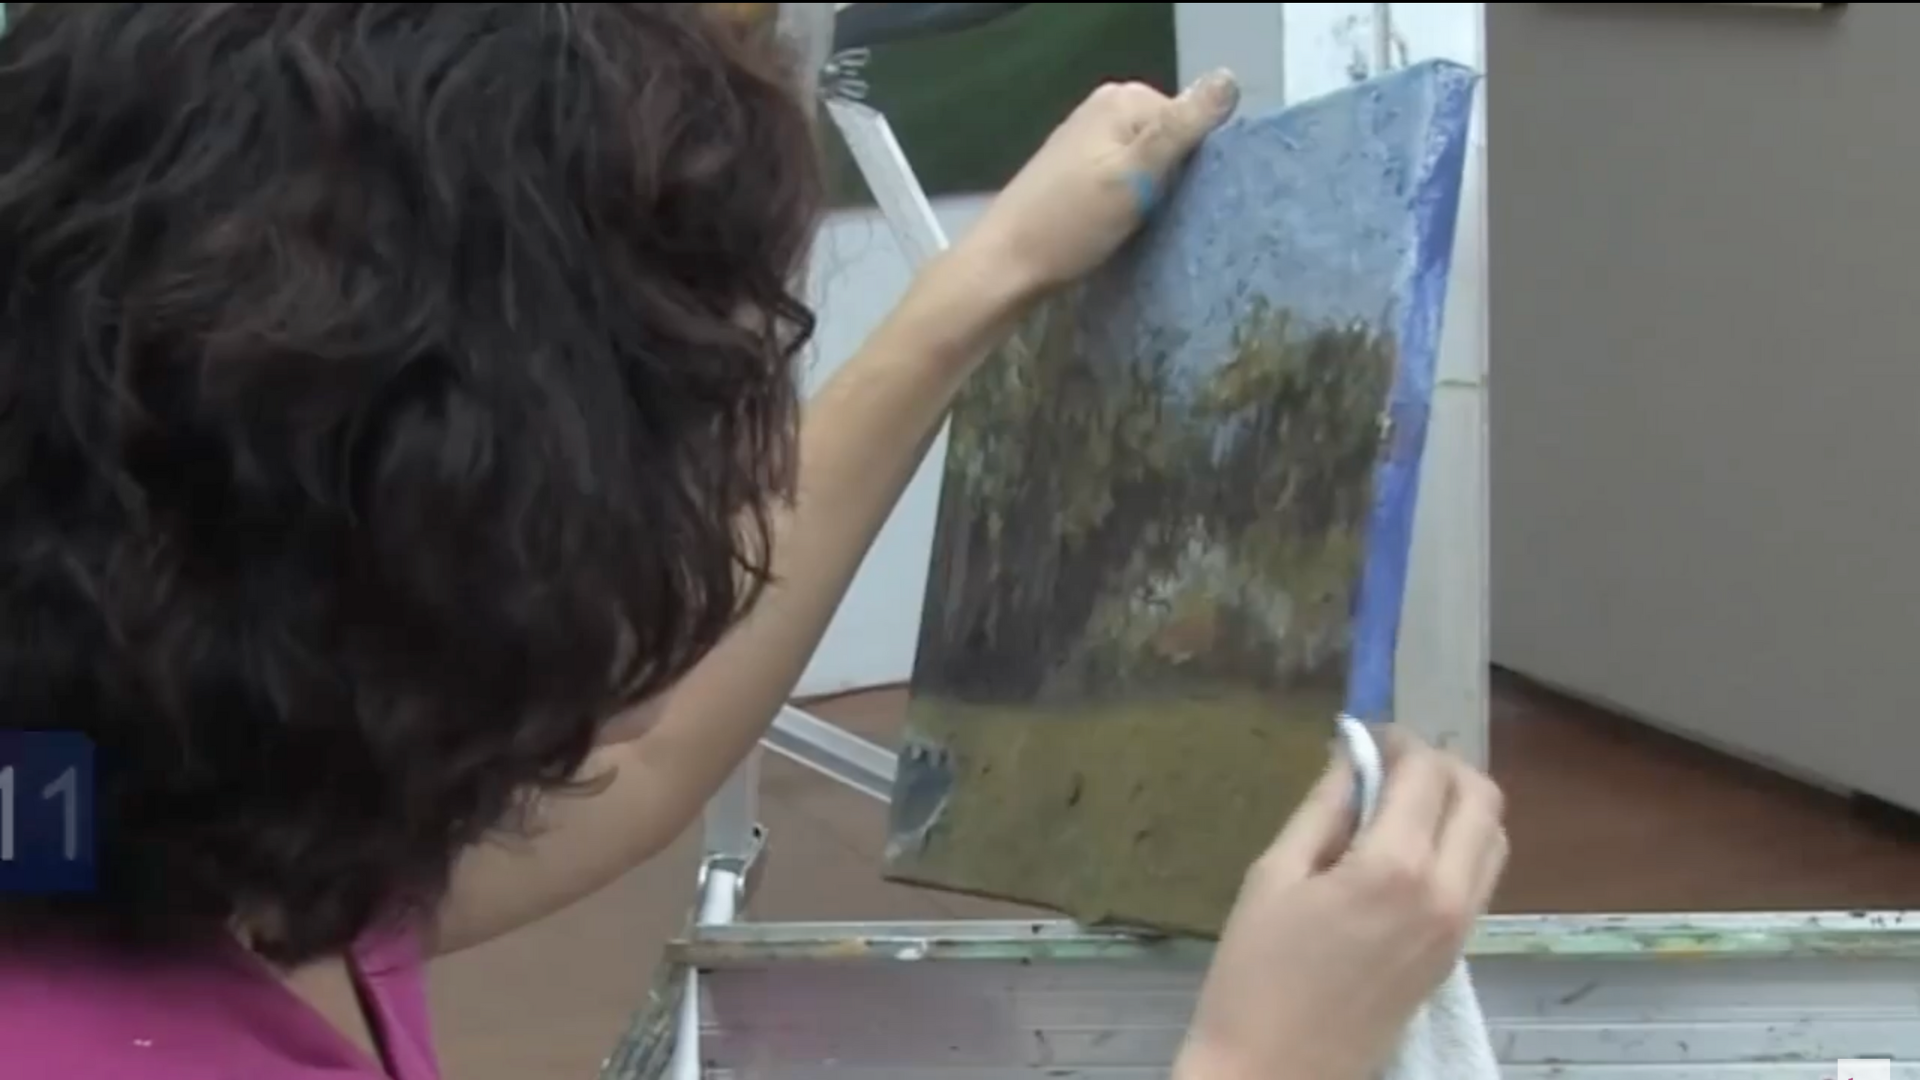
How to Clean an Oil Painting?
Cleaning an oil painting can be tricky; it involves careful work and delicate substances. The easiest way to remove a thin layer of dust, grime, or residue is with a soft cloth and soapy water.
Due to its low pH level and mild properties, olive oil-based soap is often considered the most effective soap to use.
Materials Needed
To clean your painting, first, you will need to arrange the essential materials. These are essential as they make your work easy and ensure smooth functioning.
- Varnish Solvent
- Soft Brush
- Rag
Step 1: Make Sure It’s an Oil Painting
To start with the cleaning process, you will first need to ensure that the painting which you wish to clean is an oil painting.
If the painting is of any other material, the method and supplies used for oil painting can damage your painting, as every type of painting needs a different kind of care.
- Make sure you don’t rub the colors off.
- Take some of the solvent on the rag
- Rub gently
- Make sure that the color is not coming off- this means that you can use the solvent, too, gently.
Step 2: Cleaning

After ensuring that the solvent is not harming your painting, you come to the first step of cleaning.
To begin with the process-
- Grab your brush
- Brush off all the dirt and dust from the painting- this way, you will avoid using too much varnish solvent on your painting.
Step 3: Final Step
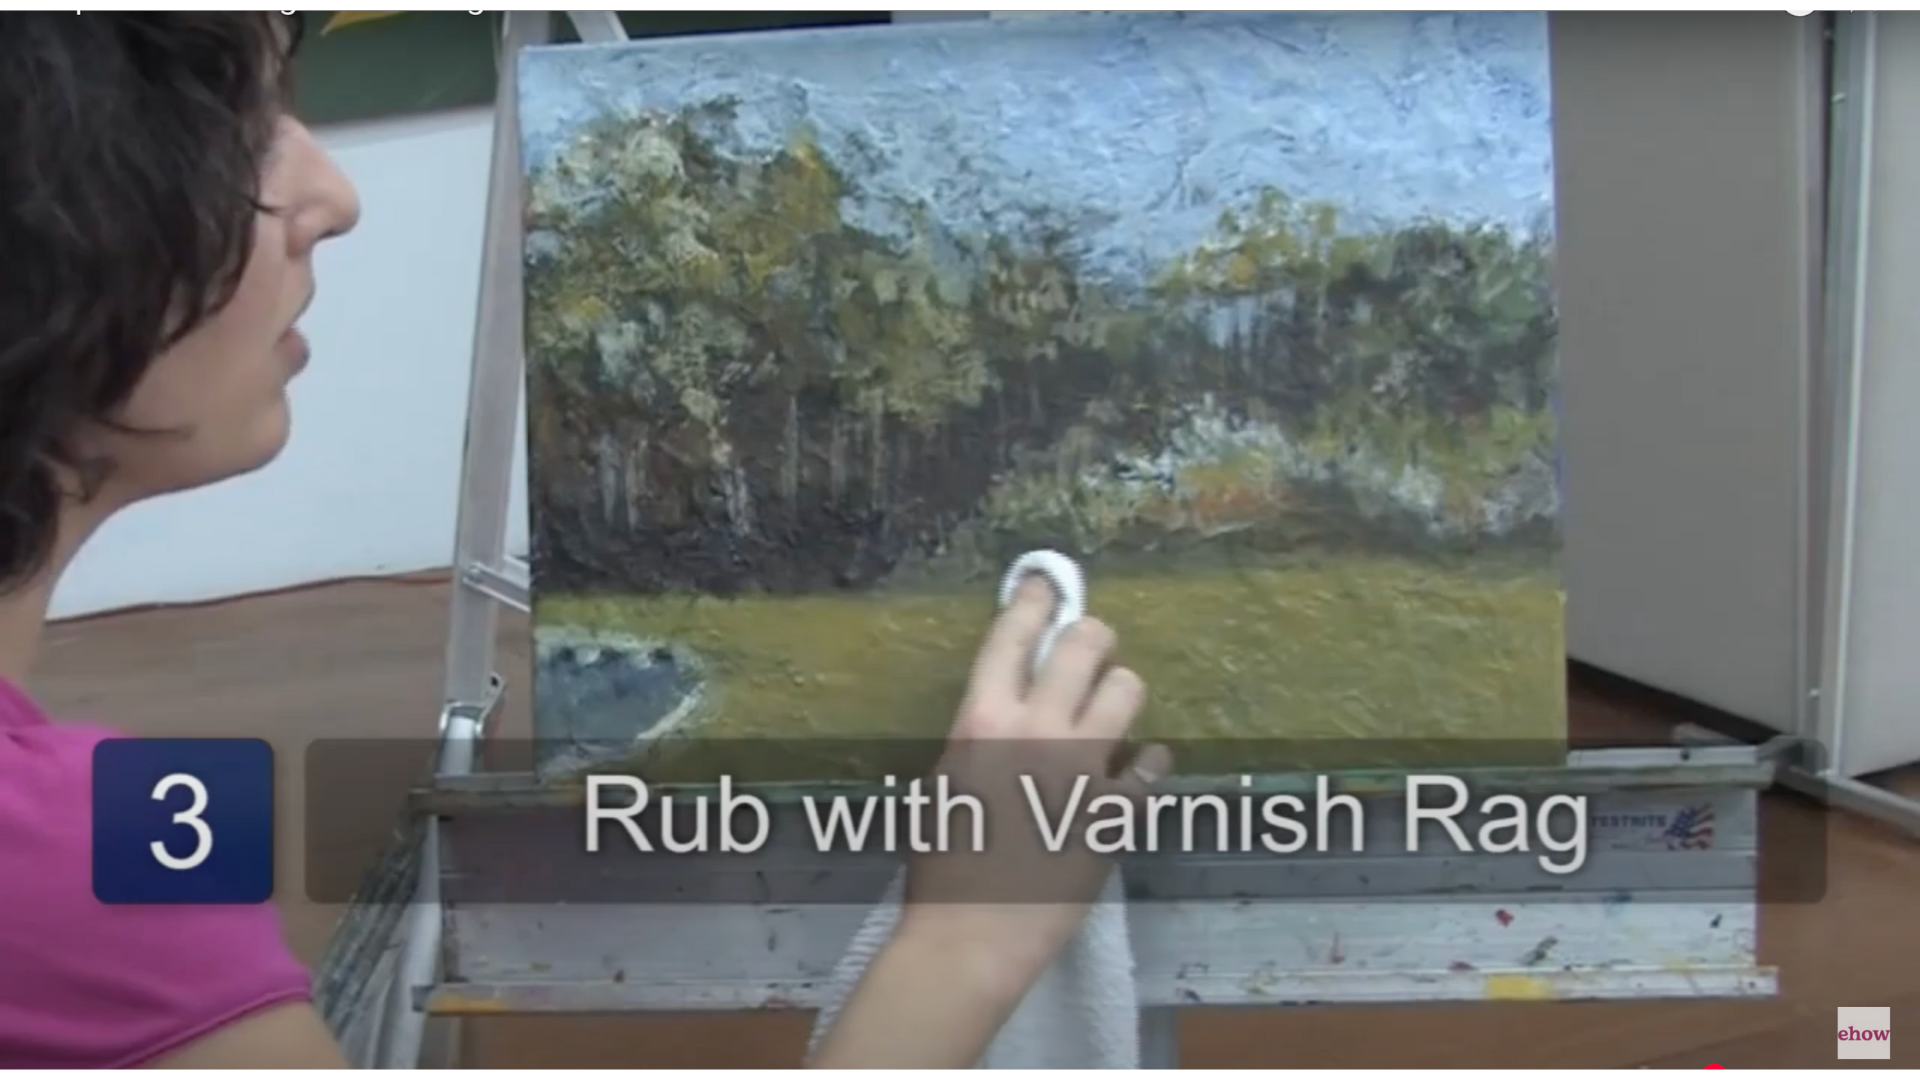
After brushing the dust and dirt off your painting, you come to the last step of the cleaning process.
You need to:
- Put some of the varnish solvent on your rag
- Gently rub the painting clean
You have finally cleaned your oil painting. Its beauty has been restored, and it is ready to go up on your wall again.
For a more detailed understanding, watch “Steps to Cleaning Oil Paintings” by @ehow.
Precautions to Take While Cleaning
I learned early on that using the wrong materials or scrubbing too hard can ruin the texture and color. Here are some safe, simple tips to help you clean your painting without causing damage.
What to Do
- Start by dusting the surface gently with a soft brush or dry microfiber cloth.
- If more cleaning is needed, use a small amount of mild soap and water only if the painting is sealed, or a recommended solvent for oil paintings.
- Test any cleaning solution on a small hidden area or similar material before using it on the actual artwork.
- Use soft strokes and avoid putting pressure on the surface while wiping.
What to Avoid
- Never use harsh chemicals like rubbing alcohol, bleach, or strong cleaning sprays.
- Avoid household items such as baby oil, food products, or any DIY hacks not meant for art.
- Don’t use abrasive tools like rough cloths or stiff brushes—they can damage paint and canvas.
- Do not scrub or rub the painting roughly, even if the stain looks stubborn
Cleaning oil paintings takes patience and a light touch. I’ve found that being careful and knowing when to stop makes a big difference. With the right care and timing, your painting will stay beautiful for many years to come.
Final Thoughts
Handling and cleaning an oil painting is delicate work, and I’ve learned that it’s not something you should rush.
Before rushing in, take time to understand what you’re working with. Start small and make sure you’re familiar with the materials and tools you plan to use.
Using the wrong product or too much pressure can damage the painting’s texture and color. I always double-check the solvent or cloth on a test spot before using it on the artwork.
Once clean, store your painting in a cool, dry space – away from direct sunlight, greasy kitchens, or areas with a lot of foot traffic. Avoid placing it near air vents or dusty corners.
With care and attention, you can bring out the beauty of your painting again. This guide will walk you through each step so your piece looks fresh and well-preserved for years to come.