
Creating a craft room feels impossible when your space is small and your budget is tight. I totally get it. You want to be creative and make cool things, but you’re stuck in a corner or buried under piles of clutter.
And the good news is that you don’t need a large house to build a functional craft room. I will show you some practical and budget-friendly ideas that will turn your small spaces into well-organized craft areas.
I’ll show you how to use every inch the smart way, without spending too much money. These tips aren’t just for show; they actually work.
Small space doesn’t mean small results. With the right plan, even a tiny room can feel big, clean, and perfect for crafting. Let’s fix that space together.
Why Does Having a Functional Craft Room Matter?
Your craft room is more than just a storage space for supplies. It’s where your creativity comes alive and takes shape. When your craft space is well-organized, you save time and effort.
You won’t need to search for your scissors or dig around for a specific thread color. Everything will be in its proper place, ready for use.
A good organization also lowers stress. If your space is clean and neat, your mind feels clearer and more focused. Function leads to inspiration. When you can see your materials, new project ideas emerge more frequently.
Having a dedicated space also demonstrates that your craft is valued. It boosts your confidence and makes it easier to create regularly.
Small Craft Room Ideas on a Budget
Small spaces require smart thinking. Every solution here costs approximately under $50. Most cost around $20, but some are completely free:
1. Fold-Down Wall Desk
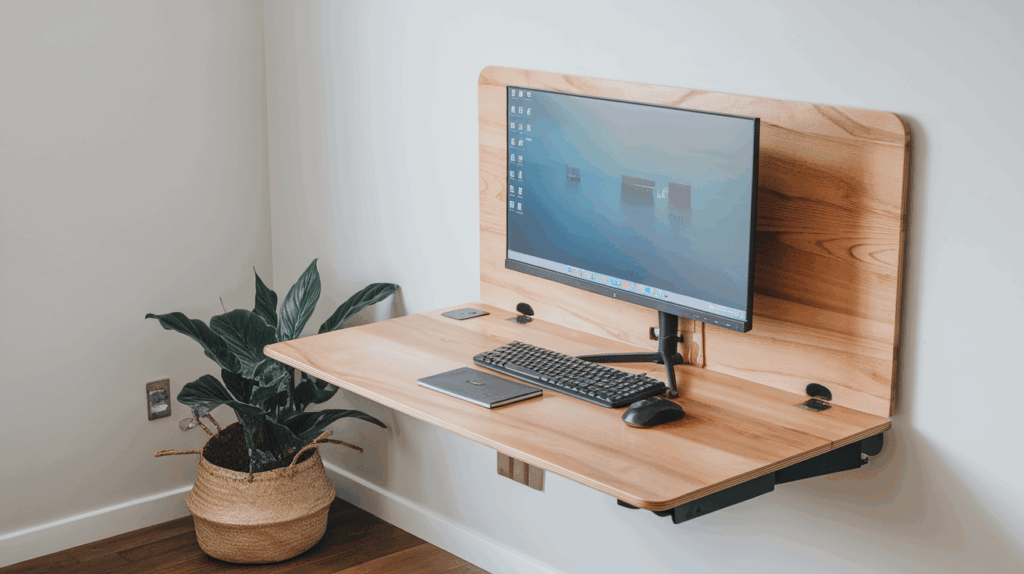
Wall desks that fold up are great when you need space. When you’re not using the desk, fold it closed. Now the room feels clean and open. All you need is a strong bracket and a flat piece of wood.
Add paint or wood stain to match your room’s color scheme. Want to save money? Look at secondhand shops. You might find an old wall desk that needs sanding and a fresh coat of paint.
Add a few small hooks under the desk to hang tools. That way, your most frequently used items are right there, even when the desk is folded.
2. Rolling Storage Carts
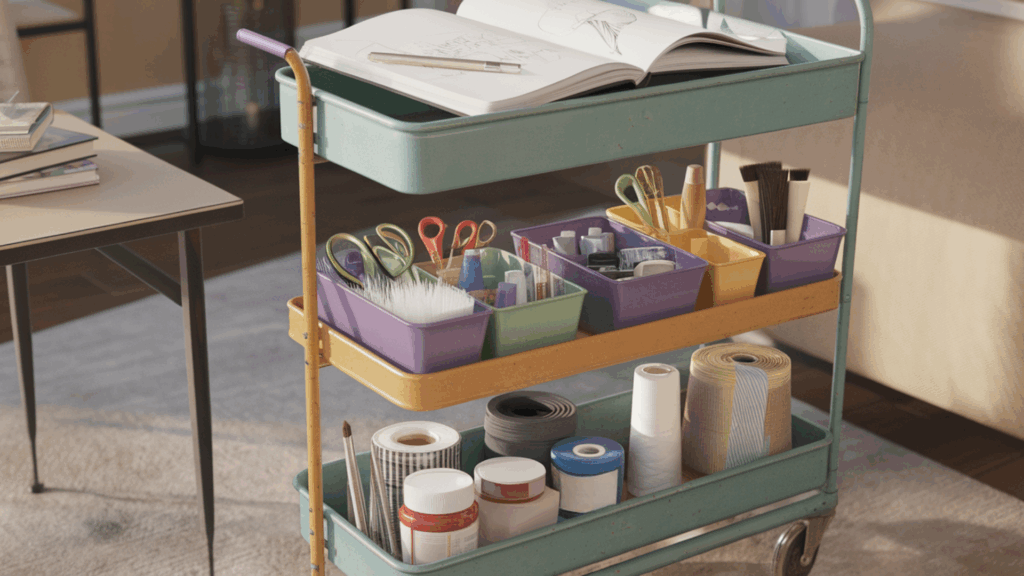
Rolling carts help you move craft supplies around. You can craft in the kitchen one day and in your bedroom the next. A three-level cart works best. Put your current work on the top shelf.
Use the middle for things you use often. The bottom can hold extras. Buy carts from discount stores or even garage sales. Metal ones last longer than plastic.
Use small boxes on each level to prevent items from sliding when you roll the cart. These carts are great for staying organized without being confined to one spot.
3. Nesting Tables
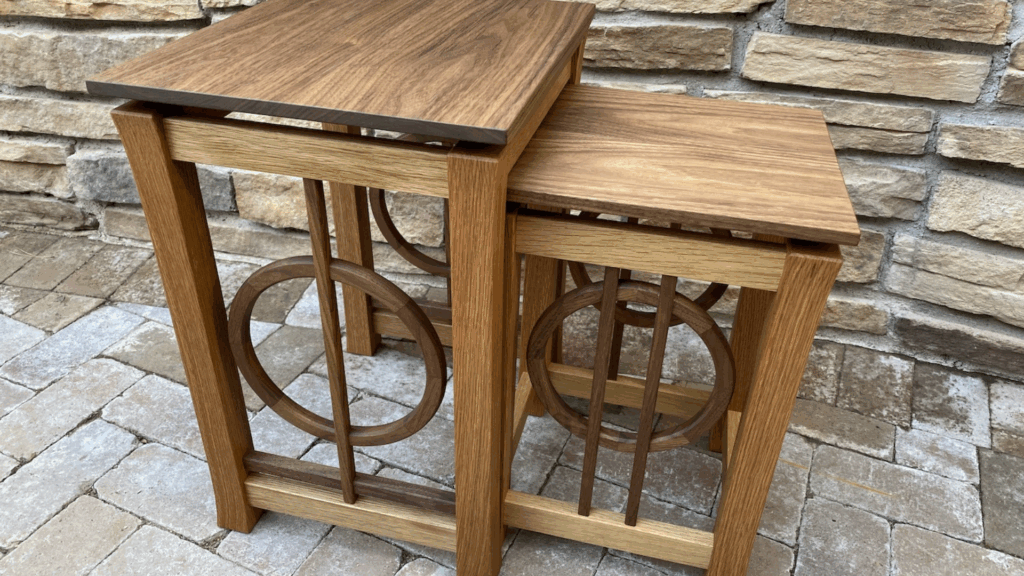
Nesting tables slide under each other to save space. Pull them out when crafting. Push them back in when you’re done. They don’t occupy much space.
You can use big tables for cutting fabrics and medium ones for putting parts together. Use the smallest for detail work. You can stack all of them when you’re done.
Thrift stores have lots of these. Don’t worry if they look rough; paint can fix that. You can even attach pegboards to the top for tool storage. Now your workspace becomes smart storage too.
4. Under Desk Storage Bins
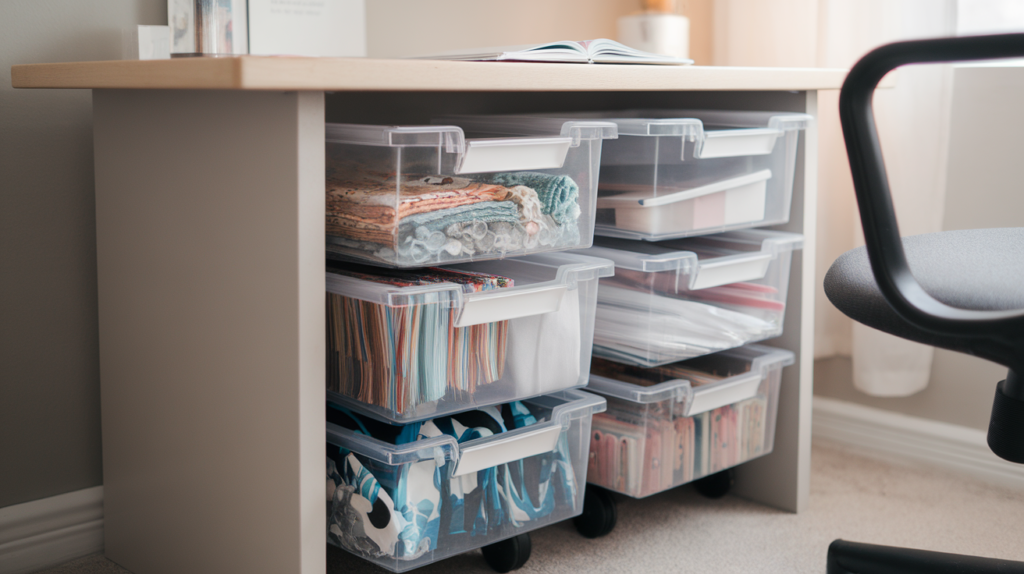
Most people ignore the space under their desk. Rolling bins can turn that spot into smart storage. Clear bins are the best, as you can see what’s inside.
Still, label the front so others can help put things away. Before buying bins, measure the space and leave a little extra room, as you’ll likely add more later.
Group your supplies by project type. One bin can be for fabric work, one for painting, and another for paper crafts. You’ll be surprised how much space you had all along.
5. Use a Closet as a Mini Craft Station
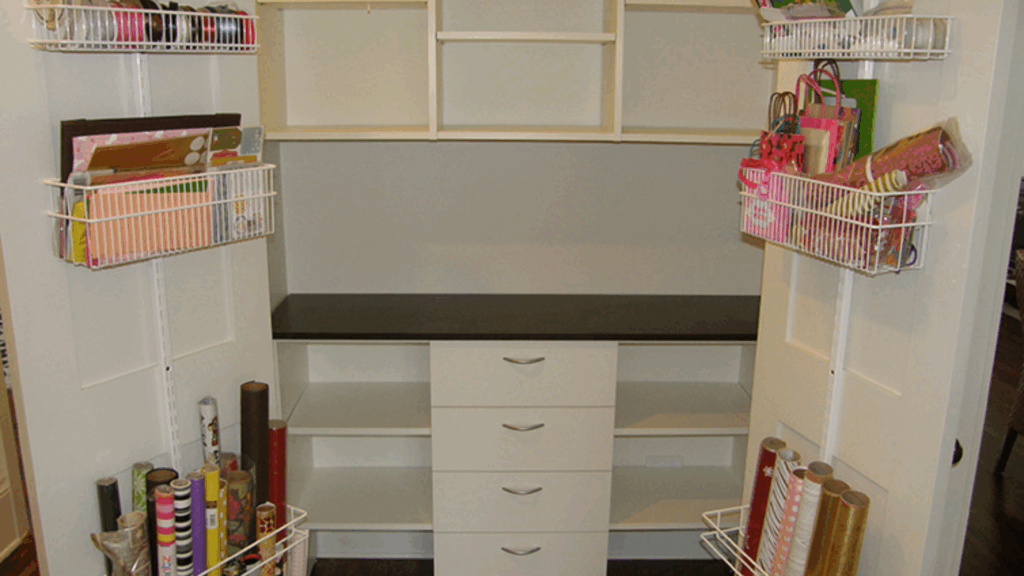
If you don’t use a closet for clothes, turn it into a small craft station. Put a folding desk inside and add shelves, maybe a pegboard on the walls. When you’re done, close the doors and leave the area clean.
Take out the clothes rod if you don’t need it. That gives you more room to build shelves at different heights. For light, use battery-powered LED strips. No wires needed.
Stick them under the shelves to keep shadows away. This space is private and keeps others from using your stuff.
6. Pegboards with Hooks and Bins
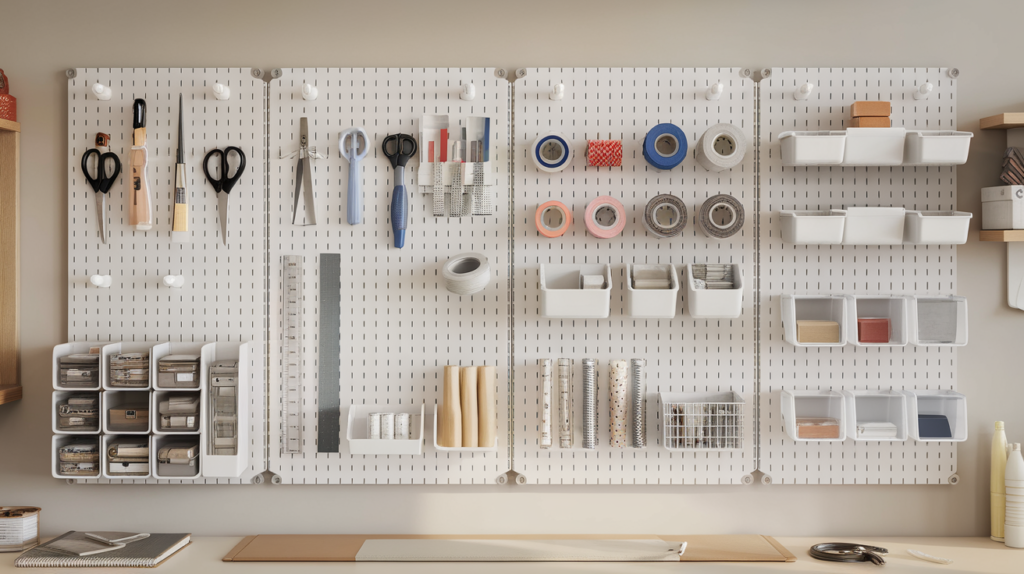
Pegboards are great for turning walls into useful storage spaces. They hold tools, supplies, and even small bins. You can reach everything easily and keep things off the table.
Use white pegboards or paint them to match your space. You’ll need to use spacers behind the board so the hooks fit right. Also, check that your wall anchors can handle the weight.
Group tools by how you use them, such as cutting tools in one section and rulers and measuring tools in another. It makes your space feel neat and easier to work in.
7. Floating Shelves for Jars and Supplies
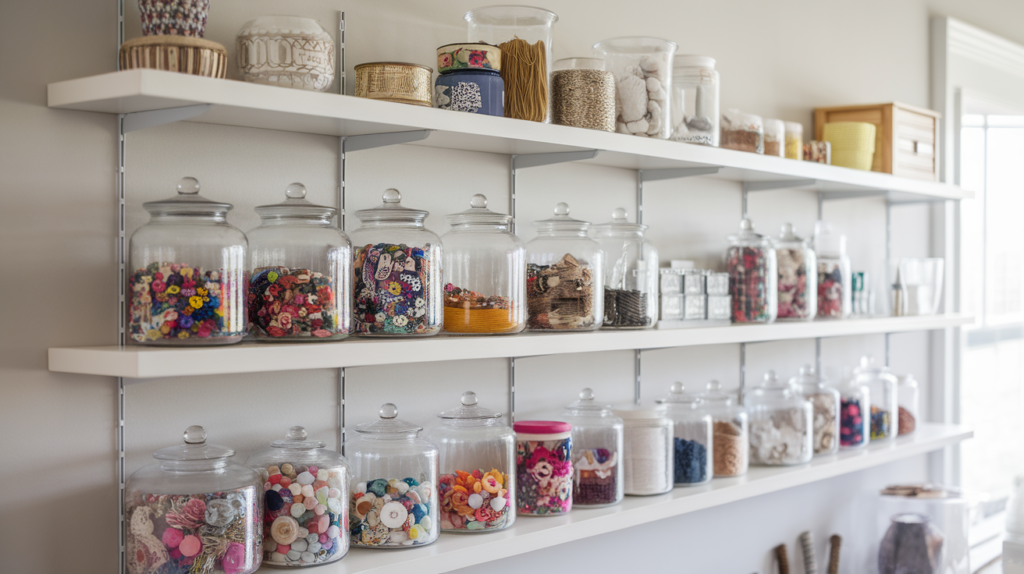
Floating shelves allow you to store items without occupying floor space. Use them to hold jars of buttons, ribbon, or thread. These supplies also decorate your walls with color. Place shelves at different heights.
Eye level is ideal for items you use frequently. Place heavy items lower so they’re easier to grab. Use short shelves instead of one long one; it looks better and is easier to hang.
Make sure you use strong wall anchors. Craft supplies may seem lightweight, but they can add up quickly.
8. Wall-Mounted Ribbon and Thread Racks
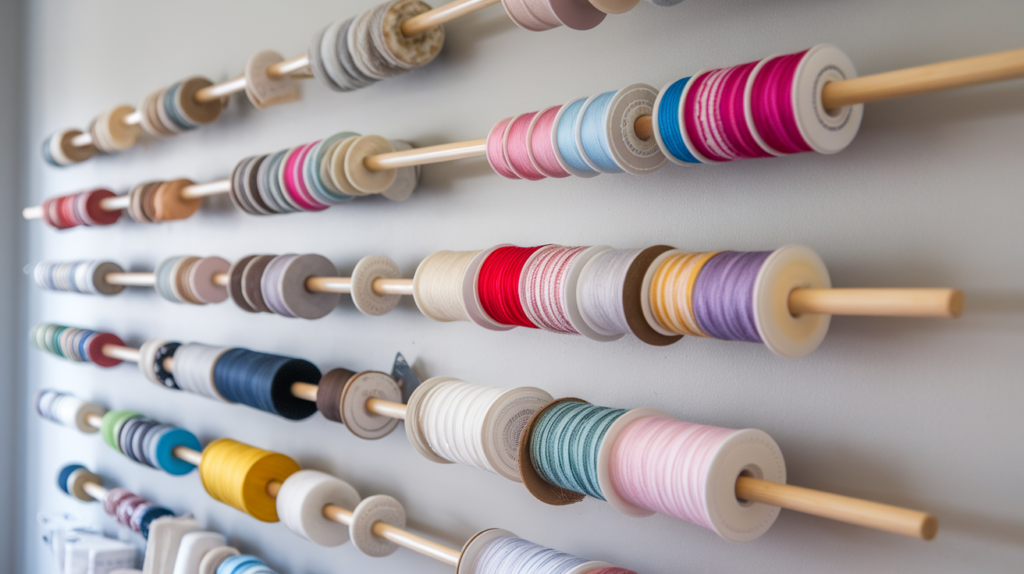
You can mount dowel rods on your walls to store ribbon and thread. Space them 2 inches apart so you can fit all sizes. Use thin rods for small spools and thicker ones for bigger ones.
To save space, mount the racks on the inside of cabinet doors. The door keeps dust out. Everything is easy to grab.
This idea works for more than ribbon and thread. Use it for washi tape, elastic, and even bias tape. Your supplies stay in view and off the table.
9. Vertical Magazine Holders for Paper and Vinyl
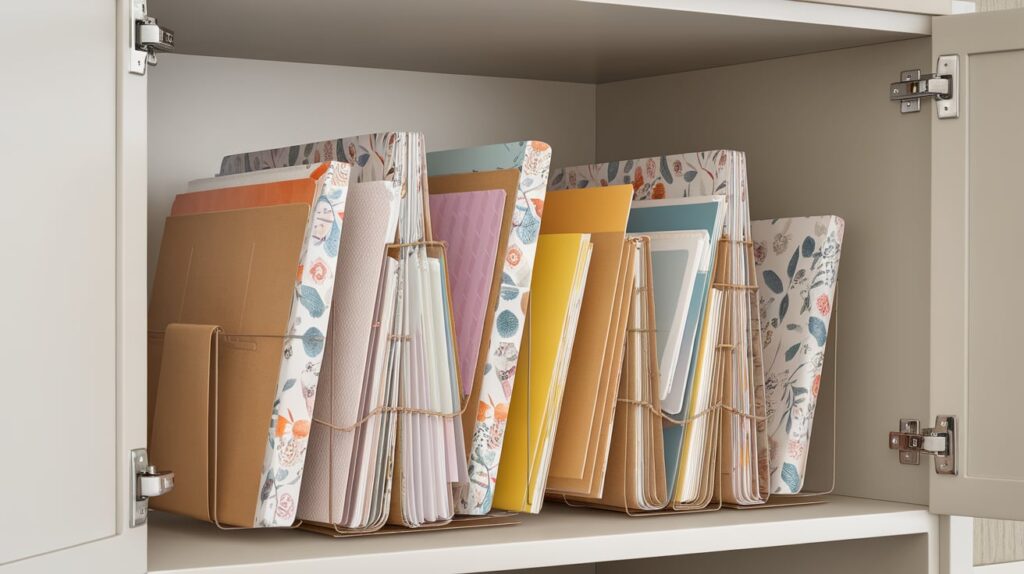
Paper and vinyl stay flat and neat in magazine holders. Stand them up vertically to save space and make things easy to see.
Label each holder so you can quickly find what you need. You can buy cardboard ones for a very low price. Cover them with nice paper for a clean look. Plastic ones last longer, but cost a little more.
Mounting holders inside cabinets saves even more space. It’s a small change that makes a big difference. These holders also work for fabric and foam sheets.
10. Hanging Baskets and Shoe Organizers
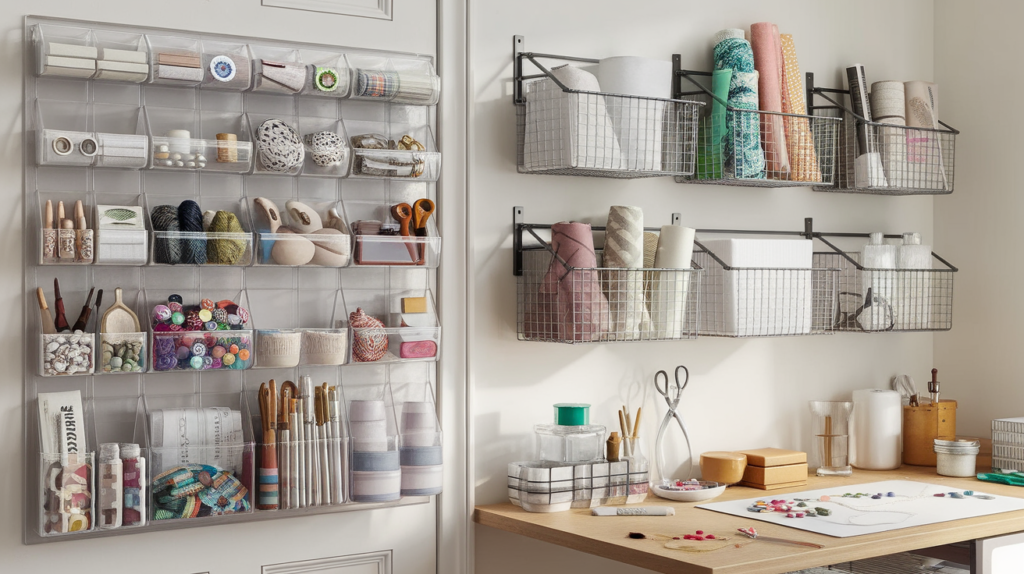
Clear shoe organizers have pockets that hold craft supplies. Hang them over doors, on walls, or in closets. You’ll see everything at a glance.
Use small pockets for buttons and beads. Big ones can hold yarn, cloth, or even scissors. Hanging baskets also work well over tables. They keep things close but not in the way.
Choose organizers with strong pockets. Craft tools are often heavier than they look. Reinforced seams and good stitching are a must.
11. Mason Jars for Buttons, Beads, and Threads
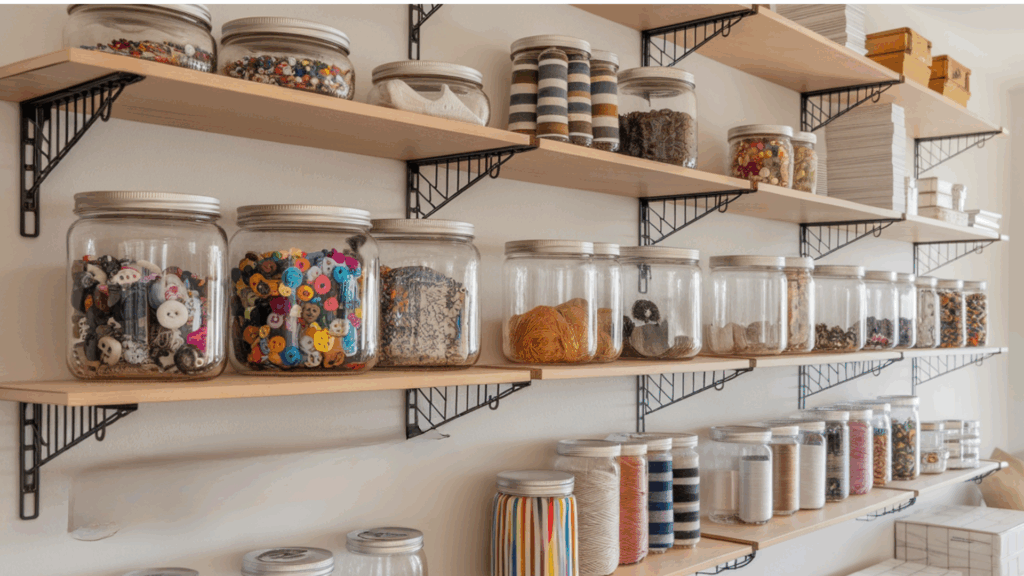
Mason jars are perfect for organizing small things. You can stack them, see what’s inside, and screw the lids on tight. They work well for beads, buttons, thread, and even yarn.
A smart trick is to screw the lids under shelves, then twist the jars onto the lids. Your jars will hang below the shelf, saving space.
Use small jars for tiny items, medium ones for thread, and large jars for yarn or ribbon. Your supplies will be neat, and they’ll even make your space look nicer.
12. Clear Drawer Units from Thrift Stores
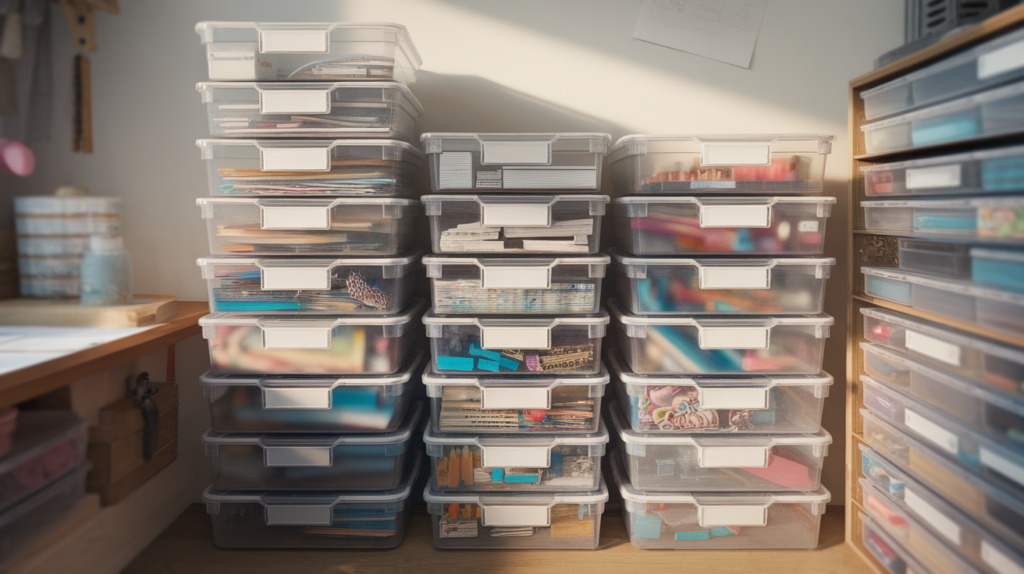
Clear drawer units help you keep things sorted by type. You can see inside without opening them. Stack them to save space.
They’re easy to move if you change your setup. Look in secondhand stores. Sometimes, they sell these for a very low price. Even if they’re scratched, they still work fine.
Use different drawer depths for other things. Deeper ones hold large tools. Shallow ones are good for paper or stickers. Use removable labels so you can easily switch things around when needed.
13. Recycled Tins for Pens and Brushes
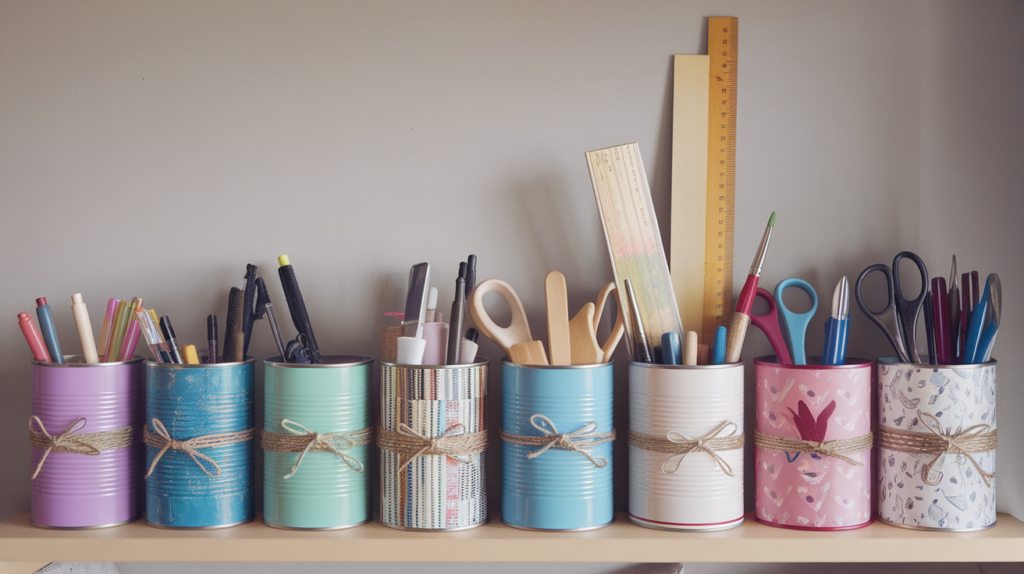
Old soup cans or coffee tins can be turned into holders. Clean them, remove the labels, and decorate them if desired. Use them to hold pens, markers, or brushes.
Use shorter cans for small tools and taller ones for rulers or scissors. You can group them by supply type and line them up on a shelf.
Be cautious of sharp edges when cutting the tins. Smooth them down or use tape before decorating. It’s a cheap and helpful storage idea.
14. Ice Cube Trays for Small Items
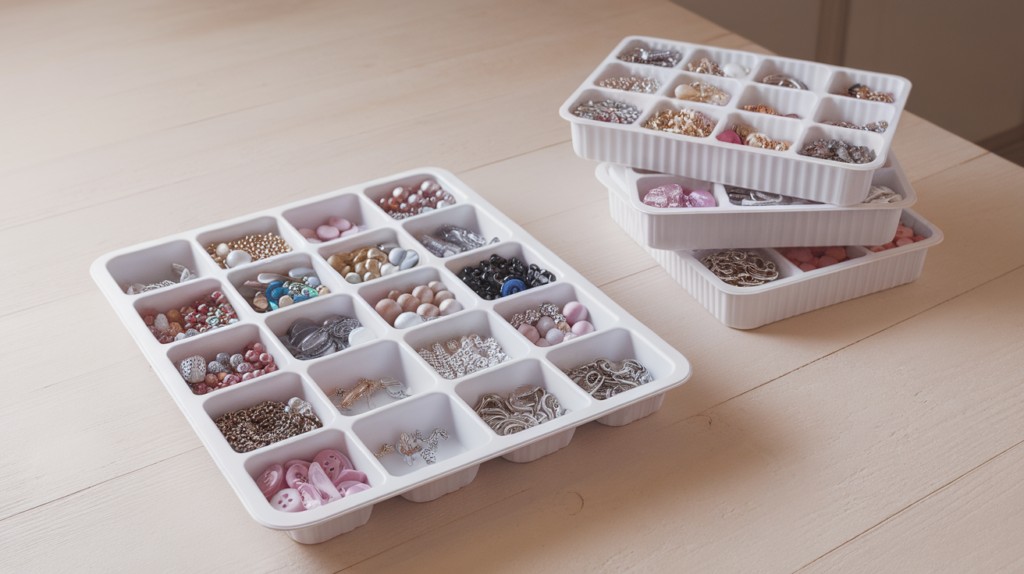
Ice cube trays are great for organizing tiny things. You can sort beads, buttons, beauty, or anything small into each cube space.
If you have more than one tray, stack them to save space. Carry them to your table when you work on a project. Now you don’t have to go back and forth for supplies.
Look for trays with different-sized spaces, as this lets you fit more things. Even old or cracked trays work if you’re not using liquid. They’re easy to find and cost very little.
15. Magnetic Spice Jars for Wall-Mounted Storage
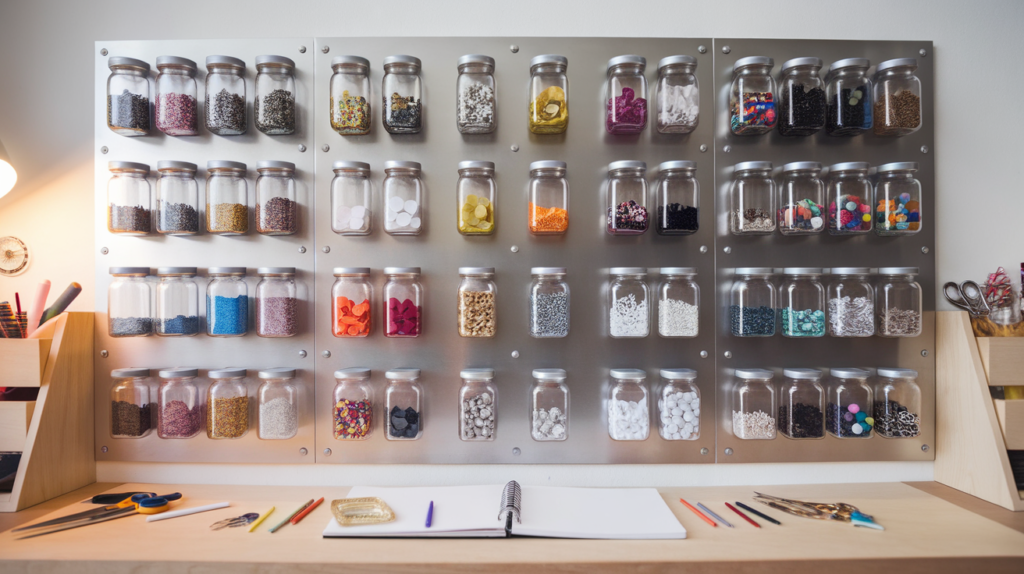
Spice jars with magnets on the bottom stick to metal surfaces. Fill them with beads, paper clips, or glitter. Then place them on a fridge, file cabinet, or a metal board.
Use see-through jars so you can tell what’s inside right away. Create your magnetic board if you don’t have one; attach a metal sheet to a wall or shelf.
These jars work best for sorting by color or type. It’s a fast way to grab what you need and keep your work area clear.
16. Washi Tape Wall Art
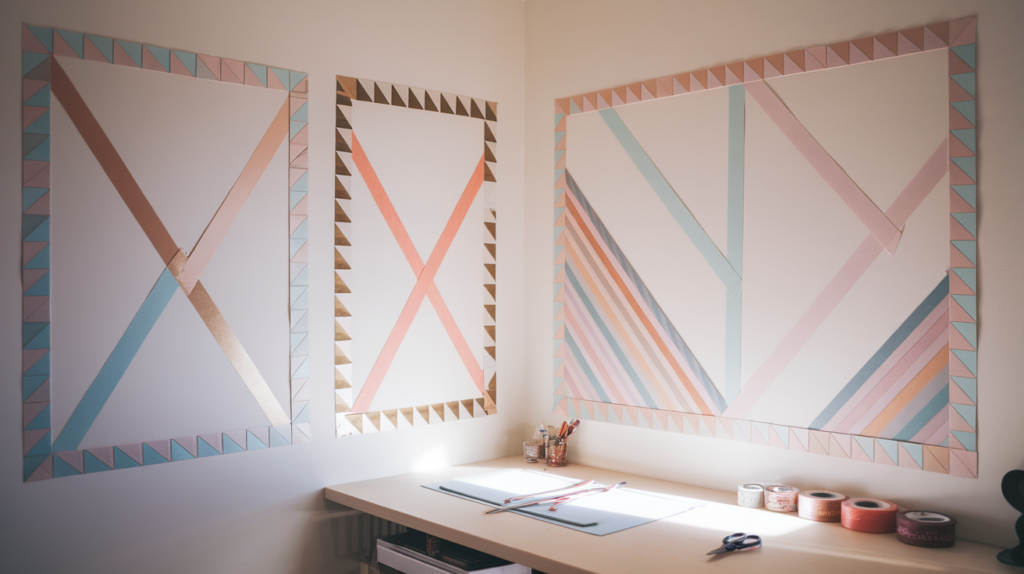
Washi tape sticks well but comes off clean. That makes it great for wall art. You can make lines, shapes, or even fun borders.
Draw your idea on paper first. Try using painter’s tape to test it before using washi. Mix wide and narrow tape to make your design stand out.
You can frame an area for quotes, photos, or your to-do list. Try soft colors or shiny tape to match your room. Best part? You can take it down or change it at any time.
17. Framed Inspiration Quotes
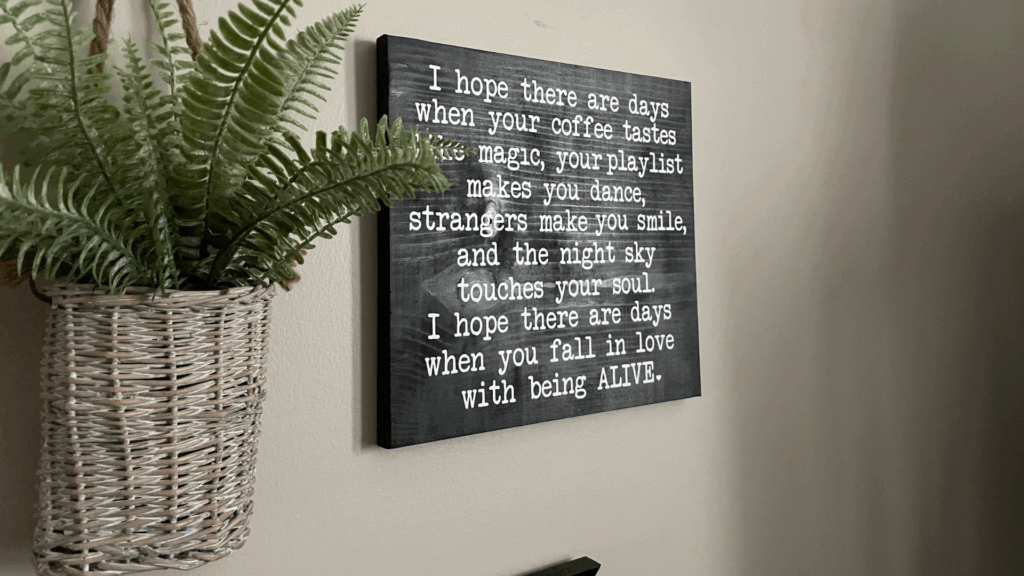
Framing a quote can keep you motivated during projects. Print your favorite sayings and put them in simple frames, and hang them where you can see them when you work.
Use different frame sizes and shapes. Group them in odd numbers. It looks better that way. Leave some space between frames to keep it from looking crowded.
Make your prints with fonts you like. Add quotes from your favorite craft blogs or books. These words will remind you why you love to create things.
18. Painted Cork Boards
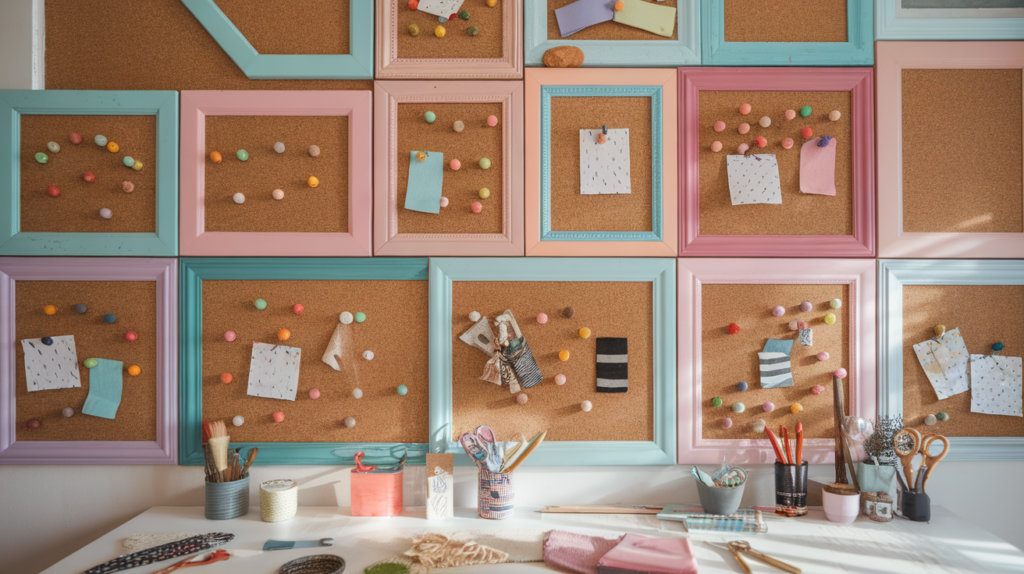
Corkboards help you keep track of notes, patterns, and ideas. Paint the frames to match your room’s color scheme. Spray paint gives a smooth finish, but you can also apply it with a brush.
Take the cork out before painting the frame. Cover the cork with paper while it dries. Let it dry completely before reassembling it.
Hang a few smaller boards instead of one big one. It adds style and helps you organize things more effectively. Use fun push pins to match your room’s colors.
19. DIY Fabric Bulletin Boards
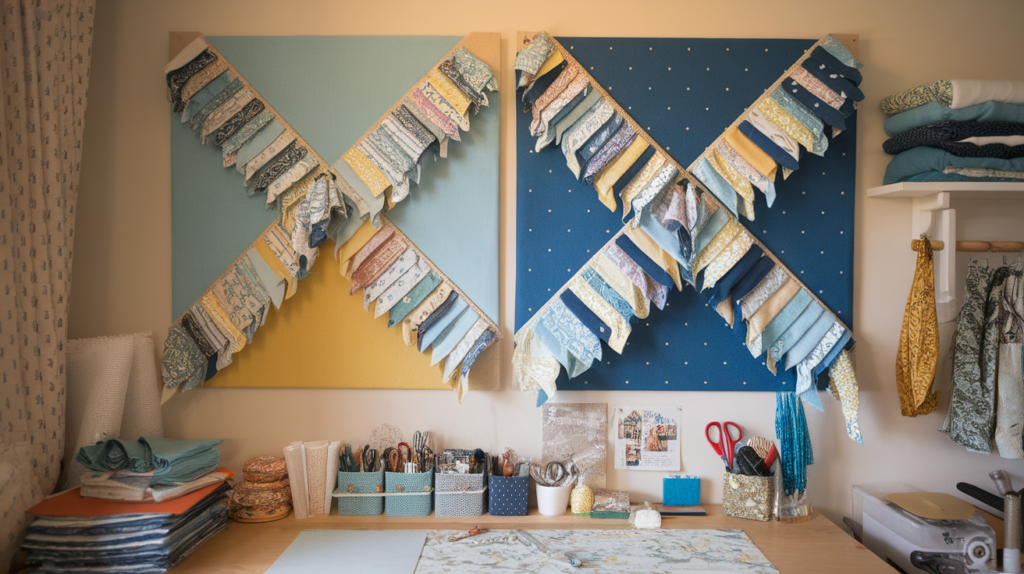
Fabric bulletin boards add a soft and colorful touch to your space. Wrap fabric over a foam board and staple it in place on the back.
Add ribbon in an X pattern to hold notes and photos. You can change the fabric with the seasons or as your tastes change. Use scraps from old projects to save money.
Stick to a single color theme to avoid a messy appearance. Use solid colors with bold prints to create a balanced design. It’s easy to make, and it works great.
20. Color-Coded Storage
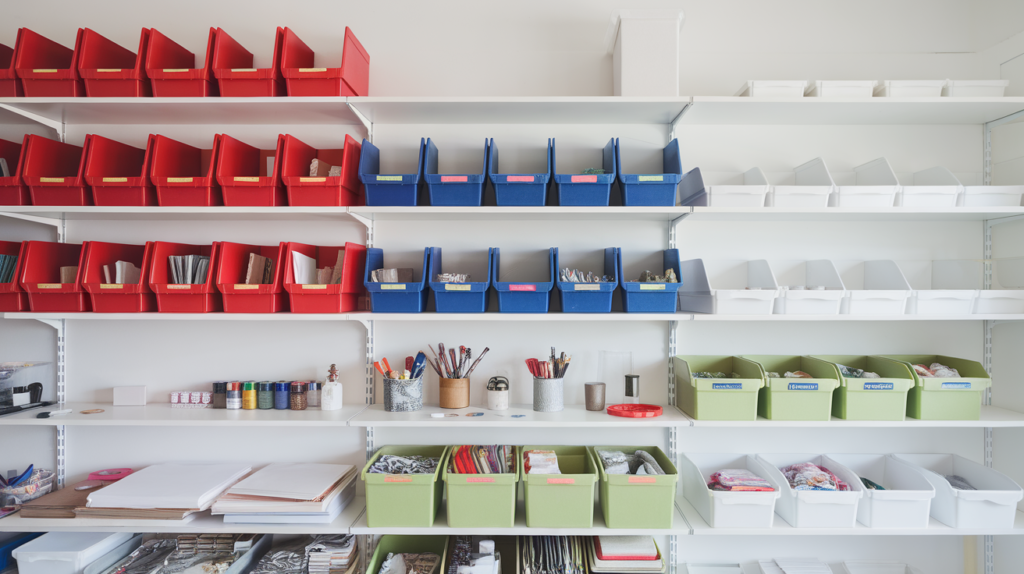
Use color to organize. Choose one color for your paper supplies, another for your painting tools, and a third for your fabric. It’s easy to remember and saves time.
Use colored bins or labels. You can even use colored tape to mark different shelves or boxes. It also helps family members know where things go.
Start simple, don’t use too many colors at first, and add more as you need to. Over time, your system will grow with your supplies. It also makes your space look clean and planned.
21. Storage Ottomans
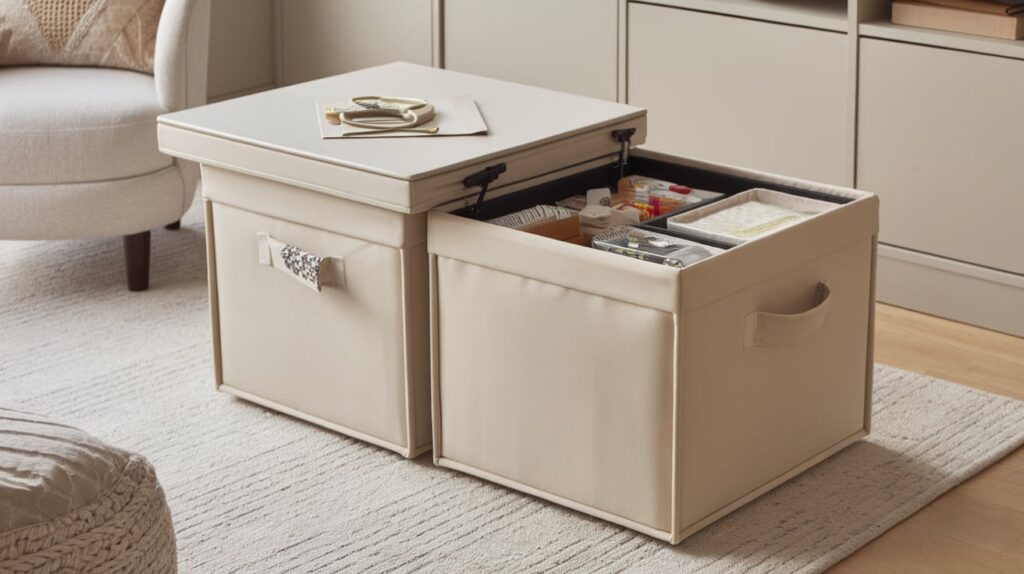
Storage ottomans are great for small spaces. They provide a place to sit and a spot to conceal supplies. Pick one with a hard top so you can also use it as a table.
You can keep your current project inside and close the lid when you’re done. If friends craft with you, use it as an extra seat.
Choose a fabric that hides dirt. Ottomans with handles make it easy to move them. They’re soft if you bump into them, and they can really help in small rooms.
22. Drawer Dividers Made from Cardboard
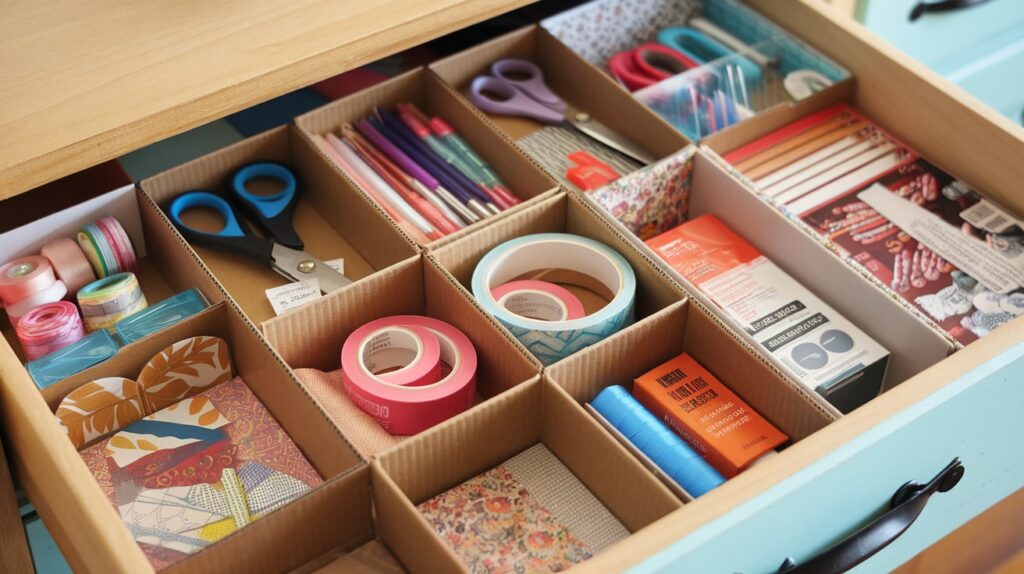
Cardboard boxes can become drawer dividers. Cut them to fit your drawer and make small boxes to separate your tools or supplies.
Use thick boxes, such as shoe boxes, to make them last longer. If you’d like, you can decorate them with paper, just make sure they still fit when the drawer closes.
Ask stores for small boxes; they often give them away for free. This helps you stay organized without incurring significant expenses. You can change the shape or size at any time as your storage needs grow.
23. Over-the-Door Organizers
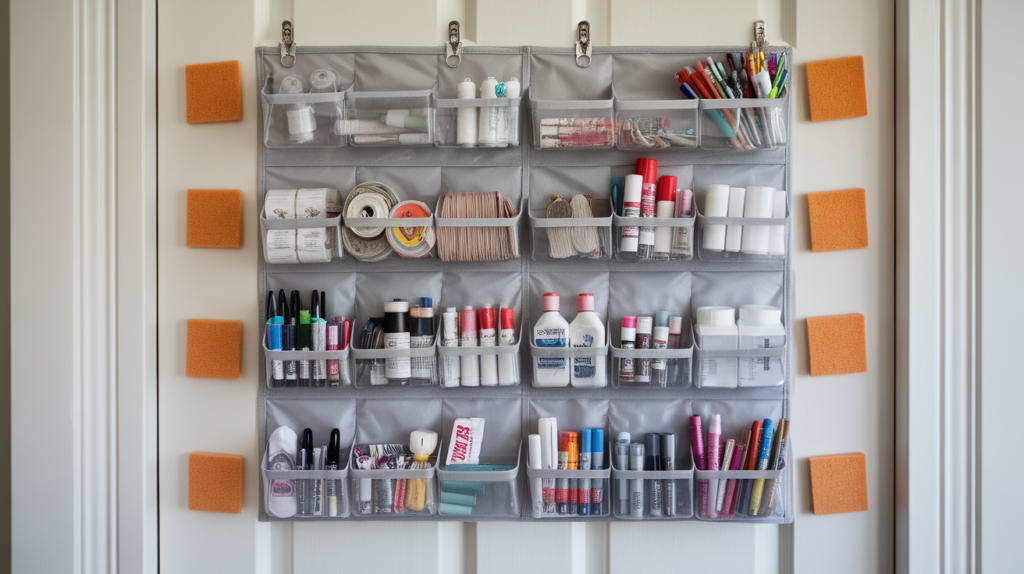
The back of a door is an easy place to add more storage. Use over-the-door organizers with pockets. They don’t need screws or tools and are simple to move.
Clear pockets are best because they allow you to see what’s inside. Place lighter items on top and heavier items near the bottom to maintain a balanced weight.
Add foam pads behind the hooks to prevent them from scratching your door. These organizers work well in closets, bedrooms, or even craft nooks.
24. Slide-Out Drawers Under Worktables
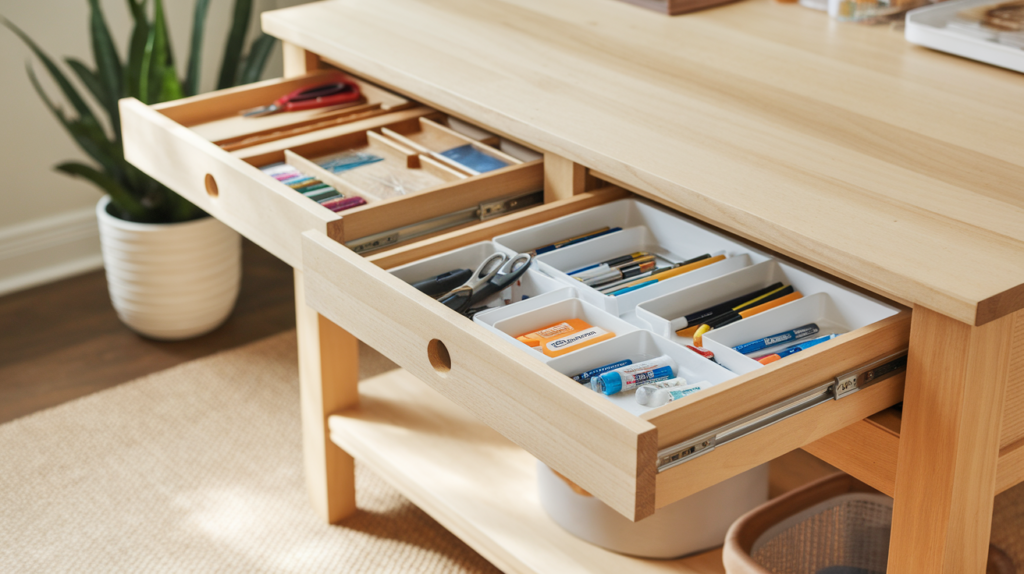
Adding drawers under your worktable helps you keep tools close. Use metal slides from the hardware store to make them open smoothly.
Keep drawers shallow; deep ones will hit your knees. Three or four inches deep is just right for pens, glue, and scissors.
Use small trays inside the drawers to keep things from sliding around. This setup makes your workspace neat and easy to use.
25. Curtain Rods with Hanging Buckets
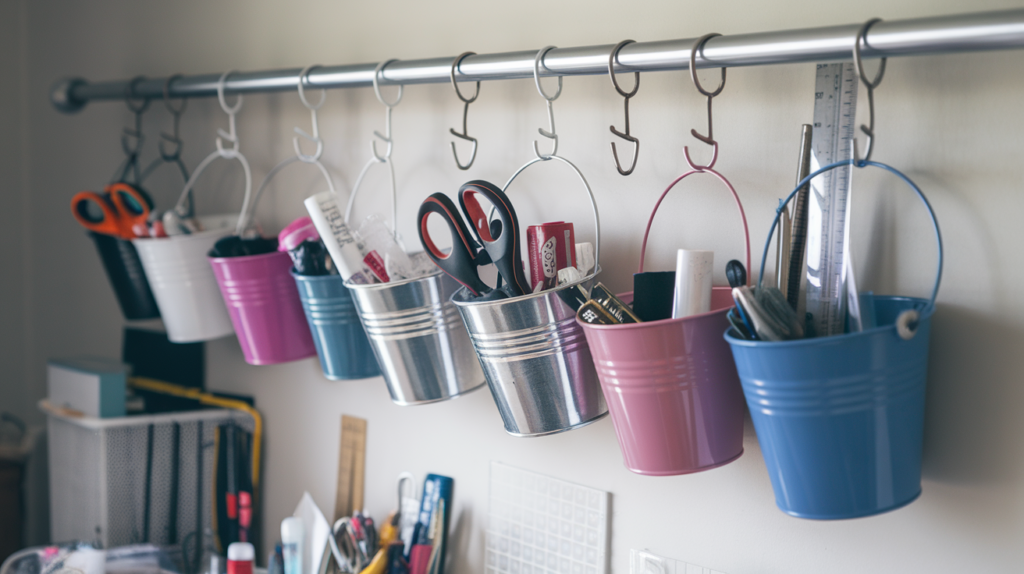
Curtain rods don’t just hold curtains, but can also do so much more. Mount one above your desk or table and hang small buckets from it. Use shower rings or hooks to hang each bucket.
Each bucket can hold a different type of supply, scissors in one, glue in another, and rulers in a third. You can slide the buckets along the rod when needed.
Keep the rod at a height that’s easy to reach. If it’s too low, you might bump into it. Too high, and it’s hard to grab what you need.
Cost-Effective Solutions for Organizing Craft Spaces
Getting your craft space organized doesn’t mean spending a lot of money. In fact, you might already have most of what you need. The following are the smart choices you have to make:
- Start with what you own: Use jars, baskets, and boxes you already have before buying new stuff.
- Shop secondhand first: Start by checking thrift stores and yard sales. Clean and paint items to match your space.
- Buy multipurpose items: Choose storage pieces that can be used in any room, such as ottomans or magazine holders.
- Invest in quality basics: Spend more on shelves, bins, and pegboards that last longer.
- Use free resources: Save jars, tins, and boxes from packages. They make great storage.
- Start small and grow: Fix one area at a time. Don’t try to organize everything at once.
Final Tips for Making the Most of a Small Craft Room
A smart craft space isn’t just about storage. It’s about how you use the space. These quick tips will help you stay organized and make crafting easier every day:
- Keep Supplies Within Reach: Don’t waste time running around. Set up your workspace so everything you need is close by. Organize your tools, materials, and essentials in a way that lets you grab what you want without breaking your creative flow.
- Create Dedicated Work Zones: Divide your space into clear areas for different tasks. Have a spot for painting, another for sketching, and a separate area for cleaning up. This helps you stay focused and keeps your creative process smooth and organized.
- Light Up Your Creativity: Good lighting can turn your workspace. Use a mix of natural and artificial light. Position your work area near a window for daylight, and add task lighting that reduces eye strain and helps you see details clearly.
- Clean as You Go: Don’t let messes pile up. Take a few moments to tidy between projects. Wipe down surfaces, put tools back, and clear your workspace. A clean area helps your mind stay clear and ready for the next burst of creativity.
- Know Your Working Style: Understand how much you can handle in one sitting. Some days you’ll work for hours, other days just minutes. Listen to your energy and creativity. Set realistic expectations for yourself to avoid burnout.
Conclusion
A small craft room doesn’t mean small ideas. What matters most is how you use your space, not how much you have. With the right setup, even the tiniest room can feel open and organized.
These ideas prove that smart storage beats more storage. You don’t need to spend a lot. Most ideas cost less than a meal and use things you already own.
Start with one idea that feels right and build from there. Don’t wait for the “perfect” space; create one with what you’ve got. A neat and easy-to-use craft room makes your projects more enjoyable and less stressful.
Which craft room problem do you struggle with most? Share below. Your idea might help someone else. Let’s build creative spaces that actually work, one smart step at a time.