
When I moved into my home, one of the first things I noticed was how tired the cabinet doors looked. They weren’t broken, just outdated, flat panels that had seen better days.
I wanted something cleaner, sturdier, and more in tune with the rest of the updates I was making around the house.
However, after examining pre-made options, I realized the cost of replacing all the cabinet doors was simply not feasible. So, then I decided to build them ourselves.
This guide walks through how I upgraded my cabinet doors using affordable materials, basic tools, and a surprisingly forgiving build process.
If you’re a hands-on type and don’t mind learning along the way, this approach will not only save you hundreds but give you something to be proud of every time you open that cabinet door.
Why You Should Choose to Build Instead of Buy?
The biggest driver behind this project was cost. Hiring someone or ordering custom cabinet fronts felt out of reach for a single bathroom upgrade. But beyond price, I also wanted control.
When you build your own doors, you choose the size, the materials, the paint, the finish, everything. Another motivator was durability.
My old doors were solid wood, yes, but they warped slightly in my humid bathroom and never seemed to hang right.
By using MDF, a more stable material in changing conditions, I hoped to make something that looked cleaner and performed better over time. And guess what? It actually worked.
Materials and Tools You’ll Need
- MDF sheets (Medium-Density Fiberboard)
- 5mm plywood for the center panels
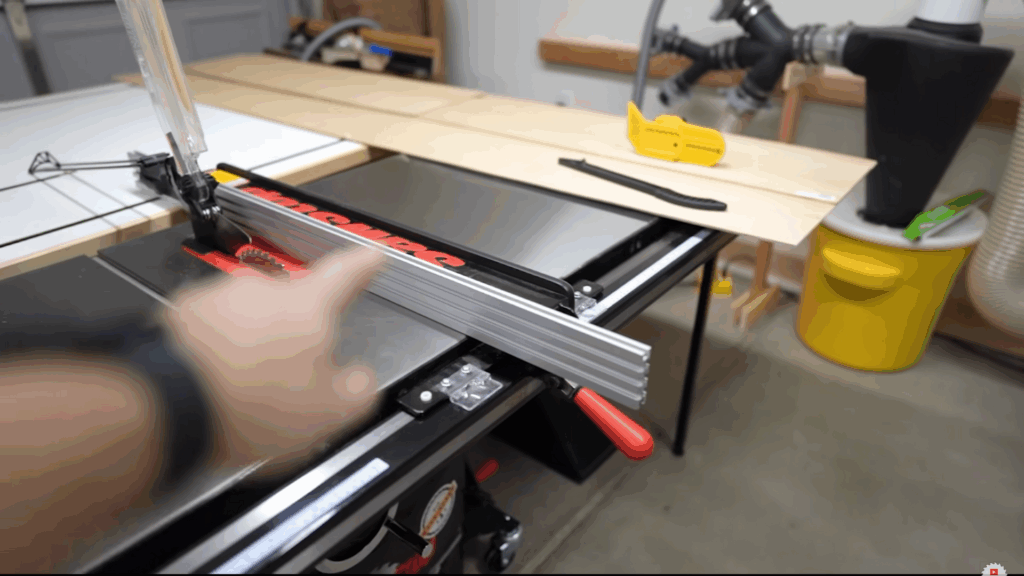
- Table saw with a dado blade
- Miter saw with stop block
- Wood glue
- Sandpaper and a sanding block
- Clamps (Rockler drawer face clamps preferred)
- Painters tape
- Kreg Concealed Hinge Jig
- Soft-close hinges
- Drill or DeWalt DCF850 Impact Driver
- Cabinet knobs and handles
- Rubber bumpers
- Paint and brush/roller or sprayer
Step-By-Step Guide
Follow these simple steps to build your own custom cabinet doors, even if you’re just starting out with woodworking.
With a few basic tools, some patience, and the right materials, you can create doors that look great and fit your space perfectly. Let’s get started!
Step 1: Get Familiar with the Cabinet Anatomy
Before cutting anything, make sure to understand the basic structure, whether it is vertical frame pieces, horizontal frame pieces, or center insert (can be flat or decorative).
Choose 2¼ inches for both styles and rails. This width offers a balanced look and gives a sturdy frame, especially for high-traffic areas like drawers.
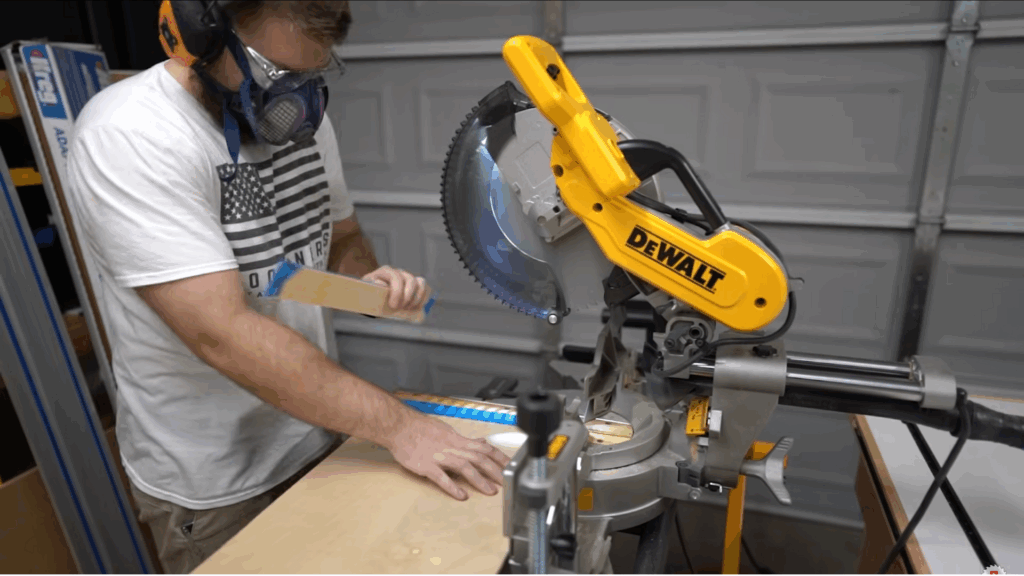
Step 2: Cutting Styles and Rails
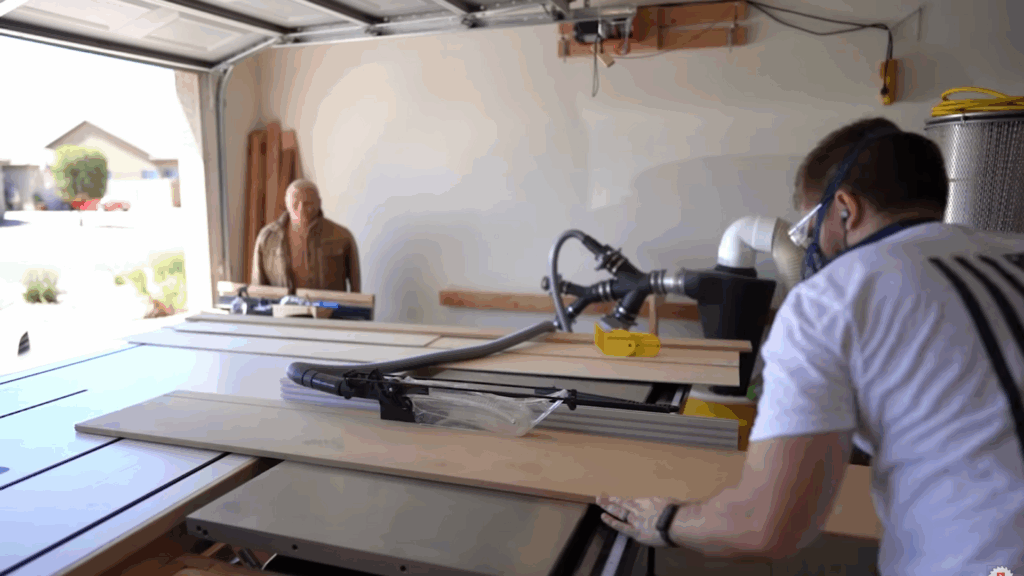
Using a miter saw with a built-in stop block, cut all the vertical and horizontal frame pieces from MDF. Its recommended to cut a few extras, mistakes happen, and having backups will save you more than once.
If you’re working alone, a roller support or outfeed table helps keep the material level and reduces mistakes on longer cuts.
Step 3: Cutting Dado Grooves for Panel Inserts
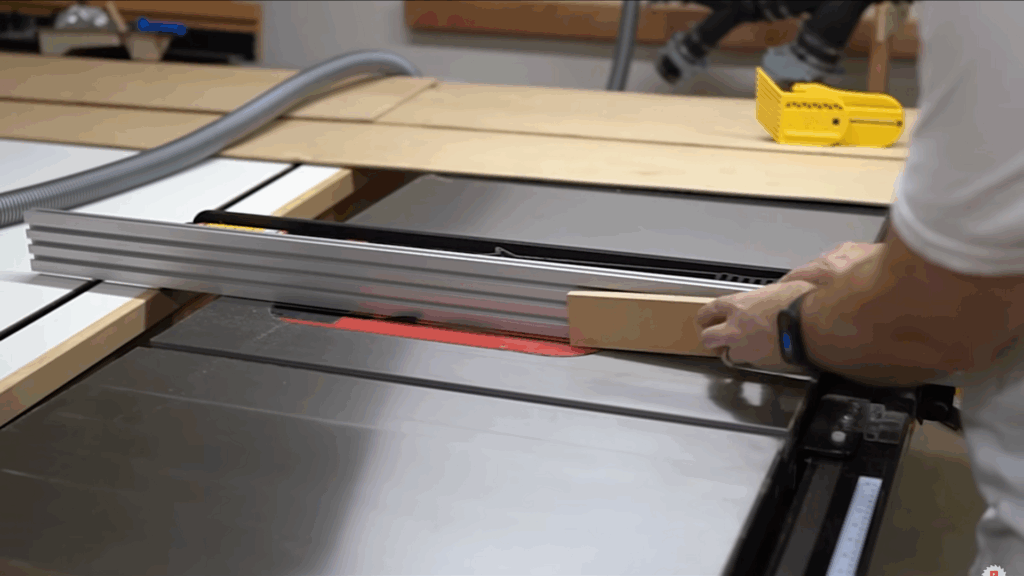
This was the step that felt the most “carpenter-like.” Use a table saw to cut a ⅜” groove (called a dado) into the inside edge of each style and rail.
Test this on scrap wood first, using a piece of the same 5mm plywood that you plan to use for the center panel. It took a few fine adjustments, but once the fit was snug, not too loose, not too tight.
Always flip each piece and run it twice to keep the groove centered.
Step 4: Making Tenons for the Rails

To get those strong corner joints, cut little tongues (tenons) at the ends of each rail so they will slot into the grooves in the styles. Mark the depth using the dado as the guide.
And adjust the blade height accordingly, and then make several passes to “nibble” away the waste material.
Once they fit smoothly into the grooves, with just a touch of resistance, move on to the next step. When in doubt, sand rather than re-cut.
Step 5: Cutting and Prepping the Center Panels
Cut the center panels from 5mm plywood and make them about ⅛” smaller in both height and width than the inside frame dimensions.
This gave the panel some wiggle room, which helped a lot during assembly. Before fitting them in, bevel the edges slightly with sandpaper to make them easier to slide into the dado grooves.
If you’re using a miter saw to cut the panels, then use painter’s tape over the cut line as it helps in reducing splintering.
Step 6: Assembling the Door
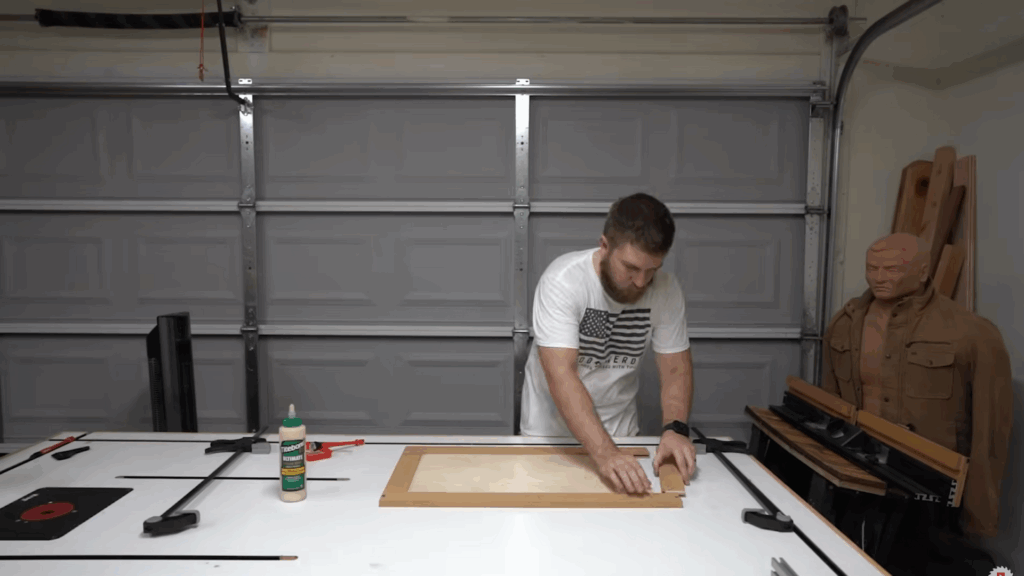
This part is fun and nerve-wracking. Apply wood glue inside the grooves, insert the panel, then attach the rails and styles. Clamps helped to hold everything tight while it dried.
Double-checked the corners to make sure the frame was square, then left everything to set. After it dried, give it a light sanding, especially around the corners and edges.
Caulk the seams between the panel and frame to seal out future moisture.
Step 7: Drilling Hinge Holes
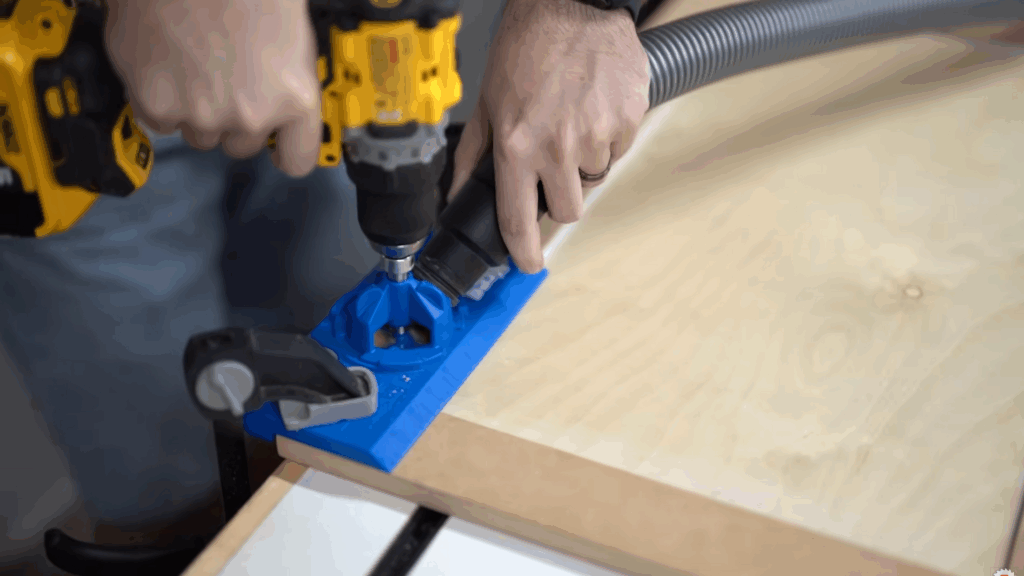
Use the Kreg Concealed Hinge Jig to drill cup holes for the hinges. The built-in stop depth and guides made this foolproof.
If you don’t have the jig, you can still do this freehand with a Forstner bit and some patience. Just measure twice, drill once, and test the depth with your hardware before committing.
Step 8: Painting the Doors
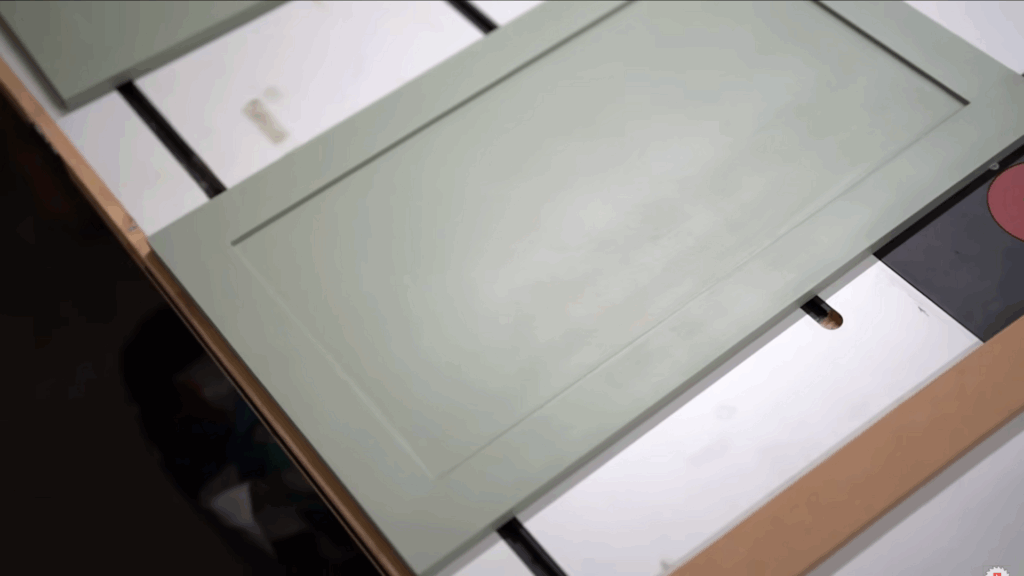
Choosing a beautiful opaque green color brings a custom, high-end look to the bathroom.
A few light coats with light sanding in between created a smooth, even finish. Avoid painting inside the hinge cup hole, as buildup can prevent a proper fit.
Step 9: Installing the Doors
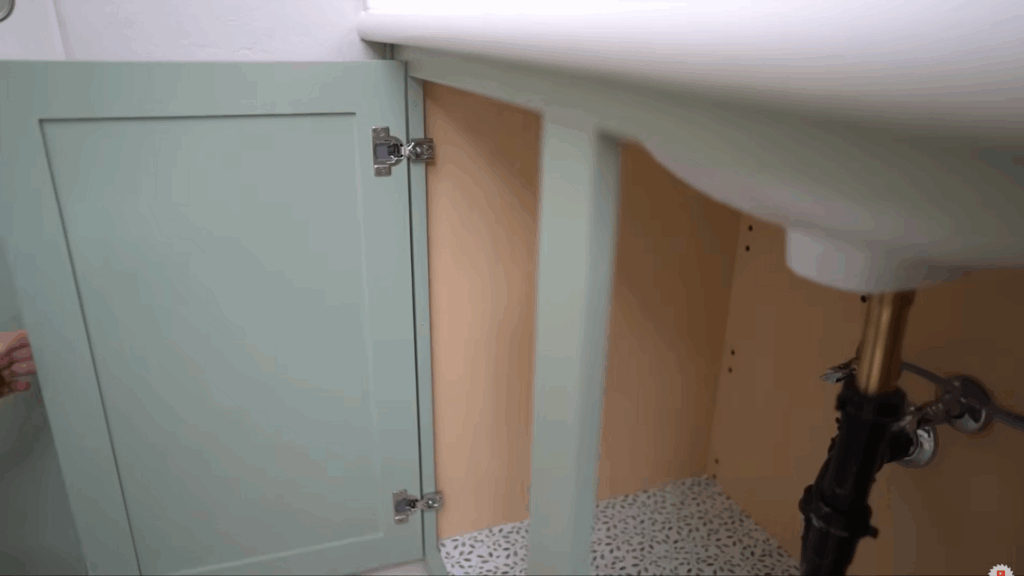
To mount the doors, cut an extra style and use it as a jig. This helped to line up the hinges at the exact same height on each cabinet face.
Drill pilot holes to avoid splitting the MDF and attach each door using soft-close hinges. Adjustments were easy and helped compensate for any small installation errors.
Step 10: Mounting Drawer Fronts
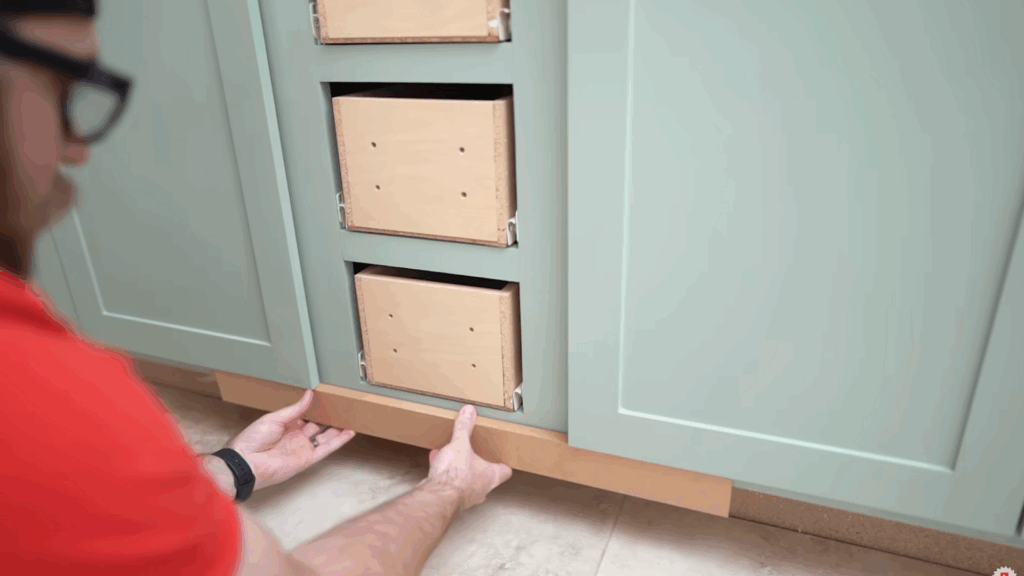
Use clamps and spacer blocks to install drawer fronts with even spacing. The key is to measure the total opening, subtract the drawer front size, and then divide the remainder by two to get equal side spacing.
The Rockler clamps were a lifesaver here; they held everything steady while drilling pilot holes and attaching screws from inside the drawer box.
Make sure the screws go into the thicker MDF, and not the thin center panel.
Step 11: Finishing Touches
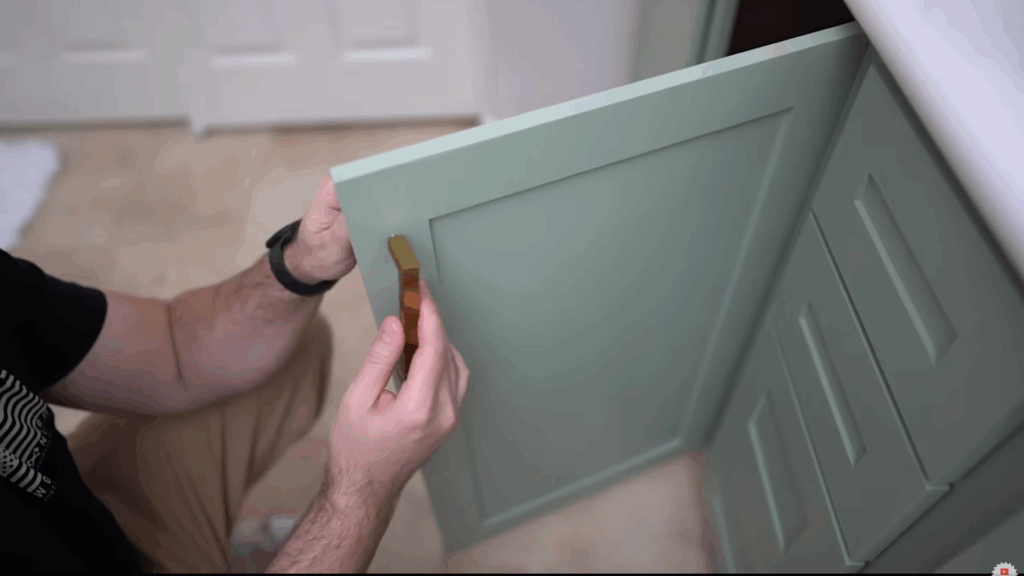
With the doors and drawers in place, add small rubber bumpers on the corners to prevent paint-on-paint sticking. Using any hardware jig, install knobs and pulls evenly across all fronts.
This tool made hardware installation simple and repeatable, especially helpful when you’ve got multiple pieces to match.
This step-by-step guide is inspired by the “CHEAP and EASY Shaker Cabinet Doors and Drawers” tutorial from @Wood Nerds. Want a closer look? Check out the full video for a detailed visual guide.
Tips for a Smoother Project
- Cut a few extra pieces; mistakes are part of the process.
- Label rails and styles to avoid mixing them up mid-build.
- MDF is more forgiving than hardwood but also more delicate, so drive screws carefully.
- Test fit everything with scrap before committing to cuts or glue.
- Use spacers for drawer fronts to maintain perfect alignment.
Conclusion
I’ve walked through every step to help you build custom cabinet doors from scratch. From selecting materials to measuring, cutting, and finishing, you now have a clear roadmap to change your kitchen.
Even if you’re a first-time woodworker or have some experience, these steps will guide you to success.
I understand home improvement can feel challenging, but with patience and the right instructions, you’ll create doors that:
- Fit perfectly
- Look professional
- Save you money
Trust the process. Each measurement, each cut brings you closer to your dream kitchen. Your skills will grow with every project. Believe in yourself and take it one step at a time.
Ready to start? Your beautiful custom cabinet doors await!