
I’ve always admired the beauty of a copper sink, the way it deepens in color, gains character, and turns a simple kitchen into something truly special.
Cleaning and maintaining a copper sink might seem like a task reserved for professionals, but I’ve found it to be simple and surprisingly rewarding.
The key lies in understanding what copper needs: gentle care, the right materials, and a little patience.
With the right routine, I’ve managed to preserve both the beauty and functionality of my sink without stress or harsh chemicals.
In this guide, I’ll share simple and effective ways to clean and care for your copper sink, methods I rely on and have seen hold up well, even with everyday use over the years.
What Is Copper and Patina?
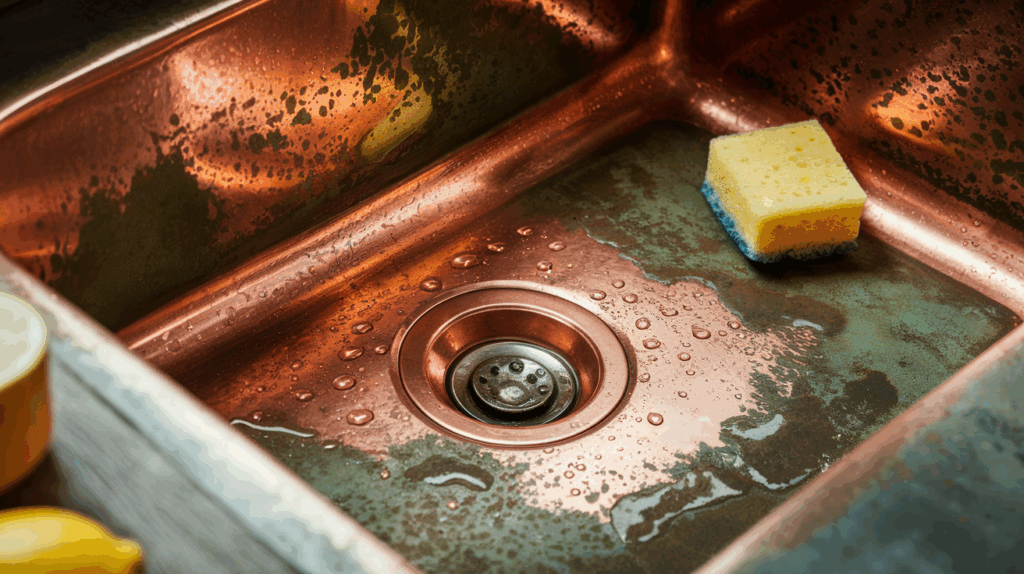
Copper is a natural metal known for its rich, reddish-brown hue and antimicrobial properties. It’s commonly used in sinks for its durability and distinctive look.
Over time, copper develops a patina, a thin layer that forms on the surface as it reacts with air, water, and other elements. This patina isn’t damage; it’s part of copper’s character.
It can range from deep browns to soft greens, giving the metal a warm, aged look.
I’ve come to appreciate this evolving finish as it adds depth and uniqueness to the sink. The patina also acts as a natural protectant, helping shield the copper from corrosion and wear.
While some prefer to maintain a bright, polished look, others, like me, embrace the natural aging process that gives each copper sink its own story.
How to Clean Copper Sinks?
Cleaning a copper sink is simple when you use the right tools and a gentle touch. This is what you’ll need to keep it looking its best.
Materials Needed
To clean your copper sink effectively using the citric acid method, gather the following items before starting:
- Citric acid powder (such as Milliard brand)
- Hot water (enough to dissolve and activate the citric acid)
- Microfiber cloth (for gentle wiping and applying the solution)
- Soft or medium green sponge (preferably new for better shine)
- Small bowl or container (to mix the citric acid solution)
- Clean, dry cloth (for drying the sink after rinsing)
Step 1: Prepare the Citric Acid Solution
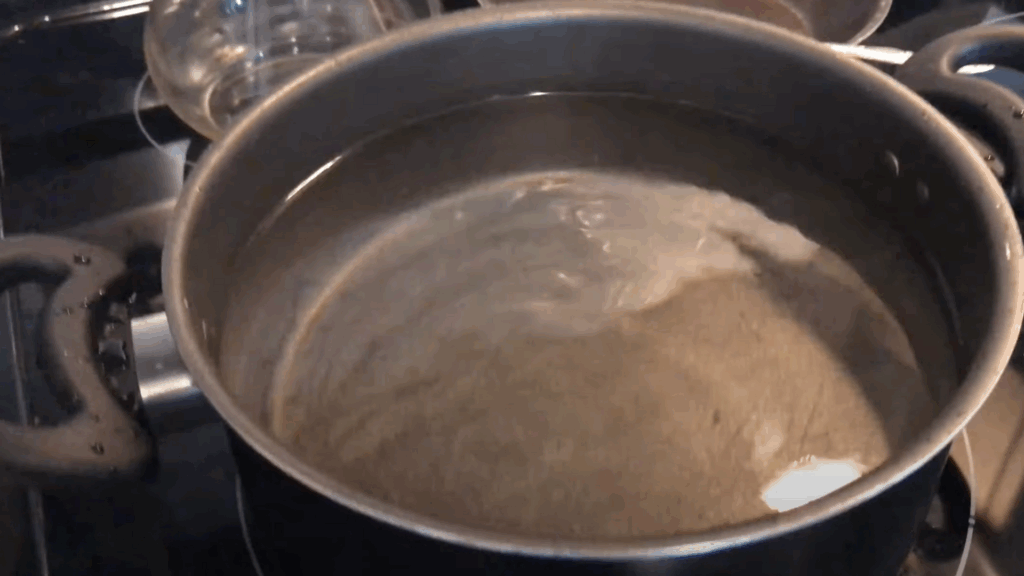
Begin by heating a small pot of water, just enough to coat the sink’s surface. Add citric acid powder, such as Milliard brand, and stir until it completely dissolves.
The water should be hot, not boiling, to effectively activate the citric acid.
A good ratio is about one tablespoon of citric acid per cup of water. This mixture is gentle yet powerful in lifting tarnish and grime from copper.
Step 2: Apply the Solution to the Sink
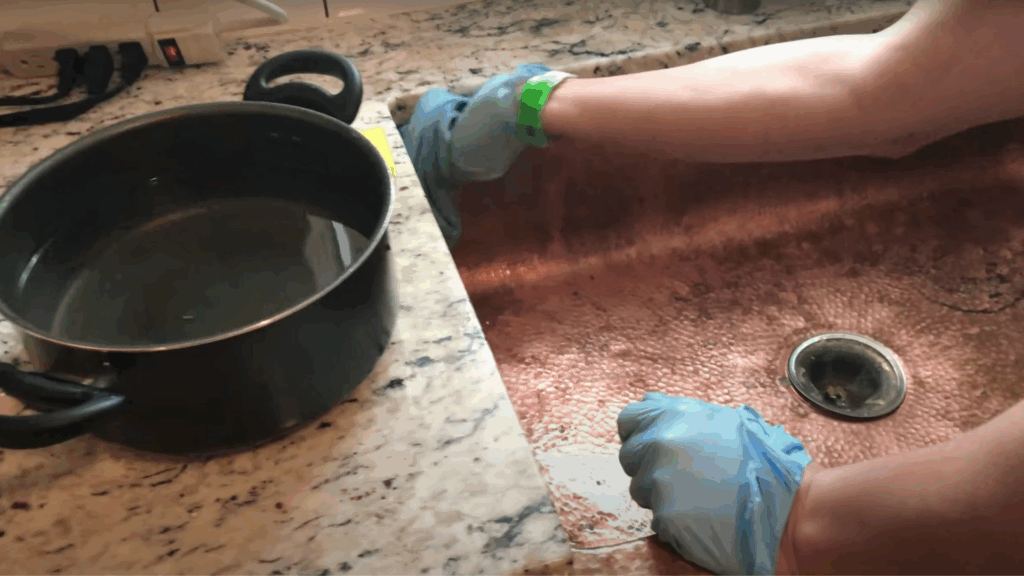
Dip a microfiber cloth into the prepared citric acid solution and gently wipe down the entire surface of the sink. Scrubbing is not necessary; a thorough wipe will ensure even coverage.
Within minutes, a noticeable improvement in shine and clarity will begin to appear, particularly on darker or stained areas.
Step 3: Wipe with Microfiber Cloth
Continue wiping the sink in small, circular motions. This step does not require pressure, as the solution works to lift oxidation and food residue naturally.
In just a few minutes, the copper will begin to reveal a more vibrant and polished look.
Step 4: Buff with a Sponge
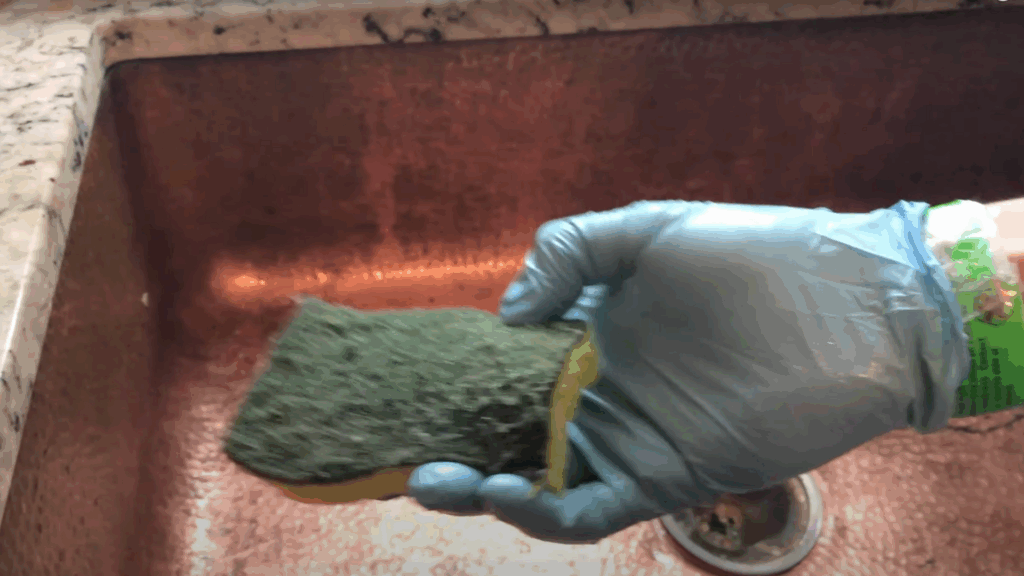
Use a clean, green kitchen sponge to tackle more stubborn spots. Apply a bit more citric acid solution to the sponge or directly onto the sink.
Gently buff the affected areas to even out the shine and remove lingering discoloration. A newer sponge will yield better results for a polished finish.
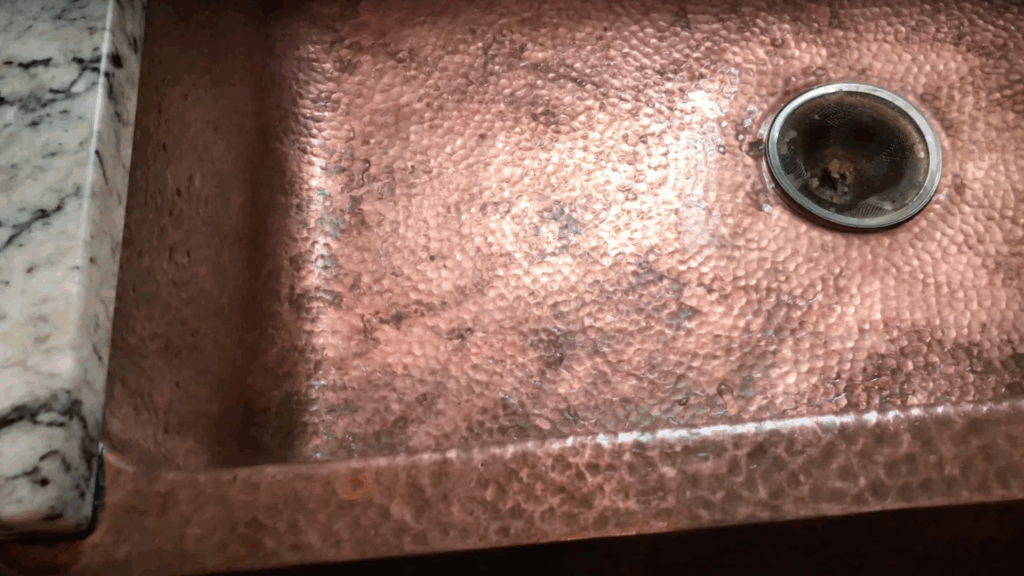
Step 5: Rinse and Dry Thoroughly
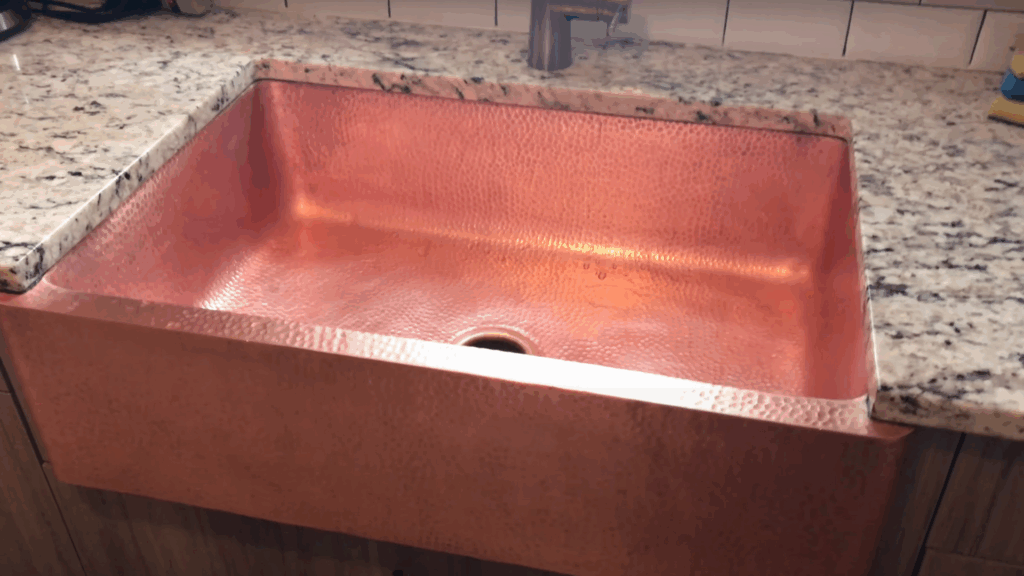
After cleaning, rinse the sink thoroughly with warm water to remove any residue from the citric acid. Dry the sink completely using a clean, soft cloth.
This final step helps prevent water spots and maintains a streak-free, glowing surface, leaving the copper with a refreshed, penny-like shine.
For a visual guide, refer to this tutorial on how to clean copper sinks by @BlogTernet on YouTube.
Handling Patina and Bright Spots
Copper sinks naturally evolve with use, developing a patina and occasional bright or green spots. With a few gentle techniques, these variations can be managed while preserving the sink’s character.
Natural Patina
Copper naturally develops a patina over time, enhancing its character with rich, earthy tones.
Bright spots, commonly caused by contact with acidic foods, generally fade and blend into the surrounding metal within a few days.
To speed up the blending process, gently scrubbing the edges of the spot with a nylon brush or fingernail can help achieve a more even appearance without disturbing the overall patina.
Green or Brown Mineral Deposits
Verdigris, the green or brown discoloration near drains and faucets, results from standing water and mineral buildup. While these spots are not harmful, they can detract from the sink’s appearance.
They can be effectively removed by gently wiping with a soft cloth, lightly scraping with a fingernail, or using a baking soda and water paste.
No harsh chemicals are needed, just a gentle touch and consistent care.
Tips and Techniques to Clean a Copper Sink
Learn effective techniques to clean and maintain a copper sink using natural solutions and gentle care methods.
1. Daily and Weekly Cleaning Techniques
Maintaining a copper sink starts with simple daily habits. Rinse the sink with warm water after every use to clear away residue and prevent staining. Dry it immediately with a soft cloth to avoid water spots or mineral buildup.
Once a week, use mild dish soap and a non-abrasive sponge to give the sink a thorough yet gentle clean.
These regular routines protect the copper’s natural finish, prevent dullness, and keep the surface looking fresh without disrupting the patina.
2. Natural Deep Cleaning Methods
For deeper cleaning, natural solutions work well without damaging the copper. A citric acid solution made with hot water can effectively lift tarnish and restore brightness.
For mineral buildup or verdigris, use a paste of baking soda and water. A lemon with salt offers a natural, gentle scrub, while ketchup can serve as a quick acidic cleaner.
These techniques help remove discoloration, brighten the surface, and maintain the sink’s beauty using safe, household-friendly options.
3. Protection and Shine Maintenance
To maintain a polished copper finish, consistent protection is key. After cleaning, buff the sink with a dry cloth to enhance its shine.
For additional preservation, apply food-safe copper wax every 4–6 weeks to shield the surface from water and oxidation. This step helps maintain a brighter appearance and slows down natural patina development.
If a rustic patina is preferred, avoid waxing and embrace the aging process. Steer clear of bleach, ammonia, or abrasive tools to preserve the sink’s quality and longevity.
Quick Reference Cleaning Table
This is a quick overview of common copper sink cleaning goals and the best methods for each. Use this table to find the right approach, whether you want to maintain shine, preserve the patina, or handle daily upkeep.
| Goal | Method | Protection |
|---|---|---|
| Daily cleaning | Mild soap + warm water + soft cloth, then dry | – |
| Remove bright spots | Nylon brush + soap; natural patina follows. | – |
| Remove green/brown spots. | Baking soda paste + gentle scrub | – |
| Shiny finish | Lemon/salt, vinegar/salt, baking soda, or ketchup | Wax/cleaner |
| Maintain shine | Apply carnauba or copper wax every 4–6 weeks | Yes |
| Preserve patina | Only soap & water; let aging occur | – |
Long-Term Protection and Prevention
Essential care tips to preserve the beauty and durability of a copper sink through proper drying, protection, and maintenance practices.
- Always dry the sink after cleaning to prevent mineral spots and water marks from forming.
- Use a sink grid or rubber mat to protect the surface from scratches and damage caused by dishes and utensils.
- Avoid harsh chemicals such as bleach, ammonia, drain cleaners, or scouring pads that can strip the patina and damage the copper.
- Embrace the natural patina if a rustic, aged look is preferred, as it adds unique character and warmth over time.
- For a consistently polished finish, reapply copper-safe wax or lacquer when water stops beading on the surface.
Conclusion
I’ve learned that maintaining a copper sink doesn’t require complicated tools or harsh chemicals, just consistency and the right approach.
Daily rinsing and simple natural cleans keep your sink looking good and working well.
I appreciate how copper develops its own character over time, and I’ve come to accept the changes in color and tone as a part of its beauty.
Using a soft cloth, avoiding abrasives, and applying wax when needed have helped me keep the finish just the way I like it, shiny and clean or aged with personality.
With just a few minutes of care each day, I’ve managed to protect my investment and enjoy its beauty for years. For anyone who values both style and practicality, a copper sink can truly shine with a little attention.
Frequently Asked Questions
Does Cleaning Take Away the Natural Patina on a Copper Sink?
Gentle cleaning with mild soap and water won’t harm the patina. But frequent use of acidic products like vinegar or lemon juice can lighten or remove the natural aged look over time.
How to Prevent Green Spots from Forming?
To avoid green spots or mineral buildup, dry the sink after each use. Don’t leave standing water, citrus, or food residue sitting; these can react with copper and cause discoloration or stains.
Is Waxing Necessary for a Copper Sink?
Waxing isn’t required but helps protect the surface. It adds a barrier against moisture, reduces spotting, and slows down the patina process if you prefer to keep a shinier finish.