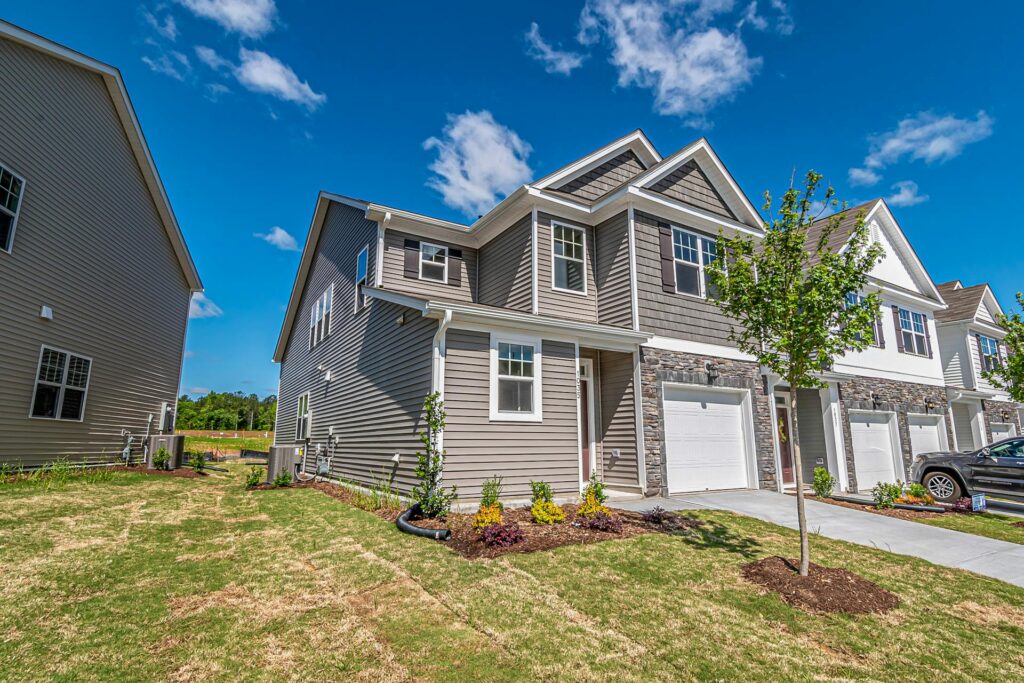
Master real estate photography editing in Luminar Neo. Learn tips and tools to enhance interiors, exteriors, and property visuals professionally.
Real estate photo editing is often the quiet difference between a listing that gets a quick viewing request and one that sits ignored for weeks. Two photographers can stand in the same room with similar cameras, but the person who knows how to shape light, color, and detail in post-production will usually win the buyer’s attention.
Luminar Neo is a high-quality and beginner-friendly real estate photo editing software aimed to help photographers of all skill levels with this task. In this guide, we explain how to edit real estate photos with Luminar Neo step by step. We will provide a practical, repeatable workflow you can use on every project.
Step 1: Set Up Luminar Neo and Your Workspace
Luminar Neo is easy to pick up, even for inexperienced users who don’t know how to edit photos for real estate. You install it on Mac or Windows. The program supports RAW files so that you can edit professional pictures, captured with a modern camera. The layout is user-friendly and easy to navigate.
Start by importing your photos into the Catalog. Click “Add Photos” and choose the folder with your shoot. Once the images appear as thumbnails, you can mark your favourites, reject unusable frames, and create small albums for interiors, exteriors, and details. Switch to the Edit tab and be ready for real estate image editing.
Step 2: Build a Base with Global Adjustments
Fix the big issues first: exposure, color, and contrast. In Luminar Neo, you do this in the Develop or Light tool. If you are new to retouching real estate photos, you can apply these enhancements automatically with Enhance AI.
Raise the exposure until you can see detail in the furniture and walls, but stop before the windows turn into pure white shapes. Correct the white balance so the colors look true to life, especially in the interior shots. Buyers judge how fresh and modern a place feels based on the color of walls, ceilings, and cabinets. Tweak the contrast slider until the image has depth and clarity, but avoid going so far that walls look harsh or crunchy.
Zoom in and out regularly to ensure colors look cleaner, details are visible, and the light feels balanced. Once you have achieved it, you can proceed to more targeted photo editing for real estate.
Step 3: Make Interiors Bright, Natural, and Honest
Start by balancing the lighting in specific areas. Real estate photography editing tips recommend that photographers address lighting inconsistencies in rooms with a strong backlight from windows. Luminar Neo’s Relight AI feature will be particularly useful for this task. Pull detail out of the interior while keeping the view through the glass under control. Gently lift shadows so that dark corners open up without turning gray.
Fix the geometry for the space to appear solid and calm. Use the cropping and straightening tools to straighten vertical lines so doors, windows, and cabinets stand upright. A small tilt can make a room feel cramped or unstable. Reframe slightly if needed so furniture is not cut in odd places. The important features, like a fireplace or a kitchen island, should sit comfortably within a frame.
Step 4: Refine Exteriors
Start your real estate photography retouching for exteriors with Luminar Neo, using the same baseline as the interiors: exposure, white balance, and contrast. Then, gently increase saturation and vibrance if the shooting day was dull. Be cautious — the grass should not turn neon, and the facade should not shift away from its natural tone. Otherwise, it could make potential buyers feel tricked, and they will mark your listings as unreliable.
A bit of structure and detail on brick, roof tiles, or plants can help the house look crisp. It is especially important when potential clients look at your real estate shots from mobile screens. Use the Erase or Clone tools to clean up things like a trash bin near the garage, a stray leaf blower on the porch, or a car edge creeping into the frame. If the sky appears flat, improve it with Sky AI.
Step 5: Export and Deliver
When you are happy with your edits, it is time to prepare the files for the real world: MLS, agency websites, and social media. In Luminar Neo, use the Export panel to choose file type (usually JPEG), quality, and size. For most online listings, a long edge of around 2000–3000 pixels is enough.
Save files in clear folders, so you never wonder which version you sent to the agent. Give images simple, ordered names (front-01, living-room-01, kitchen-01) so they display in a logical sequence. Before sending, do one last quick slideshow check: no duplicates, no test shots, no half-finished frames.
Conclusion
Editing is the step where ordinary property shots become clear, trustworthy visuals that actually help to sell a home. Luminar Neo’s simple workflow is enough to raise the quality of any listing noticeably. If you follow the steps in this guide and adapt them to your own rhythm, Luminar Neo will become a reliable part of your real estate storytelling toolkit.

