
The first time I built a DIY dollhouse, I learned that starting small makes the whole project feel doable and fun.
If you have ever looked at a dollhouse and wondered how people actually make one, this guide is here to help. In this blog, you’ll find easy steps and extra details that will help you build the dollhouse easily.
This guide works well for beginners, parents building with kids, and hobbyists who enjoy hands-on projects at home.
You will learn what tools and materials to use, how to plan the size, and how to build the base, walls, and rooms.
I also shared tips to keep the build safe and stress-free so you can enjoy creating something you will be proud to show off.
What You Need Before You Start
A little prep makes the building process smoother and saves time later. Gathering everything first helps you stay focused and avoid breaks in the middle of the project.
- Measuring tape or ruler
- Pencil and eraser
- Craft knife or hand saw
- Strong glue or wood adhesive
- Thin wood, MDF, or cardboard sheets
- Sandpaper
- Paint and small brushes
- Optional items like wallpaper, fabric scraps, or mini décor
- A flat work surface with good lighting
How to Build a DIY Dollhouse?
This section covers the early build stages in a clear, practical way. These steps help set the size, structure, and direction of the entire dollhouse before details are added.
Step 1: Cut and Prepare the Plywood

Begin by breaking down the materials using 1/2-inch plywood for the main structure.
Cut the panels to 16 inches deep to allow enough space for rooms and furniture. Plan the total height at around 25 inches, not including the roof.
Cutting all panels at the same time helps keep measurements consistent.
Clean, straight cuts make assembly easier and reduce gaps, helping the structure come together smoothly in later steps.
Step 2: Assemble the Main Structure Loosely
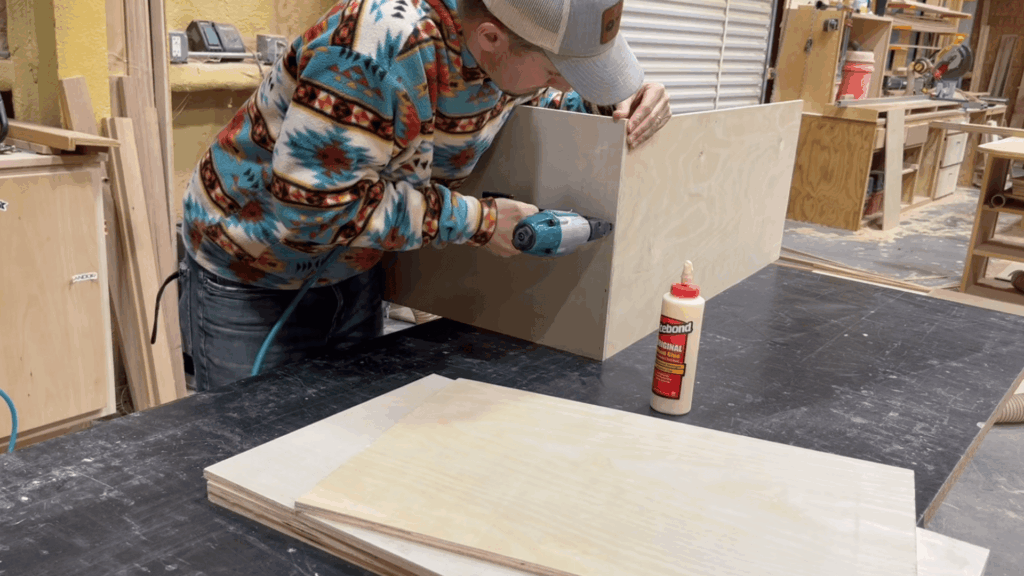
Once the panels are cut, loosely assemble the main structure to see how everything fits together. Staple or tack the panels in place without fully securing them yet.
This temporary setup helps visualize the overall shape and size of the dollhouse.
Leave a bit of extra space on one side if a patio or outdoor area is planned.
Seeing the full structure early makes it easier to adjust proportions, spacing, or placement before anything becomes permanent.
Step 3: Space and Add the Floors

After the basic structure is standing, focus on spacing the floors evenly.
Cut a 7½-inch spacer and use it to position each floor level at the same height. This keeps the dollhouse balanced and helps rooms feel uniform from bottom to top.
Even floor spacing also makes it easier to align doors, windows, and furniture later.
Take time to check each level before securing it, since this step affects the entire layout moving forward.
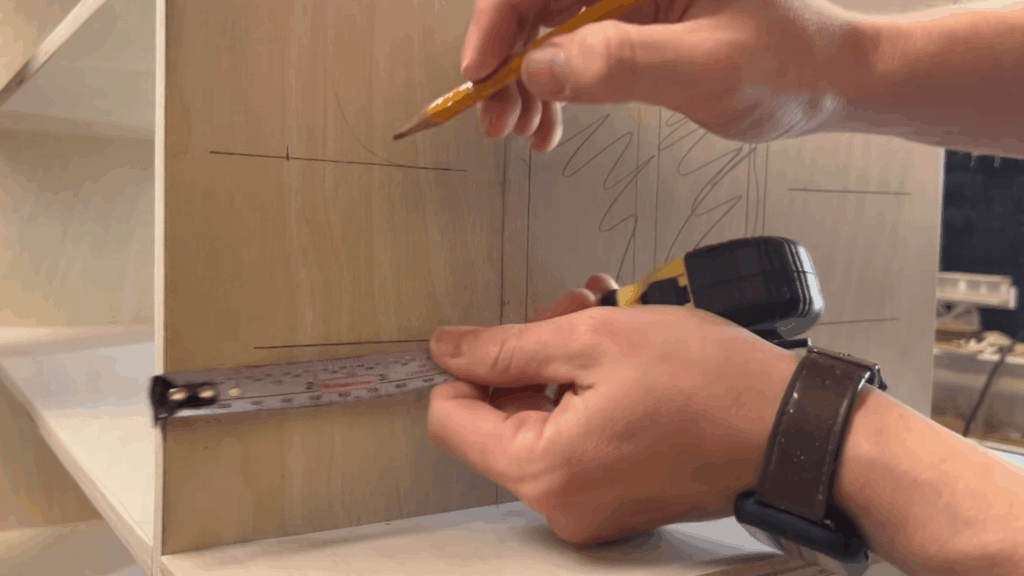
Step 4: Plan the Rooms and Layout
With the floors spaced, start planning the room layout. Mark where each room will go, including the living room, kitchen, bathroom, bedrooms, attic, patio, and balcony.
At this stage, nothing needs to be final. The goal is to understand how the rooms connect and how much space each one has.
This is the best time to adjust wall placement or room size.
Careful planning here helps prevent cramped areas and makes furniture placement easier later.
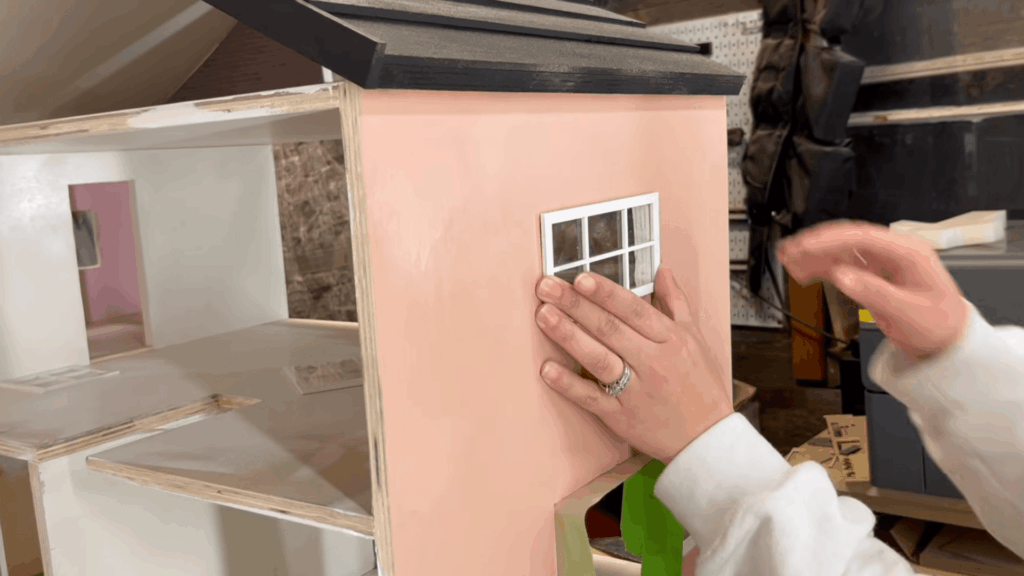
Step 5: Create and Cut Doors and Windows
Once the layout feels right, move on to doors and windows.
Create a simple template so all door openings stay the same size and match the chosen scale. Mark each opening clearly before cutting.
Use a jigsaw to cut out the main shapes, then clean the edges with hand tools for straight lines.
Special details, like double doors for a balcony, can be added at this stage to give certain areas more character.
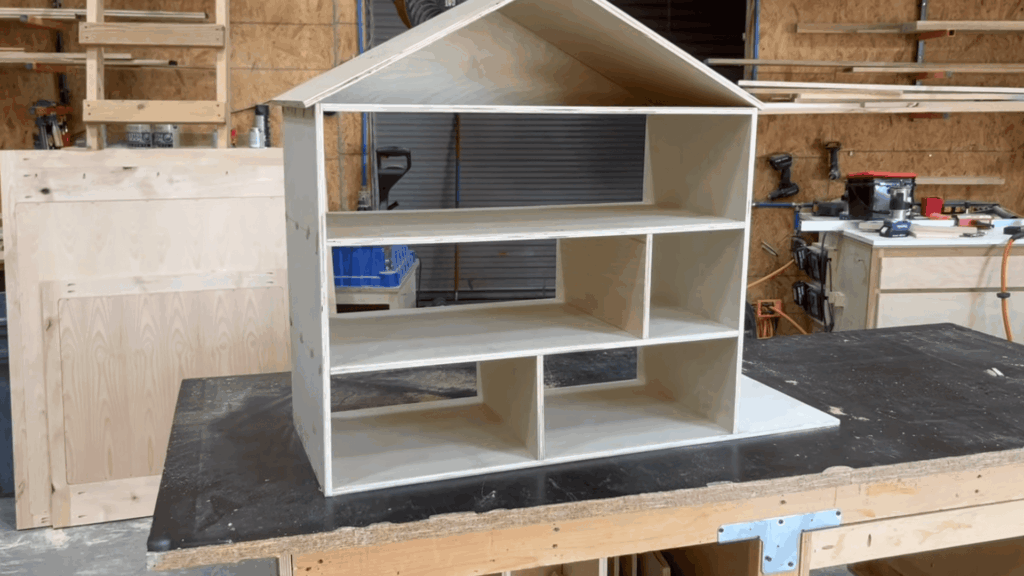
Step 6: Secure Interior Walls and Dividers

After all openings are cut, secure the interior walls and dividers in place.
Start with the load-bearing walls, then add room dividers and archways. Check alignment as each piece is installed to keep everything square and level.
This step locks the layout, so it helps to double-check spacing before fastening everything permanently.
Once the walls are secured, the dollhouse becomes stable and ready for roof work and finishing details.
Step 7: Build and Fit the Roof
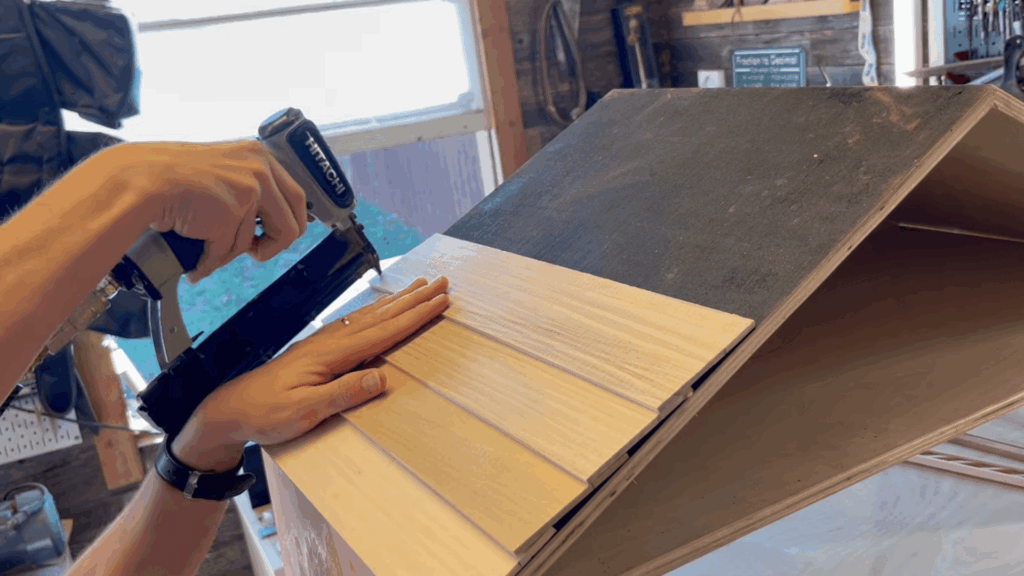
Once the interior walls are secure, move on to building the roof.
Because the roof shape is not flat, place the roof material directly against the structure and trace the outline instead of measuring.
Cut along the traced lines and test the fit before attaching it. This method helps handle angles more accurately.
After fitting the roof, add thin wood slats if needed and apply a dark base coat so any future roofing details look clean and finished.
Step 8: Add Flooring and Transition Strips
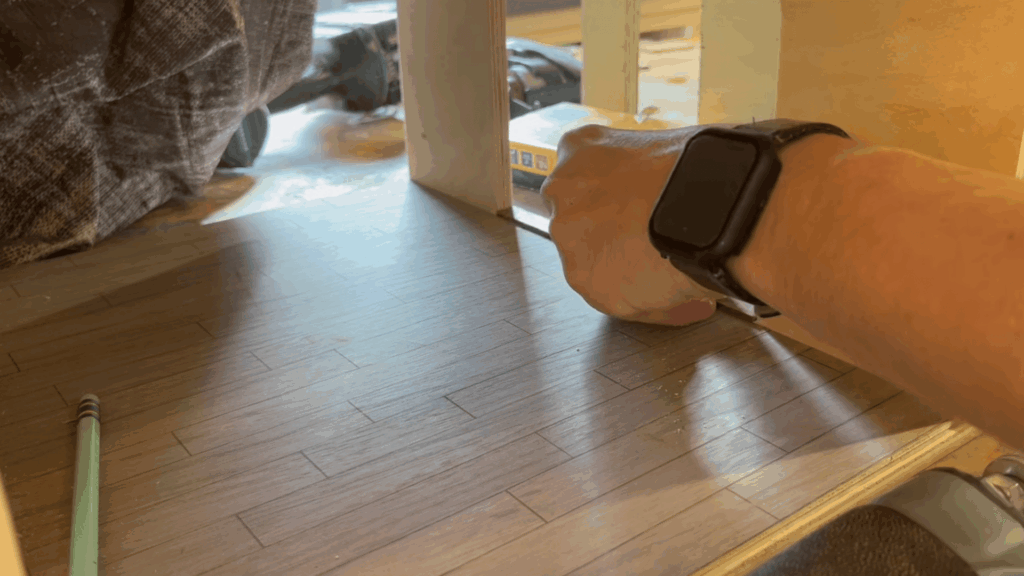
After the roof is in place, focus on the floors.
Instead of cutting individual planks, use engraved wood panels to create a plank look that stays consistent across rooms. This saves time and keeps the floors neat.
Once the flooring is installed, add thin wood transition strips between rooms.
These small pieces help separate spaces visually and give the floors a clean, polished look throughout the dollhouse.
Step 9: Finish Walls and Exterior Details
With the main structure complete, finish the walls and exterior details.
Use cardstock or decorative paper to create accent walls instead of painting every surface.
This adds texture without extra drying time. On the outside, use leftover wood slats to add board-and-batten siding where the house looks flat.
These finishing touches add depth and help the dollhouse look complete while still leaving room for future changes.
This tutorial is based on a helpful video by The Reformation Woodshop. You can check out the original video on their YouTube channel here or watch it below.
Choosing the Right Dollhouse Size
Choosing the right dollhouse size helps make the build easier and more enjoyable.
Most dollhouses follow standard scales like the 1:12 scale, where one inch equals one foot, which works well for most furniture and figures.
Smaller options like 1:24 scale take up less space and cost less to build, but details can be harder to work with.
Before you decide, measure where the dollhouse will sit so it does not feel cramped or oversized.
Space matters more than many people expect. For kids, a slightly larger size is better because pieces are easier to handle and less likely to get lost.
Display dollhouses can be smaller since they are not meant for daily play.
Think about who will use it most and where it will live. That choice will guide everything else in the build.
Safety Tips for Kids and Adults
Simple habits can prevent common mistakes and keep the project running smoothly. Paying attention to small details helps everyone feel more confident while building.
- Always cut materials on a stable, flat surface
- Keep sharp tools out of reach when not in use
- Let adults handle cutting, drilling, and gluing
- Use child-safe paint and glue when kids are involved
- Wear safety glasses when sanding or cutting wood
- Keep fingers clear when pressing pieces together
- Clean up tools and scraps after each session
- Supervise kids closely during every building step
Conclusion
Building a DIY dollhouse becomes much easier when you break it into clear steps. You start by planning the size, gathering materials, and building a strong base.
From there, you add walls, rooms, and small details that bring the dollhouse to life, one clear step at a time.
If this is your first time, starting small is a smart move. You can always add more rooms, paint, or furniture later.
The goal is to enjoy the process, not rush to the finish. This project is about creating something with your hands that feels personal and fun.
Now it’s your turn to begin building or customizing your own dollhouse.
When you’re done, share your experience in the comments below. I’d love to hear how your project turned out.