
Fresh herbs make food taste better. That’s just a fact. But buying them at the store gets expensive, and they go bad fast.
Plus, there’s something special about snipping herbs right from a plant instead of a plastic container.
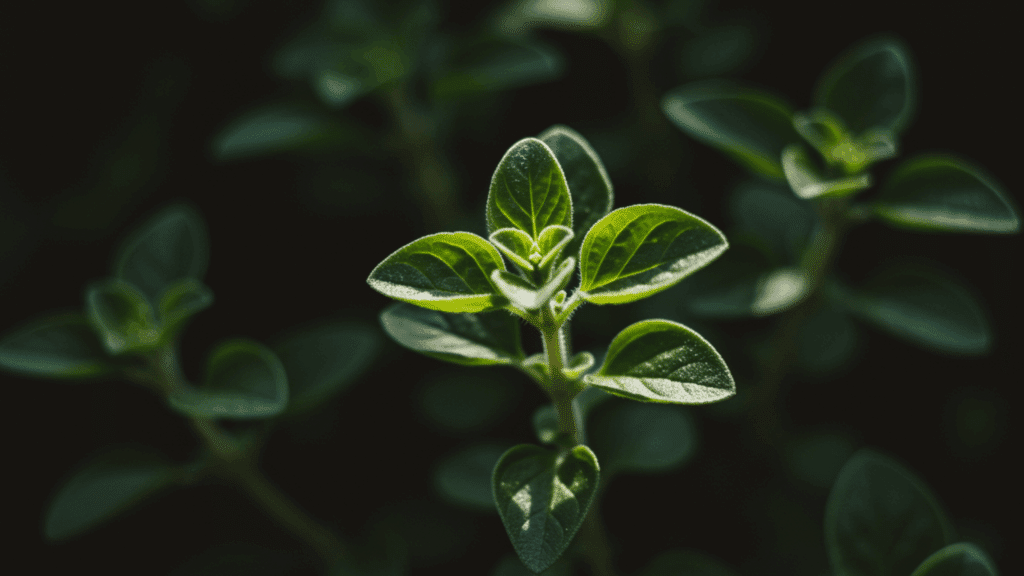
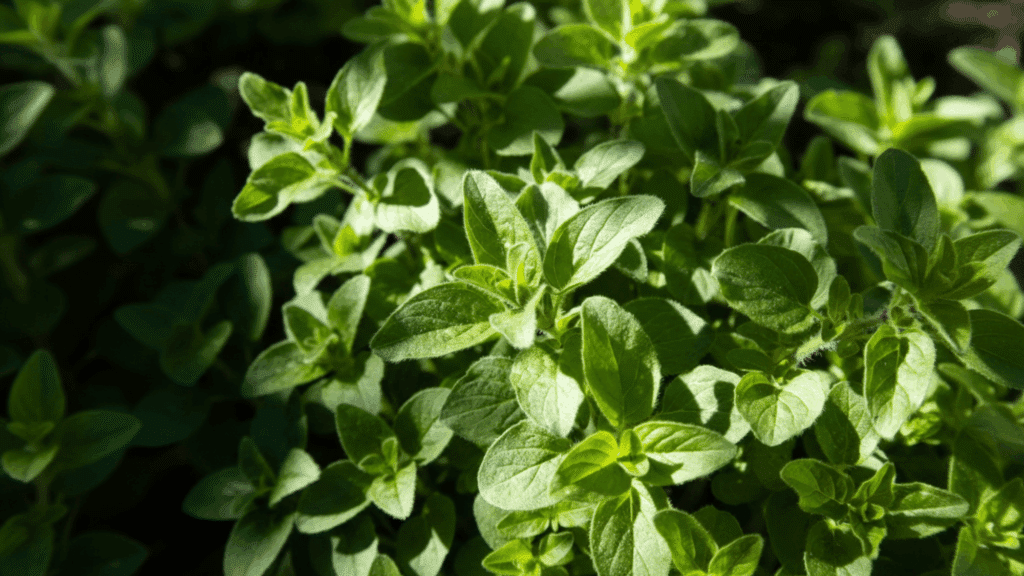
Oregano is one of the easiest herbs for beginners. It’s forgiving, doesn’t need constant attention, and keeps producing for months.
A single plant provides more than enough for cooking. No garden required, no fancy equipment, just a sunny spot and some basic care. This blog walks through everything needed to get started.
Growing Oregano in Pots: Complete Container Info
Container growing gives complete control over oregano’s environment. The right setup makes maintenance easier and produces healthier, more flavorful plants.
- Best pot size and material: Start with a 10-12-inch pot that’s terracotta or ceramic, which helps roots breathe and prevents waterlogging.
- Drainage requirements: Pots need at least 3-4 drainage holes at the bottom to stop water from sitting and causing root rot.
- Best soil mix for potted oregano: Use a well-draining potting mix with added perlite or sand, keeping the pH between 6.0 and 8.0 for optimal growth.
- Where to place oregano pots: Position containers where they’ll get 6-8 hours of direct sunlight daily, preferably south-facing windows or sunny balconies.
- How often to water oregano in containers: Water only when the top inch of soil feels dry to the touch, usually every 3-4 days depending on the climate.
Tools and Materials Required to Grow Oregano
| Category | Tools & Materials |
|---|---|
| Seed Starting | Oregano seeds, a seed tray, or a shallow container |
| Soil & Amendments | Finely sifted compost, coconut coir, perlite, garden lime, sand |
| Containers | 15 cm (6-inch) pots with drainage holes |
| Growing Environment | Sunny windowsill, indoor space, thermometer (optional) |
| Maintenance | Pruning scissors or clean snips |
| Pest Control | Neem oil or mild insecticidal soap (optional) |
Step-by-Step Instructions for Growing Oregano
Growing oregano becomes simple when broken into clear steps. Following this sequence ensures strong establishment and continuous herb production throughout seasons.
Step 1: Prepare the Seed Starting Mix and Sow the Seeds
Start by preparing a light, well-draining seed starting mix using finely sifted compost, coconut coir, and perlite. This blend retains moisture while allowing air circulation, which is crucial for oregano seeds.
Scatter the seeds gently on the surface and do not cover them, as oregano seeds require light to germinate. Maintain a temperature close to 20°C (68°F) for best results.
Step 2: Monitor Germination and Early Seedling Growth
Within five days, you’ll notice the first signs of germination.
By Day 17, seedlings should be clearly visible. Keep the soil lightly moist but never soggy, as excess water can cause damping-off. Place the tray in a bright location with indirect sunlight.
Consistent warmth and light during this phase ensure strong root and leaf development.
Step 3: Prick Out and Transplant Seedlings Indoors
Once seedlings are large enough to handle, carefully prick them out and transplant them into individual containers using a similar soil mix.
Since outdoor temperatures may still be too cold, move the young oregano plants indoors and place them on a sunny windowsill. This protects them from cold stress while allowing continued, steady growth.
Step 4: Pot Up and Encourage Bushier Growth
Transfer the oregano plants into 15 cm (6-inch) pots using a soil mix made of compost, coconut coir, garden lime, and sand.
Oregano prefers slightly sandy soil that drains well. As the plants grow taller, regularly trim the tops. This pruning encourages bushier, more productive plants and prevents leggy growth.
Step 5: Harvest, Dry, and Maintain Oregano Long-Term
The flavor of oregano peaks in mid-summer, just before flowering, making this the best time to harvest leaves for drying. Cut healthy stems and dry them in a well-ventilated space.
Dried oregano develops a stronger, more earthy, and mint-forward flavor.
To keep plants productive in winter, move pots indoors to a sunny windowsill. In mild climates, oregano remains evergreen year-round.
Oregano Plant Care: Watering, Feeding, and Sunlight
Proper care keeps oregano thriving and flavorful. Getting watering, feeding, and light balance right means bushy growth and aromatic leaves year-round.
1. Watering: Let the soil dry between waterings since oregano prefers slightly dry conditions over soggy roots that cause fungal issues.
2. Feeding: Feed with balanced liquid fertilizer once monthly during the growing season, but go easy since too much reduces essential oil concentration.
3. Sunlight: Provide full sun exposure for at least 6 hours daily to develop the strongest flavor and prevent leggy growth.
4. Pruning: Trim stems regularly to encourage bushier growth and prevent flowering, which makes leaves bitter and less aromatic.
5. Temperature: Keep plants in a 60-80°F range for best results, bringing containers indoors when temperatures drop below 45°F consistently.
6. Humidity: Oregano tolerates average humidity levels but needs good air circulation to prevent mildew and fungal problems on foliage.
How and When to Harvest Oregano
Timing makes all the difference when harvesting oregano. Pick too early, and the flavor hasn’t fully developed. Wait too long, and the leaves turn bitter.
The plant also needs a proper cutting technique to keep producing new growth instead of dying back.
Most gardeners harvest right before flowering starts, when essential oils peak. But oregano keeps growing after cutting, so multiple harvests happen throughout the season.
Knowing where to cut and how much to take ensures the plant stays healthy.
Fresh oregano can be used immediately or preserved for later. Storage method affects how long the flavor lasts and whether those aromatic oils stick around.
How to Dry and Store Fresh Oregano
Drying oregano properly preserves flavor for months. The right method and storage keep those essential oils potent instead of losing aroma quickly.
- Air drying method: Bundle 5-6 stems together with a string and hang upside down in a warm, dark, well-ventilated space for 1-2 weeks.
- Oven drying method: Spread leaves on baking sheets and dry at lowest setting (around 180°F) for 2-4 hours until crumbly but not burnt.
- Dehydrator method: Arrange leaves in single layers and set temperature to 95-115°F, checking every hour until completely dried and crisp.
- Microwave method: Place leaves between paper towels and microwave in 30-second bursts until dry, though this reduces flavor compared to slower methods.
- Storage containers: Keep dried oregano in airtight glass jars away from light and heat to maintain potency for up to one year.
- Freezing option: Freeze whole stems in freezer bags or chop leaves with olive oil in ice cube trays for quick cooking additions.
Conclusion
Growing oregano at home isn’t complicated. A pot, some soil, sunlight, and occasional watering get the job done. The plant practically takes care of itself once established.
Fresh oregano beats dried store-bought versions every time. The flavor is stronger, the aroma better, and there’s satisfaction in using something grown personally. Plus, one plant produces way more than most households need.
Start small with a single container. Learn what works in that specific space. Adjust watering based on local climate. Before long, harvesting becomes routine.
Anyone can do this. No green thumb required, no previous experience necessary. Just follow the basics covered here and watch what happens.