

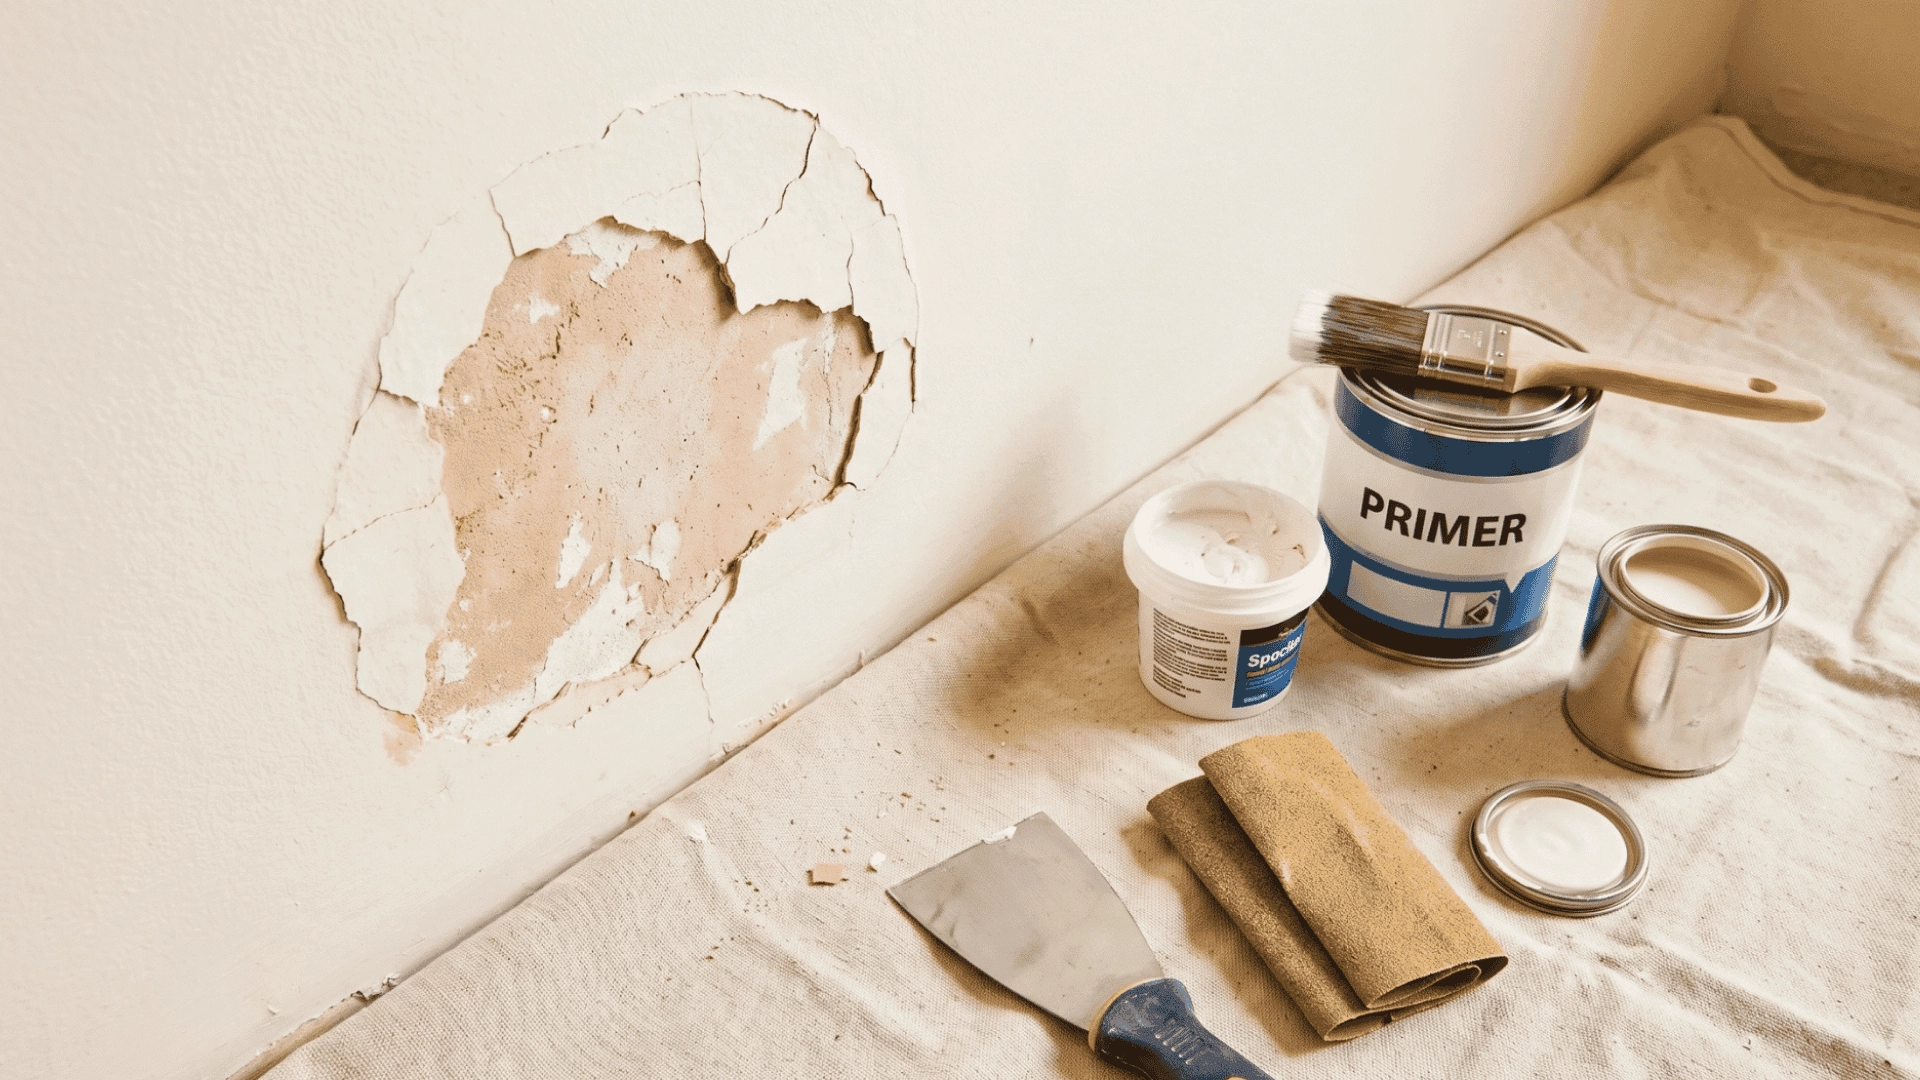
Small paint chips can be easy to ignore, but they often stand out once you notice them. A small mark on a wall, door, or trim can make the whole area look less cared for.
Learning how to repair chipped paint is not just about covering a damaged spot. It is about understanding what caused the issue and choosing a fix that matches the condition of the surface.
Before picking up your brush, it helps to look at the damaged area and decide what it actually needs. Start by understanding why paint begins to chip and peel.
Why Does Paint Chip and Peel?
Paint chips and peels when paint loses its grip on the surface. Finding the cause helps you choose the right repair instead of only covering the damage.
- Moisture damage: Water from leaks, damp walls, or high humidity can weaken the paint and cause bubbles, cracks, or peeling areas over time.
- Impact from furniture or objects: Moving chairs, hanging items, or accidental bumps can remove small sections of paint from walls, doors, and trim.
- Poor surface preparation: If the surface was dirty, dusty, or not prepared before painting, the new paint may not stick properly.
- Old paint layers: As older paint loses its strength, it may crack, separate, and create areas that need paint chip repair.
- Temperature changes: Walls and other materials expand and shrink slightly with changing temperatures, which can lead to cracks and chipped areas.
How to Repair Chipped Paint Step by Step
The goal is not just to cover the damage but to create a smooth repair that blends with the rest of the surface.
Tools and Materials Required
| Tool/Supply | Why You Need It |
|---|---|
| Putty knife | Helps remove loose paint and spread filler over damaged areas. |
| Sandpaper | Smooths the repaired spot so it feels flat and even. |
| Spackle or joint compound | Fills holes, dents, and deeper chips before repainting. |
| Primer | Helps repaired areas absorb paint evenly and match the wall. |
| Matching paint | Restores the original color and finish. |
| Small brush | Gives better control when applying touch-up paint to small chips. |
Step 1: Remove Loose or Damaged Paint
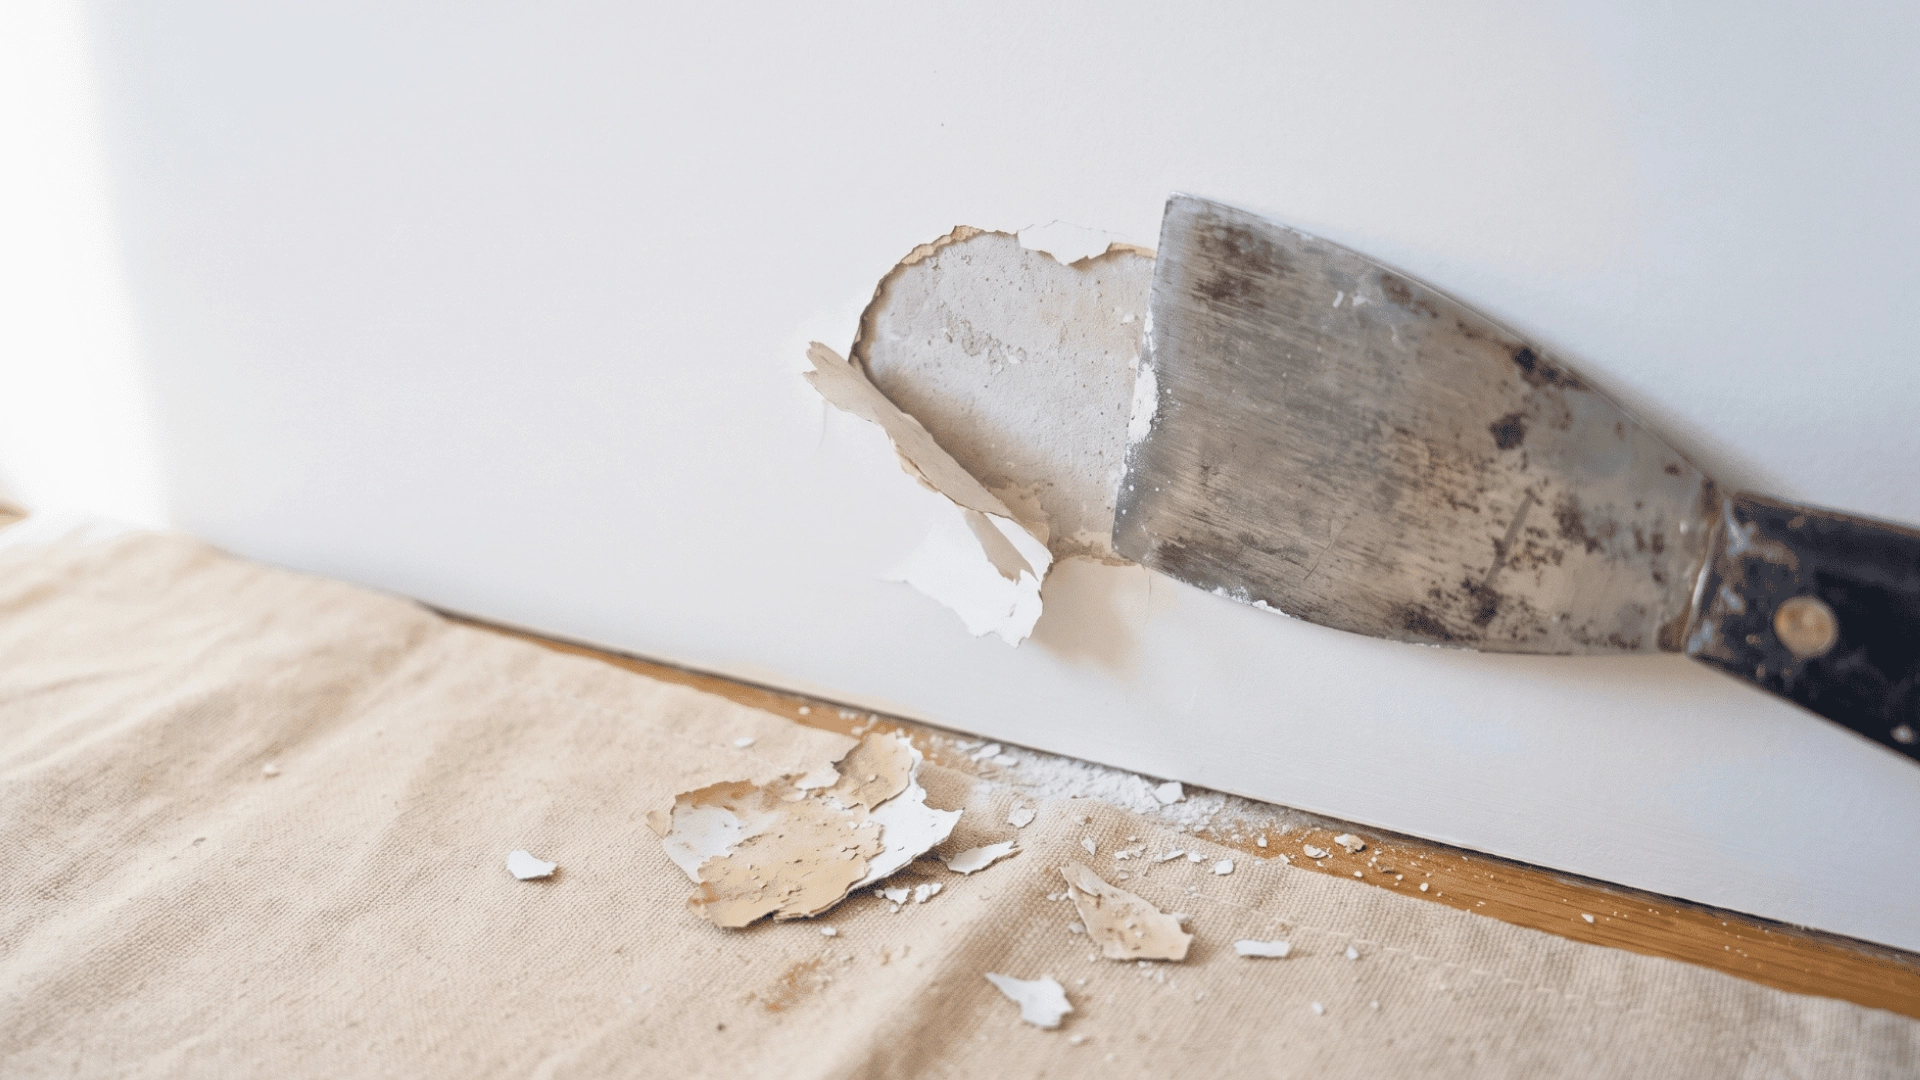
Start by checking the chipped area and removing any paint that is no longer attached. Use a putty knife to gently scrape away loose edges.
Do not remove paint that is still firmly attached. Taking off too much can make the damaged area larger than needed.
Run your hand over the spot to find weak areas. If more paint comes off with light pressure, remove those pieces before moving forward.
This first step is important when learning how to fix paint chips because new paint will not stick well to loose surfaces.
Step 2: Clean the Surface
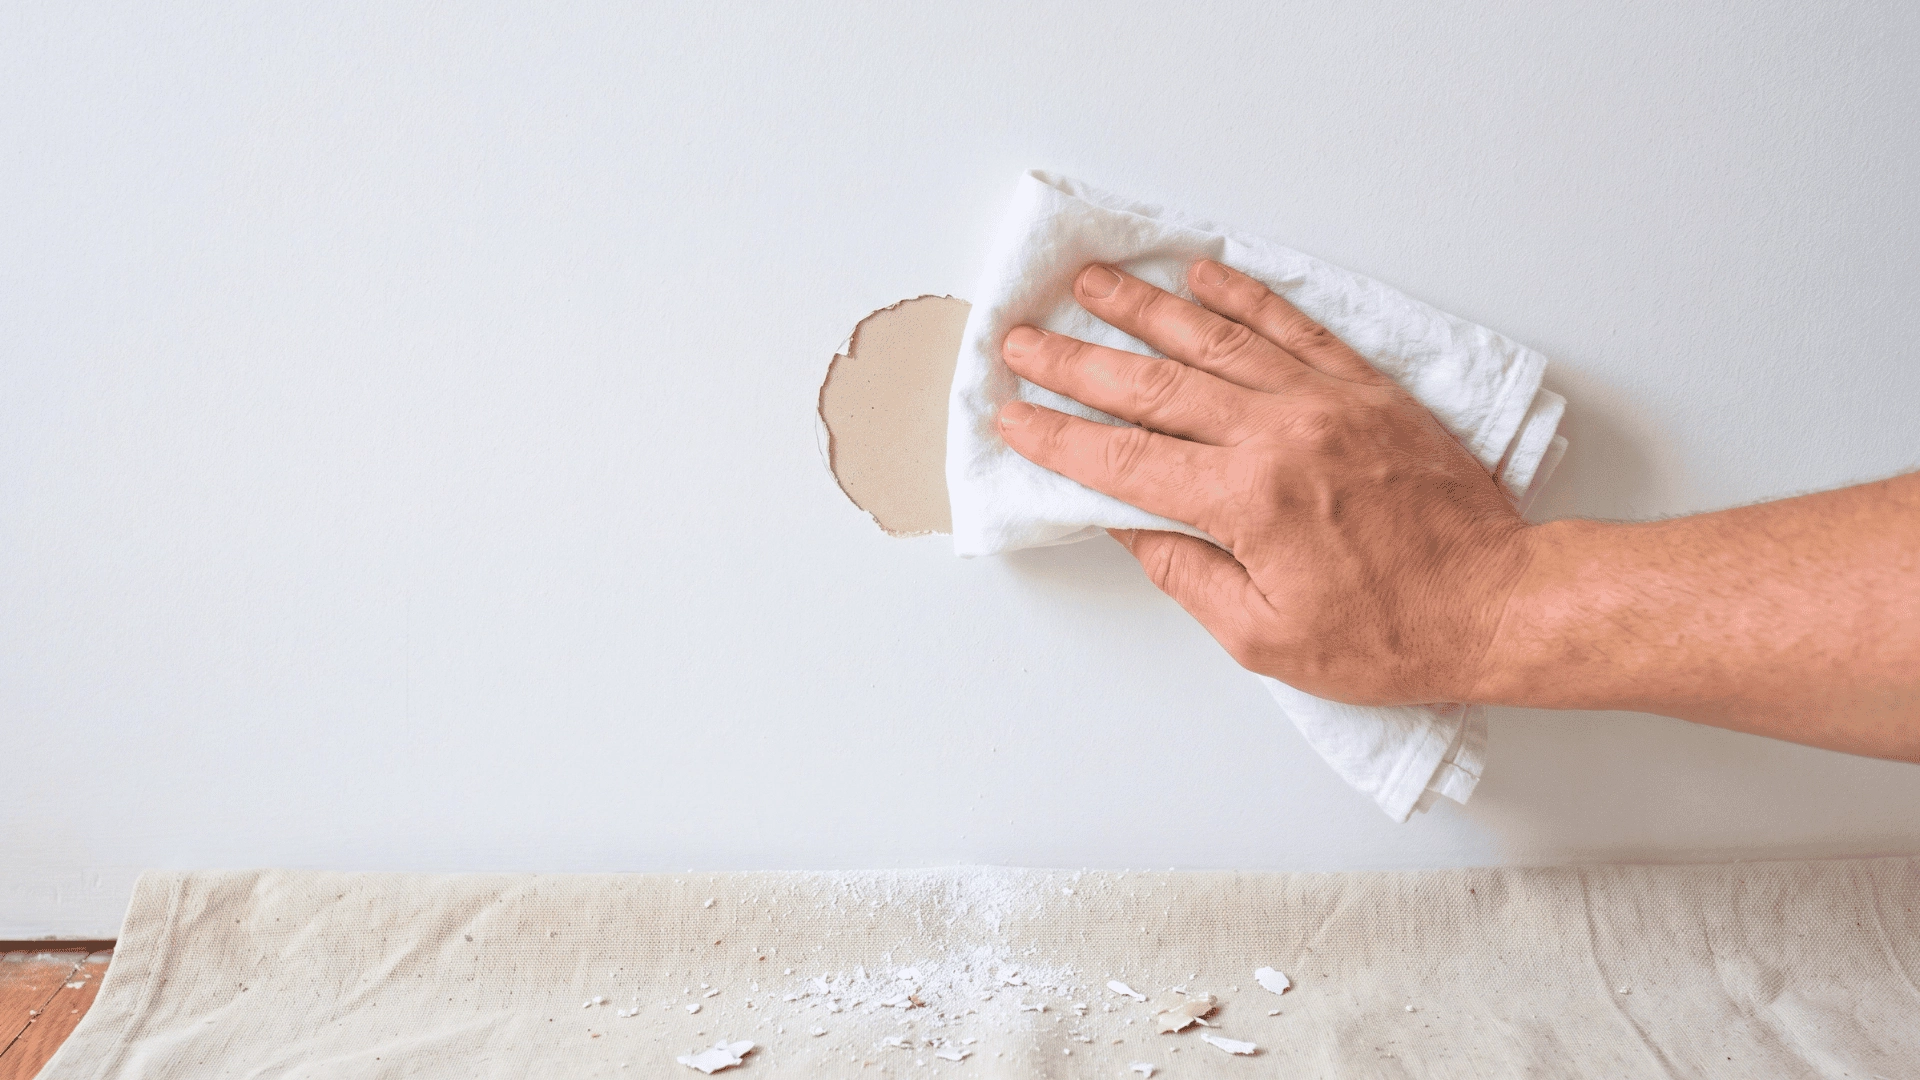
After removing damaged paint, clean the area before adding filler or new paint.
Use a dry cloth or soft brush to remove dust, dirt, and small paint pieces. A clean surface helps filler and paint hold better.
If moisture caused the damage, allow the area to dry completely before starting the repair. Painting over a damp surface can lead to peeling again.
Step 3: Fill Deep Chips With Spackle
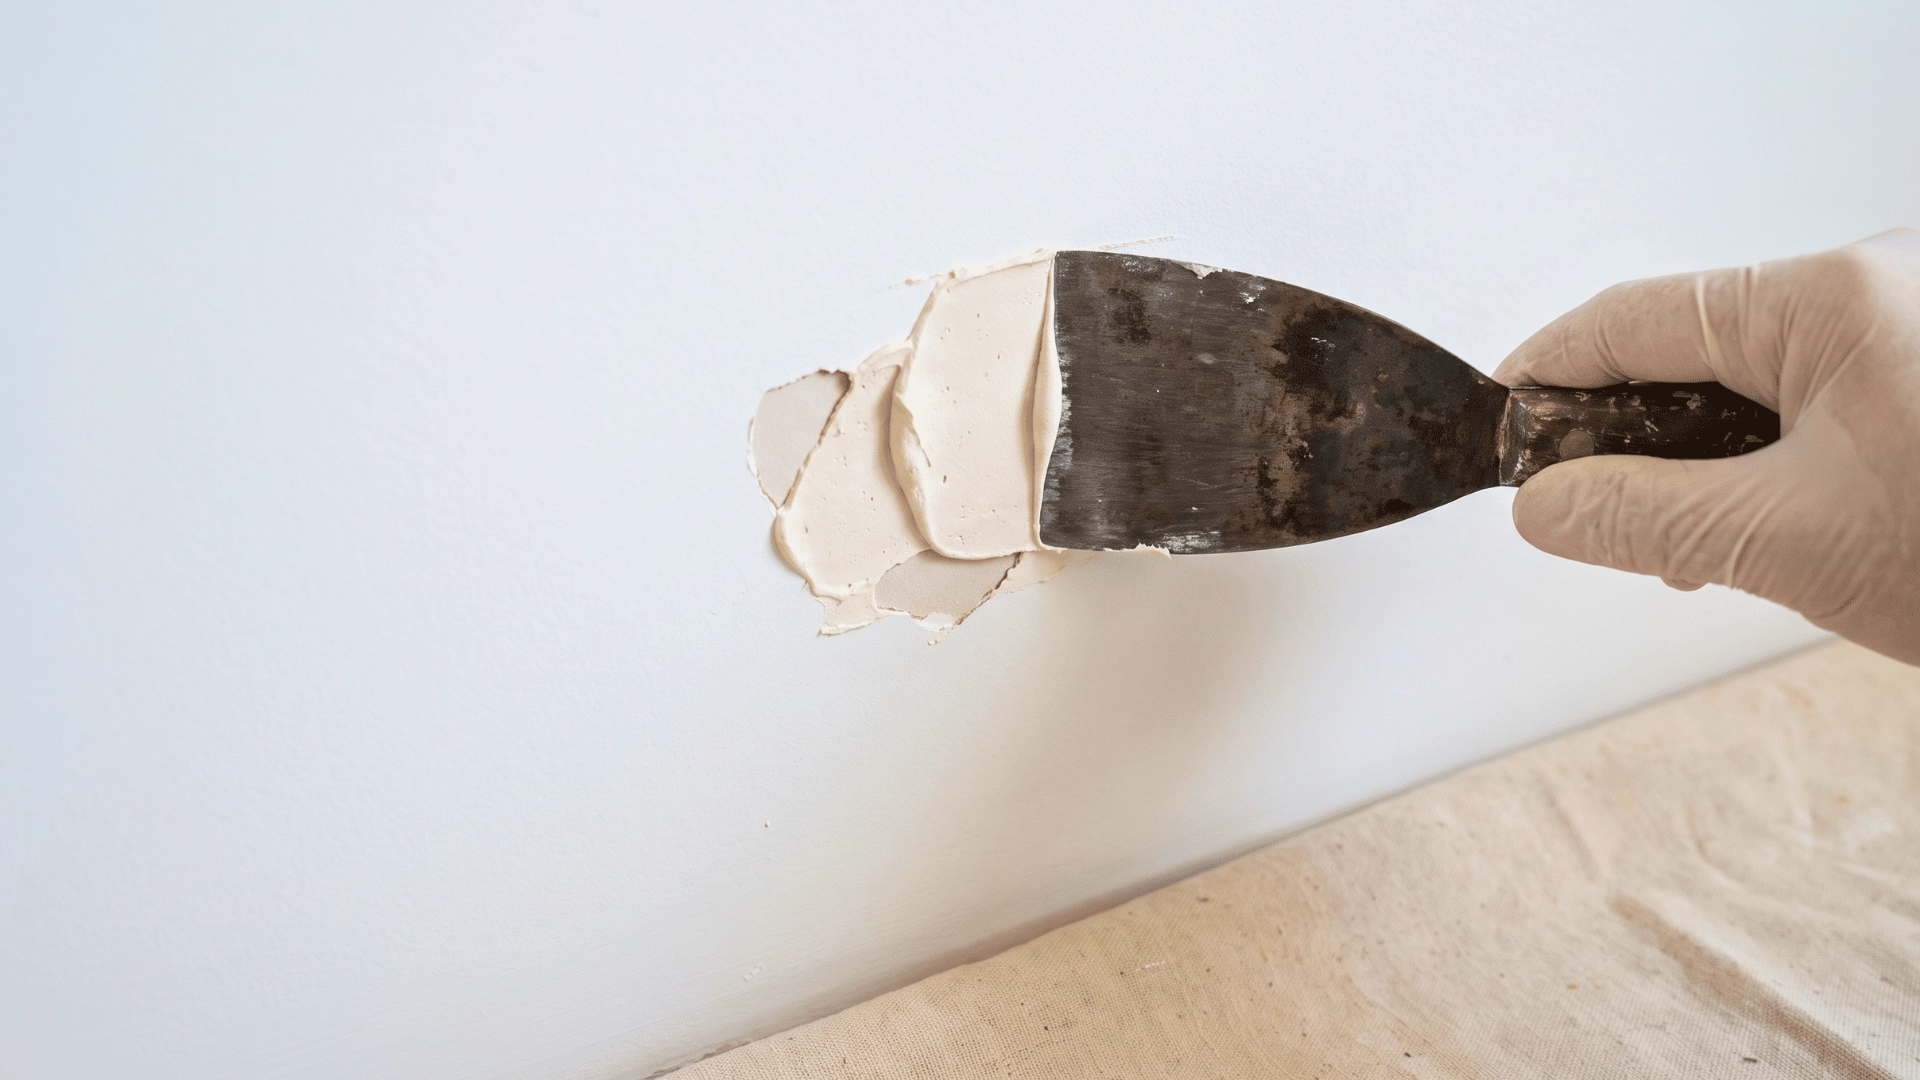
Small chips that only remove the paint layer may only need touch-up paint. Deeper chips that leave dents or expose the wall need filler before repainting.
Apply a thin layer of spackle or joint compound with a putty knife. Spread it slightly beyond the damaged area so the surface becomes level.
Let the filler dry before checking the repair. If the spot still looks lower than the wall, add another thin layer.
This method works well when you need to know how to patch chipped paint without creating a noticeable bump.
Step 4: Sand the Repair Until Smooth
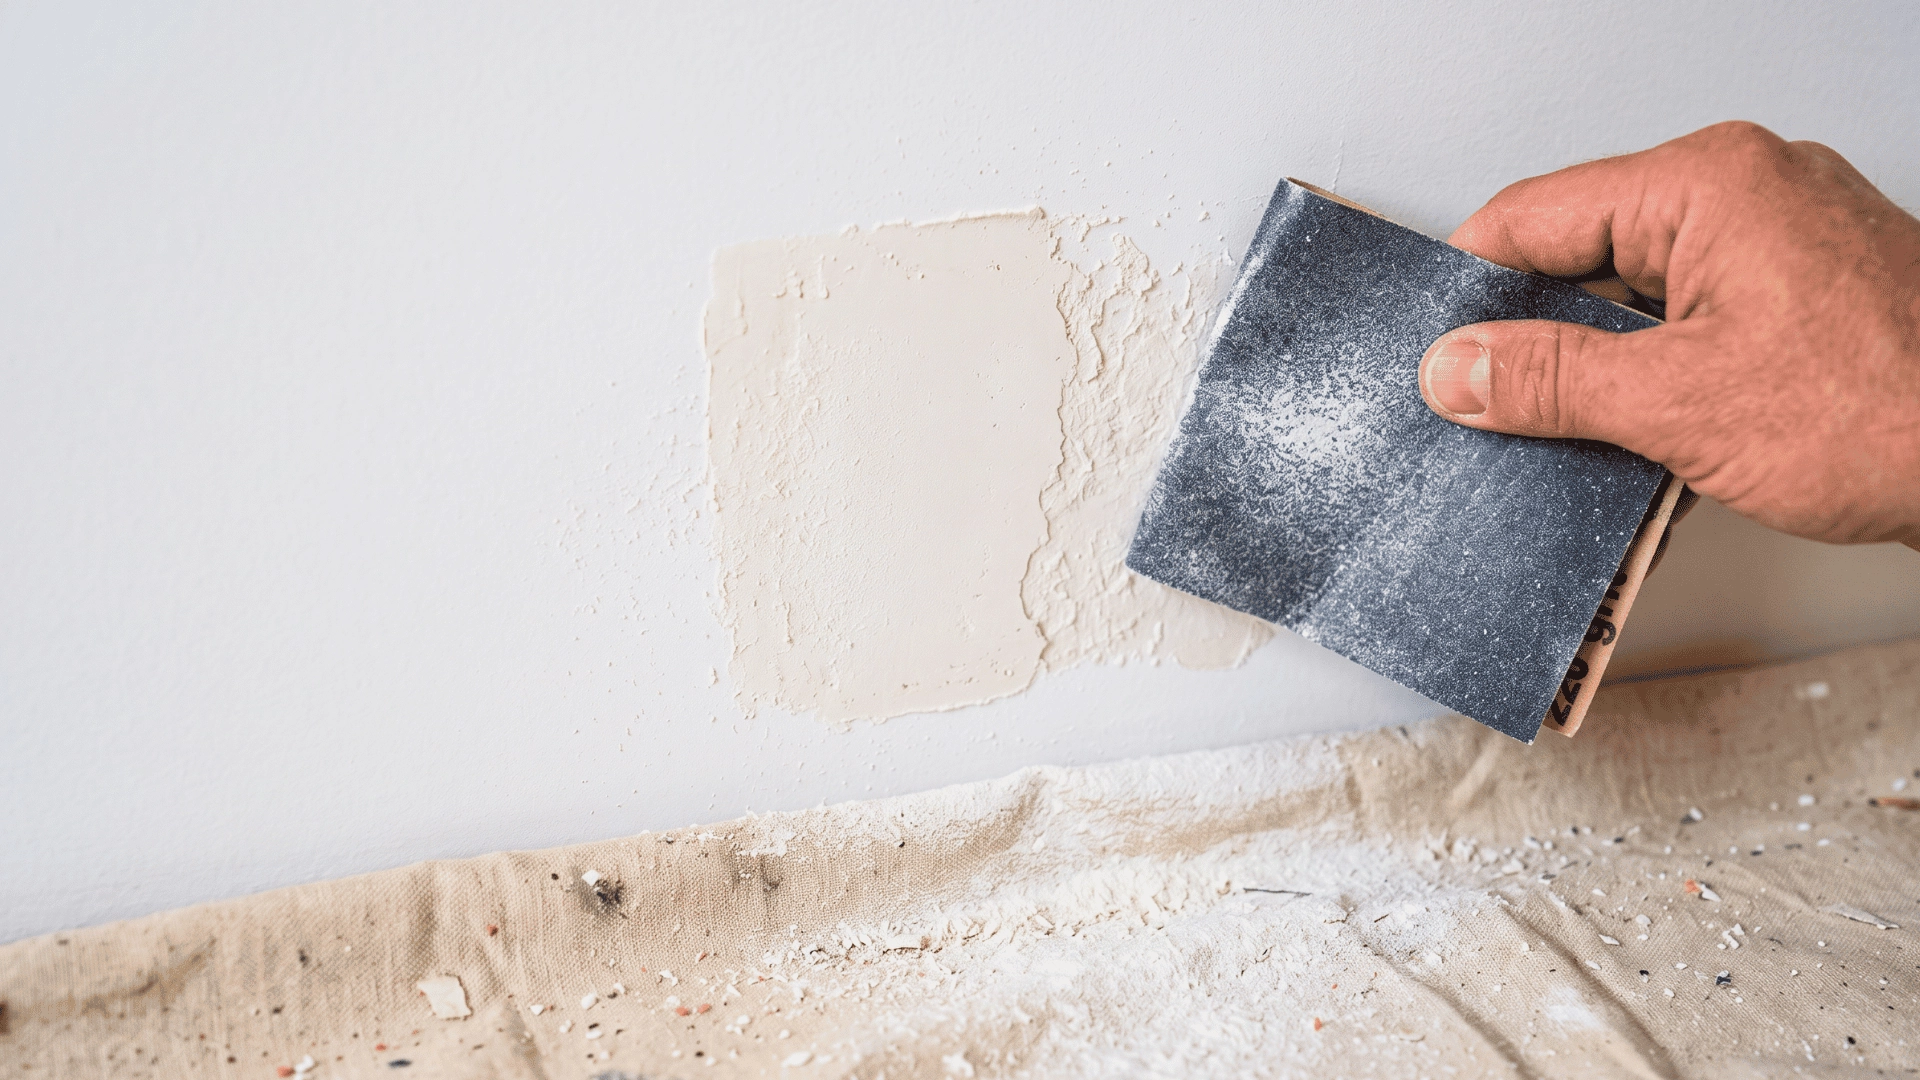
Once the filler dries, sand the repaired area until it feels smooth.
Use fine-grit sandpaper, around 180 to 220 grit, to gently smooth the surface. Avoid pressing too hard because it can create another dip.
The repaired spot should blend with the surrounding wall without visible edges. Run your fingers over the area to check for bumps.
Remove sanding dust before applying primer or paint.
Step 5: Apply Primer Before Painting
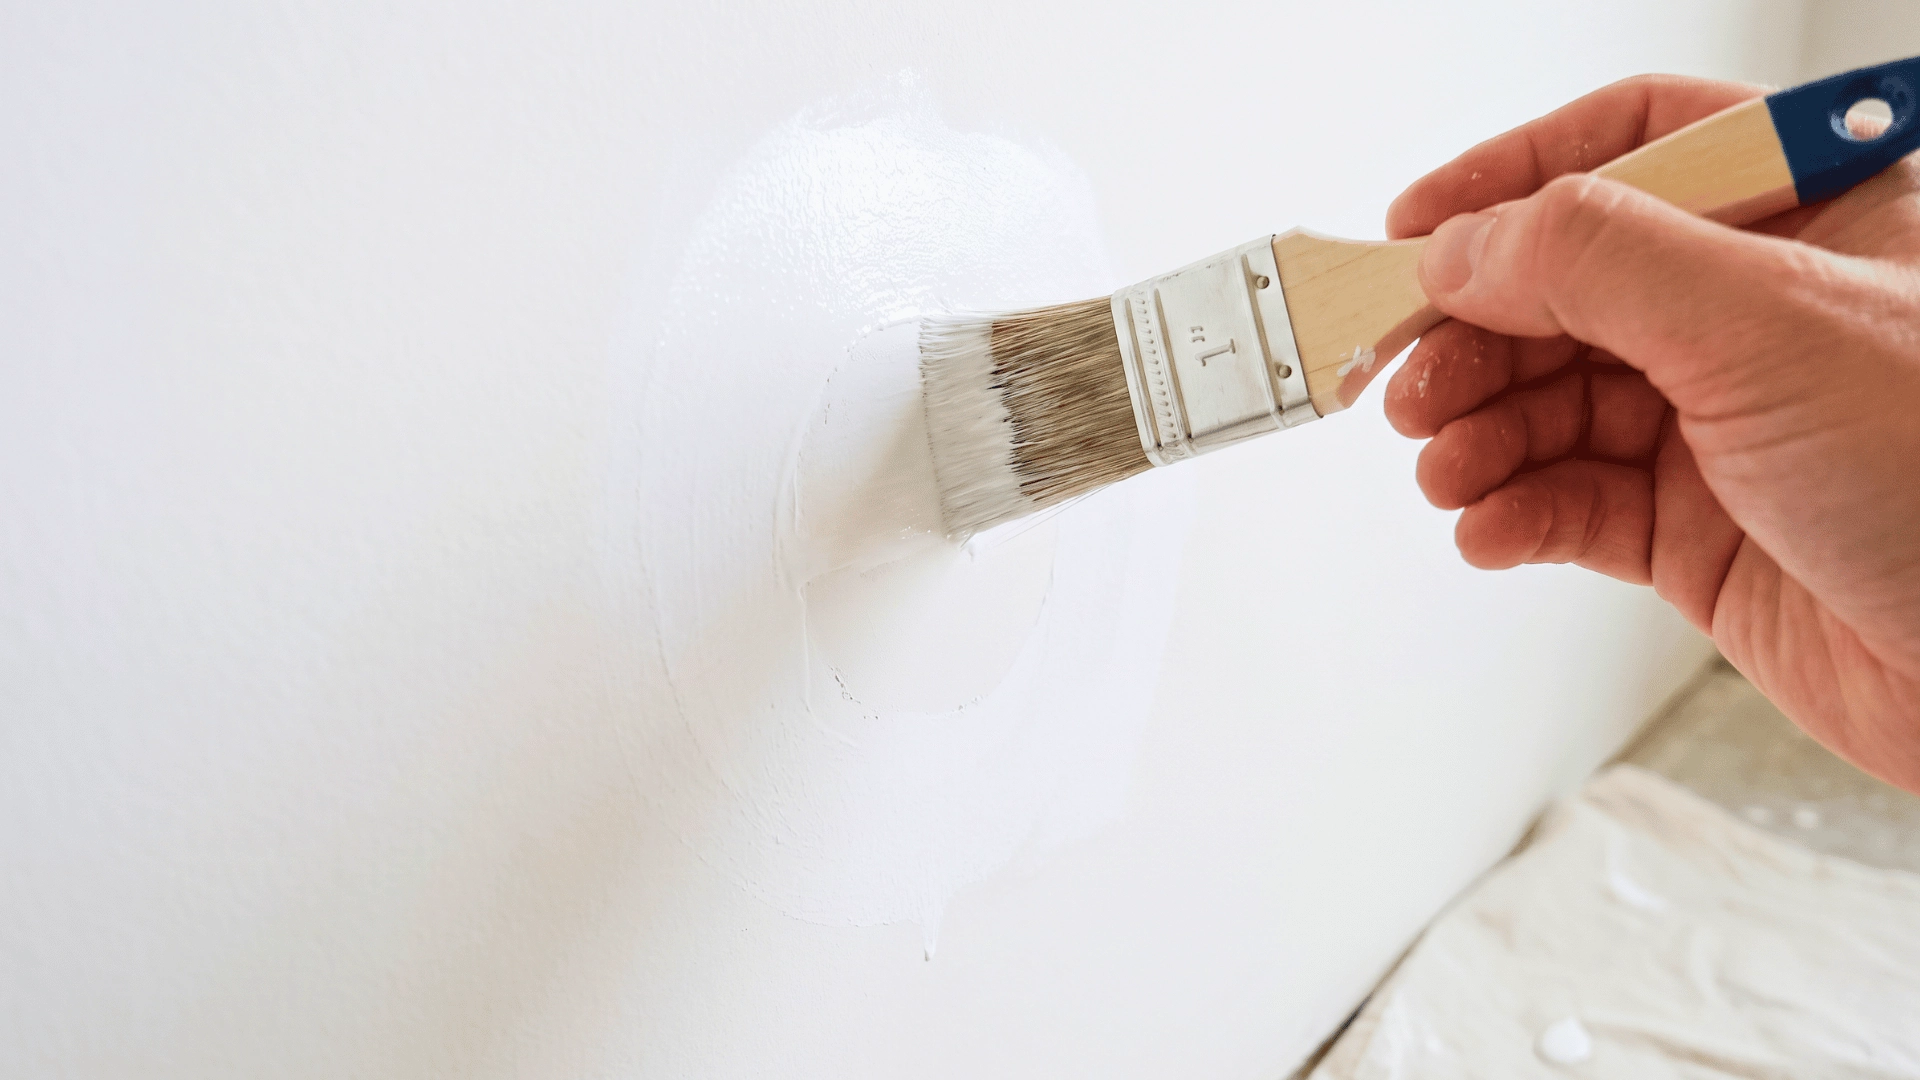
Primer helps the repaired area absorb paint evenly and prevents the patch from looking different from the rest of the wall.
Larger repairs or areas where drywall is exposed usually need primer before painting. Small chips may not always require it if the surface underneath is not visible.
Allow the primer to dry fully before adding paint. Skipping this step on larger repairs can make the finished area look uneven.
Step 6: Touch Up the Paint
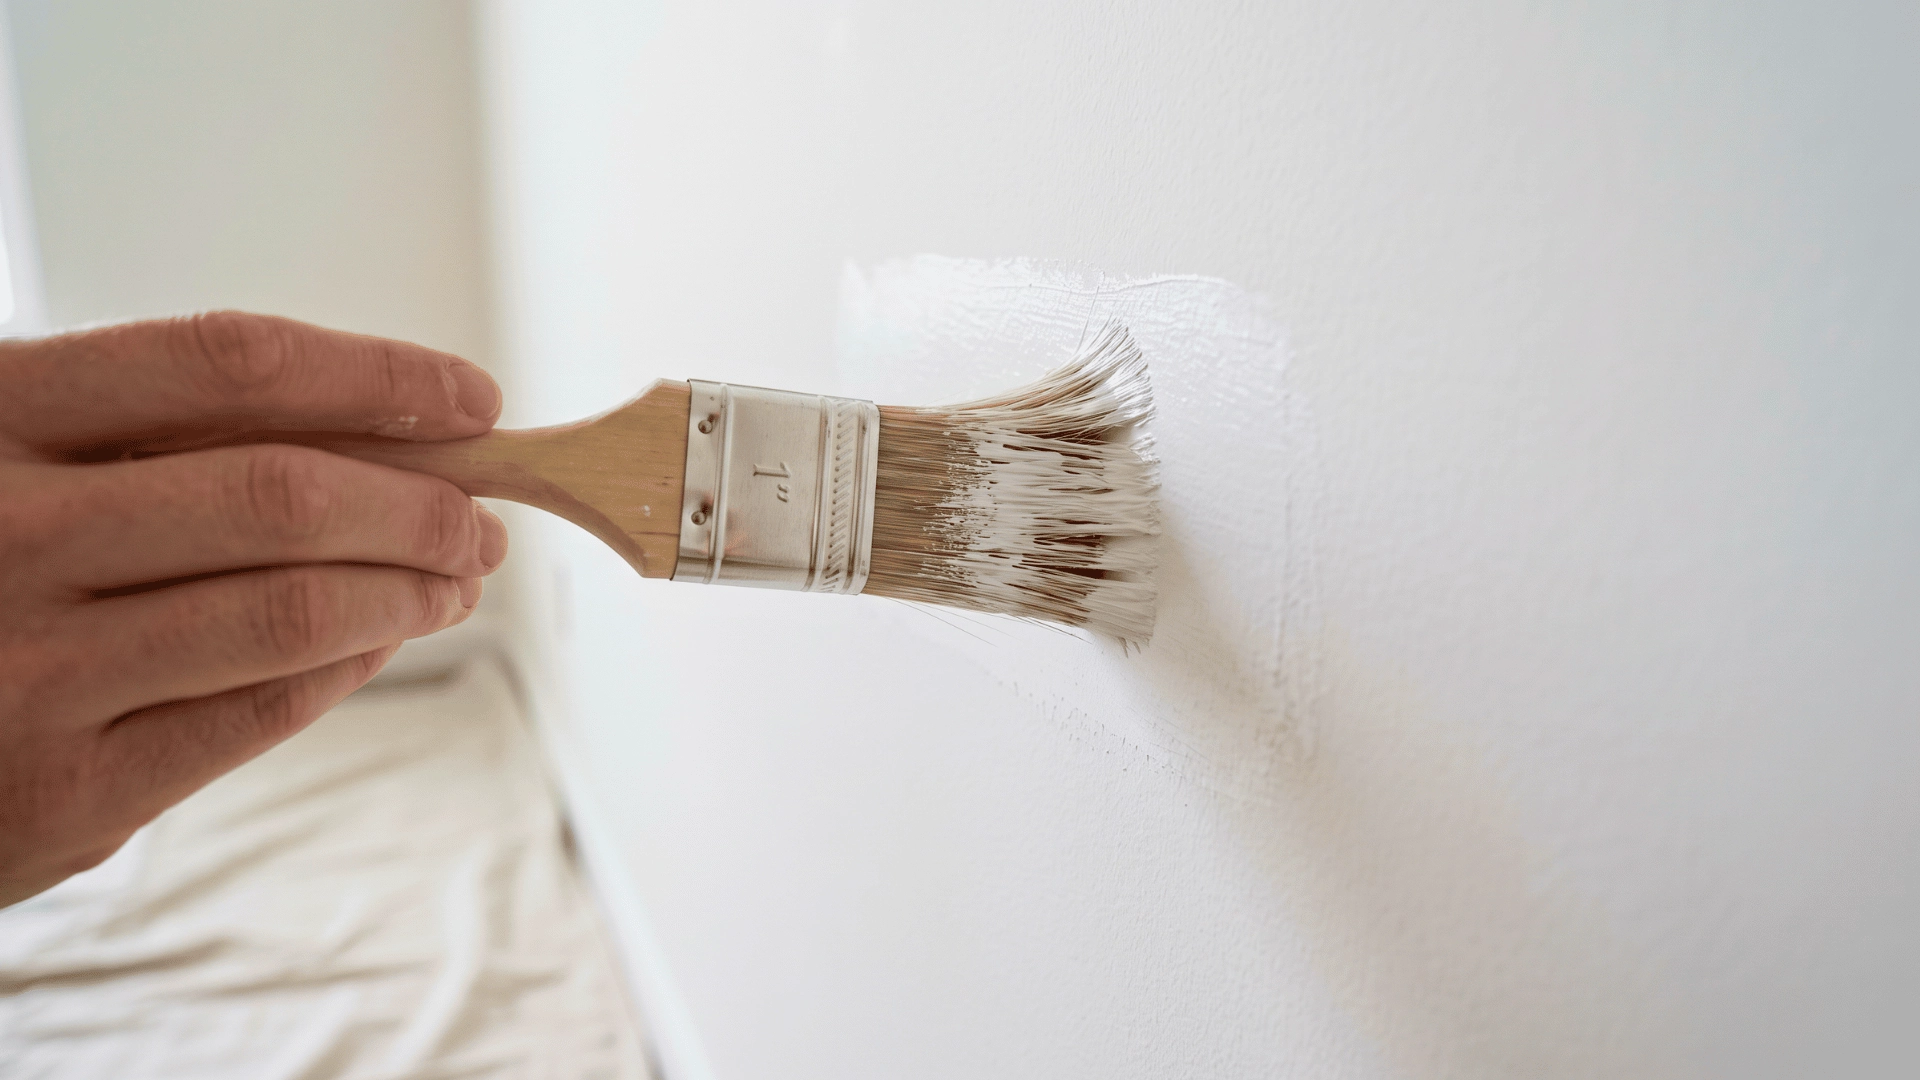
Use paint that matches the original color and finish of the surface. Stir the paint well before applying it.
Use a small brush to apply a thin coat over the repaired area. When learning how to touch up chipped paint, avoid adding too much paint at once because thick layers can stand out.
Blend the edges outward into the surrounding paint so the repair does not look like a separate patch.
Apply another thin coat if needed after the first one dries. Matching the sheen, such as matte, eggshell, satin, or semi-gloss, helps the repair blend better.
Matching Paint Color for a Repair
Matching the color is only part of getting a repaired spot to look natural. The finish matters too, since the wrong sheen can make the area stand out even when the color is close.
Start by checking if you still have leftover paint from the original project. The label can tell you the brand, color name, and code, making it easier to find the same paint.
If the original paint is no longer available, take a small sample of the painted surface to a paint store. They can help create a close match using the sample.
Before starting your paint chip repair, check the sheen of the existing surface. A paint color can look different when the level of shine does not match.
| Paint Finish | Where It Is Commonly Used |
|---|---|
| Matte | Bedrooms, ceilings, and areas with less traffic. It has a flat look with little shine. |
| Eggshell | Living rooms and hallways. It has a soft shine and is easier to clean. |
| Satin | Kitchens, bathrooms, and busy areas. It handles cleaning better than flatter finishes. |
| Semi-gloss | Doors, trim, and surfaces that need a stronger, easy-to-clean finish. |
Before painting the repaired area, test the color in a small hidden spot. Paint can look slightly different after drying or under different lighting.
How to Repair Large Paint Chips on a Wall?
Large paint chips often damage the layer beneath the paint. Fixing them requires filling, smoothing, and allowing enough time for each step.
- Remove damaged paint: Scrape away loose pieces and check if drywall or another layer is exposed underneath.
- Fill the chipped area: Apply spackle or joint compound in thin layers until the spot is level with the wall.
- Let the filler dry: Wait until each layer dries fully to prevent cracks and uneven results.
- Smooth the repair: Sand the filled section gently until it feels flat and matches the surrounding wall.
- Finish with paint: Clean away dust, apply primer if needed, and use matching paint for the final coat.
Can You Paint Over Chipped Paint?
Painting over chipped paint can seem like a quick fix, but it only works when the existing paint is still firmly attached.
Small chips may only need cleaning and touch-up paint, while loose sections should be removed before adding a new coat.
Before repainting, check the condition of the damaged spot. Covering weak paint can trap the problem underneath and lead to cracks, peeling, or a repair that does not last.
Fixing Chipped Paint on Wood, Doors, and Trim
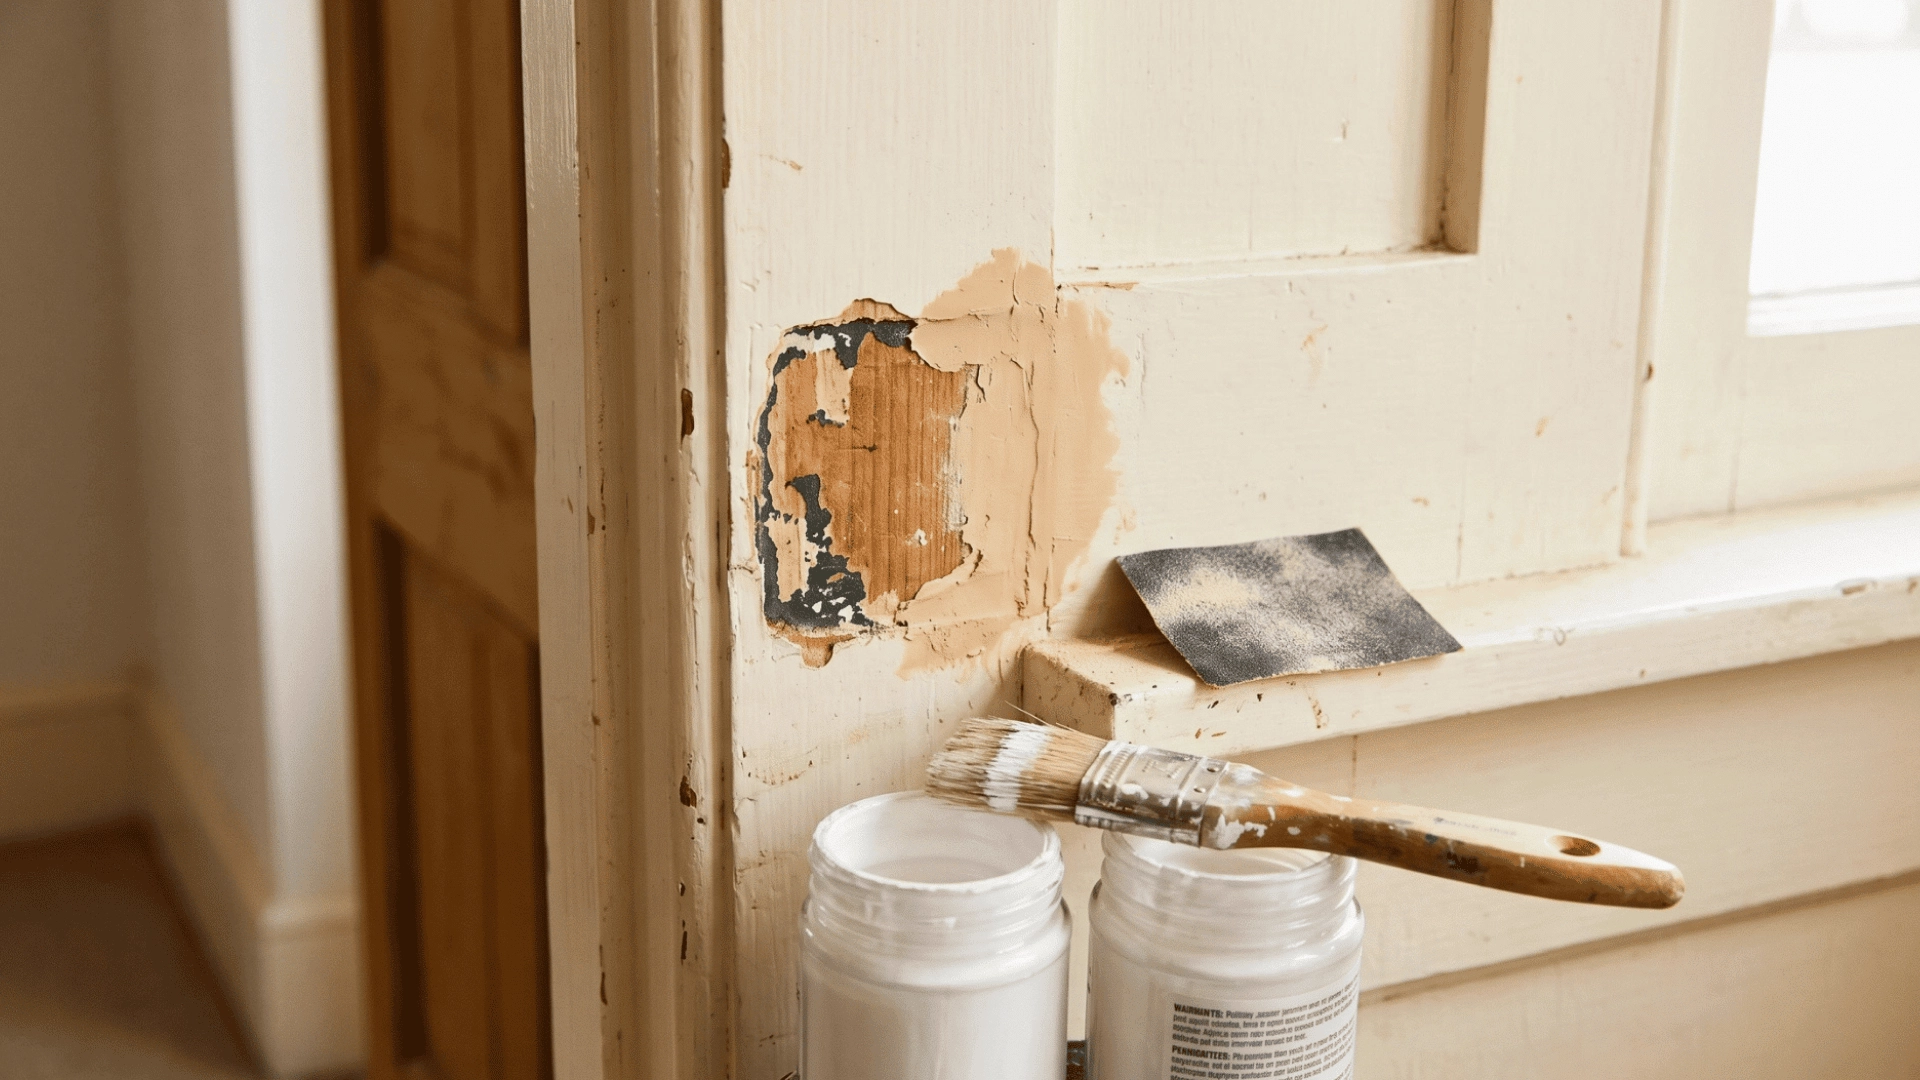
Wooden surfaces, doors, and trim often get damaged from daily use, moisture, and regular bumps. The repair steps are similar, but these surfaces need extra care because they often receive more contact and wear.
Painted Wood Surfaces
Start by removing loose paint from the damaged area. Use fine sandpaper to smooth rough edges and create a clean surface for the repair.
If the chip has created a crack or small dent, fill it with wood filler before repainting. Apply a thin layer, let it dry, and sand it smooth.
Apply primer before adding new paint. Primer helps the paint stick better and gives the repaired area a more even appearance.
Use matching paint and apply thin coats instead of one heavy layer. This helps the repair blend with the rest of the wood surface.
Doors and Baseboards
Doors and baseboards often get chipped because they are touched, bumped, and cleaned often. Start by removing loose paint around the damaged area.
Smooth rough edges with sandpaper so the repair does not leave a raised spot. Clean away dust before adding filler or paint.
For doors and trim, choose a durable paint finish that can handle regular use. Semi-gloss paint is often a good choice because it is easier to clean.
Applying thin coats and allowing proper drying time helps the repaired area match the rest of the surface.
Common Mistakes to Avoid
- Painting over loose paint: New paint may lift because the layer underneath is still weak. Remove loose pieces first to create a stable base.
- Skipping surface cleaning: Dust, dirt, and paint pieces can prevent filler or paint from sticking. Clean the spot before starting repairs.
- Using unmatched paint sheen: The color may match, but a different finish can make the repair noticeable. Match the existing sheen for a consistent look.
- Applying one thick coat: Thick paint layers can dry unevenly and create raised spots. Apply thin coats for smoother, cleaner results.
- Not allowing drying time: Filler, primer, and paint need time to dry between steps. Rushing can weaken the repair and affect the final result.
- Ignoring moisture problems: Repainting will not fix damage caused by water. Repair leaks or damp areas first to prevent the problem from returning.
Avoiding these mistakes helps the repaired area stay smooth, match the surrounding wall, and reduce the chance of the damage returning.
How Long Does a Paint Chip Repair Take?
It depends on the size of the damage and the steps involved. Small fixes can be completed quickly, while deeper repairs need more drying time.
| Type of Repair | Estimated Time | What It Involves |
|---|---|---|
| Small touch-up | Under 1 hour | Cleaning the spot and applying matching paint to cover a small chip. |
| Filled repair | Several hours | Adding filler, waiting for it to dry, sanding, priming, and repainting. |
| Larger repair | 1 to 2 days | Fixing deeper damage, applying multiple filler layers, drying, and blending the paint. |
Taking enough time between steps helps the repair dry properly and creates a smoother finish. Rushing the process can make the repaired area easier to notice.
Conclusion
Chipped paint may look like a minor problem at first, but ignoring it can make the surface appear more worn over time. A proper repair does more than cover the mark; it helps bring the area back to a cleaner, finished look.
Knowing how to repair chipped paint helps you tell the difference between a simple touch-up and a spot that needs more work. Once you understand what the damage requires, you can avoid quick fixes that may not hold up.
Take a moment to check the damaged area, choose the right approach, and start the repair with a clear idea of what needs to be done. A careful fix can help the surface look better for longer.
Frequently Asked Questions
Why does touch-up paint look darker than the wall?
Fresh paint can appear darker while drying. Age, sunlight, dirt, and a different application method can also change how the color looks.
Can you use caulk to repair chipped wall paint?
Caulk is better for flexible gaps along trim, not flat wall chips. Use spackle or joint compound for a smoother, sandable repair.
Can adhesive hooks cause paint to chip?
Yes, strong adhesive strips can pull away paint, especially on weak or recently painted walls. Remove them slowly according to the product directions.
Can humidity cause new paint to chip after repair?
Yes, high humidity can affect paint adhesion and drying. Improve ventilation and fix moisture issues before repairing chipped areas again.
How do you fix paint chips caused by removing tape?
Remove loose paint edges, smooth the area with sandpaper, and apply matching paint carefully to blend the repaired spot.