
Looking to update your fireplace surround? A fresh coat of paint can make a striking difference in your room’s appearance. Many homeowners feel unsure about painting near a heat source, but with the right steps and materials, you can create a safe and beautiful result.
This guide walks you through painting your fireplace surround, from picking the right paint to applying the final coat. You’ll learn which safety steps matter most and how to get a finish that lasts. We’ll cover everything from proper preparation to long-term care.
By following these steps, you’ll transform your fireplace surround into a stunning focal point. The best part? You can finish this project in just a day or two, making it a perfect weekend update for your home.
Let’s get started with making your fireplace look its best.
Choosing the Right Paint for Your Fireplace Surround
Let me guide you through selecting the perfect paint for your fireplace surround. The right choice makes a big difference in both looks and longevity.
Factors to Consider
Paint finishes matter more than you might think. Satin finish stands out as a top pick for fireplace surrounds. It strikes a balance between hiding small flaws and cleaning ease. Matte finish looks nice but shows marks more easily.
Your room’s lighting plays a role in paint selection. Natural daylight brings out true colors, while lamp light can change how the finish looks. Test your paint sample in both day and evening light before you commit.
Think about cleaning needs when picking your finish. Satin and semi-gloss wipe clean more easily than flat paints. This helps when you need to remove soot or dust from your fireplace area.
Popular Paint Colors for Fireplace Surrounds
White remains a classic choice that fits most homes. It makes your fireplace stand out and matches any room style. Soft whites work better than stark whites – they feel warmer and more welcoming.
Gray tones offer modern appeal. Light gray suits bright rooms, while darker grays create drama. Both options hide marks well and pair nicely with stone or brick.
Black paint turns your fireplace into a striking focal point. It works well in both modern and traditional spaces. Just make sure your room has enough light to balance the dark color.
Safety Considerations: Ensuring a Secure Working Environment
Your safety matters when updating your fireplace surround. A well-planned approach keeps you protected throughout the project.
Selecting Heat-Resistant Paints
The right paint does more than look good – it keeps you safe. Standard wall paint won’t work here. You need special high-temperature paint rated for fireplaces. These paints stick better to the surface and won’t release harmful fumes when heated.
Application Areas for Heat-Resistant Coatings
Focus on the areas closest to the fire. The inner surround needs the most heat protection. Apply heat-resistant paint:
- On the inner edges near the firebox
- Around the mantel’s bottom surface
- On any decorative elements within 6 inches of the opening
Maintaining Proper Airflow
Good air movement protects your lungs while painting. Open all windows in the room. Put a fan in one window blowing outward. This pulls fresh air through other windows and removes paint fumes.
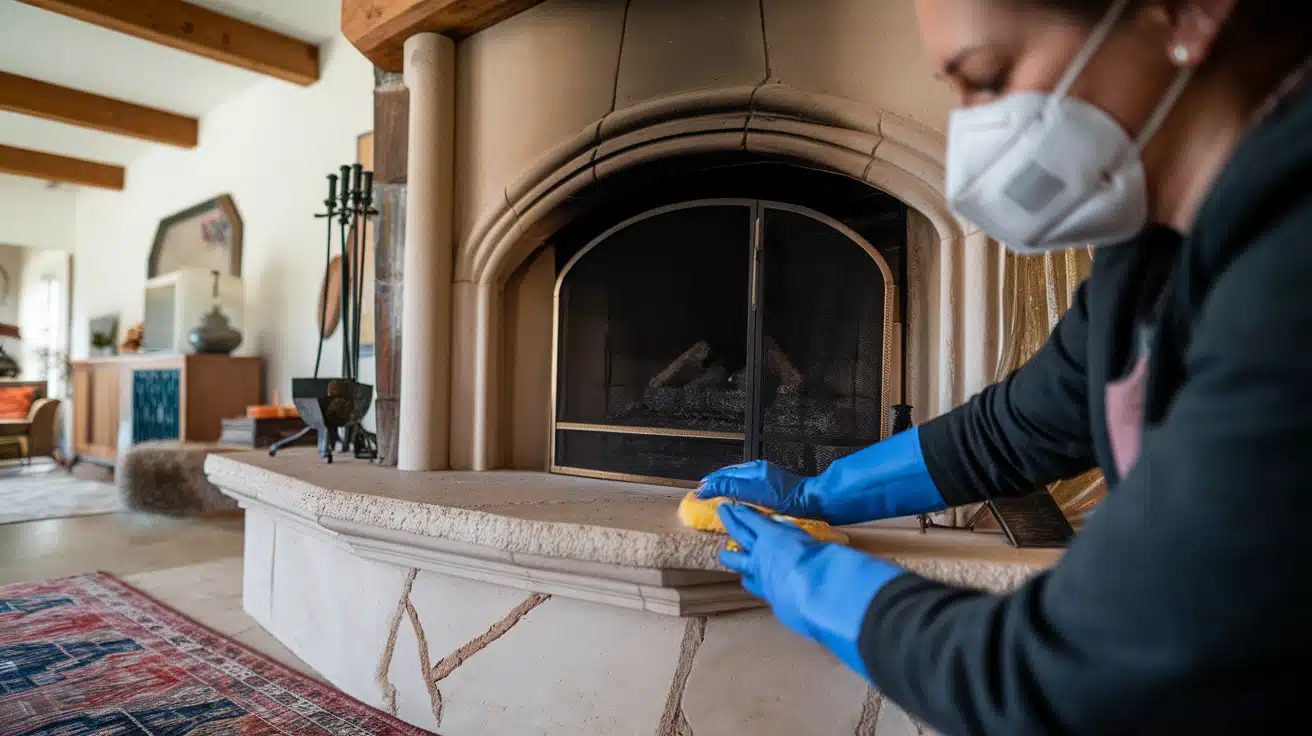
Essential Safety Gear
Your health comes first. Here’s what you need:
- N95 mask or respirator for paint fumes
- Safety goggles to protect your eyes
- Chemical-resistant gloves
- Long-sleeved shirt and long pants
- Closed-toe shoes
Step-by-Step Guide to Painting Your Fireplace Surround
Let me walk you through each step of painting your fireplace surround. I’ll share what I’ve learned from experience to help you get the best results.
Tools and Material
| Tool/Material | Purpose/Usage |
|---|---|
| Painter’s Tape (Washi Tape) | To mask off edges and protect surrounding areas. |
| Dust Sheets | To cover floors and furniture, protecting them from paint drips. |
| Screwdriver | To remove any hardware or fittings around the fireplace if necessary. |
| Cleaning Solution (50/50 Methylated Spirits & Water) | To clean the surface before sanding and priming. |
| Scrubby Sponge | To scrub the fireplace and remove dirt or grease. |
| Sandpaper (Fine Grit) | To scuff the surface for better primer adhesion. |
| Soft Paintbrush | To apply primer and paint in grooves and detailed areas. |
| Flock Roller | To apply primer and paint smoothly on flat surfaces. |
| Heat-Resistant Primer | To provide a base layer that adheres well and protects against heat. |
| Heat-Resistant Paint | To paint the fireplace surround with a durable, heat-resistant finish. |
| Small Craft Brush | For detailing small, intricate areas like grooves and carvings. |
| Paint Tray | To hold paint for easier application. |
| Paint Can Opener | To open paint cans easily and safely. |
| Rags or Kitchen Roll | For drying surfaces and wiping off excess paint or dust. |
| Soap and Water | For cleaning brushes and rollers after use (for water-based paints). |
| Protective Gear (Gloves, Mask, Goggles) | To ensure safety during the painting process. |
| Step Ladder/Small Ladder | To reach high areas of the fireplace surround safely. |
Step 1: Preparation
First, lay down a dust sheet to catch any paint drops. This simple step saves hours of cleanup later. Take your time with the washi tape – both blue and orange work well.
Apply it carefully around the walls and inner fireplace parts. Pay special attention to marble areas, as they need extra protection. The tape creates clean, sharp edges that make your work look professional.
Step 2: Cleaning
Mix equal parts methylated spirits and water in a spray bottle. Spray this solution onto the fireplace surface. Take a scrubby sponge and clean every part thoroughly. After cleaning, dry everything with kitchen paper. This step removes oils and dirt that could affect your paint job.
Step 3: Scuff Sanding
Now comes an important prep step. Take fine-grit sandpaper on a sanding block. Gently sand the entire surface – you’re not trying to remove the finish, just create tiny scratches.
These scratches help the primer stick better. When you finish, use a soft paintbrush to remove dust, followed by a quick wipe with a damp cloth.
Step 4: Priming
Choose an oil-based primer that works well with heat. Start with a small brush to get into all the grooves and detailed areas. Then use a flock roller for larger, flat sections.
Work slowly and steadily – the primer coat needs to be flat and even. Any marks or ridges now will show in your final coat.
Step 5: Painting
After your primer dries completely, it’s time for paint. Use water-based paint made for fireplaces – it sticks well and handles heat. Pour your paint and use a fresh flock roller.
The paint should flow smoothly, like milk. For carved areas and grooves, switch to a small craft brush. Take your time here – good coverage in these spots makes a big difference.
Step 6: Finishing Touches
Apply your paint with long, even strokes. Don’t press too hard on the roller – light pressure works better. The paint will spread further than you expect, so work it out well. Let each section dry fully before moving on. Your second coat, if needed, follows the same process.
Step 7: Cleanup and Maintenance
When you finish painting, remove the washi tape while the paint is still slightly wet for the cleanest lines. Clean your brushes and rollers with soap and water right away.
The water-based paint makes cleanup simple. Once everything dries, you can wipe down your fireplace surround whenever needed – the paint stands up well to cleaning.
Video Tutorial
Watch full YouTube video on how to paint fireplace surround by Aileen Hogan.
Maintenance and Care
Let me share tips to keep your painted fireplace surround looking fresh and well-maintained for years to come.
Routine Cleaning
Start with gentle cleaning methods for your painted fireplace. Mix mild soap with warm water. Use a soft cloth to wipe down the surface. Pat dry with a clean towel – don’t let water sit on the paint. Clean every few weeks to prevent soot buildup.
For stuck-on dirt, try a mixture of one part vinegar to four parts water. Test this solution on a small area first. Avoid harsh cleaners or rough scrubbing pads that might harm the paint.
Dealing with Wear and Tear
Small chips happen over time. Keep leftover paint for quick fixes. For tiny chips, use a small artist’s brush to apply paint. Let each layer dry before adding more. For scratches, sand the area lightly. Clean off the dust. Then apply paint with a fine brush.
Repainting Strategies
Look at your fireplace each season. Note areas that need attention. Touch up spots before they grow larger. If you see lots of worn areas, plan a full repaint. Save your paint brand and color information for perfect matches later.
Detecting Signs of Paint Degradation
Check your paint job monthly. Look for:
- Color changes near the firebox
- Paint that feels different when touched
- Small bubbles in the paint
- Peeling edges
- Discoloration from heat
Remember: Quick fixes prevent big problems. Clean often, fix small issues fast, and check regularly for heat wear. This keeps your fireplace surround looking good longer.
Conclusion
Painting your fireplace surround brings new life to your living space. With careful preparation, the right paint choice, and proper safety steps, you can create a lasting finish that stands up to heat and time.
Remember to put safety first – from selecting heat-resistant paints to wearing protective gear. Take time with each step, especially the prep work. Good preparation leads to better results.
Keep up with regular cleaning and maintenance checks to help your painted surround stay fresh. Watch for signs of wear, and address small issues before they grow.
Your painted fireplace surround will serve as a central feature in your room. When done right, this update adds both value and style to your home.