
Making your garage floor with a professional-looking epoxy coating doesn’t require hiring expensive contractors or specialized equipment.
A DIY garage floor project has become increasingly popular among homeowners who want to upgrade their space while saving money and gaining the satisfaction of completing the work.
If you’re tired of stained concrete, looking to protect your garage floor from oil spills, or simply want to create a showroom-quality finish, applying a DIY garage floor coating is more accessible.
We’ll share insider tips, common pitfalls to avoid, and realistic timelines to help ensure your DIY garage floor project succeeds on the first attempt.
What is Epoxy Flooring?
Epoxy flooring is a durable, high-performance surface made by combining epoxy resin with a hardener.
When these two components mix, they chemically react to form a rigid plastic coating that bonds strongly to concrete. The result is a smooth, glossy, and resilient surface.
The floors are popular for garages, workshops, basements, and commercial spaces because they make dull concrete into a polished, easy-to-clean surface.
Available in various finishes, solid colors, metallic, quartz, and flake systems, flooring can also enhance a space’s style while protecting it from heavy foot or vehicle traffic.
If applied as a DIY project or by professionals, the flooring delivers a seamless, long-lasting solution that improves both the appearance and durability of concrete floors.
Tools and Materials You’ll Need
| Category | Items |
|---|---|
| Cleaning & Prep Tools | Power washer, stiff-bristle brush, bucket, mop, broom, leaf blower, shop towels |
| Chemicals & Cleaners | Concrete stain remover (e.g., Goof Off), heavy-duty degreaser (Zepp), and concrete etching solution |
| Repair Materials | Quickcrete patching compound, trowel, sandpaper, orbital sander |
| Painting Supplies | Rust-Oleum epoxy kit, activator cans, mixing paddle with drill, paint roller with extension, brushes, paint tray, painter’s tape |
| Add-ons | Decorative color chips, clear coat epoxy, and non-slip additive |
| Safety Gear | Gloves, safety glasses, a respirator, and rubber boots |
Step-by-Step Process for Applying Epoxy
Follow these quick, proven steps to prep, coat, and cure your garage floor so the epoxy bonds strongly, looks glossy, and lasts for years.
Step 1: Clear and Clean the Garage Floor
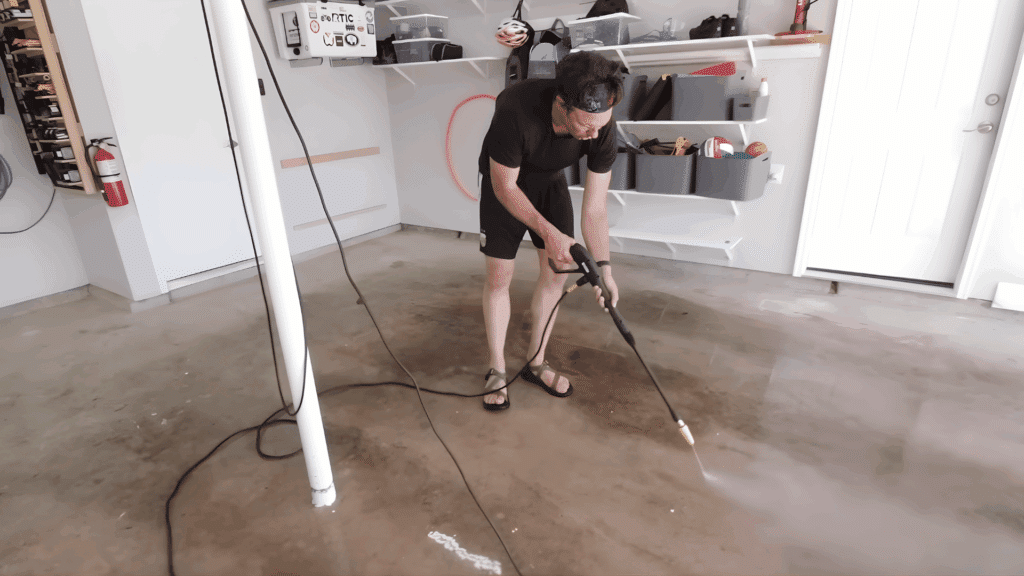
Start by removing everything from your garage, including any carpet tiles or mats that may leave behind residue.
Once the space is empty, power-wash the floor thoroughly to remove dirt, grime, and old stains. Use a low-cost pressure washer to push all the debris down the driveway.
This step helps expose problem areas and prepares the concrete for deeper cleaning later.
Step 2: Remove Stains and Degrease the Surface
Apply a concentrated concrete stain remover directly onto heavily stained areas. Scrub with a stiff-bristle brush to loosen contaminants, then rinse with a power washer.
Follow with a heavy-duty degreaser (like Zepp Citrus Degreaser) to break down oil and chemical residues. Allow the solution to sit for several minutes before rinsing again.
This dual process ensures maximum adhesion for the epoxy coating later on.
Step 3: Etch the Concrete for Better Adhesion

Prepare the concrete etching solution according to the manufacturer’s dilution instructions. Pour it onto small sections of the floor and scrub quickly.
You’ll notice bubbling or hissing as the acid reacts with the surface. Rinse thoroughly with a power washer once it stops fizzing.
Repeat the process if necessary to ensure even etching across all areas. This creates a rough surface that helps epoxy bond securely to the concrete.
Step 4: Patch Cracks and Smooth the Surface

After the floor dries for at least 48 hours, inspect it for cracks or holes. Mix Quickcrete patching compound and apply it using a trowel, smoothing it flush with the surrounding surface.
Once the patches have cured, use an orbital sander with medium-grit sandpaper to level the area.
Clean off dust and debris afterward. Repairing these imperfections ensures a smooth, professional epoxy finish later.
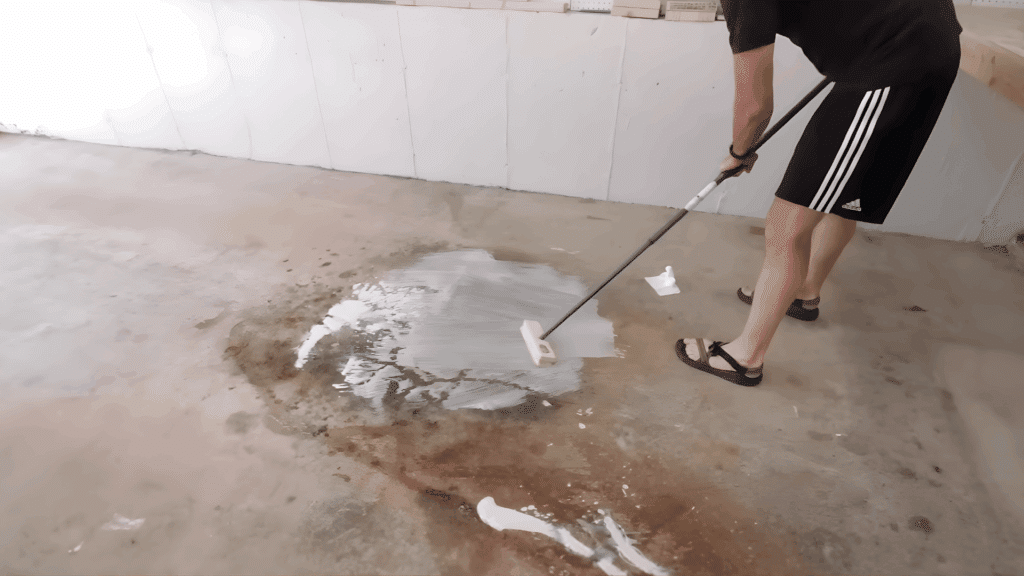
Step 5: Mix and Apply the Epoxy Base Coat
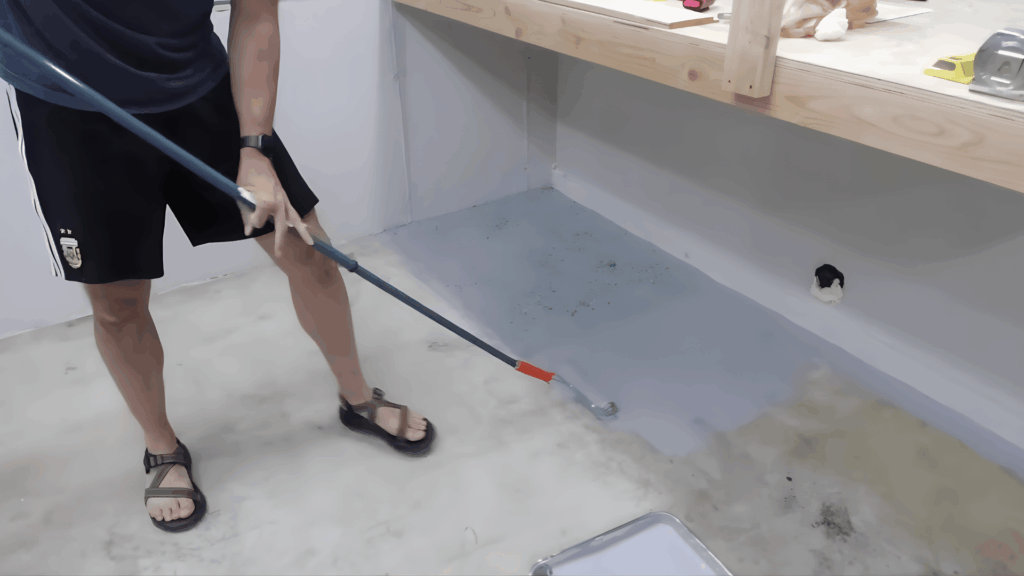
Open your epoxy kit and mix the base paint with the activator as directed. Use a drill with a paddle attachment for even blending, then pour the mixture into a paint tray.
Begin by “cutting in” edges with a brush, then roll the epoxy in 4×4-foot sections. Work with a partner, one applies the epoxy while the other sprinkles decorative color chips onto wet paint.
Move steadily to avoid visible seams and ensure even coverage.
Step 6: Allow to Dry and Apply Clear Coat
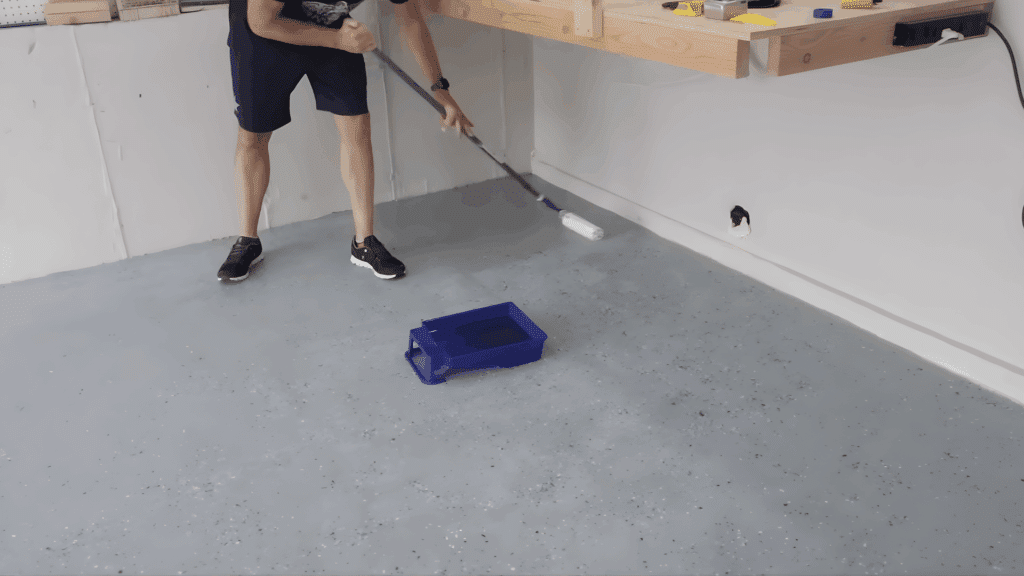
Once the base coat is dry, lightly remove any loose chips with a gloved hand and blow them away using a leaf blower.
Mix your clear coat epoxy and add a non-slip additive (half to three-quarters of the bag). Roll on the clear coat just as you did the base, starting with the edges.
This protective top layer adds shine, durability, and slip resistance. You may need two clear coat kits for full coverage.
Step 7: Final Touches
After the final coat is applied, leave the garage doors slightly open for ventilation while preventing dust and debris from blowing in.
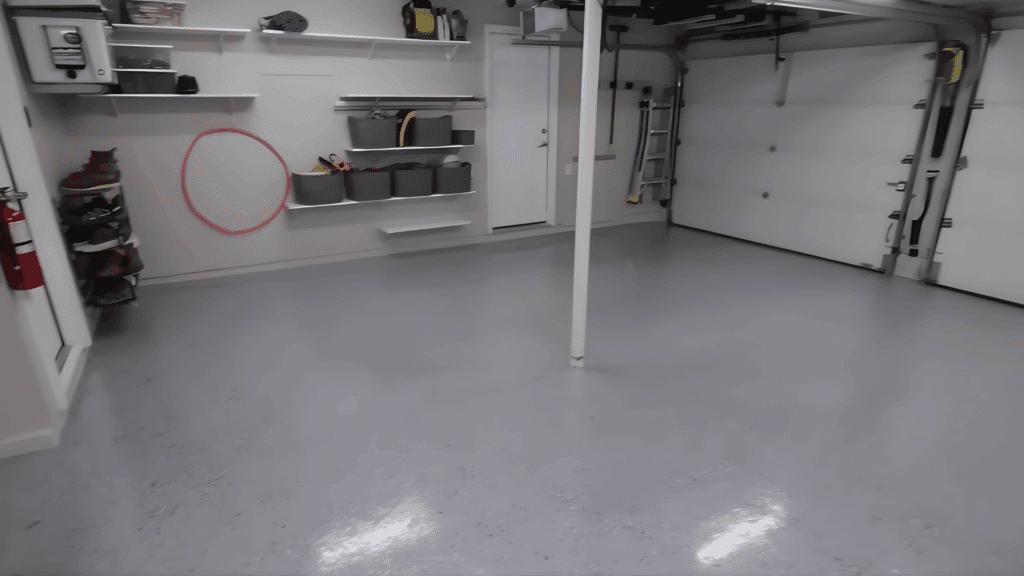
Allow the floor to cure fully according to the product instructions (usually 24–72 hours). Once cured, the floor should have a smooth, glossy finish with excellent coverage, even over old stains.
The result is a professional-grade, long-lasting epoxy floor that enhances your entire garage.
For more details on how to DIY an epoxy garage floor, watch the video given below:
Epoxy Garage Floor Cost Breakdown
The table below shows an estimated epoxy garage floor cost breakdown for both DIY and professional installations.
| Category | DIY (per sq ft) | Professional (per sq ft) | Notes |
|---|---|---|---|
| Basic Epoxy Kit | $2 – $3 | $3 – $5 | Standard two-part epoxy |
| Mid-Grade (Flake/Quartz) | $3 – $5 | $5 – $8 | Decorative, more durable |
| High-End Metallic | $5 – $7 | $8 – $12+ | Premium gloss finish |
| Surface Prep | $0.5 – $1 | $1 – $3 | Cleaning/grinding |
| Crack Repair | $0.25 – $0.75 | Included | Patch compounds |
| Topcoat | $0.5 – $1 | Usually included | Added shine/protection |
| Tool Rental | $50 – $150 total | – | For DIY projects |
| Labor | – | $3 – $7 | Professional rate |
Common Mistakes to Avoid
Proper preparation and application make all the difference in achieving a long-lasting epoxy floor. Here are the most frequent mistakes homeowners make and how to avoid them.
- Skipping Surface Preparation: Failing to clean, etch, or grind the concrete properly leads to poor adhesion and peeling later.
- Ignoring Moisture Issues: Applying it over damp or untested concrete can cause bubbling, lifting, and early failure.
- Using Low-Quality Kits: Cheap or single-coat kits may look good at first, but they wear out quickly under vehicle traffic.
- Mixing Incorrectly: Incorrect ratios or incomplete mixing prevent the coating from curing evenly.
- Applying Too Thick or Too Thin: Uneven coats can cause runs, soft spots, or a patchy finish.
- Neglecting Safety Precautions: Always wear gloves, respirators, and eye protection to avoid skin irritation or inhalation risks.
Conclusion
By following the step-by-step process outlined in this blog, from thorough surface preparation to proper application techniques, you can make your garage into a clean, professional-looking space.
Don’t let minor imperfections discourage you. Even professional installers encounter challenges, and small flaws often become less noticeable once the floor cures completely.
Gather your materials, set aside a long weekend, and take the first step toward creating the durable, attractive garage space you’ve always wanted.